

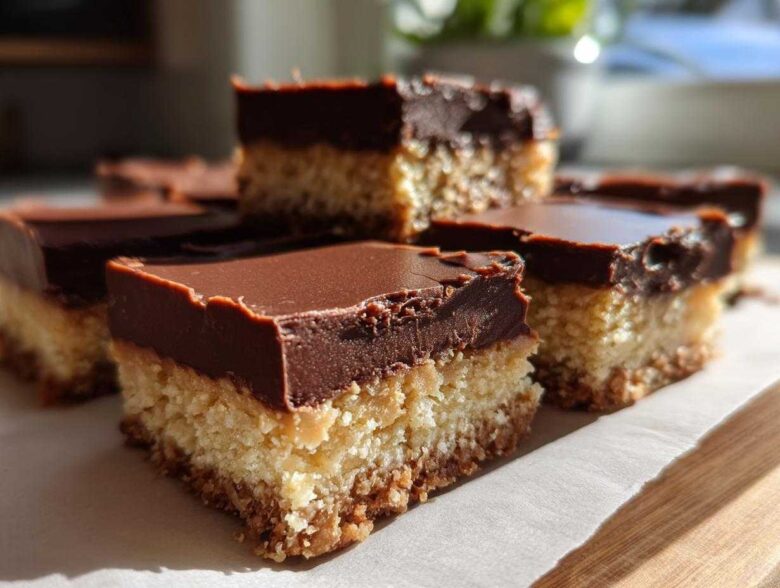
If you have that kind of craving—you know the one, where only something incredibly rich, sweet, and deeply peanut-buttery will do—stop scrolling right now. When I first started in the kitchen with Liam, I would have panicked and grabbed the nearest pre-packaged candy bar. But now? Now I reach for the pantry to make what I genuinely believe are the absolute **best No-Bake Chocolate Peanut Butter Bars** you will ever try. Forget turning on the oven; these squares come together in minutes! Getting this recipe right took a little practice, but Liam taught me that simple recipes are often the most rewarding; check out his steps for easy no-bake dirt cake for another quick win. These classic peanut butter bars are just pure, unadulterated deliciousness.
Why These No Bake Peanut Butter Bars Are Your New Favorite Quick Dessert Bars
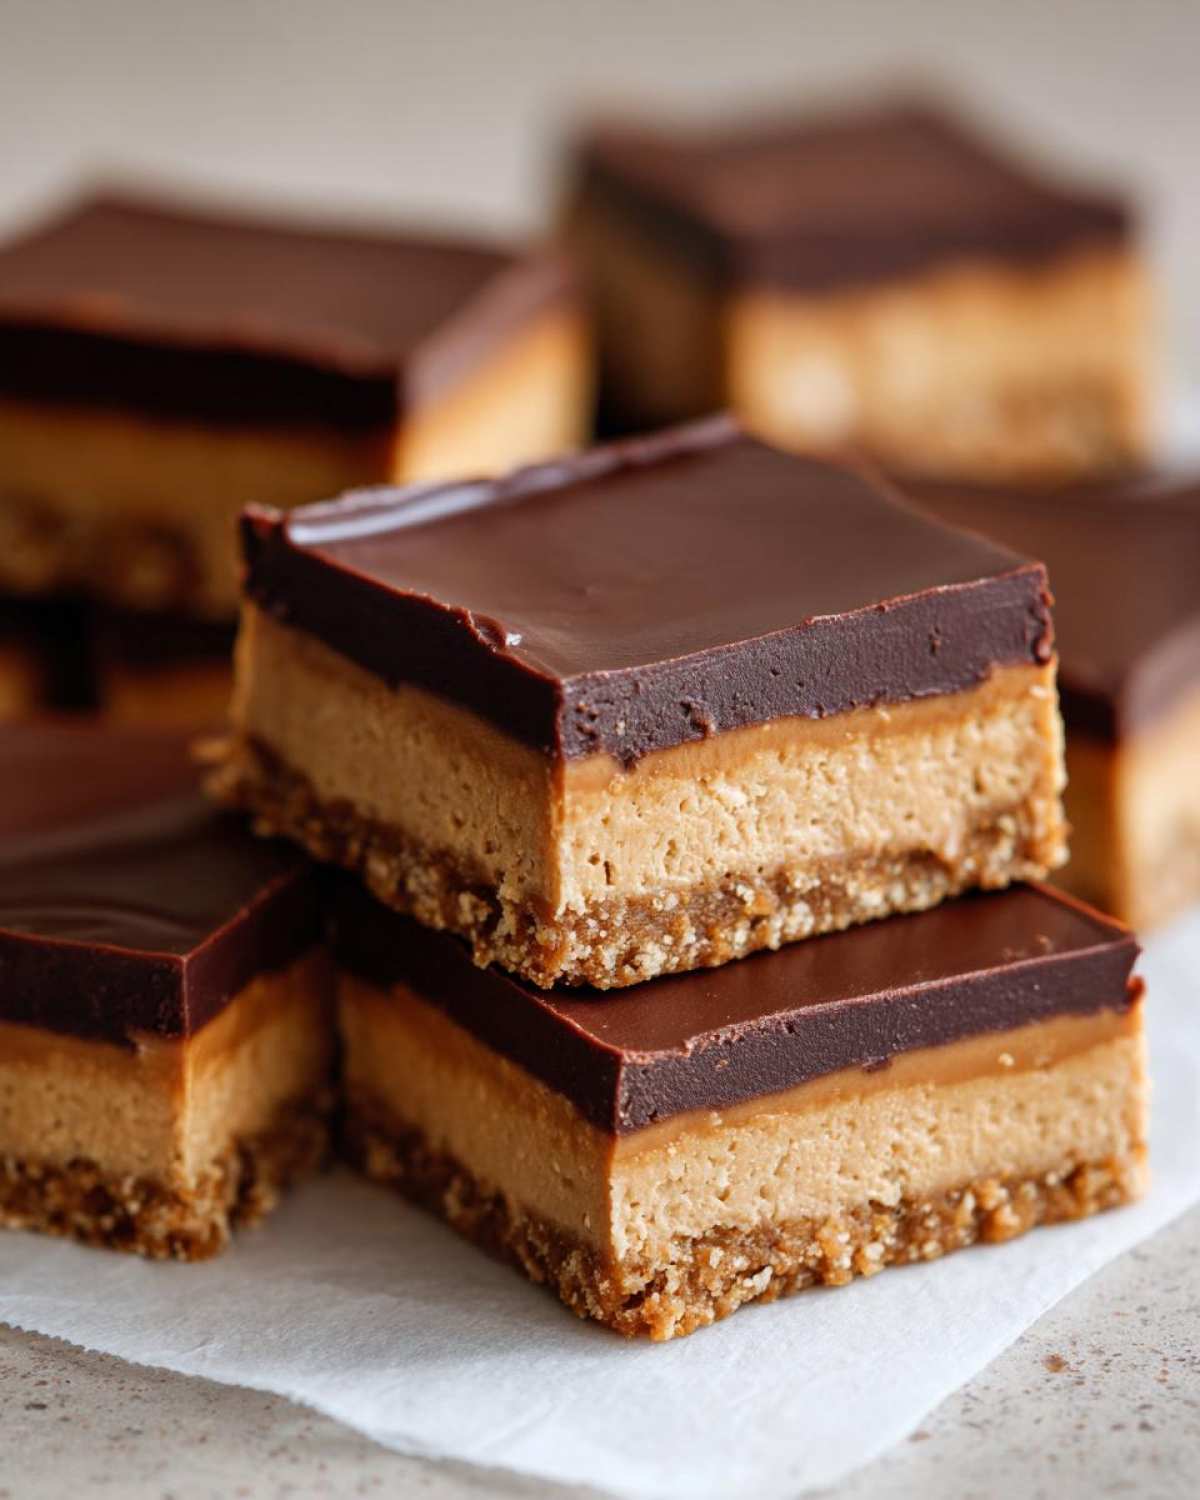
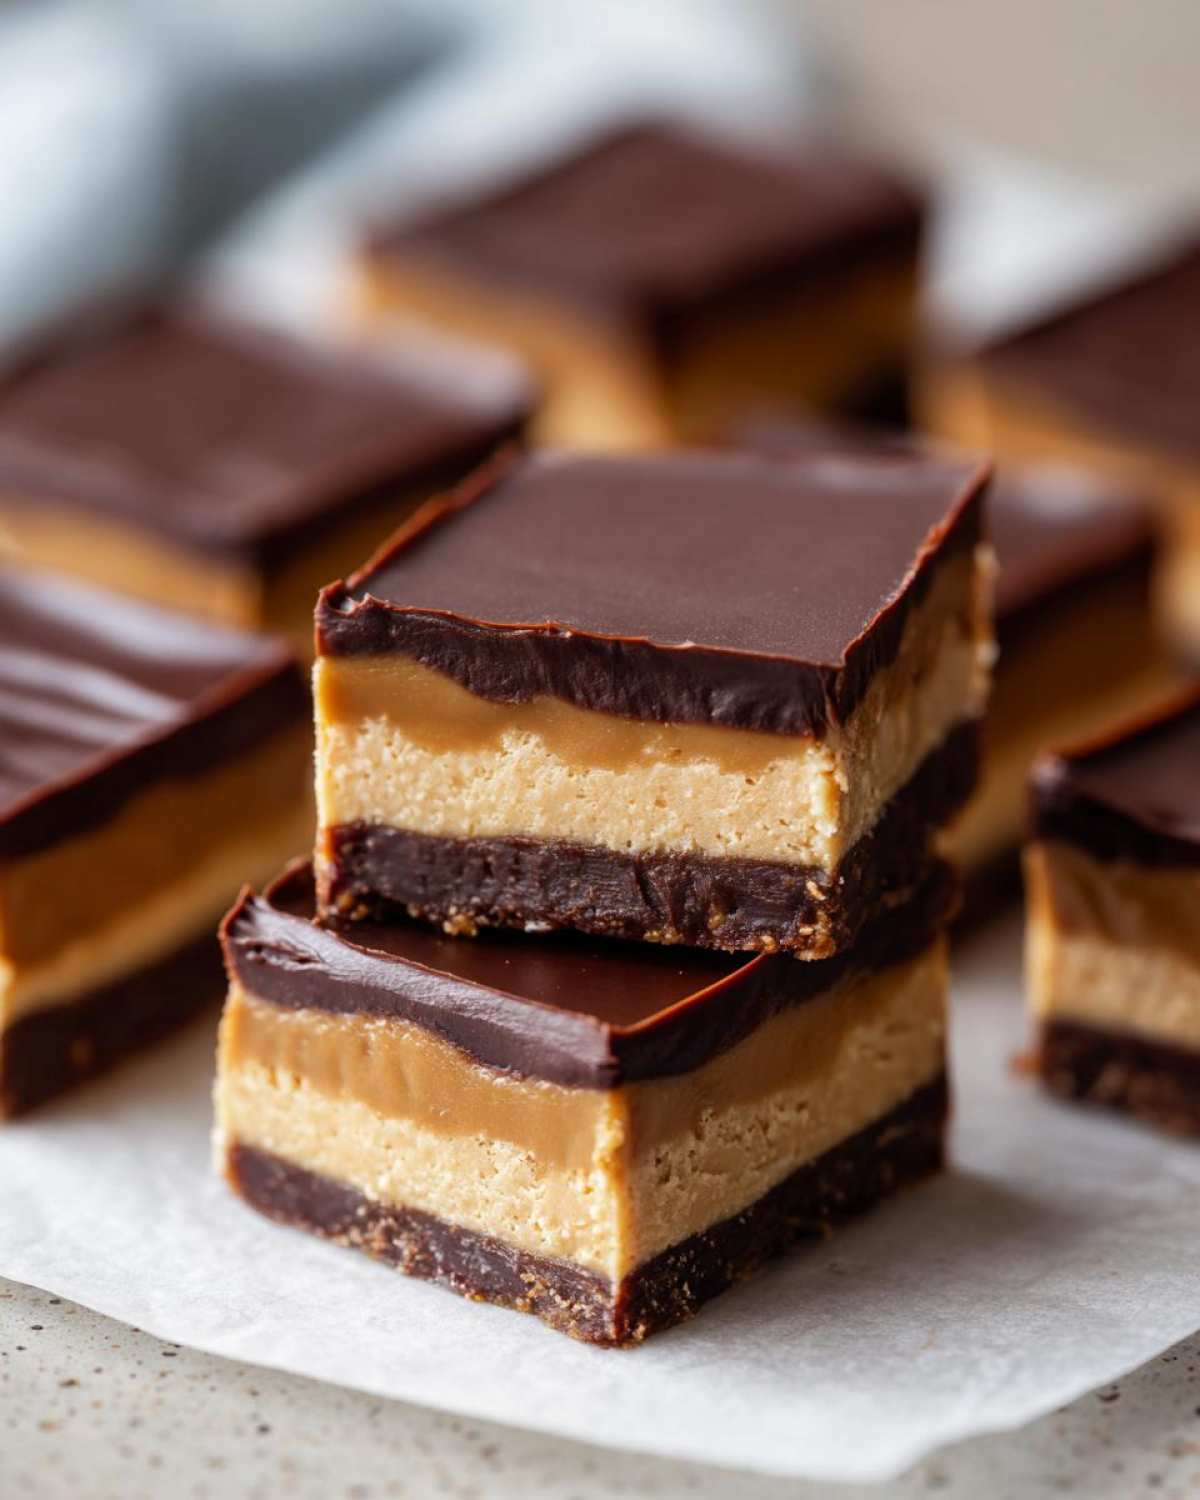
When you need a guaranteed win for a last-minute gathering or just a serious sugar craving, these are the bars you turn to. They hit that perfect chocolate and peanut butter note without any fuss. The structure—firm, crumbly base, thick, creamy center, and that shiny chocolate shell—is what makes them so addictive and why they’re often called the ultimate **Quick Dessert Bars**. Liam actually keeps a batch in the freezer ready to go for unexpected guests!
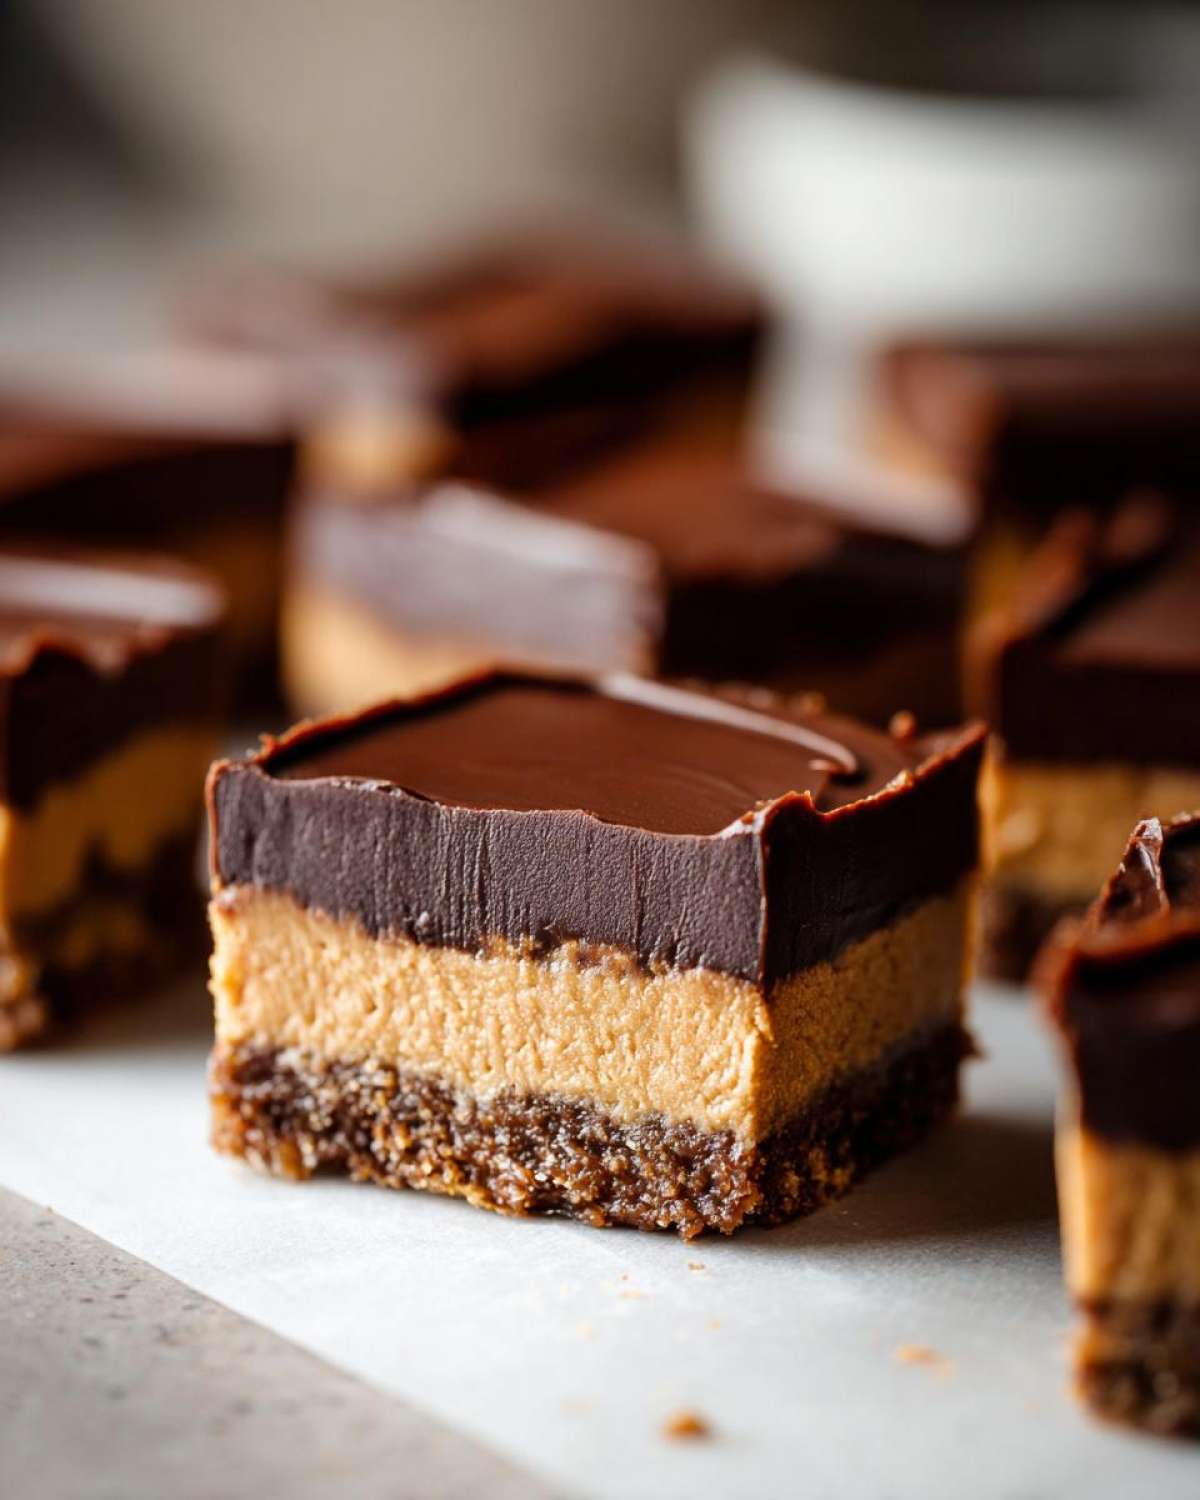
The Appeal of Easy Peanut Butter Bars
- They are pure **No Oven Desserts**—zero preheating drama!
- The base comes together in what feels like a **10 Minute Dessert** timeframe.
- They deliver that rich, **Simple Sweet Treats** flavor that tastes way more complicated than they are.
- When they set, you get the most wonderfully dense, fudgy texture. You can check out how we make easy 3-ingredient chocolate fudge if you just want that topping flavor boost!
Gathering Ingredients for Perfect Peanut Butter Bars
I know you’re ready to dive in, but hold on just a second! The real secret to making these the absolute **best peanut butter bars** isn’t just the no-bake method; it’s making sure we use the *right* ingredients. Liam always reminds me that you can’t expect a gourmet result from flimsy components, especially when dealing with creamy desserts. Luckily, this recipe relies almost entirely on shelf-stable goodness, making a grocery run super quick. We aren’t making anything complicated here, just pulling together a few perfect players for maximum flavor impact. Before you measure anything, take a look at what you’ll need to pull off these **Creamy Peanut Butter Desserts**.
Base Layer Ingredients for Creamy Peanut Butter Desserts
This is the sturdy foundation for our bar. Remember, the base needs to hold up to that wonderful chocolate topping! Here’s what you need to press into that pan:
- 1 cup (that’s two full sticks!) of unsalted butter, and yes, it must be completely melted.
- 2 cups of powdered sugar—don’t be shy, this gives it that lovely dense sweetness!
- 1 cup of creamy peanut butter. Seriously, skip the natural stuff for this part; we need that stability!
- 1 1/2 cups of graham cracker crumbs. Make sure you crush them up well!
If you ever want to give Liam’s savory side a try, his easy slow cooker chili cheese dip uses quality cheddar, proving that ingredient quality matters across the board!
Topping Ingredients for Chocolate Peanut Butter Bars
This is the luxurious, almost Reese’s-like blanket that finishes the job. It’s simple, but oh so decadent:
- 1 cup of semi-sweet chocolate chips. I prefer semi-sweet because it cuts the sweetness of the base perfectly.
- 1/4 cup of creamy peanut butter—just a touch more to keep that chocolate topping smooth and spreadable.
Step-by-Step Instructions for No Bake Peanut Butter Bars
Okay, are you ready to see just how fast these **No Bake Peanut Butter Bars** come together? It’s seriously like magic, except you don’t even have to wait for an oven to heat up! We need to work pretty quickly once that base comes together, but don’t worry; I’ll show you exactly how Liam taught me to keep everything moving smoothly. This is the fun part where your ingredients stop being separate things and start turning into that incredible dessert you dreamed about.
Preparing the Pan and Peanut Butter Base for your Peanut Butter Bars
First things first, grab that 8×8 inch pan. Liam insisted on this part: line it completely with parchment paper but leave a couple of inches hanging over the sides. That paper is your best friend later; trust me, it makes lifting these out so much easier! Now, for the base, mix that melted butter, powdered sugar, the 1 cup of peanut butter, and the graham cracker crumbs in a bowl. You’ll mix it until it looks like a thick, slightly crumbly dough—not loose or wet at all. Press this mixture *firmly* and evenly into the bottom of your lined pan. I learned that if you use the bottom of a measuring cup, you can get a perfectly flat, dense surface.
Creating the Silky Chocolate Topping for Decadent Dessert Bars
Next up is the gorgeous chocolate layer. This is where beginners often get frustrated, but we won’t! Grab a microwave-safe bowl for your chocolate chips and that extra 1/4 cup of peanut butter. The danger here is scorching the chocolate, so Liam says you must be patient. Microwave it in short bursts—I do 30 seconds, stir well, then 30 seconds again, stirring hard until it’s completely smooth and glossy. If you blast it for a full minute like I used to, you’ll get hard, grainy streaks. Once it’s perfect, pour that luscious mixture right over your peanut butter base and use a spatula to gently encourage it right up to the edges. You can see a great example of how smooth the chocolate should look over at this chocolate bar recipe!
Setting and Cutting Your No Bake Peanut Butter Bars
Patience is key now, sweet friend! Pop the pan right into the refrigerator. You need to let this chill for a minimum of 2 hours, but honestly, 3 hours is better if you can wait that long. This allows the base to firm up and the chocolate topping to set hard enough to slice without smearing everywhere. Once it’s totally firm, this is where that parchment overhang shines! Just grab the paper edges and lift the entire block right out onto your cutting board. Then, use a sharp knife to slice it into 16 nice, neat squares. These are incredibly easy to make, especially since we skip any cooking time, like in this appetizer recipe which also saves on oven use!
Tips for Success When Making Peanut Butter Square Recipe
When I first tried to make these easy **Peanut Butter Bars**, I ran into a few snags, mostly around texture. Liam jumped in immediately and pointed out where I went wrong, teaching me that these **Peanut Butter Chocolate Squares** are surprisingly sensitive to ingredient choices. Trust what the recipe says here—it’s all about locking in that creamy, decadent feel, which is why these win awards at potlucks!
Ingredient Specifics for the Best Peanut Butter Bars
The biggest non-negotiable for these bars? You absolutely must use creamy peanut butter, not the natural, oily kind that separates. Natural peanut butter just won’t give you that thick, structure-holding base we need; it makes everything runny, and we want firmness, not sadness!
Also, when you melt the butter for the base layer, make sure it’s totally liquid. If you have any small clumps still solid, that fat won’t incorporate right, and your base will crumble apart when you go to slice it. If you want to see what I mean about using the right stuff for texture, check out Liam’s advice on his homemade lasagna—the sauce needs to be right! For more inspiration on simple, wonderful bars, take a peek over at this site.
Storage & Make-Ahead Tips for Peanut Butter Bars
One of the glorious things about these **No Bake Peanut Butter Bars** is that they are absolutely perfect for making ahead—hello, easy **Potluck Dessert Bars**!
Once the chocolate is fully set after chilling, I carefully lift the whole square out using that parchment sling, cut them up, and then put them into an airtight container. They live happily in the refrigerator for up to a week. Honestly, they taste even better on day two when the flavors really marry together!
If you need to hide them from yourself (I know I do!), they freeze beautifully too. Just wrap the squares tightly in plastic wrap before tossing them in a bag. When the craving hits, let them thaw on the counter for about twenty minutes. If you’re looking for other make-ahead sweets, my easy puff pastry apple strudel is another winner!
Serving Suggestions for These Chocolate Peanut Butter Bars
You’ve done the work, they are perfectly chilled, and now it’s time to eat these glorious **Peanut Butter Bars**! Because these are intensely rich—that combination of peanut butter base and chocolate topping is heavy in the very best way—they pair with something simple. My absolute favorite way to enjoy one of these **Chocolate Peanut Butter Bars** is with a piping hot cup of Liam’s homemade hot cocoa mix. Honestly, the slight bitterness of the dark chocolate in the cocoa balances the sweetness of the bars perfectly. If it’s not cocoa weather, a simple glass of ice-cold milk does the trick, too; it’s nostalgic, sweet, and refreshing against all that peanut butter flavor.
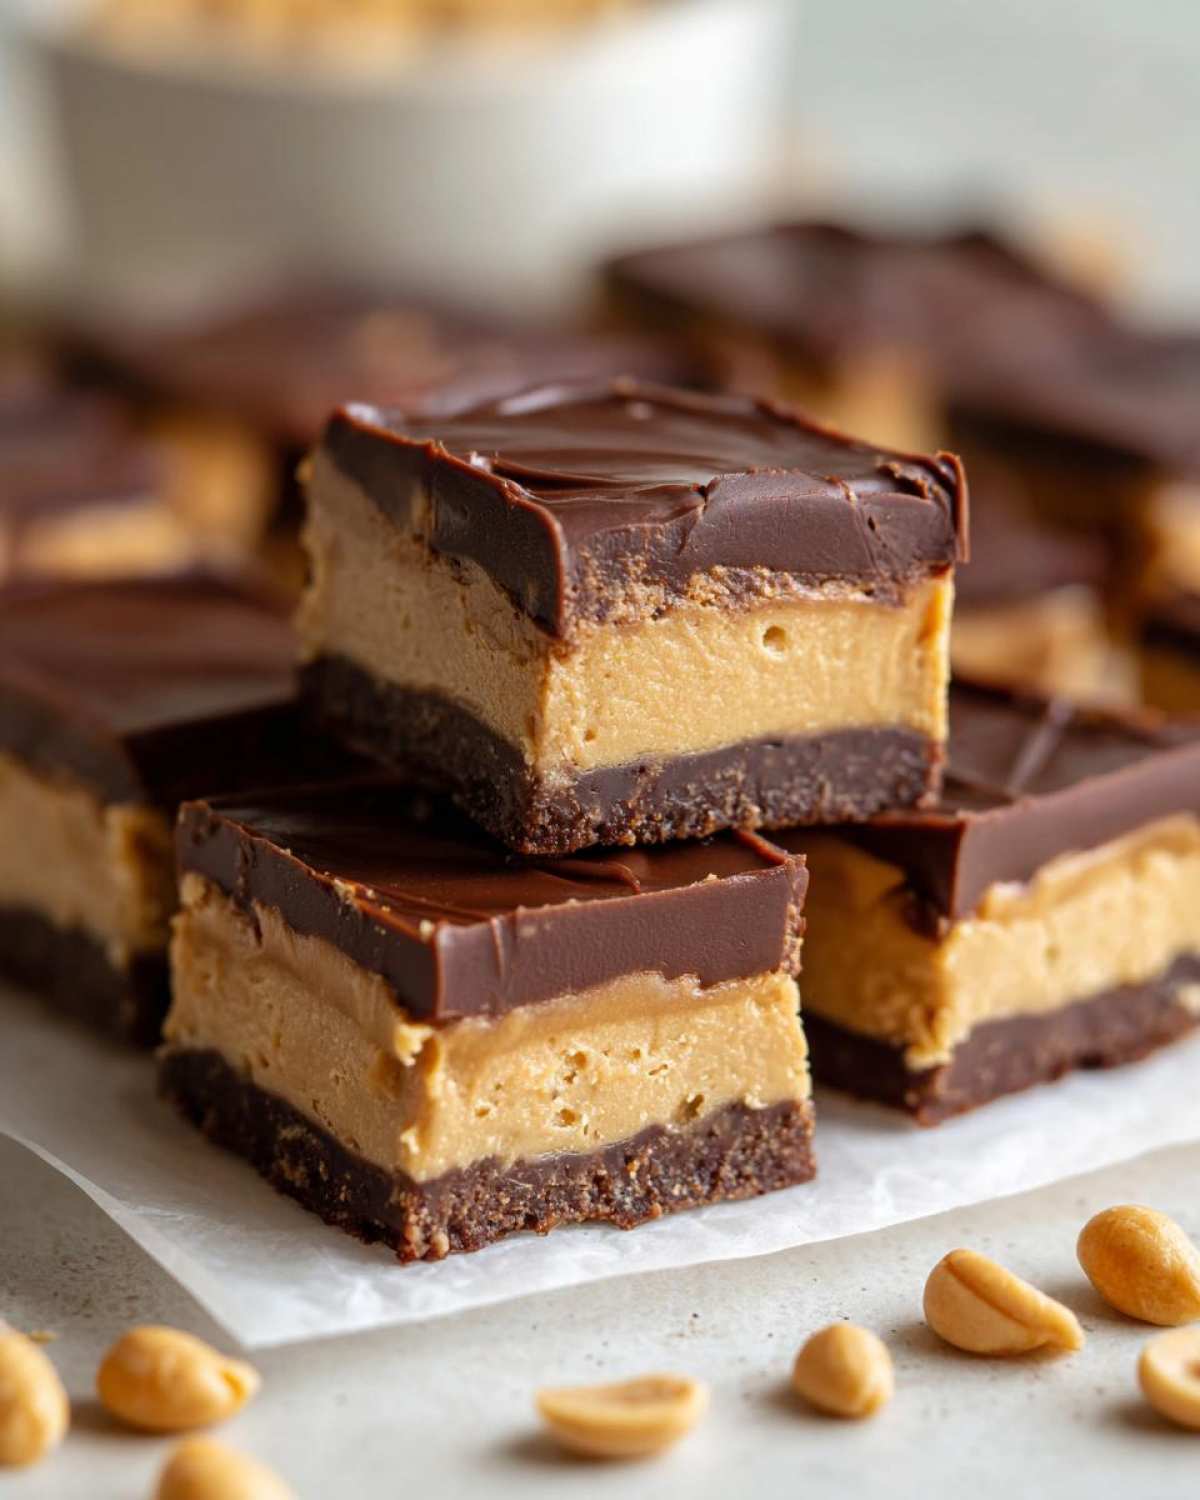
If you’re feeling fancy, try dusting the top lightly with flaky sea salt right after you pour the chocolate layer on when it’s still barely warm. That tiny pop of salt makes the peanut butter taste even more intense! If you want to make that cocoa, you need my favorite recipe for the best hot cocoa mix!
Frequently Asked Questions About Making Peanut Butter Bars
I always get so many questions when I post these because everyone wants that perfect, no-fail result. It’s totally normal to have a couple of little hurdles when you are trying to nail that **Lunch Lady Bars Recipe** texture at home. Here are a few things Clara used to ask me all the time when she was learning!
Can I use natural peanut butter instead of creamy?
Oh, friend, this is the most common question! The short answer is: please don’t, unless you want soft, runny bars. For these specific **Peanut Butter Bars**, you need the stabilized sweet stuff—the creamy kind. Natural peanut butter separates too much and won’t give you the firm base needed before you pour on the topping. We need that structure!
How long do these need to chill? Can I make them ahead?
They need a minimum of two hours chilling time so that chocolate topping becomes truly sliceable. Yes, they are absolutely perfect for making ahead! They hold up really well in the fridge for almost a week, which is why they are my go-to for potlucks. They are truly fantastic **Reeses Inspired Bars** when chilled.
Do I need to press the base down really hard?
Yes, you do! This mixture forms the entire bottom layer, so pressing it down firmly and evenly is crucial for clean slicing later. I use the bottom of a flat glass or measuring cup and press until I think I can’t press any harder—then I press just a little bit more. You want a nice, compact bottom layer there!
Can these be frozen?
They freeze wonderfully! If you slice them first and store them in an airtight container (maybe with some parchment between layers so they don’t stick together), they hold up perfectly in the freezer for up to two months. They are great straight from the freezer for a super cold, fudgy treat. If you’re curious about freezing other things, check out how we handle slow cooker chocolate fondue for freezing tips!
Where is the fudgiest recipe for these bars?
For the absolute fudgiest topping texture mimicking a classic candy bar, make sure you add a tiny bit of coconut oil—just one teaspoon—when you melt the chocolate chips and peanut butter; it keeps the chocolate from ever getting too hard. If you want to see a bar that always stays soft, you can look at a similar concept over at this site!
Estimated Nutrition Facts for These Peanut Butter Bars
Now, I know some of you might be watching your macros, or maybe you’re just curious what you’re diving into when you grab one of these amazing **Peanut Butter Bars**! We believe in transparency here at TasteTaught. Liam, being the detail-oriented one, crunched a few numbers so we could give you a baseline idea of what’s in one of these indulgent squares.
Remember, since these are homemade and we might occasionally use slightly different brands of peanut butter or chocolate chips, these numbers are just my best estimate. Think of them as a helpful guide rather than a strict law. If you’re aiming for a perfect count for your banana oatmeal pancakes, you might need to calculate those yourself, but for these ultra-rich bars, this should give you a great idea!
- Serving Size: 1 Square
- Calories: Approximately 280
- Total Fat: About 18g
- Carbohydrates: Around 28g
- Protein: Roughly 6g
- Sugar: Approximately 22g
See? They are definitely decadent, but hey, they are worth every single bite! Keep in mind if you use natural peanut butter (which we strongly advise against for texture!), those numbers will shift.
Share Your Experience Baking These Sweet Squares
Now that you have the full rundown on the very best way to make these incredibly simple, melt-in-your-mouth sweet squares, I truly want to hear from you! Honestly, whether you followed my instructions to the letter for that perfect, firm base, or maybe you decided to sneak in some peanut butter chips instead of plain chocolate—tell me everything!
Here at TasteTaught, the community is everything. We learn so much from hearing how the recipe works in kitchens all over the country. Did you bring these to a potluck? Did Liam sneak one before dinner? Let us know below!
Rate Your Success With This Recipe
If you made these, please leave a star rating right below this paragraph. Did you find them as easy as suggested? Were they everything you needed for that epic sweet craving?
⭐️⭐️⭐️⭐️⭐️
Let’s See Your Creations!
I’m addicted to seeing what you all make! If you snap a picture of your perfectly set, shiny chocolate-topped bars, please share it on Instagram or Facebook and tag us. It absolutely makes my day when I see one of our recipes pop up in my feed. You all inspire me to keep asking Liam those kitchen questions!
If you want to browse all the fun recipes Clara has learned so far, you can hop over to the main blog page!
PrintEasy No-Bake Chocolate Peanut Butter Bars
Make dessert simple with these easy no-bake peanut butter bars. They are creamy, rich, and ready fast, perfect for satisfying sweet cravings.
- Prep Time: 15 min
- Cook Time: 0 min
- Total Time: 2 hours 15 min
- Yield: 16 servings
- Category: Dessert
- Method: No Bake
- Cuisine: American
- Diet: Vegetarian
Ingredients
- 1 cup (2 sticks) unsalted butter, melted
- 2 cups powdered sugar
- 1 cup creamy peanut butter
- 1 1/2 cups graham cracker crumbs
- 1 cup semi-sweet chocolate chips
- 1/4 cup creamy peanut butter (for topping)
Instructions
- Line an 8×8 inch baking pan with parchment paper, leaving an overhang for easy removal.
- In a medium bowl, combine the melted butter, powdered sugar, 1 cup of peanut butter, and graham cracker crumbs. Mix until fully combined into a thick dough.
- Press this peanut butter mixture firmly and evenly into the bottom of the prepared pan.
- In a separate microwave-safe bowl, combine the chocolate chips and the remaining 1/4 cup of peanut butter. Microwave in 30-second intervals, stirring well after each, until smooth.
- Pour the melted chocolate mixture over the peanut butter base and spread it evenly to cover the entire surface.
- Refrigerate the bars for at least 2 hours, or until the chocolate topping is firm.
- Lift the bars out of the pan using the parchment paper overhang. Cut into squares before serving.
Notes
- For the best texture, use creamy peanut butter, not natural style, in the base layer.
- If you want a fudgier topping, add 1 teaspoon of coconut oil to the chocolate and peanut butter mixture before melting.
- These **Reeses inspired bars** store well in an airtight container in the refrigerator for up to one week.
Nutrition
- Serving Size: 1 square
- Calories: 280
- Sugar: 22
- Sodium: 150
- Fat: 18
- Saturated Fat: 7
- Unsaturated Fat: 11
- Trans Fat: 0
- Carbohydrates: 28
- Fiber: 1
- Protein: 6
- Cholesterol: 20