

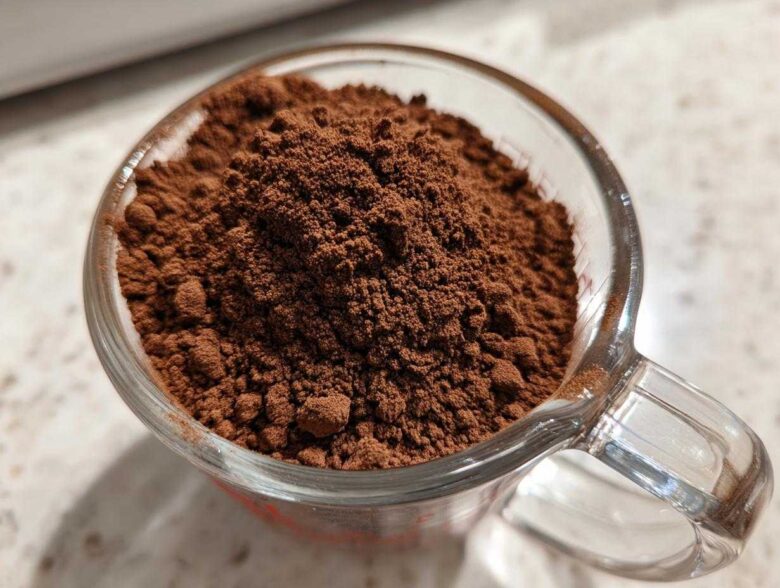
Oh my goodness, is there anything better than that first sip of chocolate when the air outside is crisp and chilly? I absolutely live for settling into my favorite armchair with a steaming mug during those dark winter nights. Forget those dusty, sad little packets you buy at the store—we’re doing this right! I worked hard to perfect the ultimate homemade hot cocoa mix recipe, so you can have that perfect, velvety cup ready in seconds, anytime you want it. This specific recipe makes a massive big batch, which means my pantry is always stocked, and I never run out of my favorite comfort drink. Trust me, once you try this rich powder, you won’t ever go back!
Why This Homemade Hot Cocoa Mix Recipe is a Pantry Staple Drink Mix
Honestly, making your own hot cocoa mix cuts down on waste and saves so much cash in the long run, especially when you’re making a big batch like this one. You control exactly what goes into that mug, and that peace of mind is priceless, isn’t it? It’s so satisfying to know you’re not just adding fillers or artificial flavors.
- You save money using basic items already sitting in your pantry.
- You can instantly adjust the sweetness or chocolate intensity whenever you’re mixing up a cup.
- The quality of the ingredients is always superior to anything pre-packaged.
Plus, it’s one of those magical pantry staple drink mix recipes that comes together in literally five minutes. No cooking required!
Customizing Your Creamy Hot Cocoa Mix
If you want that luxurious, thick texture you usually only get from coffee shop drinks, you have to use the powdered milk. It thickens up the drink beautifully when you add your hot liquid. Don’t stress if you skip it, though, because that just means you’re already making a fantastic dairy-free version! If you skip the milk powder, just use your favorite oat or almond milk when it’s time to serve it up warm. You still get incredible chocolate flavor.
Gathering Ingredients for Your Big Batch Hot Cocoa Mix
Okay, for this recipe, we’re making a heap of the powder—about four cups total, which easily gives us 16 perfect, warm servings when we’re ready for them. Isn’t it wonderful to have so much ready to go?
You’ll need sugar, cocoa powder, salt, and then a couple of fun little optional additions that really elevate the final product. Make sure you grab a big bowl because we’re mixing everything right in there. The simplicity of this is what makes it such a fantastic DIY hot chocolate powder!
Ingredient Notes and Substitutions
When it comes to cocoa powder, you have options! I usually lean toward Dutch-process because it gives you that wonderfully dark, almost black cocoa color and a smoother, less acidic chocolate taste. Natural cocoa powder works fine too, but the flavor might be a tiny bit sharper. If you’re trying to make a hot chocolate mix without powdered milk, just skip that ingredient entirely! Your final drink won’t be quite as thick but it will still be delicious.
Now, about the cornstarch—I throw it in because I love a super thick, almost pudding-like texture when I stir it into the milk. If you prefer a thinner, more traditional hot cocoa, feel free to leave it out. It’s totally up to you how much thickness you want in your final rich chocolate drink powder!
How to Prepare Your Easy Hot Cocoa Mix
Okay, get ready, because this is almost too easy—it’s truly the simplest no cook beverage mix you’ll ever make! Since we aren’t actually cooking anything, all the magic happens right in a bowl with a whisk. First thing’s first: grab all those measured ingredients from the last section and dump them into your biggest mixing bowl. Sugar, cocoa, salt, and those fun optional extras like cinnamon and cornstarch all go in together.
Next, you have to whisk, whisk, whisk! You need to make sure that cocoa powder gets completely incorporated with the sugar so you don’t end up with unsweetened chocolate pockets later. I spend a good minute just aggressively whipping it all around. Then, here’s the secret step for an absolutely perfect single serving later on!
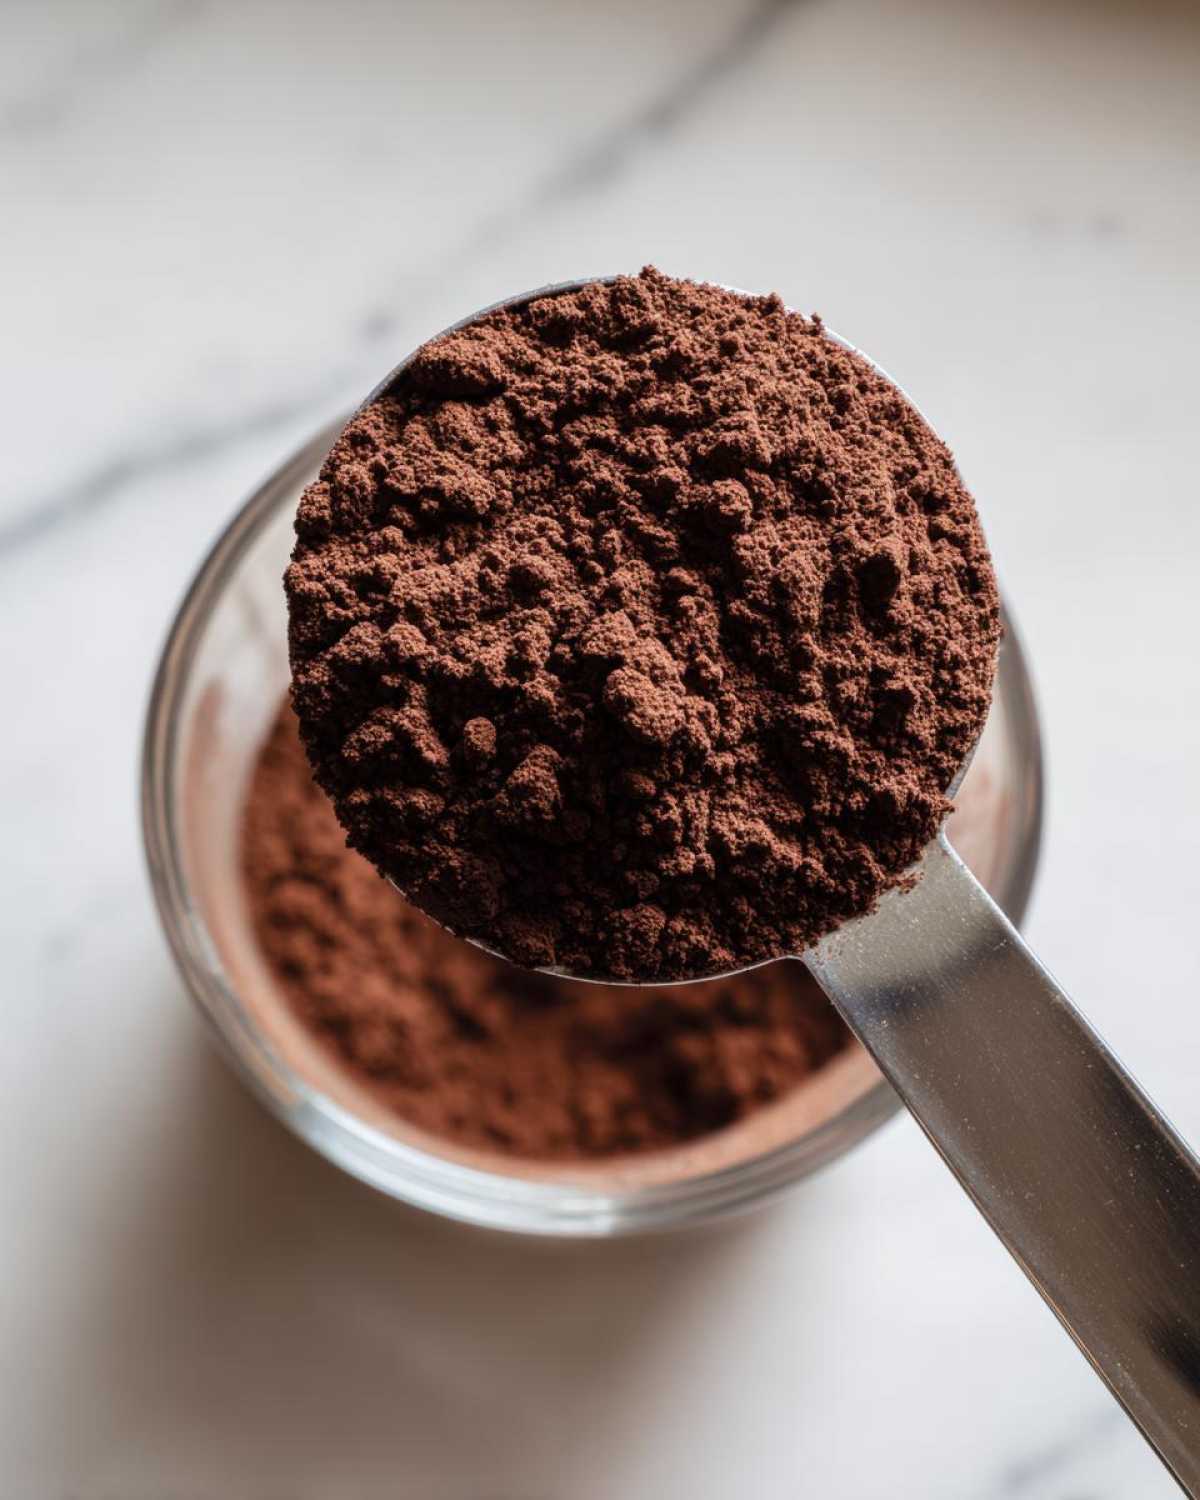
- Measure every dry ingredient—sugar, cocoa, milk powder (if you used it), salt, and any extras—into a big bowl.
- Use a sturdy whisk to mix everything for at least 60 seconds until the mixture looks uniform in color.
- Carefully pour the whole shebang into a food processor or blender.
- Pulse it a few times until it looks unbelievably fine and velvety smooth.
- Scoop that beautiful powder into your airtight jar!
If you’re following my recipe from this link, you’ll see I highly recommend the blending step. Once you transfer it to your storage jar, make sure to label it nicely!
Achieving the Best Texture for Your Cocoa Powder Beverage Mix
Listen, you *can* stop after the initial whisking, and you’ll have a totally good hot cocoa mix. But if you want that *wow* factor—that super smooth dissolve when you stir it into hot milk—you absolutely must use a blender or a food processor. When you pulse the dry ingredients, it breaks down any tiny clumps hiding in the cocoa powder, especially if your sugar tried to cake up on you.
This extra processing step ensures that when you just dump a scoop into your mug, it melts completely into the liquid instead of sitting on the bottom like gritty sludge. It’s the difference between a quick, decent cup and the absolute best cup of hot chocolate you’ve ever made at home. Trust me on the pulsing; it’s worth the extra 30 seconds!
Serving Suggestions for Your Rich Chocolate Drink Powder
Now that you have your gorgeous jar of rich chocolate drink powder sitting on the counter, the absolute best part is making that first perfect cup! Because we made a big batch hot cocoa mix, the serving size is simple to remember. For one satisfying mug, you’re going to need about a quarter cup of the powder. Seriously, that’s it!
You want to gently whisk that quarter cup into about one cup of hot liquid. Now, some folks swear by water—it makes for a lighter, more intense chocolate hit, similar to European drinking chocolate, but I generally prefer milk. Whole milk makes it wonderfully decadent, but if you’re watching dairy intake, oat milk works like a dream and gets super creamy too.
If you’re feeling extra fancy, maybe it’s a holiday evening, try this little trick: use half milk and half heavy cream! Oh my word, it makes the whole thing feel like a dessert. You could also splash just a tiny bit of vanilla extract into the liquid right before you add the mix. It just takes this cocoa powder beverage mix from good to unbelievably spectacular. Enjoy the warmth!
Making the Homemade Hot Cocoa Mix Recipe a Hot Chocolate Gift Idea
This homemade hot cocoa mix recipe is honestly one of the easiest and most loved edible gifts you can prepare. When the holidays roll around, I always try to have a stack of these ready to go because who doesn’t love getting a cozy treat?
The presentation is everything here! Grab some cute mason jars—maybe the pint size or even the smaller jelly jars for single servings. You can either just pour the whole batch right in, or, and this is my favorite trick for a real showstopper, you can layer it.
Layering means you alternate the white sugar, the dark cocoa powder, and maybe a layer of mini-marshmallows if you are making a small batch right before giving it away. It looks stunning! Once it’s layered up, just tie a piece of twine around the lid and attach a nice card with the simple instructions: 1/4 cup mix to 1 cup hot milk. It instantly becomes the coziest winter warmers beverage recipe!
Storage and Reheating Instructions for Your Hot Cocoa Mix
One of the biggest perks of making this giant big batch hot cocoa mix is how long it lasts! Since it’s just dry ingredients, it holds up beautifully as long as you treat it right. The main rule here is keeping the moisture out—it’s the enemy of any good dry mix, especially when sugar is involved.
You have to store it in a completely airtight container. I love using those big glass jars with the clamp-down lids because I can see how much is left, but any good Tupperware container works too, as long as that seal is tight! Keep that jar in a cool, dark spot in your pantry, away from the stove or the dishwasher where random steam might sneak in.
When you store it correctly, this cocoa powder beverage mix seriously lasts for months! I usually slap a label on it with the date I made it, just so I know I’m using the freshest stuff, but honestly, the quality stays almost exactly the same for six months, sometimes longer. If you notice it starting to clump up or smell dusty, that’s your sign to whip up another fresh batch. But if you followed the steps, especially the part about pulsing it in the food processor, it should stay powdery and ready to go for ages.
When it comes time to reheat your drink—and this is important—don’t use boiling water or milk right off the boil. The best result comes from using liquid that is very hot but not actually steaming its top off. Just heat your milk on the stove until you see tiny bubbles forming around the edges, or use the microwave for about 90 seconds. That gentle heat helps the mix dissolve perfectly without scorching the flavor. If you have any questions about using the recipe, check out my general disclaimer page!
Tips for Success with This DIY Hot Chocolate Powder
Even though this is basically just mixing stuff together, there are a few little tricks I’ve learned over the years to make sure every single serving of this DIY hot chocolate powder is absolutely top-notch. These tips are how I get that perfect, almost professional taste every single time.
First, let’s talk about salt—I know, salt in chocolate sounds weird, right? But you absolutely have to use the fine salt I mentioned. Salt doesn’t really make the cocoa taste salty; what it does is wake up the chocolate flavor! If you skip it, the whole drink tastes flat. I always say, that tiny bit of salt is the exclamation point on your sweet drink, so don’t you dare leave it out!
Second, if you live somewhere humid, I have a little preventative measure for you. Even in an airtight jar, sugar loves to try and clump up over time. If you notice things getting a little sticky after a few months, try incorporating just one tiny teaspoon of flour or powdered dry creamer into the mix when you jar it up. They act like little drying agents to keep the sugar loose. It won’t affect the taste when you mix it; it just keeps the powder flowing better!
Third, let’s revisit the liquid temperature. I mentioned this briefly before, but it’s worth repeating because it totally affects the final texture. When you’re making your individual serving, don’t pour the boiling hot liquid directly over the powder in the mug. That steam can cook the cocoa a tiny bit and sometimes leave a chalky film. Instead, heat your milk or water just until it’s steaming nicely, remove it from the heat, let it sit for 30 seconds, and *then* whisk in your 1/4 cup of mix. It dissolves so much smoother that way, guaranteeing that creamy hot cocoa mix experience we are aiming for!
Frequently Asked Questions About Making Hot Cocoa Mix
I know you guys have questions! When I first started fiddling around with making my own hot cocoa mix, I had a million concerns about texture and storage. It helps to get these little things ironed out so you can just relax and enjoy your delicious winter warmers beverage recipe!
Can I make this hot chocolate mix without powdered milk?
Absolutely, you can! That’s one of the best parts of making it yourself. The powdered milk is really just there to build up that rich, creamy mouthfeel, especially if you plan on just adding hot water sometimes. If you skip it, you’ve made a fantastic base for a more traditional, purely chocolate-flavored drink. Just know that when you mix it with water, it’ll be a little thinner than if you used the milk powder. If you use regular milk when you prepare the drink, you’ll still get a great result, even without the powdered version in the mix itself!
How long does this homemade hot cocoa mix last?
As long as you keep it super dry and sealed up tight in an airtight container—and I mean *tight*—this homemade mix lasts for ages! Because it’s all dry ingredients, we’re really just protecting it from humidity. I generally find that if I keep it tucked away in a cool pantry, it tastes perfect for a solid six months. If you notice it starts looking chunky or developing any hard spots, that’s your cue to stir it up really well or plan on making a fresh batch. But seriously, most of mine disappears far sooner than six months!
Nutritional Estimate for Your Winter Warmers Beverage Recipe
So you want to know what’s actually in this gorgeous jar of coziness? I totally get it! While this is certainly not meant to be a strictly healthy snack—hello, sugar and chocolate!—it’s good to have a general idea of what you’re sipping on when you make your individual cup. The numbers below are just what I calculated based on the standard yield for this winter warmers beverage recipe.
These figures are based on using 1/4 cup of the dry mix combined with one cup of water, by the way. If you decide to add powdered milk or use regular whole milk when you prepare your drink, those numbers are going to shift quite a bit, especially the fat and calorie counts!
- Serving Size: 1/4 cup dry mix
- Calories: 180
- Sugar: 30g
- Sodium: 90mg
- Fat: 1g
- Protein: 2g
Because we use standard white sugar and cocoa powder in my base recipe, the nutritional breakdown is pretty straightforward, as you can see! I always like to remind everyone who visits my little corner of the internet that these are estimates. The type of sugar you choose, whether you use Dutch cocoa, or if you swap out ingredients will change the final counts!
For example, if you use high-quality Dutch-process cocoa, it might change the sugar absorption slightly. If you end up using some fancy low-carb sweetener instead of granulated sugar, well, then we are in a totally different ballgame! The main thing is that you’re enjoying a treat that’s made with love and zero mysterious additives. Drink up!
PrintUltimate Homemade Hot Cocoa Mix
Make a large batch of rich, creamy hot cocoa mix powder that you can store and use anytime you want a warm drink.
- Prep Time: 5 min
- Cook Time: 0 min
- Total Time: 5 min
- Yield: About 4 cups of mix (approximately 16 servings)
- Category: Beverage
- Method: Mixing
- Cuisine: American
- Diet: Vegetarian
Ingredients
- 2 cups granulated sugar
- 1 cup unsweetened cocoa powder (natural or Dutch-process)
- 1 cup powdered milk (optional, for extra creaminess)
- 1 teaspoon fine salt
- 1 teaspoon cornstarch (optional, for thickness)
- 1/2 teaspoon ground cinnamon (optional)
Instructions
- Measure the granulated sugar, cocoa powder, powdered milk (if using), salt, cornstarch (if using), and cinnamon (if using) into a large bowl.
- Whisk the dry ingredients together thoroughly until everything is evenly combined and there are no lumps.
- If you want the smoothest possible mix, transfer the mixture to a food processor or blender and pulse several times until the texture is very fine.
- Transfer the finished hot cocoa mix to an airtight container for storage.
- To prepare one serving, mix 1/4 cup of the dry mix with 1 cup of hot milk or water. Stir until dissolved and serve immediately.
Notes
- For a dairy-free mix, omit the powdered milk and use your preferred non-dairy milk when preparing the drink.
- To make this mix suitable for gifting, layer the ingredients in a decorative jar and attach a tag with the serving instructions.
- If you prefer a richer chocolate flavor, use Dutch-process cocoa powder.
Nutrition
- Serving Size: 1/4 cup dry mix
- Calories: 180
- Sugar: 30
- Sodium: 90
- Fat: 1
- Saturated Fat: 1
- Unsaturated Fat: 0
- Trans Fat: 0
- Carbohydrates: 38
- Fiber: 2
- Protein: 2
- Cholesterol: 0