

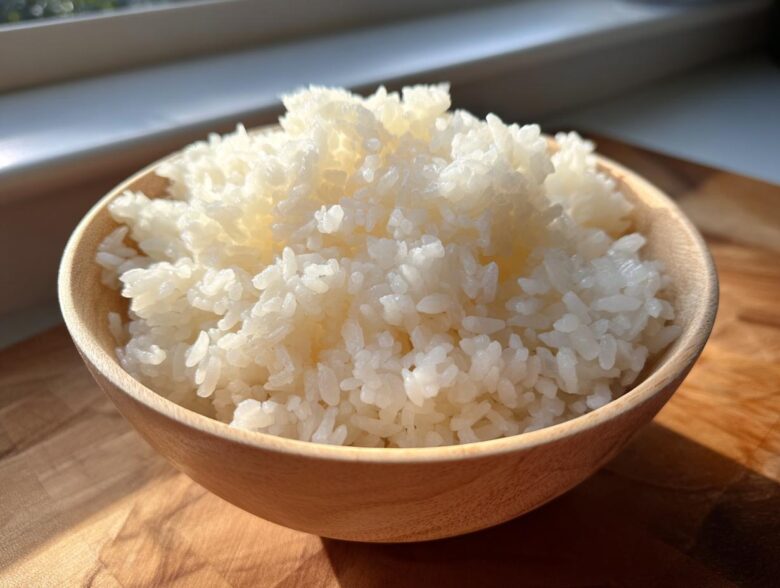
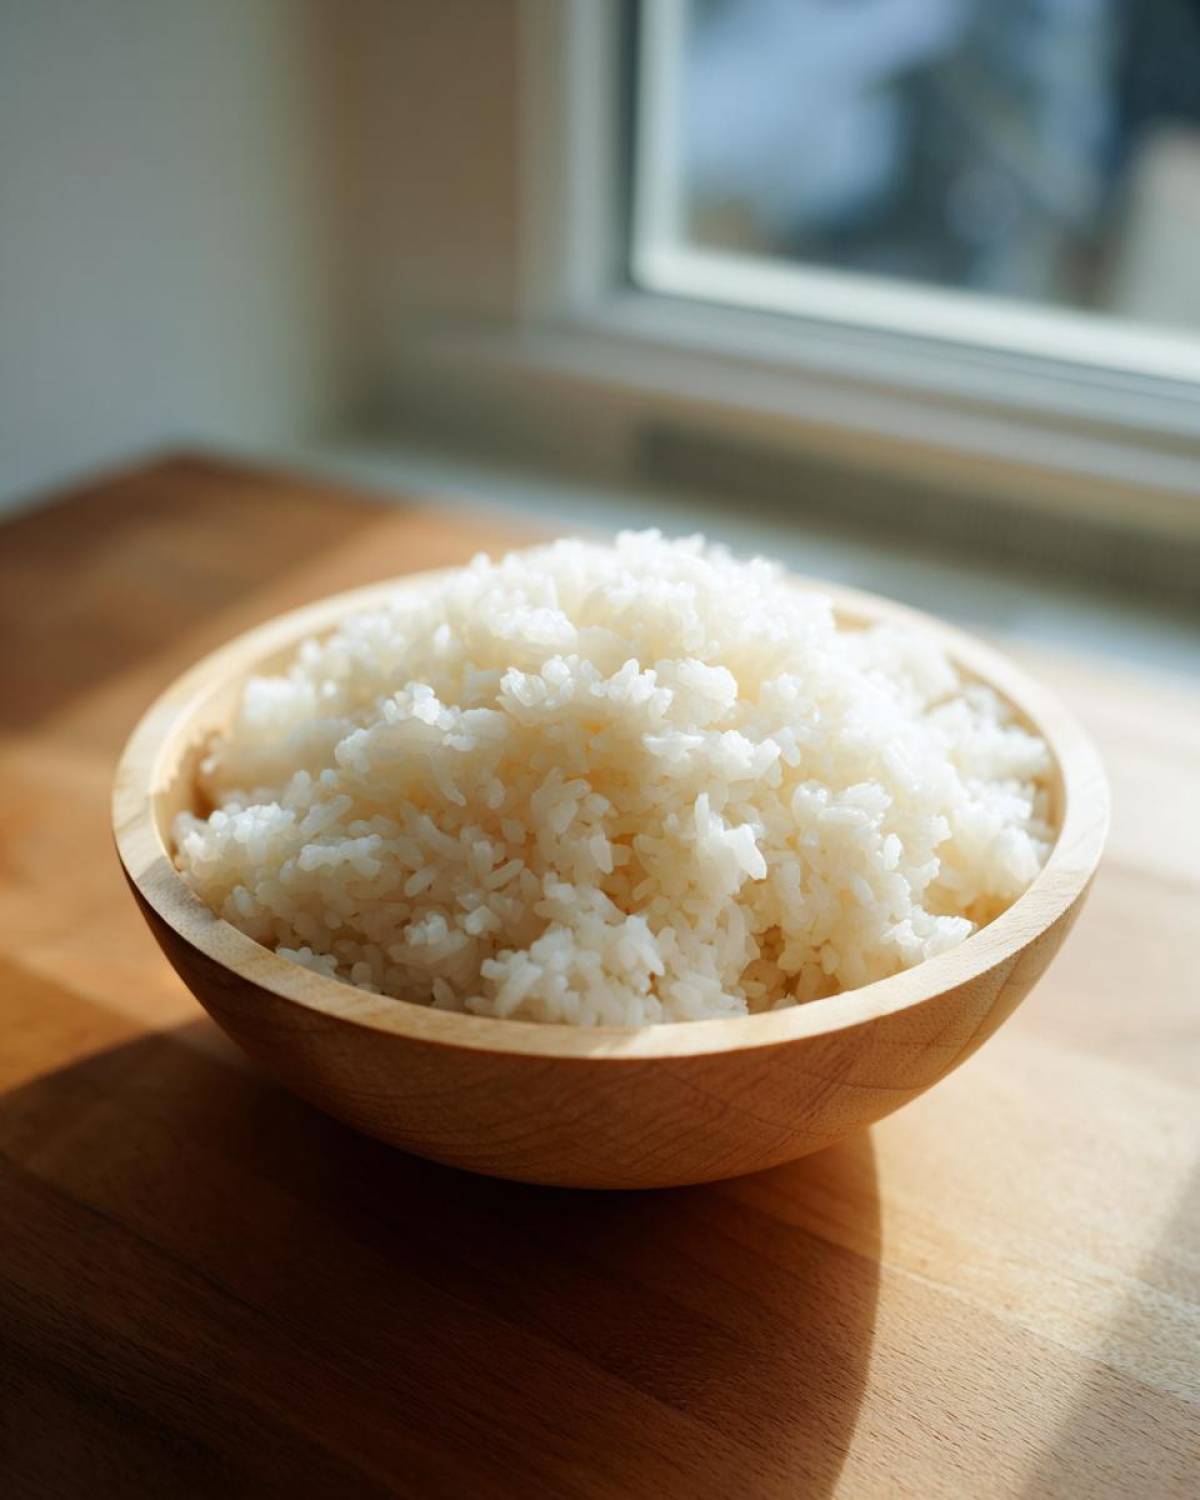
Forget ordering out! I promise you, once you taste homemade rice that’s sticky, perfectly seasoned, and beautifully fluffy, you’ll never look back. I spent years trying to nail that restaurant-quality texture—it was messy, sometimes frustrating, but totally worth it. This guide breaks down exactly how to make perfect sushi rice, whether you lean on your trusty rice cooker or prefer the old-fashioned stovetop method. After countless batches, I’ve finally settled on the absolute best approach.
If you’re curious about how we create all these amazing recipes in the first place, you can find out more about our approach over at our kitchen philosophy. Trust me, mastering the rice is the secret weapon for fantastic rolls and bowls!
Why This is the Foolproof Sushi Rice Recipe You Need
I get it—making sushi rice sounds intimidating. But this recipe is truly my secret weapon for making restaurant-style results at home, making it the most easy sushi rice recipe you’ll ever try! We are cutting out all the guesswork so you can focus on rolling.
- You’ll get that perfect consistency needed for how to make sticky rice that holds together without turning into glue.
- It works every time, whether you’re making maki rolls or just serving it over poke.
- The seasoning mixture is perfectly balanced—sweet, salty, and tangy, just right.
Achieving Restaurant Style Sushi Rice Texture
The texture is everything here, right? We want those grains to be distinct but still cling together beautifully. That comes down to two non-negotiables: rinsing out every bit of surface starch, and then fanning the rice while seasoning it. This quick cooling locks in that glossy, slightly firm texture that keeps your rice from getting mushy—it’s the absolute key!
Selecting the Best Short Grain Rice for Your Sushi Rice
Okay, listen up, this is my biggest piece of advice when starting out: you simply have to use the right rice! Don’t even try to substitute long-grain or basmati here—it’s just not going to work the way you want it to for making authentic sushi rice. We need that high starch content that short-grain Japanese rice offers.
That starch is what creates the slight stickiness when cooked, which is essential for holding rolls together. If you use the wrong grain, you end up with hard, separate kernels that fall apart immediately. For this recipe, I stick to exactly 2 cups of uncooked rice quantity for sushi—it cooks up perfectly for about four moderate servings.
When you see bags labeled ‘sushi rice’ or ‘Koshihikari,’ grab those. They’ve done the hard part for you by selecting the perfect variety. Trust me, swapping out the rice is one area where you just can’t cut corners if you want authentic results!
The Essential Steps for Making Authentic Sushi Rice From Scratch
Alright, now that we have the right grain, let’s talk process. Making incredible sushi rice isn’t about one big secret; it’s about following a few precise stages perfectly. We need to handle the washing, the cooking, the seasoning, and finally, what I call the ‘cutting and cooling’ phase. Stick to these steps, and you’re halfway to rolling like a pro. This is the foundation of everything you’ll make.
Mastering How to Rinse Sushi Rice Properly
Before the rice even sees water, I want you to think of it like this: we are washing off all the sticky dust that makes raw rice gummy. This step is non-negotiable if you want that gorgeous texture. You’ll place your measured rice in a big bowl, cover it with cold water, and gently swish it around with your hand. Don’t crush the grains, just encourage that surface starch to release!
Pour off the cloudy water—it will look like milky tea! Then, repeat. I always do this five, sometimes seven times, until the water looks almost completely clear after draining. I’ve learned that if I can still see a slight tint after the fourth rinse, I keep going. This crucial step is the single biggest differentiator between soft, mushy rice and the firm, clean grains you need.
Cooking Methods: Stovetop Sushi Rice Method vs. Rice Cooker
You have two great options here, and both work wonderfully if you follow the rules! If you’re using a machine, just pop your rinsed rice and the exact amount of cold water into the pot and hit the standard white rice setting. The machine handles the gentle heat curve for you, which is super convenient.
Now, for the stovetop sushi rice method, we need a heavy pot with a lid that seals tight. Bring the water and rice up to a boil over medium-high heat, but the second it starts that serious bubbling, drop the heat down to the absolute lowest setting you can manage. Cover it up and let it steam gently for exactly 15 minutes. The iron rule here? Do NOT lift that lid during those 15 minutes! Then, after the cooking period, you let it rest, lid still on, for another 10 minutes to steam everything through. Patience pays off!
Perfecting the Sushi Rice Vinegar Mixture for Ideal Seasoning Sushi Rice
This is where the magic happens, folks! If you don’t get the seasoning right, you’ve just got plain sticky rice, not glorious sushi rice. We need the perfect balance of rice vinegar, white sugar, and salt to create that signature flavor that makes homemade rolls pop. Remember, the ratio is crucial: about half a cup of vinegar to three tablespoons of sugar and one teaspoon of salt.
You have to gently warm this mixture in a little saucepan until the sugar and salt completely dissolve. I mean gently! Don’t let it boil or you’ll cook off the vinegar flavor, and trust me, boiling the seasoning is a rookie mistake I only made once. Once everything dissolves, take it off the heat right away so it can start to cool down before we toss it with the hot rice.
The Critical Cooling and Cutting Technique
Hot rice needs to meet warm seasoning, but you absolutely need a non-metallic bowl for this part—wood or glass is perfect because metal can sometimes react weirdly with the vinegar. You’ll transfer all your lovely fluffy rice into that bowl.
Now, pour that vinegar mixture evenly over the top. This is where you must be gentle! Grab your paddle and start using slicing motions, almost like you are chopping the rice delicately in sections. At the same time, wave a hand fan or even a piece of cardboard over the rice. This combo cools the grains down fast and lets the seasoning soak in without crushing the grains. Mashing is the enemy of good texture; we are trying to encourage the grains to shine, not compact them into a lump!
Keep cutting and fanning until the rice feels like it’s cooled down to room temperature. It should look glossy and stick together when you press it, but you should also be able to feel individual grains. These are the best sushi rice tips and tricks to guarantee perfection. If you want to read our legal stuff for some reason, you can check out the disclaimer here.
Essential Equipment for Homemade Sushi Essential Preparation
You don’t need a thousand fancy gadgets to make amazing rice, but you do need the right tools for the job. I keep this list short because most of the work is technique, not equipment!
First up, grab a fine-mesh sieve. This is your best friend for getting all that rinse water out efficiently. Next, you absolutely must have a large, non-metallic bowl—wood or thick glass is what I use. That’s important because if you use a regular metal bowl, the vinegar in the seasoning can actually react with the metal, giving your beautiful rice a slightly off taste.
Finally, you need a rice paddle or a wide wooden spoon for gently cutting the rice while seasoning. Please, please don’t use a metal spoon for mixing the seasoning in; you’ll only mash the grains and ruin that lovely texture we worked so hard for!
Expert Sushi Rice Tips and Tricks for Success
Even when you follow the steps perfectly, a few extra tricks can elevate your rice from great to genuinely spectacular. These are the little things that make a huge difference when you are trying to replicate that restaurant feel at home!
- Seriously, don’t skip that 10-minute rest period after the cooking is finished, regardless of whether you used the stovetop or the cooker. That steam rebalances the moisture in every single grain.
- The best results happen when you assemble your rolls or bowls right away while the rice is still slightly warm. It’s the easiest time to shape it.
- If you *must* store any leftover rice, keep it in an airtight container at room temperature for up to 4 hours. Reheating it later is tricky; I never try to reheat it in the microwave because it dries it out entirely. Steaming is the way to bring it back if you need to.
Storage and Reheating Instructions for Leftover Sushi Rice
Okay, so you made too much beautiful rice—which is a good problem to have! My biggest rule for leftovers is that you should use it as soon as possible; it’s happiest the day it’s made. If you must store it, seal the rice tightly in an airtight container, but whatever you do, keep it right there on the counter at room temperature for up to about four hours.
Do *not* put it in the fridge! When you chill this kind of seasoned rice, the texture goes completely downhill, turning hard and chalky almost instantly. If you absolutely have to save it for the next day, I would try steaming it very lightly just to soften it up before trying to use it in a bowl. Seriously, avoid the microwave entirely for reheating; it just zaps all the moisture out and you end up with sad, dry pellets instead of our perfect rice.
Frequently Asked Questions About Preparing Sushi Rice
I know you might still have a few lingering doubts—the process seems fussy, but I promise it gets so much easier after the first time! Here are the questions I get asked most often about achieving that perfect fluffy white rice recipe texture at home.
Can I use long-grain white rice instead of Japanese short-grain rice?
Oh, I really wouldn’t recommend it if you’re aiming for authentic texture. Long-grain rice like Basmati or Jasmine doesn’t have the high starch content needed to get that signature stickiness. You’ll end up with rice that tastes fine, but it won’t hold together well for rolls, making it a terrible rice for maki rolls.
How long does the prepared sushi rice vinegar mixture last?
The seasoning mixture itself is pretty shelf-stable because it’s mostly vinegar and sugar. You can keep any extra mixture in an airtight jar in the fridge for up to two weeks! Just let it come back toward room temperature before you pour it over your next batch of hot rice. It’s a wonderful convenience!
What if my rice is sticking too much to the paddle during mixing?
That usually means you need to fan it harder or faster! If it’s really struggling, slightly wet your rice paddle with water (don’t soak it, just quick dip and shake off excess). This small bit of moisture helps prevent the sticky grains from grabbing onto the paddle, keeping your slicing motions clean and effective.
What is the best way to use this **sushi rice bowl base**?
This rice is fantastic as a sushi rice bowl base! The best part is, everything tastes better when the rice is served warm or, ideally, at room temperature. Don’t layer your toppings on straight away if the rice is piping hot; give it about 15 minutes to cool down first so the ingredients don’t wilt or steam.
If you’ve got any other lingering questions about the process or need to get in touch with us for any reason, our contact page has all the details at our contact page.
Understanding the Estimated Nutrition for This Fluffy White Rice Recipe
Even though this is purely delicious comfort food, I know some of you like to keep track of what you’re eating! Here are the rough estimates based on the ingredients in this specific recipe for sushi rice. Remember, this is just an approximation based on standard calculations, so don’t stress too much about these numbers—just enjoy the amazing flavor!
- Serving Size: 1 cup cooked
- Calories: About 205
- Carbohydrates: 45g
- Protein: 4g
- Fat: Less than 1g
- Sodium: Around 180mg
If you want to read up on how we handle information and why we provide these figures, you can check over our privacy policy. Honestly, the best part about this fluffy white rice recipe is how satisfying it is without being too heavy!
PrintThe Ultimate Guide to Perfect Sushi Rice: Stovetop and Rice Cooker Methods
Follow these steps to prepare authentic, sticky, and fluffy sushi rice at home using either a stovetop or a rice cooker.
- Prep Time: 15 min
- Cook Time: 25 min
- Total Time: 50 min
- Yield: 4 servings
- Category: Side Dish
- Method: Stovetop or Rice Cooker
- Cuisine: Japanese
- Diet: Vegetarian
Ingredients
- 2 cups short-grain Japanese rice (sushi rice)
- 2 cups cold water (for cooking)
- 1/2 cup rice vinegar
- 3 tablespoons white sugar
- 1 teaspoon salt
Instructions
- Measure the rice and place it in a large bowl. Add cold water and gently swirl the rice with your hand. Drain the cloudy water. Repeat this rinsing process 5 to 7 times until the water runs mostly clear. This step is crucial for texture.
- Drain the rinsed rice completely using a fine-mesh sieve. Let it sit for 30 minutes to allow excess water to evaporate slightly.
- **Rice Cooker Method:** Transfer the drained rice and 2 cups of cold water to the rice cooker pot. Cook using the standard white rice setting.
- **Stovetop Method:** Transfer the drained rice and 2 cups of cold water to a heavy-bottomed pot with a tight-fitting lid. Bring the water to a boil over medium-high heat. Once boiling, immediately reduce the heat to the lowest setting and cover. Cook undisturbed for 15 minutes.
- After 15 minutes (stovetop) or when the cooker finishes (rice cooker), let the rice steam, covered, for an additional 10 minutes. Do not lift the lid during this time.
- While the rice steams, prepare the seasoning mixture. In a small saucepan, combine the rice vinegar, sugar, and salt. Heat gently over low heat, stirring until the sugar and salt fully dissolve. Do not boil the mixture. Remove from heat and let it cool slightly.
- Transfer the hot, cooked rice to a large, non-metallic bowl (wood or glass is best).
- Pour the seasoning mixture evenly over the rice.
- Using a rice paddle or wooden spoon, cut into the rice gently with slicing motions while fanning the rice simultaneously. Do not stir or mash the grains. The goal is to cool the rice quickly and coat every grain with the seasoning.
- Continue cutting and fanning until the rice reaches room temperature. The rice should be glossy, sticky, and slightly firm.
- Use immediately for sushi rolls, nigiri, or as a base for rice bowls.
Notes
- Using a non-metallic bowl prevents the vinegar from reacting with metal.
- Fanning the rice while seasoning helps the grains dry slightly, achieving the correct texture.
- For best results, use freshly cooked rice within a few hours.
Nutrition
- Serving Size: 1 cup cooked
- Calories: 205
- Sugar: 10
- Sodium: 180
- Fat: 0.3
- Saturated Fat: 0.1
- Unsaturated Fat: 0.2
- Trans Fat: 0
- Carbohydrates: 45
- Fiber: 0.5
- Protein: 4
- Cholesterol: 0