

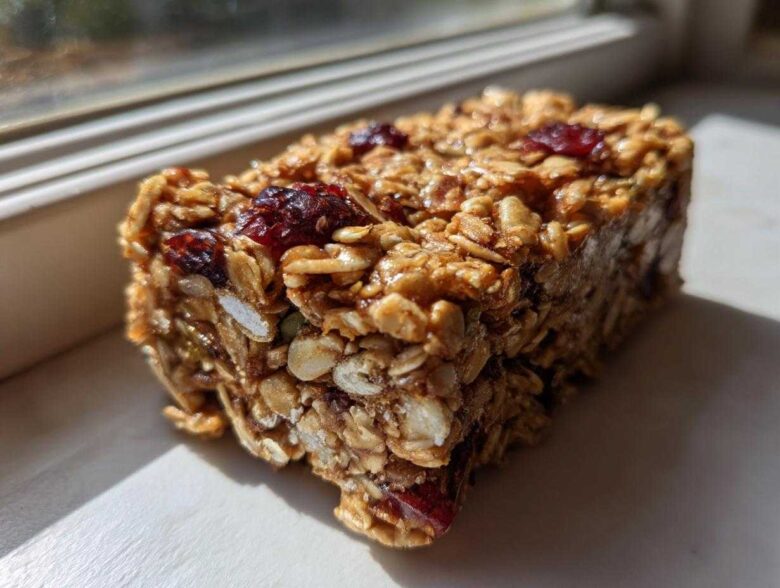
You know those days? Where you open the pantry at 3 PM completely desperate for something that tastes good but won’t derail your entire week? Store-bought bars are fine, I guess, but they always have that weird, waxy texture, right? Well, toss that idea out! I spent forever trying to nail the perfect **no bake granola bars**—something totally homemade, packed with good stuff, and amazingly chewy.
I finally cracked the code last month when I totally forgot to thaw out the frozen muffins before my Saturday morning hike. Uh oh! I needed something fast, reliable, and genuinely tasty. These ultimate 15-minute no bake granola bars saved the day. Seriously, you don’t even have to preheat the oven. It’s magic, and they are the chewiest breakfast bars I have ever made!
Why These Are The Best No Bake Granola Bars For Meal Prep Snacks
Listen, the number one reason this recipe is my go-to is simple: zero contact with the oven. That means less heat in the kitchen, way less mess, and the absolute fastest route to snack town. Because we aren’t baking these, we lock in moisture perfectly, giving you the dreamiest, softest **chewy granola bars** imaginable. Baked bars often dry out a bit, but these stay wonderfully pliable.
I always make a huge batch on Sunday, and they are the absolute life-savers for my weekly **meal prep snacks**. They’re sturdy enough to toss in kids’ lunchboxes or grab on my way out the door. You can trust these completely—they always hold together beautifully!
Quick Grab and Go Snacks Ready Fast
The active mixing time here is literally 15 minutes. Seriously! It flies by. You melt the binder, dump everything in, mix, and press. That rapid assembly is why these count as my favorite **quick grab and go snacks**. You spend minimal time cooking and maximum time enjoying them while you’re out tackling your day. Check out my latest baking adventures for more sanity-saving tips!
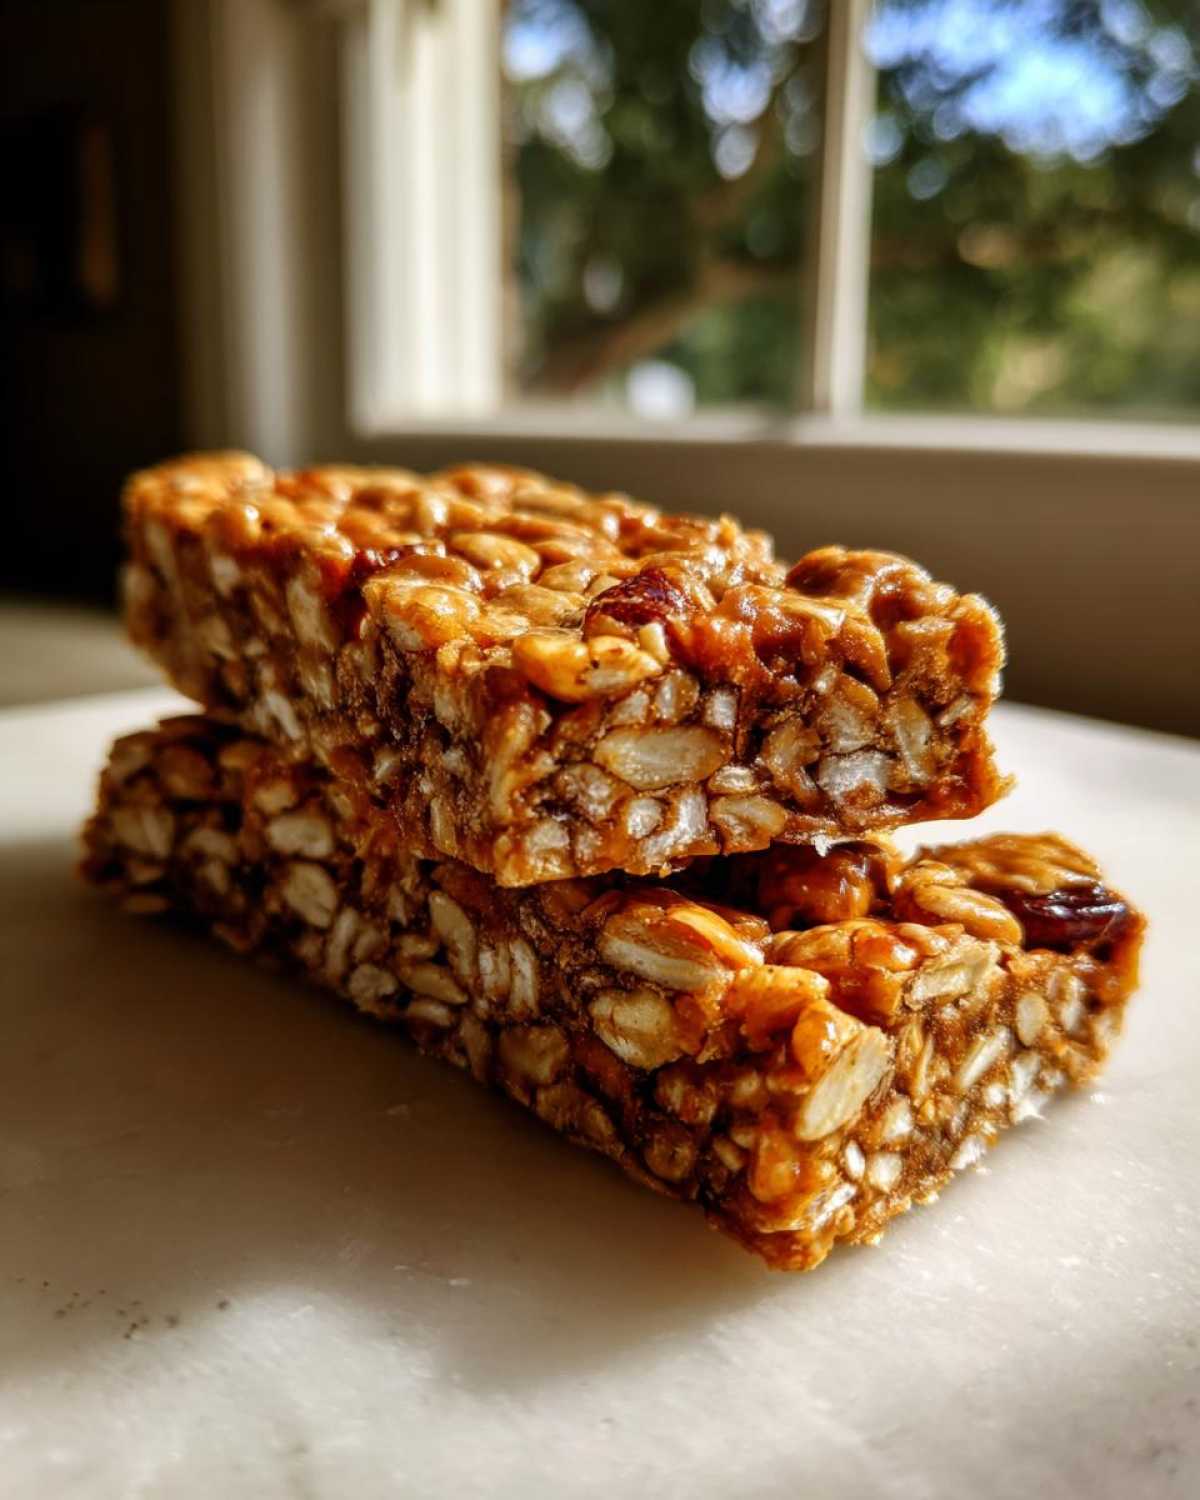
Gathering Ingredients For Your No Bake Granola Bars
Before we get messy, we need to make sure everything is ready to go. This is where that 15-minute active time comes from—gathering your goodies ahead of time makes the whole process smooth sailing. Trust me, when you’re making **nut butter bars** like this, having your oats measured and your honey handy prevents sticky guesswork.
These ingredients are simple pantry staples, so you might already have everything! I’ve found that using quality oats and sticky binders makes all the difference for that perfect texture. If you’re looking for similar quick fixes, you have to check out my recipe for other no-bake protein bars—they use just a few swaps!
Essential Components for Chewy No Bake Granola Bars
- 2 cups rolled oats
- 1 cup crispy rice cereal
- 1/2 cup peanut butter (or other nut butter)
- 1/2 cup honey or maple syrup
- 1/4 cup ground flaxseed
- 1 teaspoon vanilla extract
- 1/2 cup mix-ins (e.g., dried fruit, mini chocolate chips, chopped nuts)
- 1/4 teaspoon salt
Step-by-Step Instructions for Perfect No Bake Granola Bars
Okay, this is the fun part where everything comes together super fast! Remember how I said this relies on zero heat? That’s our secret weapon for texture. We’re relying totally on the creamy binder to hold everything captive until it chills solid. Just move quickly once you start mixing, because once that honey hits the room temperature oats, things start setting up fast!
Preparing the Pan and Binders for Your No Bake Granola Bars
First things first: grab that 8×8 pan and line it completely with parchment paper. Make sure you leave a big overhang on the sides—this is crucial for lifting the whole slab out later, promise! Next, we tackle the sticky stuff. Combine your peanut butter and honey (or maple syrup) in a large microwave-safe bowl. Zip it into the microwave for just 30 to 45 seconds. It should be warm and super runny, good enough to pour! Carefully stir in your vanilla extract and that little bit of salt until it’s all blended.
Mixing and Pressing the No Bake Granola Bars
Now add all your dry ingredients—the oats, the cereal, and the flaxseed—right into that warm, glorious liquid. Mix it really well! You want every single oat coated; don’t leave any dry pockets hiding at the bottom. Fold in any fun additions, like those chocolate chips or dried cherries. Then comes the most important physical step: Transfer the whole sticky mess into your prepared pan. Use the back of a sturdy spatula or just press down really hard with another piece of parchment paper on top. You absolutely have to compact this tightly to ensure these **homemade granola bars** actually stay together when you cut them. Pack it in!
Chilling and Cutting the Final No Bake Granola Bars
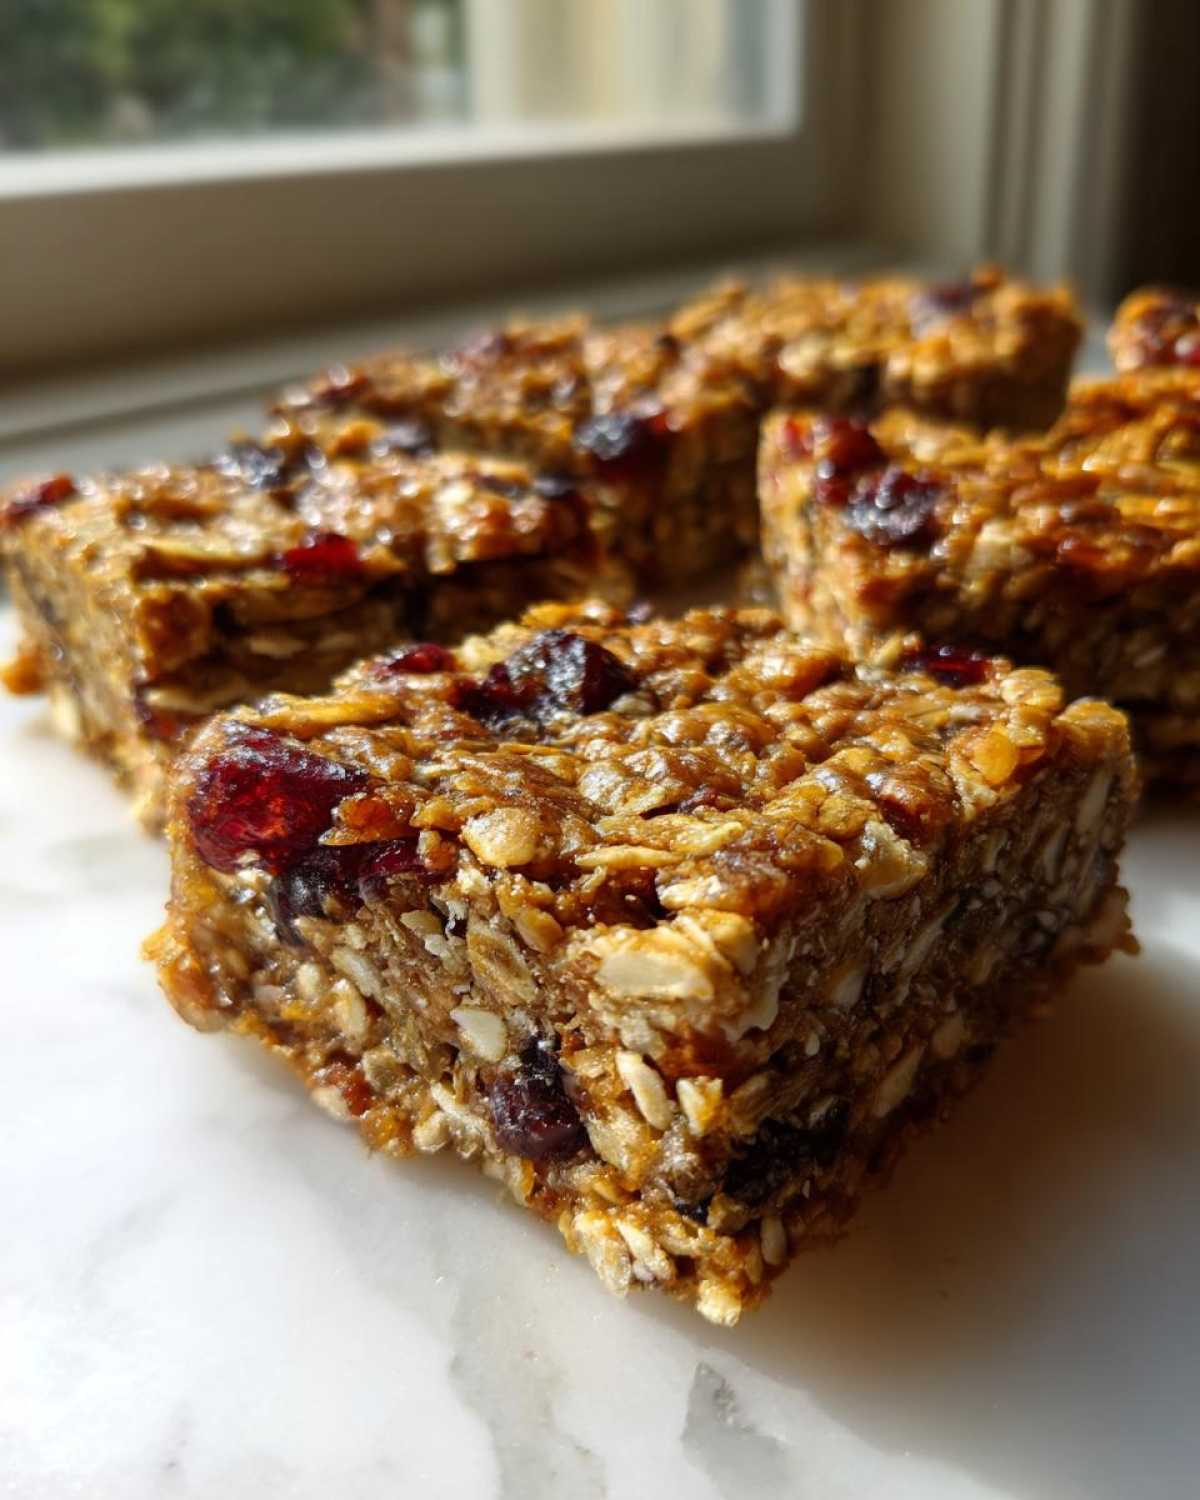
Once it’s pressed down like a dense brick, put the whole pan into the refrigerator. You must let these chill for a minimum of 2 hours—trust me, trying to cut them early is a disaster! They need that time to firm up completely. When they are rock solid, use those convenient parchment paper handles to lift the entire block out onto a cutting board. Then, just slice them into 12 neat bars. If you ever need a recipe for super fast fudge, check out my easy chocolate fudge—it uses a similar melting technique!
Ingredient Notes and Substitutions for Your No Bake Granola Bars
I always get questions after people try making these because they want to tinker, and that’s totally fine! These **no bake bars** are super flexible, which is part of why they are such a winner. But knowing how to swap things out without turning your snack into a crumbly mess is important. We want that perfect chewiness to hold!
If you’re stocking your pantry, remember that the binders—the nut butter and honey—do most of the heavy lifting here to keep everything stuck together. You can find tons of other simple options in my guide to simple pantry recipes, too!
Making Nut-Free No Bake Granola Bars
This is a big one for school lunches! If you’re dealing with nut allergies, swapping out the peanut butter is really easy. Just use sunflower seed butter or even tahini, depending on what you have. You might need to adjust the liquid slightly because different butters can be runnier, but generally, they substitute cup-for-cup with great results. This keeps them safe as wonderful **kid friendly snacks**.
Variations for Chocolate Chip Granola Bars No Bake
Oh, I love when people lean into the indulgent side of these! If you’re making **chocolate chip granola bars no bake**, just swap out whatever fruit or nuts you were planning to use for a full cup of mini chocolate chips, or even broken-up chocolate chunks. Just remember to mix them in gently at the very end with the rest of your dry ingredients so they don’t melt too much when you stir!
Tips for Success with Homemade Granola Bars
Even though these are super easy, there’s one thing people always mess up, and it drives me crazy because it ruins the whole batch: crumbling! If you want these **best homemade granola bars** to stay perfectly square and chewy, you need to respect the binder and your muscle power. Don’t skip these details, okay?
My biggest expert tip revolves around that binder mixture you warm up. If it’s too cold when you mix it with the dry oats, the honey or syrup won’t coat everything evenly. Those dry oat pockets are what cause your bars to fracture later! Make absolutely sure that mix is warm enough to be thin and runny after microwaving. Remember, we are aiming for that perfect, sticky coating on every single oat.
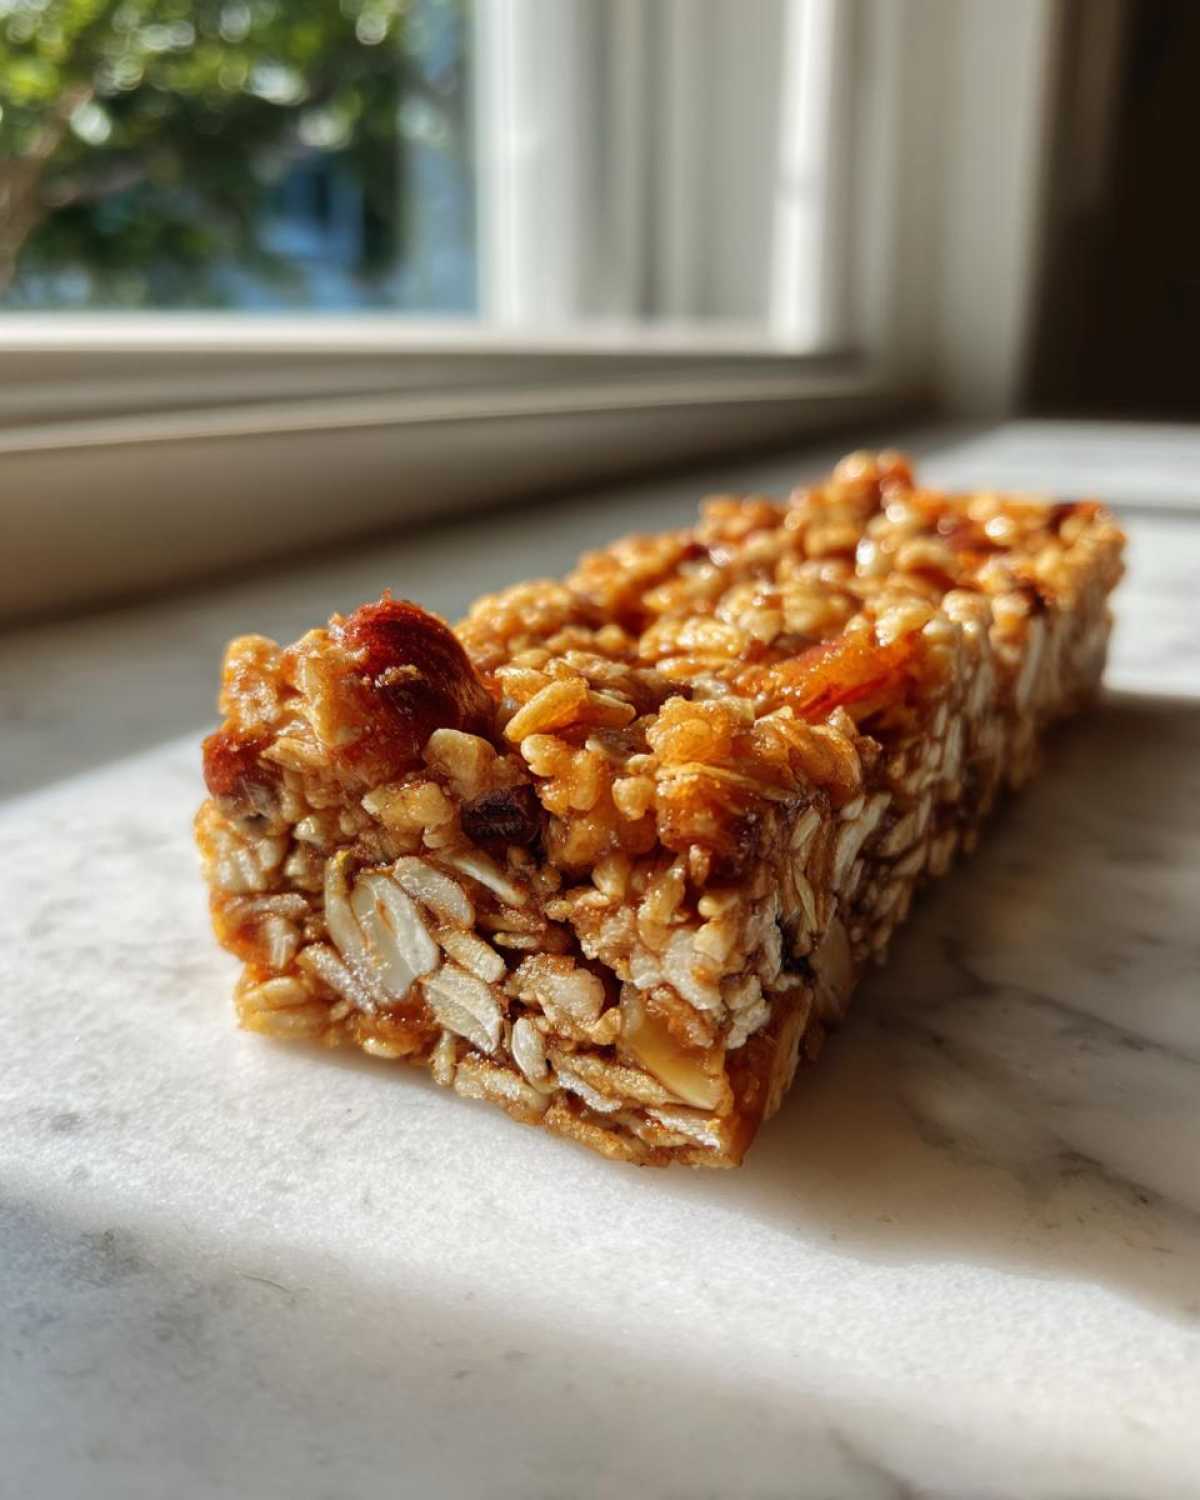
The second non-negotiable is compaction. When you press the mixture into that parchment-lined pan? You need to put your back into it! Don’t just gently spread it around. Get a solid spatula and physically push the mixture down, evening out any high spots. I even use the bottom of a measuring cup to press down hard in the corners and edges. Think of it like laying brickwork—you need density for a strong wall (or, in this case, a strong bar that doesn’t break apart when you grab it!). For more advanced structuring advice, I cover exactly how I handle pressure in my guide on the best homemade granola bars.
Storage and Reheating Instructions for No Bake Granola Bars
This is the part that makes these perfect for planning ahead! Because we skipped the oven, these **no bake granola bars** are technically considered one of my favorite **refrigerator snacks**. They rely on that chilling time to set hard, and honesty, they stay much better and chewier when they stay cool.
You need to store any leftovers in a completely airtight container. I usually just use glass containers with tight-fitting lids, but a good zip-top bag works too, as long as you press most of the air out before sealing it up. Keep the container right in the fridge. They last wonderfully for about a week—sometimes even ten days if you don’t sneak too many!
The best part? There’s zero reheating needed! You just grab one straight from the fridge, and bam, instant, perfectly firm **energy bars homemade**. If you happen to take them out when it’s super hot, just let them sit on the counter for five minutes before diving in, especially if you used chocolate chips, otherwise, they might be a little tough right out of the cold. For more tips on how to keep produce and other quick recipes fresh, take a peek at how I manage my refrigerator snacks!
Serving Suggestions for These Easy Snack Recipes
Now that you have a massive batch of perfect, chewy **no bake granola bars**, what do you eat them with? Honestly, they are fantastic all by themselves, especially if you’re running out the door, but sometimes it’s nice to pair them up! They work beautifully as part of a larger spread or an add-on to a lighter meal.
When I pack these for the kids, I try to balance out the sweetness with something fresh. These bars are totally fantastic as part of a balanced plate and easily fit into my rotation of **easy snack recipes** because they require zero extra cooking time.
For work lunches, I sometimes break a bar in half and pack it alongside some cottage cheese or Greek yogurt. The creaminess contrasts so nicely with the oats and the little bits of crunch you get from the rice cereal or seeds. It turns a simple snack into a much more satisfying mini-meal!
These are officially my favorite component for **healthy lunchbox ideas**. Throw one bar in with some sliced apples and a cheese stick, and boom—lunch is done. They are so wholesome compared to the heavily processed stuff you find on the shelves. I put together a whole category of other simple ideas over on my Snacks page if you need more inspiration to keep things interesting!
Frequently Asked Questions About No Oven Needed Treats
I get asked about my **no bake healthy bars** recipe all the time, and honestly, most concerns come down to substitutions or structural support. Since we’re not using the oven to set everything, we have to be a little more thoughtful about how we pack everything in!
I pulled together the questions I seem to see most often below. If you have a question about making these **no oven needed treats** your own way, drop it in the comments!
Can I make these no bake granola bars vegan?
Absolutely, yes! That’s one of the easiest swaps to make. The recipe calls for honey, which isn’t vegan, of course. To make these fully plant-based, just swap that honey out one-for-one with maple syrup or agave nectar. Both work just as sticky and sweet, so you won’t notice a texture difference in your **homemade granola bars**!
What happens if my bars crumble when cutting?
Ugh, the worst, right? This almost always comes down to two things, and you need to be vigilant about both. First, did you press them down firmly enough? I mean *really* press them into that pan until you think your hand might cramp up. Second, did you chill them long enough? Don’t cut them after only an hour! Give them a full two hours, minimum. A warm bar equals a crumbly bar, so patience is key for perfect cuts!
Are these considered healthy lunchbox ideas?
I definitely consider them top-tier **healthy lunchbox ideas** because we control every single thing that goes in! We are loading up on rolled oats and ground flaxseed, which give you great fiber and healthy fats. Even with the natural sugars from the honey, you are skipping all the artificial sweeteners and preservatives found in the store-bought stuff. They work for my kids because they are delicious, but they work for me because they are wholesome!

If you’re looking for more guidance on making these simple, wholesome treats, I have tons of extra tips and troubleshooting on my main guide to no bake healthy bars right here on the blog!
Share Your Ultimate 15-Minute No Bake Granola Bars Experience
Whew! I hope you’re heading straight to the pantry to give these a whirl. Honestly, making these **no bake granola bars** is such a little victory for the week, and I always love knowing I have a stash of healthy, chewy goodness ready to go!
Now that you know the secrets to getting that perfect texture without ever turning on the oven, I just have to know what you think! Did you use peanut butter or almond butter? Did you add dried cranberries or go heavy on the mini chocolate chips? I love seeing how everyone customizes their mix-ins!
Please take a minute to leave a star rating right down below so other sleepy snack-seekers know these deserve a spot in their rotation. If you run into any weird issues or you discover an amazing new addition—like maybe adding toasted coconut!—please share it in the comments. Your feedback helps us all make the absolute best batch of these **quick breakfast bars** next time.
If you snapped a picture of your finished, perfectly cut squares, I would absolutely love to see them! You can tag me on social media, or if you have suggestions for what I should totally try next time, feel free to pop over to my contact page and let me know. Happy snacking!
PrintUltimate 15-Minute No Bake Chewy Granola Bars
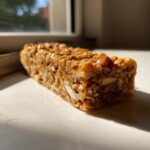
Make these simple, chewy granola bars without turning on your oven. They are perfect for quick meal prep and grab-and-go snacking.
- Prep Time: 15 min
- Cook Time: 0 min
- Total Time: 2 hours 15 min
- Yield: 12 bars
- Category: Snack
- Method: No Bake
- Cuisine: American
- Diet: Vegetarian
Ingredients
- 2 cups rolled oats
- 1 cup crispy rice cereal
- 1/2 cup peanut butter (or other nut butter)
- 1/2 cup honey or maple syrup
- 1/4 cup ground flaxseed
- 1 teaspoon vanilla extract
- 1/2 cup mix-ins (e.g., dried fruit, mini chocolate chips, chopped nuts)
- 1/4 teaspoon salt
Instructions
- Line an 8×8 inch baking pan with parchment paper, leaving an overhang on the sides for easy removal.
- In a large microwave-safe bowl, combine the peanut butter and honey (or maple syrup). Microwave for 30 to 45 seconds until softened and easily stirrable.
- Stir the vanilla extract and salt into the warm mixture until fully combined.
- Add the rolled oats, crispy rice cereal, and ground flaxseed to the bowl. Mix well until all dry ingredients are evenly coated with the binder.
- Stir in your chosen mix-ins.
- Press the mixture firmly and evenly into the prepared pan. Use the back of a spatula or another piece of parchment paper to compact it tightly.
- Refrigerate the bars for at least 2 hours, or until completely firm.
- Use the parchment overhang to lift the block from the pan. Cut into 12 or 16 bars.
Notes
- For a firmer bar, chill for 3 hours.
- Store leftover bars in an airtight container in the refrigerator for up to one week.
- Substitute peanut butter with sunflower seed butter for a nut-free version.
- If you prefer chocolate chip granola bars no bake, add 1/2 cup of mini chocolate chips.
Nutrition
- Serving Size: 1 bar
- Calories: 210
- Sugar: 10
- Sodium: 85
- Fat: 10
- Saturated Fat: 2
- Unsaturated Fat: 8
- Trans Fat: 0
- Carbohydrates: 28
- Fiber: 3
- Protein: 6
- Cholesterol: 0