

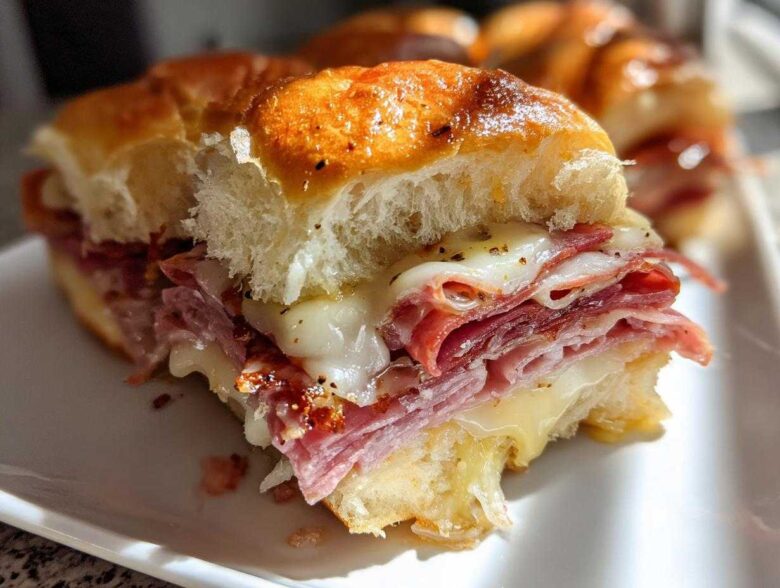
You know those gatherings, like game days or just a busy Tuesday when you need something quick for dinner, where you want food that disappears instantly? I’m talking about the kind of snack that makes everyone ask for the recipe immediately. For me, that dish is these incredible grinder sliders. When I first started dating Liam, my cooking was, well, sad. I never thought I could pull off something savory and impressive, but Liam, being the patient professor he is, showed me that baking sandwiches is actually the easiest way to guarantee success. If you want to know more about our journey, check out our story on the About Us page!
Forget complicated assembly! The magic here is using those sweet Hawaiian rolls because they bake together into one delicious, cheesy slab. Trust me, these grinder sliders are flavorful, cheesy, and require almost zero effort, which is exactly the kind of genius recipe we share here at TasteTaught.
We’ll walk through exactly how to get that perfect savory, slightly sweet bite every single time.
Why You Need These Italian Grinder Sliders Recipe
Honestly, if you didn’t have a go-to recipe for crowd-pleasing appetizers, you need to bookmark this one right now. Liam always says the best cooking teaches you how to feed a crowd without stressing yourself out—and these grinder sliders do exactly that. They handle themselves in the oven, and when you pull that foil off? Wowza, the smells alone win people over.
- They come together faster than I used to clean my apartment, which really tells you something!
- The combination of salty deli meats and sweet rolls hits that perfect savory-and-sweet spot.
- Minimal dishes, maximum impact. That’s how we do things here at TasteTaught.
Perfect for Game Day Food Ideas and Entertaining Sandwich Recipes
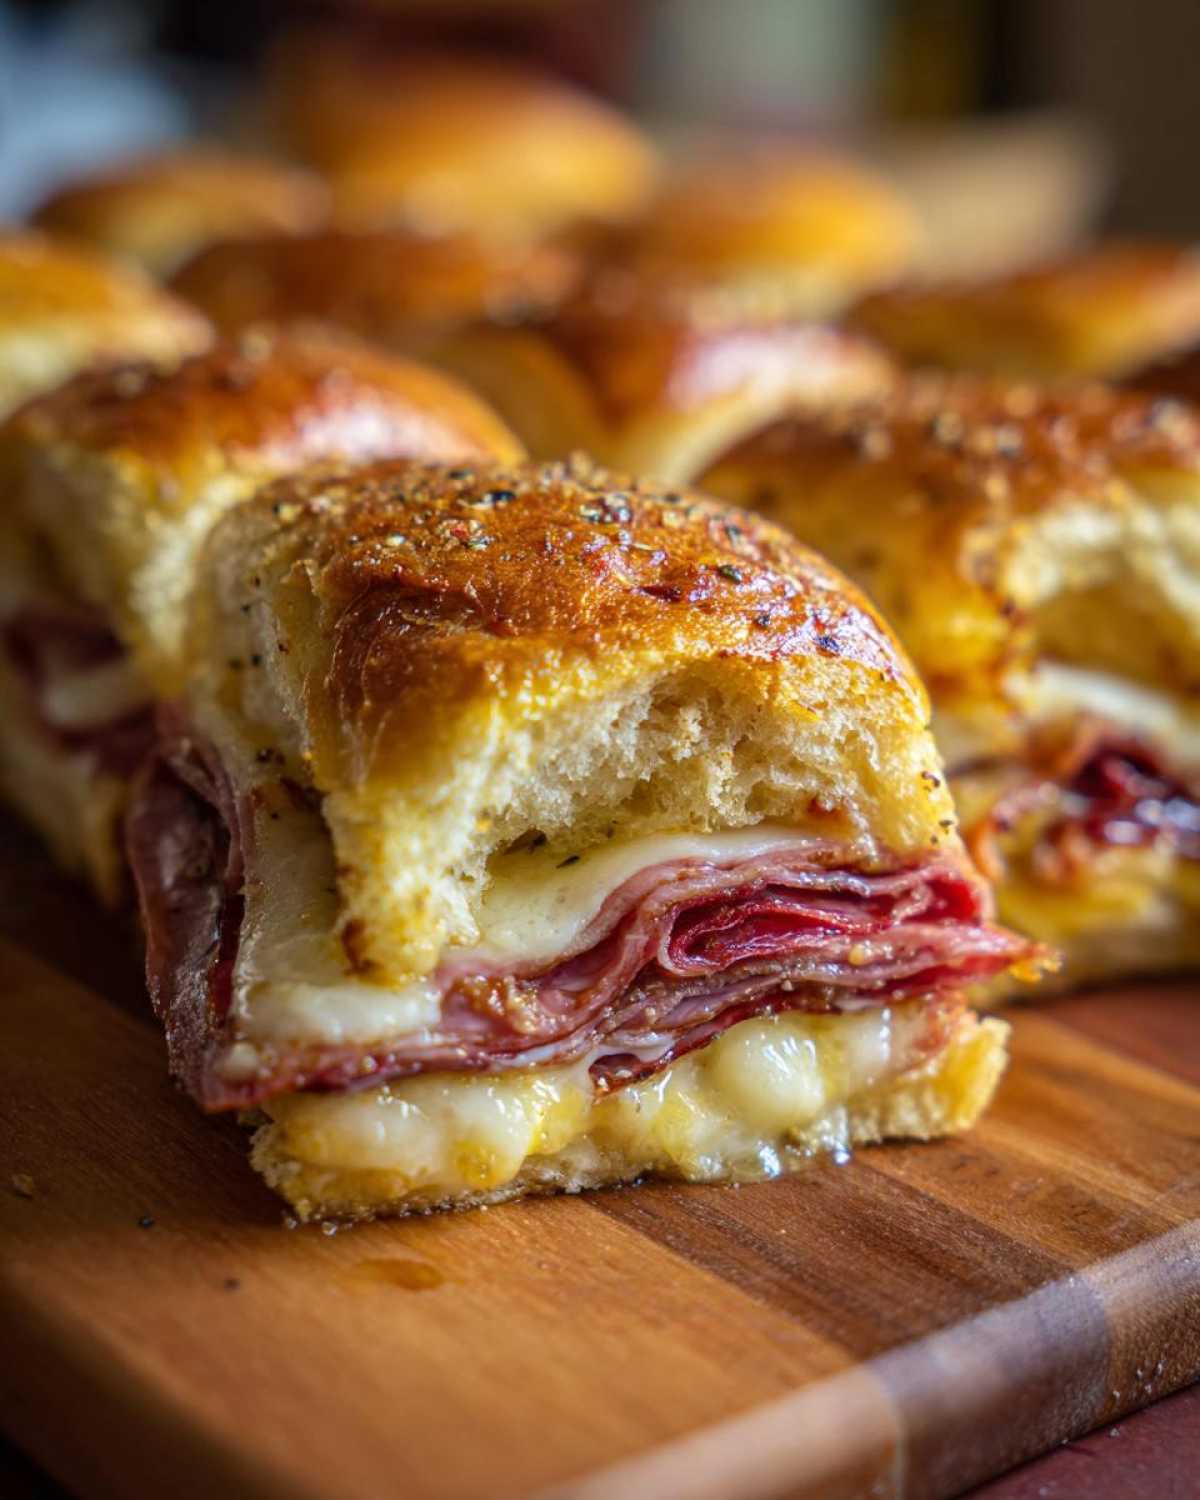
If you’re hosting for the Super Bowl or just have friends over for a random Saturday hangout, these fit the bill perfectly. They are hot Italian sandwiches mini-sized—buttery, cheesy, and satisfying without weighing everyone down. Because they bake all at once in a single dish, serving is unbelievably simple. Just slice down the lines where the rolls separate, and you’re done! Check out Liam’s recipe for those Bisquick Sausage Balls too; they are another party superstar.
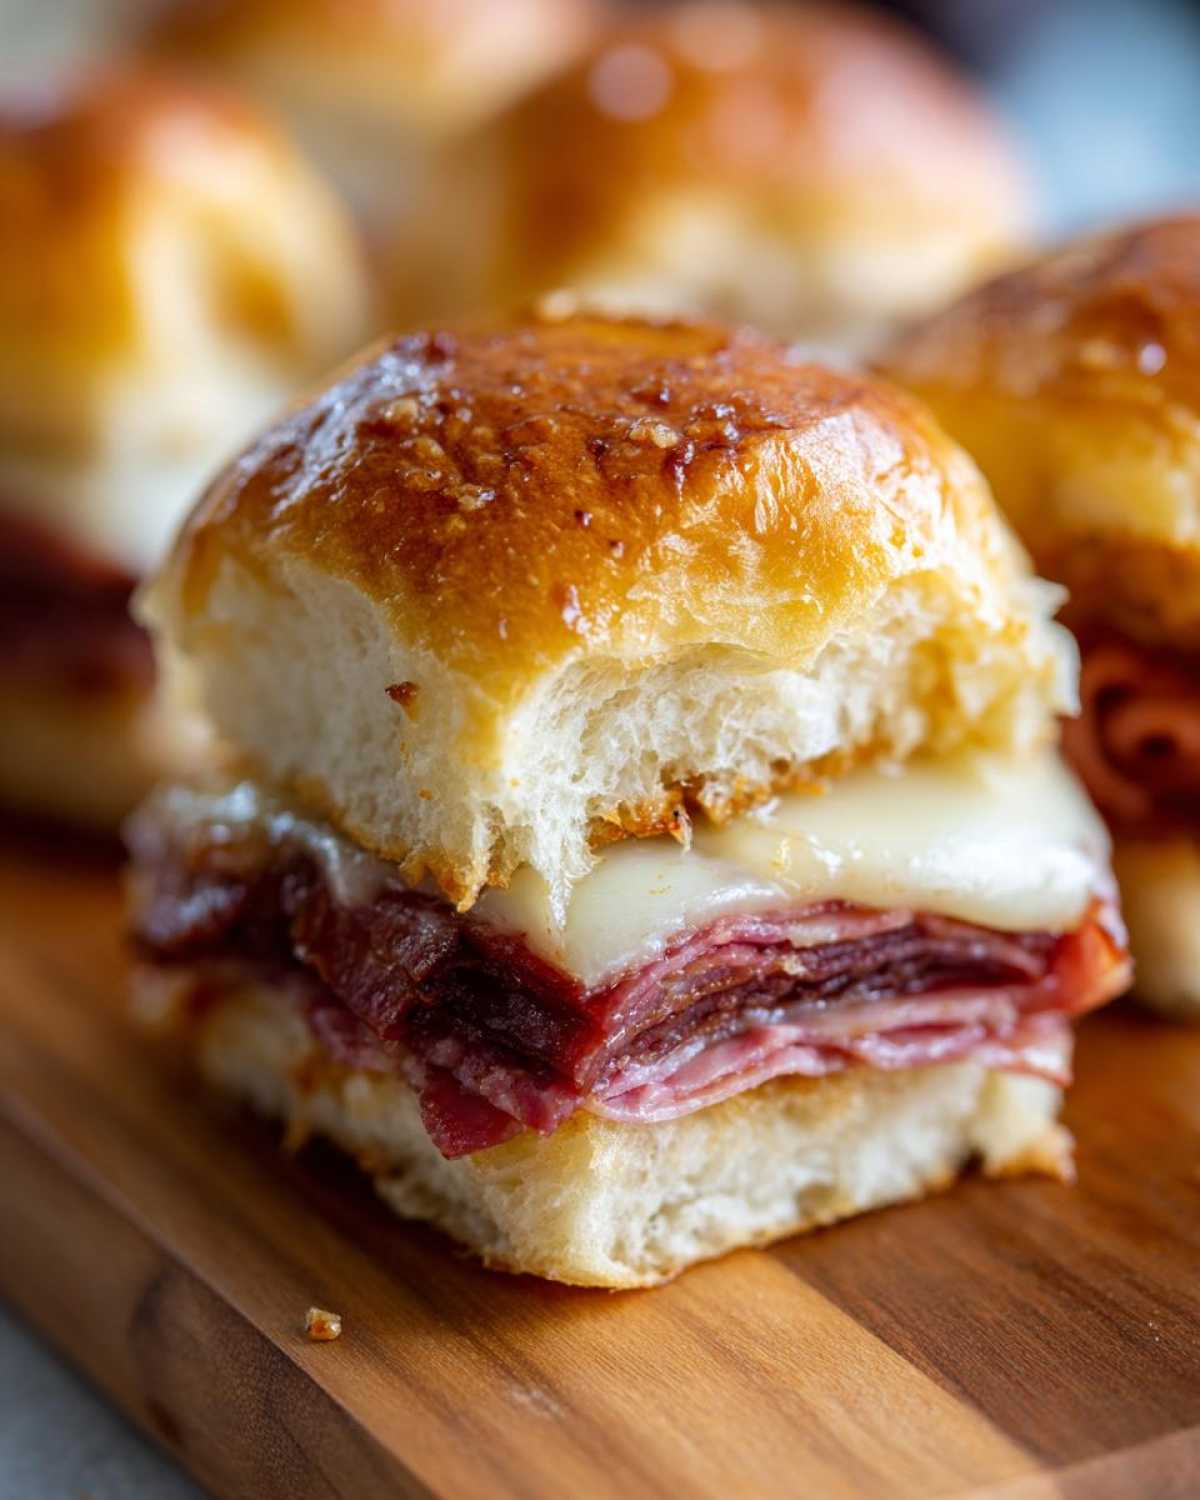
Making Cheesy Baked Sliders Simple with Hawaiian Roll Sliders Recipe
The main reason I love these so much is that they rely on the Hawaiian Roll Sliders Recipe structure. You slice the whole package open like a loaf, pile everything on, and bake. It’s the easiest method for delicious grinder sliders you’ll ever try. The sweetness of those rolls melts right into the garlic butter—it’s heavenly!
Gathering Ingredients for Your Grinder Sliders
Okay, Liam says the secret to my success, even with things like these amazing grinder sliders, is respecting the ingredients. He drilled into me that you can’t substitute the star players here. Since this recipe is built around layers of meat and cheese, getting them sliced thin is key so they melt evenly over the whole sheet of rolls. I always lay everything out on the counter so I can see it all before I start layering. It just makes the assembly phase so much less chaotic!
You definitely want to stick to the list for the best results. We need that soft foundation, the right combo of deli meats, and of course, the cheese must be provolone—it gets that beautiful, gooey stretch when it bakes.
- One full package of sweet Hawaiian rolls (don’t skimp here!).
- About a half-pound each of thinly sliced ham, salami, and turkey.
- Half a pound of sliced Provolone cheese—it’s the MVP for melt quality.
The Savory Glaze for Your Baked Slider Sandwiches
Now, this buttery topping is what takes these from just ‘sandwiches’ to something truly special. It seeps down into all the crevices of the rolls while baking, making the tops soft but toasty. You absolutely have to use real, unsalted butter melted down for this. For this part, you’ll need one full stick of butter, melted down completely. Then we whisk in one tablespoon of Dijon mustard—that gives it a little tang against the sweet rolls. Follow that with one teaspoon each of Italian seasoning and garlic powder, plus just a tiny pinch—a quarter teaspoon—of onion powder. If you want to see how we make a fantastic garlic butter spread for toast, that technique is similar to what goes into this glaze!
Step-by-Step Instructions for Perfect Grinder Sliders
Alright, this is where the fun starts! Making these grinder sliders is almost therapeutic once you have your ingredients ready. The whole process moves super smoothly because we aren’t cooking things individually—we’re building one giant, delicious sandwich that bakes all at once. First things first, get that oven warmed up to 350 degrees Fahrenheit. While it’s heating, lightly grease a 9×13 inch baking dish. We don’t want anything sticking later; that’s a heartbreaking discovery when you go to lift them out!
Assembling and Glazing the Deli Meat Sliders
Here is the crucial structural step. You have to slice the whole package of Hawaiian rolls horizontally, top and bottom halves, while they are still attached in the tray. Try to keep them connected—it helps keep everything aligned!
Place the bottom half of the rolls into your prepared dish. Now, we layer. I like to go meat, meat, meat, and then cheese on top of the meat layers. Ham, then salami, then turkey, and finish with those lovely slices of provolone cheese over the whole surface. Put the top half of the rolls back on. It’s going to look comically tall, but don’t worry! If you ever make my Crescent Roll Apple Dumplings, you know that layering is key to holding things together!
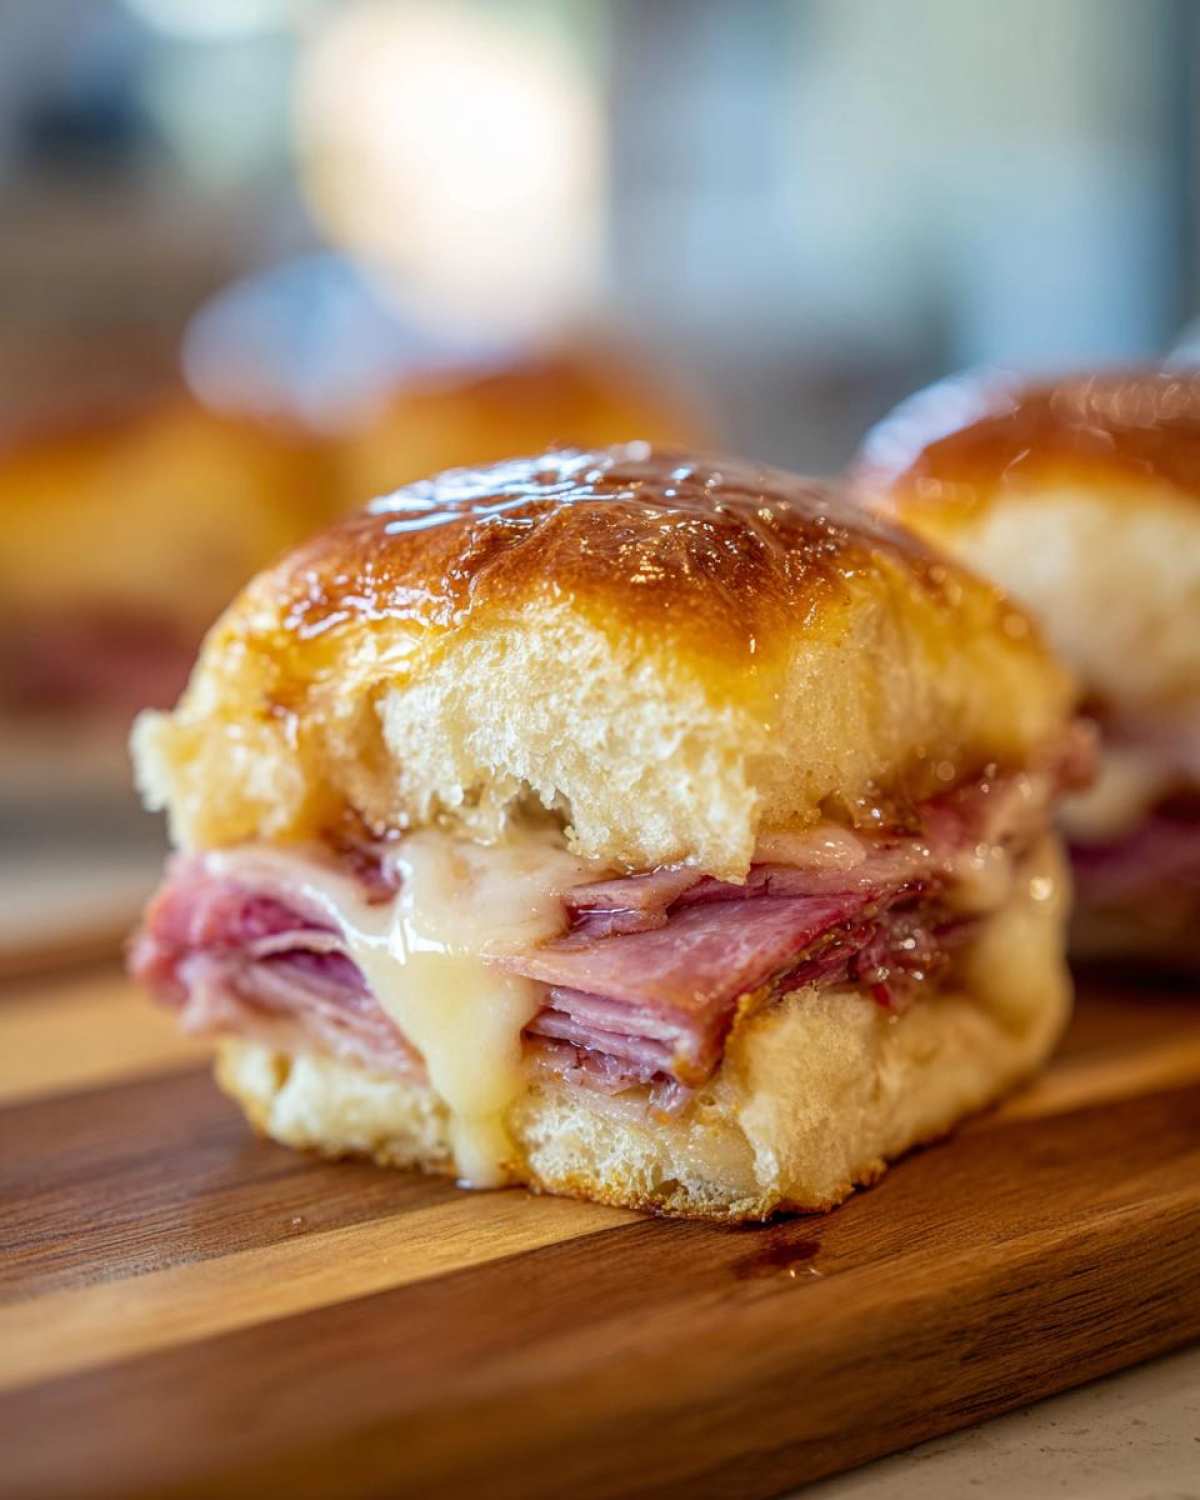
Now for the glaze we mixed up. This is what Liam always reminds me to do: pour it slowly and evenly over the very top. Don’t just dump it in the middle! Then, take a pastry brush—even if you don’t normally use one—and gently spread that garlicky butter mixture across every single roll top. It ensures every slider gets that rich flavor and toasts perfectly. This little bit of extra attention makes a huge difference in the final flavor profile.
Baking Times for Golden Brown Grinder Sliders
We’re going to bake these in phases to make sure the cheese melts thoroughly before the tops burn. Cover the dish tightly with aluminum foil—this traps the steam and gets everything heated through. Bake it like that for exactly 15 minutes.
When that timer dings, take the foil off. We need that beautiful golden crust! Pop them back uncovered for another 5 to 10 minutes. Keep your eye on them, though. You are looking for fully melted cheese and tops that are beautifully golden brown. This is the point where your kitchen smells incredible!
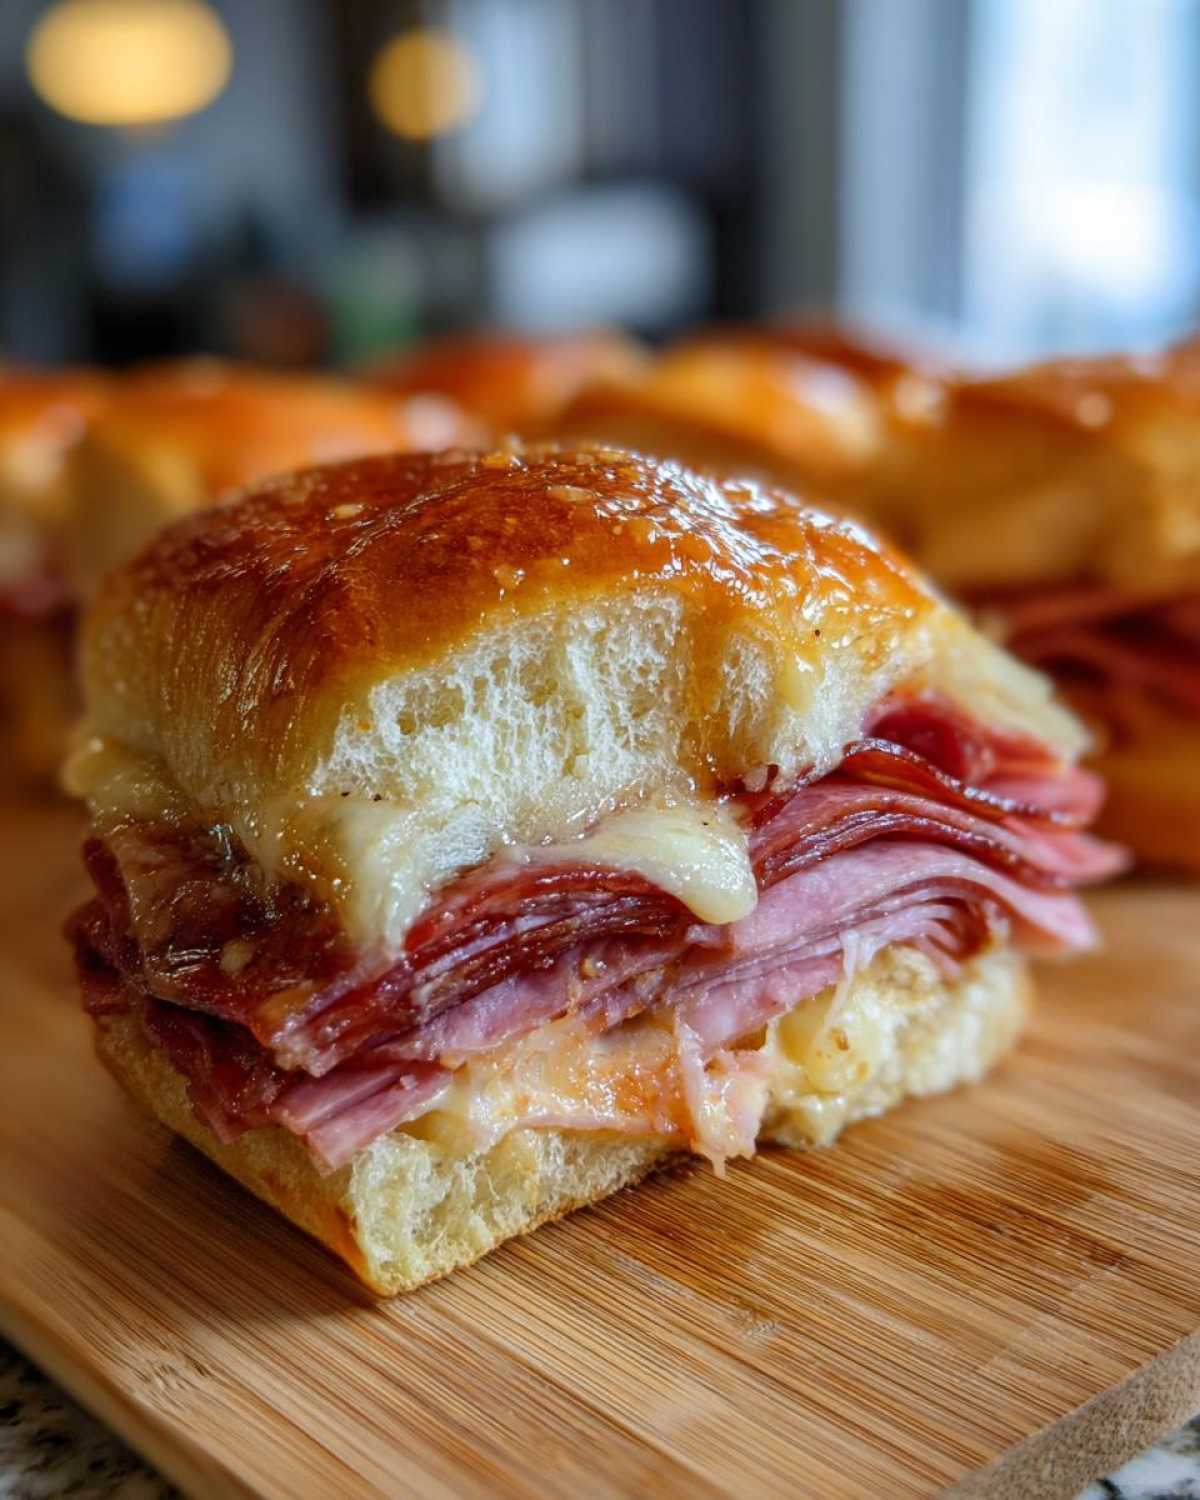
But wait! Do not slice them right away. You absolutely have to let these amazing grinder sliders rest for about 5 minutes. This lets the cheese settle a bit and keeps all that amazing butter glaze from running right out when you cut them. Once they’ve rested, slice the rolls apart and dig in while they are piping hot!
Tips for Success When Making Grinder Sliders
Liam always tells me that knowing *how* to bake something is great, but knowing the little things to tweak makes you a real cook. When it comes to these grinder sliders, I’ve picked up a few tricks over the years that turn them from good to absolute showstoppers. These little notes have saved me from potential game-day disasters, so listen up!
You know the notes mention adding a little something extra to the bottom rolls? You absolutely should try that. Before you layer on the ham, I highly recommend brushing the bottom half of the Hawaiian rolls with a super thin layer of mayonnaise. It sounds weird, I know, but it keeps the bottom from getting soggy from stray juices while locking in flavor. If you like a little kick, a splash of pepperoncini juice mixed into that mayo base wakes everything up wonderfully!
The make-ahead option is a lifesaver, especially if you’re hosting. I often put the whole thing together—meats, cheese, even the glaze poured on top—cover it tightly, and stick it right in the fridge. It’s one of my favorite methods for make ahead party food. Just remember: if you’re baking them straight from the fridge, you need to give them an extra 5 to 10 minutes during that initial covered baking time so they can warm up properly before they start browning.
My big takeaway for ensuring success with your grinder sliders is patience during the rest period. You’ll be tempted to slice them immediately after they come out, but if you wait those five minutes, the cheese sets just enough so that when you slice, you get clean, perfect portions instead of a cheese landslide all over your serving tray!
Ingredient Notes and Substitutions for Mini Grinder Sandwiches
When you’re making something this simple, the ingredients really have to pull their weight, right? Liam always stressed that ingredient clarity makes the difference between an okay sandwich and one people rave about. We use the sweet Hawaiian rolls because that slight sweetness beautifully balances the salty Italian meats and sharp provolone.
But I know sometimes you can’t find them, or maybe you just prefer a different texture. If you don’t have Hawaiian rolls on hand, don’t panic! You can absolutely use any soft slider bun you find. They won’t have that signature sweet note, but the garlic butter glaze and the layered meats still make them fantastic. When you use a regular bun, just make sure they are soft enough to press together without cracking. If you want another great handheld game plan, check out my Pizza Sliders Recipe—it works great on crescent rolls!
Serving Suggestions for Your Hot Italian Sandwiches Mini
So, you’ve pulled these amazing, cheesy grinder sliders out of the oven, and now everyone is hovering around the counter wanting seconds! What do you serve alongside them? Since these are savory, meaty, and quite rich, you want sides that offer a little crunch or maybe some cool acidity to cut through all that melted provolone.
For game days, you absolutely cannot go wrong with a big bowl of creamy dip. I often make Liam’s famous Slow Cooker Chili Cheese Dip to go alongside these sliders—it’s pure comfort food heaven.
If you want something lighter, a quick side salad dressed with a tart vinaigrette or some pepperoncini peppers served right on the platter really brightens everything up. They are perfect little handhelds!
Storage and Reheating Instructions for Leftover Grinder Sliders
If you manage to have any leftover grinder sliders—which, let’s be honest, is rare because they vanish so fast—knowing how to store and reheat them is important. Liam never liked reheating leftovers in the microwave because things get soggy fast, and we definitely don’t want to ruin that beautiful texture we worked so hard to achieve!
For storage, the best way is to keep them in that original baking dish if you have space, but make sure you cover it really tightly with plastic wrap or foil. If you don’t have the dish, transfer the leftovers into an airtight container. They usually hold up pretty well in the fridge for about three days. The rolls will soften up a bit, but that savory filling stays flavorful, which is what counts!
When you want to bring your grinder sliders back to life, forget the microwave altogether if you value crispness. The oven is your best friend here. Reheat them just like you baked them the first time! Put them back in a baking dish—or on a baking sheet lined with foil—and bake them at that same 350 degrees Fahrenheit. If they were refrigerated, cover them for the first 10 minutes just to warm through, then uncover for about 5 minutes until the cheese is bubbly again. That little bit of dry heat brings back some of that lovely crust we love!
If you are looking for other easy casserole-style meals that reheat well, you should take a peek at Liam’s Easy Tamale Pie Recipe; it’s another winner for the next day!
Frequently Asked Questions About Grinder Sliders
I get so many messages about tweaking recipes, which I absolutely love! It means you are getting comfortable in the kitchen, just like I did learning from Liam. People always have great questions about customizing these grinder sliders, especially since they are so easily adaptable. Here are some of the most common things I hear about making these party favorites:
Can I swap out the meats in my grinder sliders?
Yes, totally! That’s the beauty of a baked slider. While the Italian trio (ham, salami, turkey) really honors the classic flavor profile, you can certainly adjust. I’ve had great success swapping some of the salami for pepperoni if I want a little more spice. You can also use roast beef if that’s what your family loves. Just try to keep the total volume of meat about the same! Feel free to explore more cooking adventures on our main Blog Page!
What is the best cheese for these hot Italian sliders mini?
Provolone is my absolute top recommendation because it melts beautifully and offers that fantastic, tangy bite that pairs perfectly with Italian seasoning. However, if you want a milder flavor, you could use Monterey Jack. If you truly love cheese (and who doesn’t?), Swiss is another great choice that melts wonderfully and adds a distinct, slightly nutty flavor.
Can these be made ahead for tailgates?
This is one of my favorite things about these grinder sliders—they are fantastic make-ahead party food! You can assemble the entire thing, pour the glaze over the top, cover it tightly, and store it in the fridge for up to four hours before you need to bake it. Just remember to add that extra 5 to 10 minutes to the covered baking time since the dish will start cold. You’ll find more tips for easy party hosting over on this external link.
Can I make these sliders vegetarian?
That’s a great question! Since this specific recipe is so reliant on the combination of salty deli meats, making a direct swap is a little tricky if you want to keep the exact *grinder* flavor profile. However, if you skip the meat entirely, you can load the bottom bun up with extra layers of provolone, mozzarella, and maybe some thinly sliced roasted red peppers or marinated artichoke hearts. You’ll still get a fantastic cheesy baked sandwich, just without the cured meat flavor. It still bakes up beautifully with that garlicky glaze, trust me!
Estimated Nutritional Data for These Comfort Food Sliders
Liam always reminds me that knowing the numbers is important, but tasting the joy is more important! Because we are dealing with a specific brand of rolls and fresh deli meat weights, these figures are just an estimate based on the ingredients listed. This is just a general guide to help you plan, so think of it as a fun bonus rather than a strict law. You know if you load up an extra layer of provolone cheese, those numbers are going to shift!
We calculated this data based on one single slider serving, which makes it easy to figure out amounts if you decide to make a double batch for a bigger get-together. I think the protein count is great, making these satisfying enough for a quick dinner idea if you need one!
For full transparency, here is what you can generally expect based on the recipe yield:
- Serving Size: 1 slider
- Calories: Approximately 350 calories
- Total Fat: Around 18g (be mindful of the saturated fat content around 9g)
- Carbohydrates: About 28g
- Protein: Roughly 20g
- Sugar: Very low, about 8g (thank you, sweet Hawaiian rolls!)
- Sodium: Higher, around 850mg, due to the deli meats and cheese.
If you are looking for something sweet to serve alongside these savory delights, I really suggest looking at Liam’s Easy 3-Ingredient Chocolate Fudge. It’s the perfect counterpoint to this salty, cheesy baked sandwich!
PrintEasy Italian Grinder Sliders Baked on Hawaiian Rolls

Make these easy Italian grinder sliders for your next party or game day. These baked slider sandwiches use deli meats and provolone cheese on soft Hawaiian rolls, finished with a savory garlic butter glaze.
- Prep Time: 15 min
- Cook Time: 25 min
- Total Time: 40 min
- Yield: 12 servings
- Category: Lunch
- Method: Baking
- Cuisine: American
- Diet: Vegetarian
Ingredients
- 1 (12 count) package sweet Hawaiian rolls
- 1/2 pound thinly sliced ham
- 1/2 pound thinly sliced salami
- 1/2 pound thinly sliced turkey
- 1/2 pound provolone cheese, sliced
- 1/2 cup (1 stick) unsalted butter, melted
- 1 tablespoon Dijon mustard
- 1 teaspoon dried Italian seasoning
- 1 teaspoon garlic powder
- 1/4 teaspoon onion powder
Instructions
- Preheat your oven to 350 degrees Fahrenheit. Lightly grease a 9×13 inch baking dish.
- Carefully slice the entire package of Hawaiian rolls in half horizontally, keeping the rolls connected as much as possible. Place the bottom half of the rolls in the prepared baking dish.
- Layer the meats and cheese evenly over the bottom half of the rolls. Start with ham, then salami, then turkey, and top with the provolone cheese slices.
- Place the top half of the rolls over the cheese layer.
- In a small bowl, whisk together the melted butter, Dijon mustard, Italian seasoning, garlic powder, and onion powder to create the glaze.
- Slowly and evenly pour the butter glaze mixture over the top of the assembled sliders. Use a pastry brush to gently spread the glaze across all the rolls.
- Cover the baking dish tightly with aluminum foil.
- Bake for 15 minutes covered.
- Remove the foil and bake for another 5 to 10 minutes, or until the cheese is fully melted and the tops of the rolls are golden brown.
- Let the sliders rest for 5 minutes before slicing them between the rolls. Serve warm.
Notes
- For extra flavor, you can add a thin layer of mayonnaise or a splash of pepperoncini juice to the bottom rolls before adding the meat.
- These are great for make ahead party food; assemble them completely, cover, and refrigerate for up to 4 hours before baking. Add 5-10 minutes to the initial covered baking time if baking straight from the refrigerator.
- If you do not have Hawaiian rolls, use any soft slider bun, but the sweetness of the Hawaiian rolls complements the savory Italian flavors well.
Nutrition
- Serving Size: 1 slider
- Calories: 350
- Sugar: 8
- Sodium: 850
- Fat: 18
- Saturated Fat: 9
- Unsaturated Fat: 9
- Trans Fat: 0.5
- Carbohydrates: 28
- Fiber: 1
- Protein: 20
- Cholesterol: 45