

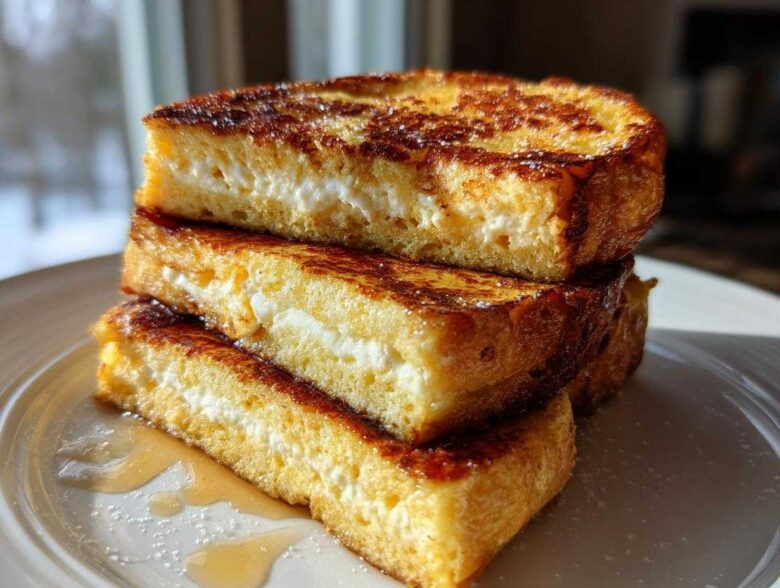
When I first started cooking, breakfast felt like a performance I couldn’t nail. Everything was either dry toast or soggy mush. Seriously, I used to burn water! But Liam, bless his patient heart, showed me that the best things in life aren’t complicated—they just take a little know-how. That’s why I’m practically buzzing to share this ultimate guide to the best french toast. We’re unlocking the secret to that dream combination: edges that snap just a little, giving way to the richest, custardy french toast center you’ve ever poked with a fork. Forget everything you thought you knew; this is the perfect start to any weekend brunch!
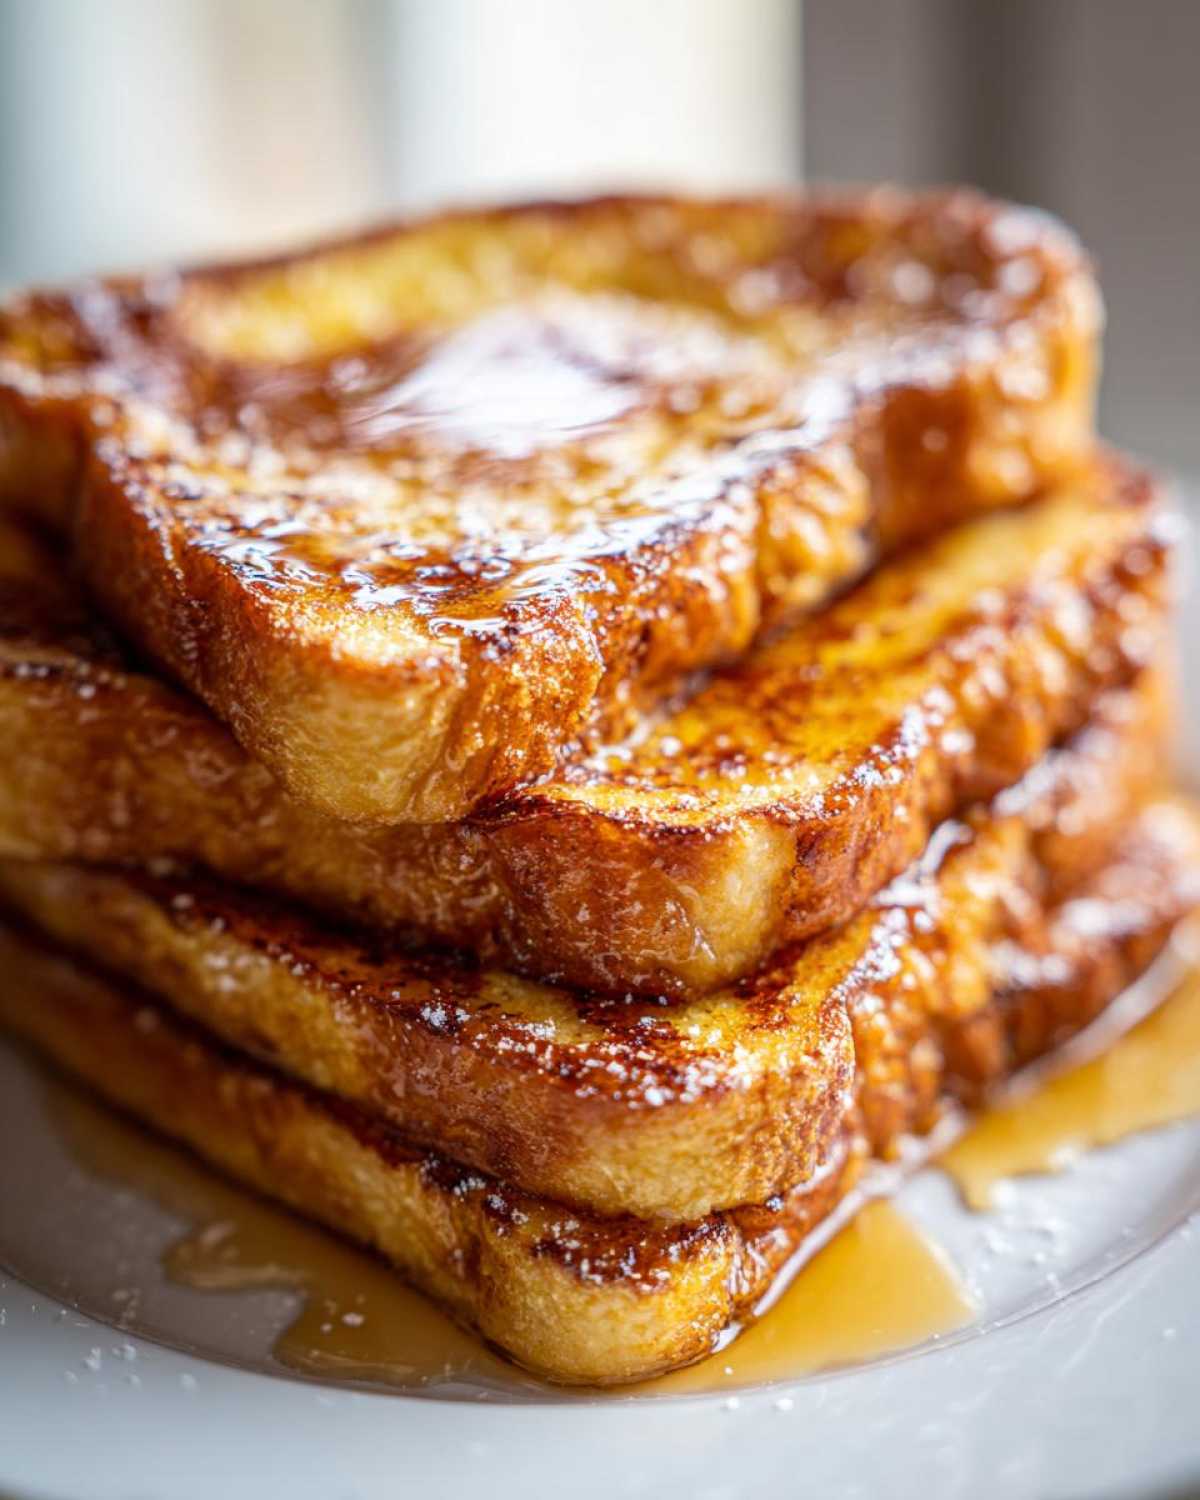
Why This Ultimate Classic french toast Recipe Works
See, the reason this recipe delivers the best french toast results—the ones that make people ask for your secret—isn’t about fancy ingredients. It’s pure technique, which Liam hammered into me! When I was learning, he kept stressing that to make fluffy french toast at home that was actually good, we had to focus on the bread and the liquid ratio. We aren’t aiming for merely good French Toast; we want that restaurant-quality texture. It all comes down to giving the bread enough liquid to become creamy inside, but not so much that it turns into mush before it even hits the pan. Trust me, once you nail this balance, you’ll never go back to the watery sponge method. For more wonderful inspiration on breakfast pairings, check out our ideas for banana oatmeal pancakes!
The Secret to a Custardy french toast Center
The magic here, as you can see in our recipe list, is that 1/4 cup of heavy cream mixed with the whole milk. That little bit of higher fat content makes the custard base richer. It coats the bread better and sets up beautifully when heated, eliminating dryness. If you use only milk, it soaks through too fast and evaporates, leaving you with bread that’s just warm, not truly custardy. We need that luxurious soak! Some people swear by the super rich method found over at Modern Honey, and while their results are great, I think our cream ratio keeps it accessible for every morning.
Achieving the Perfect Crispy Edge french toast
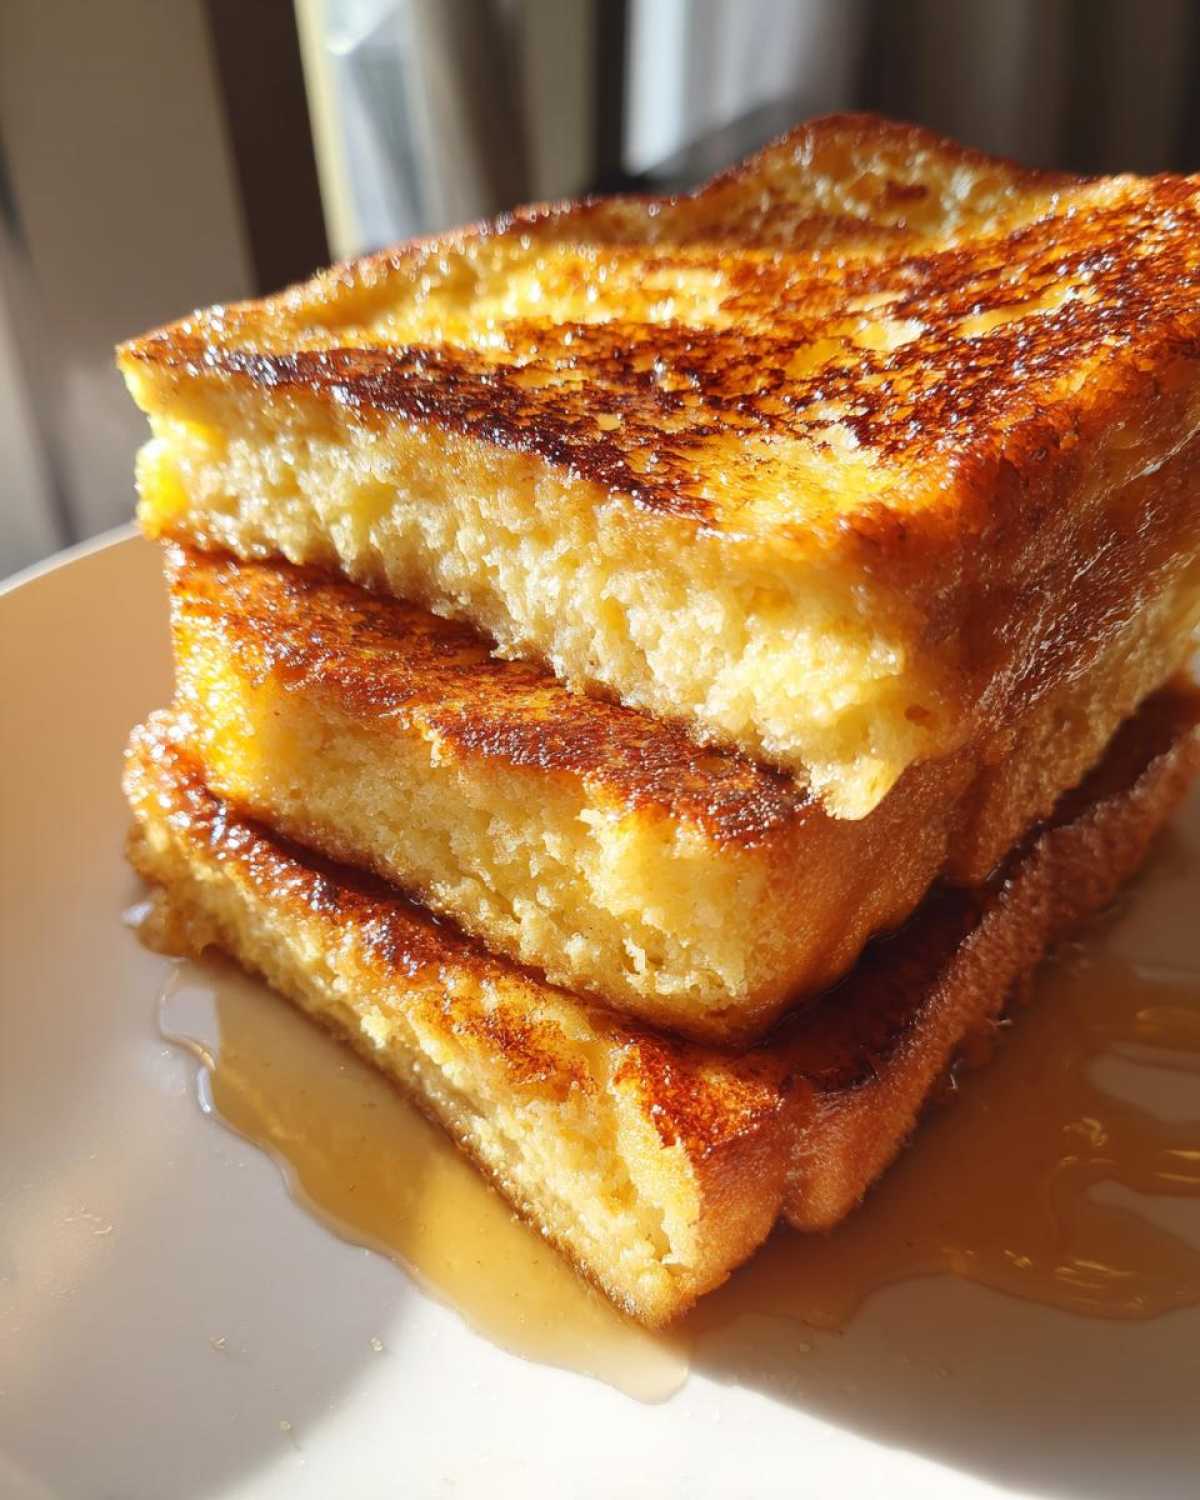
This goes back to the bread prep. If you use bread straight out of the bag, disaster awaits. The outside gets soggy right away! Liam insists we let the slices sit out for just 30 minutes to dry slightly. This lets the bread accept the custard without dissolving. Then, when cooking, you have to use real butter—not oil substitute—on a nice hot griddle. That butter browns perfectly, creating that signature crispy edge french toast that contrasts with the soft middle. It’s heaven!
Ingredients for the Best french toast
Okay, let’s talk about what you actually need for this magic. We’re using eight slices of wonderful, thick-cut bread—seriously, grab the good stuff like Challah or Brioche if you can! For the custard, take four big eggs, mix them with a full cup of whole milk and that crucial quarter cup of heavy cream for richness. Don’t forget the vanilla extract, a healthy half teaspoon of cinnamon, a tiny pinch of nutmeg just to wake things up, and a shake of salt. We melt about two tablespoons of unsalted butter right before we start cooking. That’s it! It’s all simple stuff, but the quantities line up perfectly, which is why this recipe works so well! If you’re looking for other amazing breakfast stars, you have to check out how we manage our buttermilk pancakes!
How to Make Perfect french toast: Step-by-Step Instructions
Okay, now that we have the amazing ingredients lined up, let’s get to the hands-on part of mastering how to make perfect french toast. This is where I learned I had to slow down! My first attempt at soaking the bread was a speedy disaster—I basically dunked it and flipped it, and it tasted like eggy bread that hadn’t been cooked all the way through. Liam made me watch the timer! We need patience, especially with the soaking. If you’re finding this technique tricky, remember that sometimes learning the basics, like how to cook perfect poached eggs, helps build kitchen confidence for things like timing French toast.
Preparing the Custard for your french toast
First things first, grab a shallow dish—seriously, make sure it’s wide enough for your bread slice so you aren’t trying to fold the bread when you dip it. Whisk everything together: the eggs, milk, cream, vanilla, and spices. You want this whisked until it looks completely uniform. No streaks of raw yolk anywhere! A smooth custard means a smooth coating on your bread.
Cooking the Stovetop french toast
Heat up your skillet or griddle over medium heat. This is important: not high, not low—medium! Add about half your butter and wait until it melts and gets a little foamy. Now, dip your bread for about 15 to 20 seconds on each side. Place it gently on the hot pan. Cook it for three to four minutes per side until it hits that deep golden brown color we’ve been dreaming about. Don’t crowd the pan either; give those slices some space so the edges get nice and crisp, just like they teach over at Taste This Plate!
Ingredient Notes and Substitutions for french toast
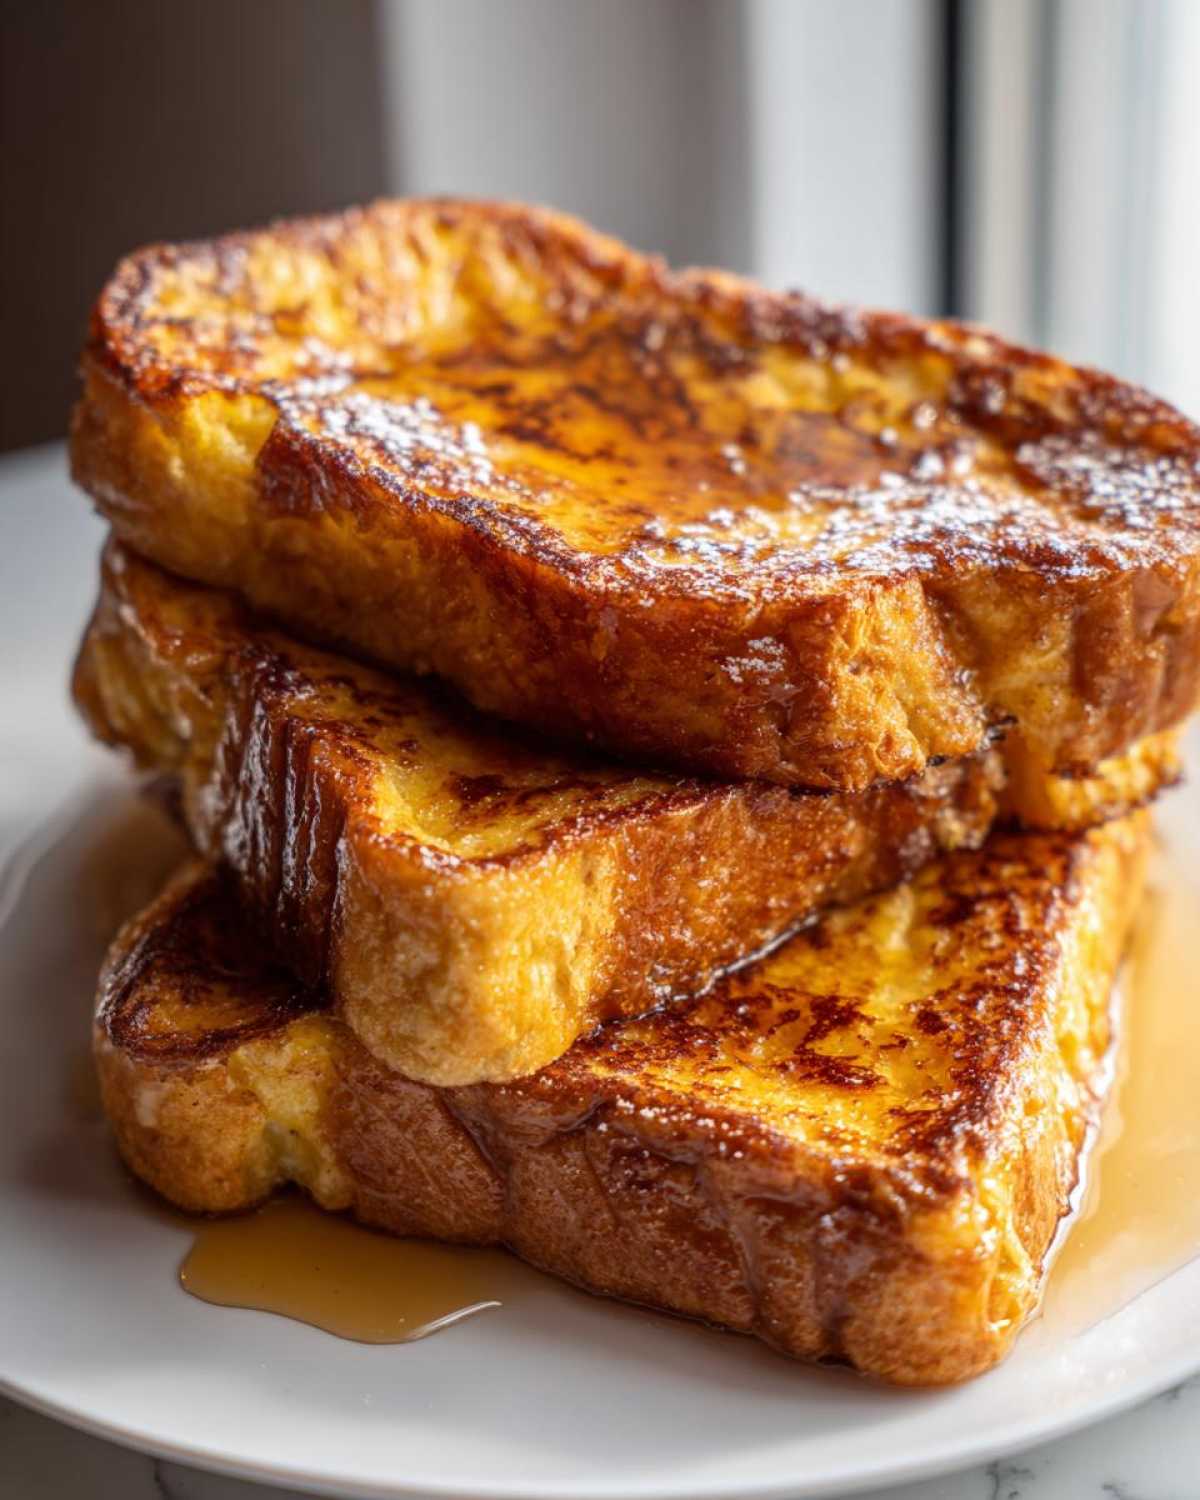
The ingredients here are simple, but if you’re out of something or just curious, I’ve got a few notes from my tutoring sessions with Liam. The most important thing is the bread choice. While you can technically make this with basic sandwich bread, you’ll miss out on that superior fluffy texture. For the best french toast, you really want something sturdy that can handle soaking. We love using thick slices of Challah or, even better, Brioche French Toast slices. They have a tighter crumb that absorbs that lovely custard without turning to soup!
When it comes to milk, whole milk is what we list because the fat content really helps bind the custard together and keeps things rich. Can you use skim or 2%? Sure, if it’s all you have! But be careful; you might need to cut back on the soaking time slightly because lower-fat milk absorbs faster. If you want to get really decadent, try using only heavy cream, though that’s leaning into dessert territory! If you’d like to try another pastry that feels special but is surprisingly easy, you must look at our apple strudel recipe.
Tips for Success Making french toast at Home
Even though this is filed under easy breakfast ideas, you can give your basic stovetop creation a massive upgrade with just one little trick. Liam showed me this, and honestly, it changes everything! Right after you melt the butter in the pan, if you want that incredible, crunchy, slightly crackly edge—that touch of sugary crunch that rivals a Crème Brûlée top—sprinkle just a tiny bit of granulated sugar directly onto the hot, buttered surface of the skillet before you place the bread down. It melts instantly and caramelizes against the bread!
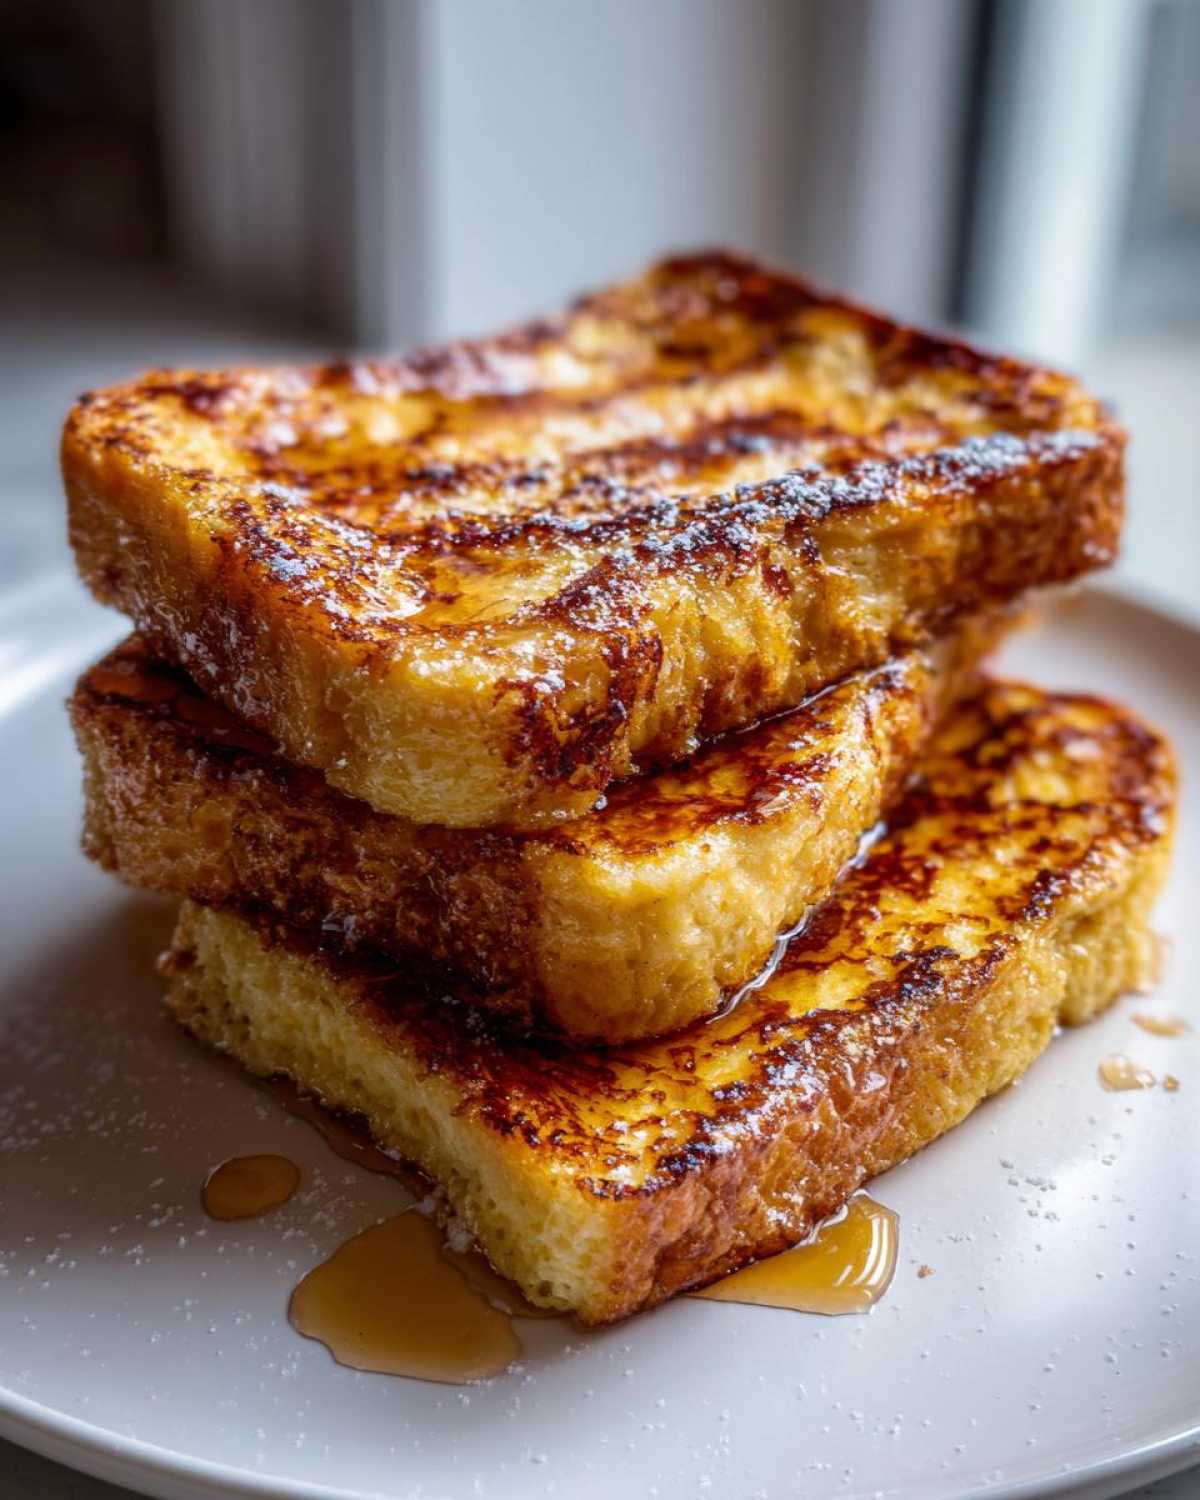
Don’t over-soak, don’t under-cook. That’s the mantra I live by now. Pay attention to the heat; medium heat is your best friend because it gives the inside time to turn into that dreamy custard while the outside browns perfectly. If you want to see how others have successfully navigated their first attempts, check out the lovely tips from Savor & Pin. Also, if you ever want to pivot to something savory, remember we have a fantastic guide on making homemade crispy egg rolls!
Serving Suggestions for Your Indulgent french toast
Now that you’ve mastered the technique and have perfectly crispy-yet-custardy slices, it’s time for the fun part: dressing them up! This honestly feels like the star of any weekend brunch recipes lineup. Of course, you can never go wrong with real maple syrup—don’t skimp on quality here! But I love dusting mine lightly with powdered sugar for a beautiful presentation. If you want to elevate it just slightly, toss on fresh raspberries or sliced bananas. For a real treat, sometimes Liam and I dip leftover slices in our melted chocolate fondue, but that might be reserved for special lazy Sundays only! If you want to make that happen, you can see how we get ours going perfectly smooth in our chocolate fondue recipe.
Storage and Reheating Instructions for Leftover french toast
Oh, leftovers! Sometimes a weekend recipe is so good you just have to make extra, even though this stovetop french toast cooks up so fast. If you do have extra, do not just toss them in the fridge unprotected! Store the cooled slices in a single layer (or separated by parchment paper) inside a good airtight container. This keeps them from getting weirdly scented or rubbery. While this isn’t designed as a true make ahead breakfast casserole, having a few slices ready for a quick reheat during the week is a lifesaver.
For reheating, skip the microwave; it makes them spongy, plain and simple. Pop the slices onto a baking sheet in a toaster oven or regular oven at 350°F until warmed through and you feel the edges crisping up again—maybe 5 to 7 minutes. If you’re only reheating one or two slices, a quick trip in the toaster slots works wonders too! We don’t want to waste any of that amazing custard flavor, especially when we could be making easy cranberry meatballs later!
Frequently Asked Questions About french toast
I know you must have questions buzzing around after reading through all those tips! I always did when Liam was teaching me. We’ve rounded up the most common things people ask about getting this french toast just right. If you’re looking for the next level of indulgence, maybe try our recipe for stuffed french toast next!
Can I use regular sandwich bread for french toast?
You totally can! But honestly, my advice—and this is a big one from Liam—is to try and grab something thicker if possible. Regular sandwich bread tends to be too airy and floppy, so you end up with something soggy quickly. Thicker cuts of bread like Texas Toast, or really ideally, Challah or Brioche, have a tighter crumb structure that gives you that wonderful, rich, custardy center we’re aiming for without disintegrating on the spatula.
How long should I soak the bread for french toast?
This is the fine line between perfection and mush! For this specific classic french toast recipe, which is stovetop cooked, you want to aim for about 15 to 20 seconds per side. That’s enough time for the edges to start absorbing the liquid and for the center to get happily saturated, but not so long that the bread structure starts to collapse under the weight of the custard. You’ll get a feel for it quickly!
Can I make this a Baked french toast Casserole?
That’s such a smart question, especially if you’re cooking for a crowd! While the recipe above is definitely for the quick, stovetop method, you absolutely can adapt it into a Baked French Toast Casserole. You’d likely want to increase your egg and cream ratio slightly for the overall volume of bread, pour it all over the bread in a baking dish, let it soak overnight in the fridge, and then bake it in the morning. It’s a great make-ahead move that Liam and I sometimes use for big family brunches. If you need more inspiration on quick meals that feed a crowd, check out the tips on I am Winifred.
Estimated Nutritional Data for Classic french toast
I always feel a little funny putting numbers next to something as soulful as breakfast, but I know transparency matters when you’re cooking for your family. Liam always says knowing the building blocks helps you adjust later, so here it is! These nutritional statistics are just estimates based on the ingredients listed in our Classic French Toast Recipe, not including any toppings like syrup or extra butter you might add while cooking. Remember, these values reflect two slices of our standard recipe.
For a serving size of two slices, you are looking at approximately 350 calories. We get about 18 grams of fat, 15 grams of protein, and 35 grams of carbohydrates. That includes about 18 grams of sugar, which comes mostly from the milk and the natural sweetness we look for in good bread. If you are watching sodium, it clocks in around 320mg. If you are concerned about your intake, remember you have full control over how much butter you use on the pan!
This information is here to help guide you, but the best french toast truly comes down to the joy it brings to the table. Don’t stress too much over the exact numbers when you’re making memories! If you want to check out more of our favorite guides and recipe deep dives, head over to the main blog page!
Share Your french toast Creations
Okay, now that you’ve got the skills to pull off the absolute best french toast—crispy on the outside and that heavenly custard on the inside—we genuinely want to hear about it! Liam and I built TasteTaught because we wanted to connect with people who are falling in love with cooking, just like I did when he patiently guided my hands.
If this recipe turned your morning around, please do us a huge favor and tap those five stars right below the recipe card! That little rating really helps other folks who might be feeling as intimidated as I once felt find their way into the kitchen. And if you took a picture of your golden-brown masterpiece, please tag us! Seeing your creations—especially when you try that little sugar-sprinkle trick—makes our whole day.
We love seeing your kitchen successes! If you ever have a question, or maybe you want to suggest an ingredient swap, don’t hesitate to reach out through our contact page. We’re always learning and tasting here at TasteTaught. Happy cooking!
PrintThe Ultimate Classic French Toast: Crispy Edges and Custardy Center

Learn the secrets to making the best French toast with perfectly golden, crispy edges and a rich, soft, custardy center every time. This recipe is simple, quick, and ideal for any weekend brunch.
- Prep Time: 10 min
- Cook Time: 15 min
- Total Time: 25 min
- Yield: 4 servings
- Category: Breakfast
- Method: Stovetop
- Cuisine: American
- Diet: Vegetarian
Ingredients
- 8 slices thick-cut bread (Challah or Brioche recommended)
- 4 large eggs
- 1 cup whole milk
- 1/4 cup heavy cream
- 1 teaspoon vanilla extract
- 1/2 teaspoon ground cinnamon
- 1/8 teaspoon ground nutmeg
- Pinch of salt
- 2 tablespoons unsalted butter, for cooking
Instructions
- Prepare your bread: If your bread is very fresh, let the slices sit out for about 30 minutes to dry slightly. This helps them absorb the custard without becoming soggy.
- Make the custard: In a shallow dish large enough to hold a slice of bread, whisk together the eggs, milk, heavy cream, vanilla extract, cinnamon, nutmeg, and salt until fully combined.
- Soak the bread: Dip each slice of bread into the custard mixture. Let it soak for about 15 to 20 seconds per side. For a truly custardy center, you need a good soak, but avoid soaking so long that the bread falls apart.
- Heat the griddle: Place a large non-stick skillet or griddle over medium heat. Add about half of the butter and let it melt until it foams slightly.
- Cook the toast: Place the soaked bread slices onto the hot griddle, ensuring they do not touch. Cook for 3 to 4 minutes per side until the exterior is deep golden brown and slightly crisp.
- Add more butter as needed between batches.
- Serve immediately with your favorite toppings like maple syrup and fresh berries.
Notes
- Using stale or slightly dry bread is the number one trick for achieving a custardy interior without a soggy result.
- For extra richness, substitute 1/4 cup of the milk with half-and-half or use only heavy cream in the custard mixture.
- If you want a caramelized crunch, sprinkle a tiny amount of granulated sugar onto the buttered pan just before placing the bread down.
Nutrition
- Serving Size: 2 slices
- Calories: 350
- Sugar: 18g
- Sodium: 320mg
- Fat: 18g
- Saturated Fat: 9g
- Unsaturated Fat: 9g
- Trans Fat: 0g
- Carbohydrates: 35g
- Fiber: 2g
- Protein: 15g
- Cholesterol: 180mg