

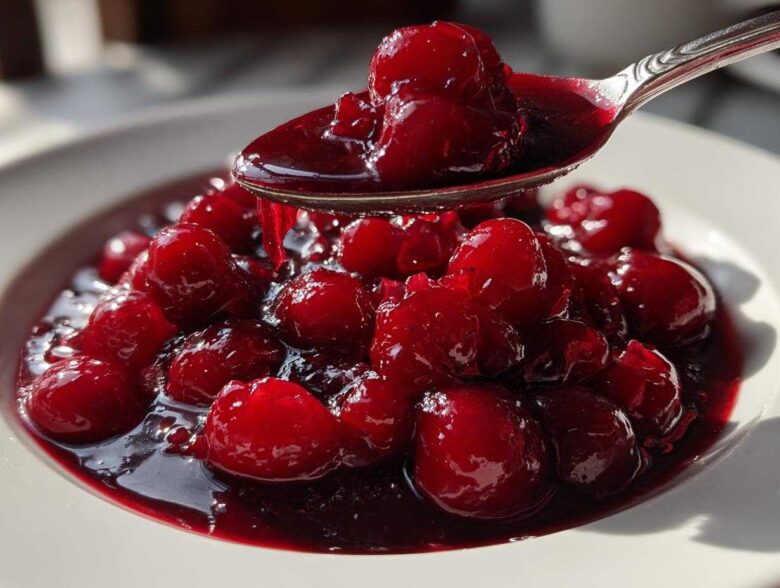
Oh, the dreaded soggy bottom! If you’ve ever poured a beautiful pie only to have the filling turn into soup when you slice it, you know the despair. Seriously, that gooey, runny mess is the number one killer of baking dreams. That’s why Liam spent ages helping me nail this; I used to just dump everything in and hope for the best!
But I promise you, right here, right now, we are solving that problem forever. We are unlocking the secret to a truly foolproof, thick and juicy homemade cherry pie filling from scratch. No more seepage, just perfect, plump cherries suspended in the thickest, glossiest sauce you can imagine. This is the game-changer you need for your next dessert!
Why This Is The Best Cherry Pie Filling Recipe You Will Ever Make
Honestly, since Liam showed me the trick with the starch, I threw away every can I had lurking in the pantry. This isn’t just good; it’s the difference between a great pie and an absolute showstopper. You deserve something that shines, and this recipe delivers that intense, fruity flavor.
- You get that gorgeous, thick cherry pie filling recipe consistency that holds its shape when you cut into it.
- It’s absolutely bursting with flavor, making it the ultimate juicy cherry filling from scratch experience.
- It cooks up faster than you can argue with your family about slicing the crust! Twenty minutes start to finish on the stove, wow!
Achieving No Runny Cherry Pie Filling Every Time
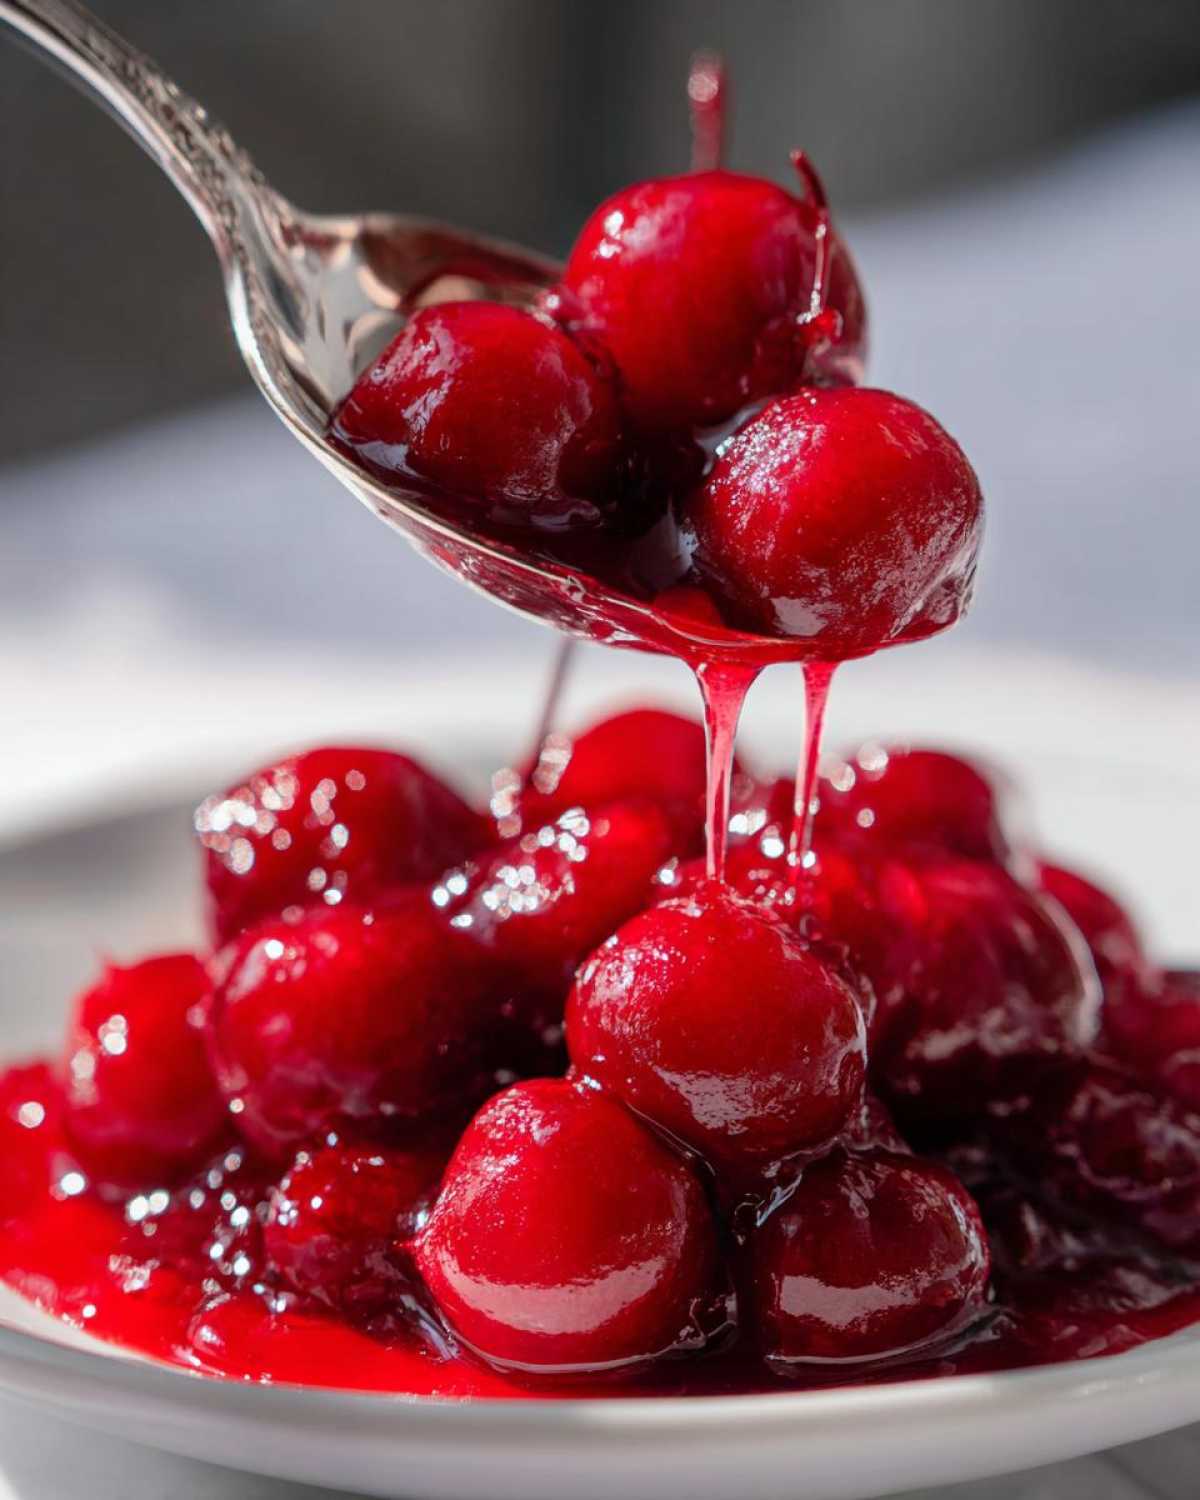
The secret weapon here is simple ratio control. We’re not dealing with a wishy-washy slurry! By whisking the cornstarch right into the sugar *before* it even sees the heat, we create perfect little starch pockets that bloom beautifully when introduced to liquid. That heavy coating you see on the spoon? That’s the magic; Liam swears by that heavy coating test!
Making Homemade Cherry Pie Filling Sweet or Sour
I love that this recipe is so adaptable. If you snagged some lovely tart cherries from the farmer’s market, don’t panic! You just bump up the sugar a bit to balance the tang. Using sweet cherries keeps things purely dessert-focused. This homemade cherry pie filling tastes worlds better than anything store-bought, regardless of which cherry you pick.
Ingredients for Foolproof Thick Cherry Pie Filling Recipe
You only need a handful of simple baking dessert ingredients here, and I’ve listed everything exactly as Liam taught me to write it down. Precision matters when you’re aiming for that thick result, so pull out your measuring cups and let’s get organized!
- 4 cups sweet cherries, freshly pitted (Trust me, pitting them first saves so much mess later!)
- 1 cup granulated sugar
- 1/2 cup water
- 1/4 cup cornstarch (This is our thickening superstar!)
- 1 teaspoon lemon juice
- 1/2 teaspoon almond extract
- 1/4 teaspoon salt
Ingredient Notes and Substitutions for Cherry Pie Filling
That little splash of almond extract might seem weird, but it really brings out the depth of the cherry flavor—it’s a trick I learned from seeing bakery secrets! If you are using tart cherries instead, remember what we said: you’ll need to add another quarter cup of sugar to keep things nicely balanced. Don’t skip the salt; it just wakes up all the other flavors, even in sweet recipes.
How to Make Cherry Pie Filling From Scratch: Step-by-Step
This is where the magic happens, and honestly, it’s so much simpler than I ever thought! We are making how to make cherry pie filling that is perfect for a double-crust pie or even poured right over ice cream. My biggest tip, which Liam insisted I share right up front: if you are using those gorgeous frozen cherries, just toss them in straight from the freezer! Seriously, do not thaw them first.
You start by putting your cherries and water into a saucepan. Get that set up on the stove. Next, you have to get your dry components ready before they hit the heat. Don’t forget this next part!
This mixture goes great poured over our blueberry pie recipe, too, because the method is almost identical!
The Crucial Step for Perfect Cherry Pie Filling Consistency
Okay, listen up, because this is why you won’t have soup for dessert. You must whisk the cornstarch and the sugar together in a separate little bowl first. I mean, really whisk them until they look like one sandy powder. If you dump the starch right into the hot liquid, you get lumps that are impossible to fix!
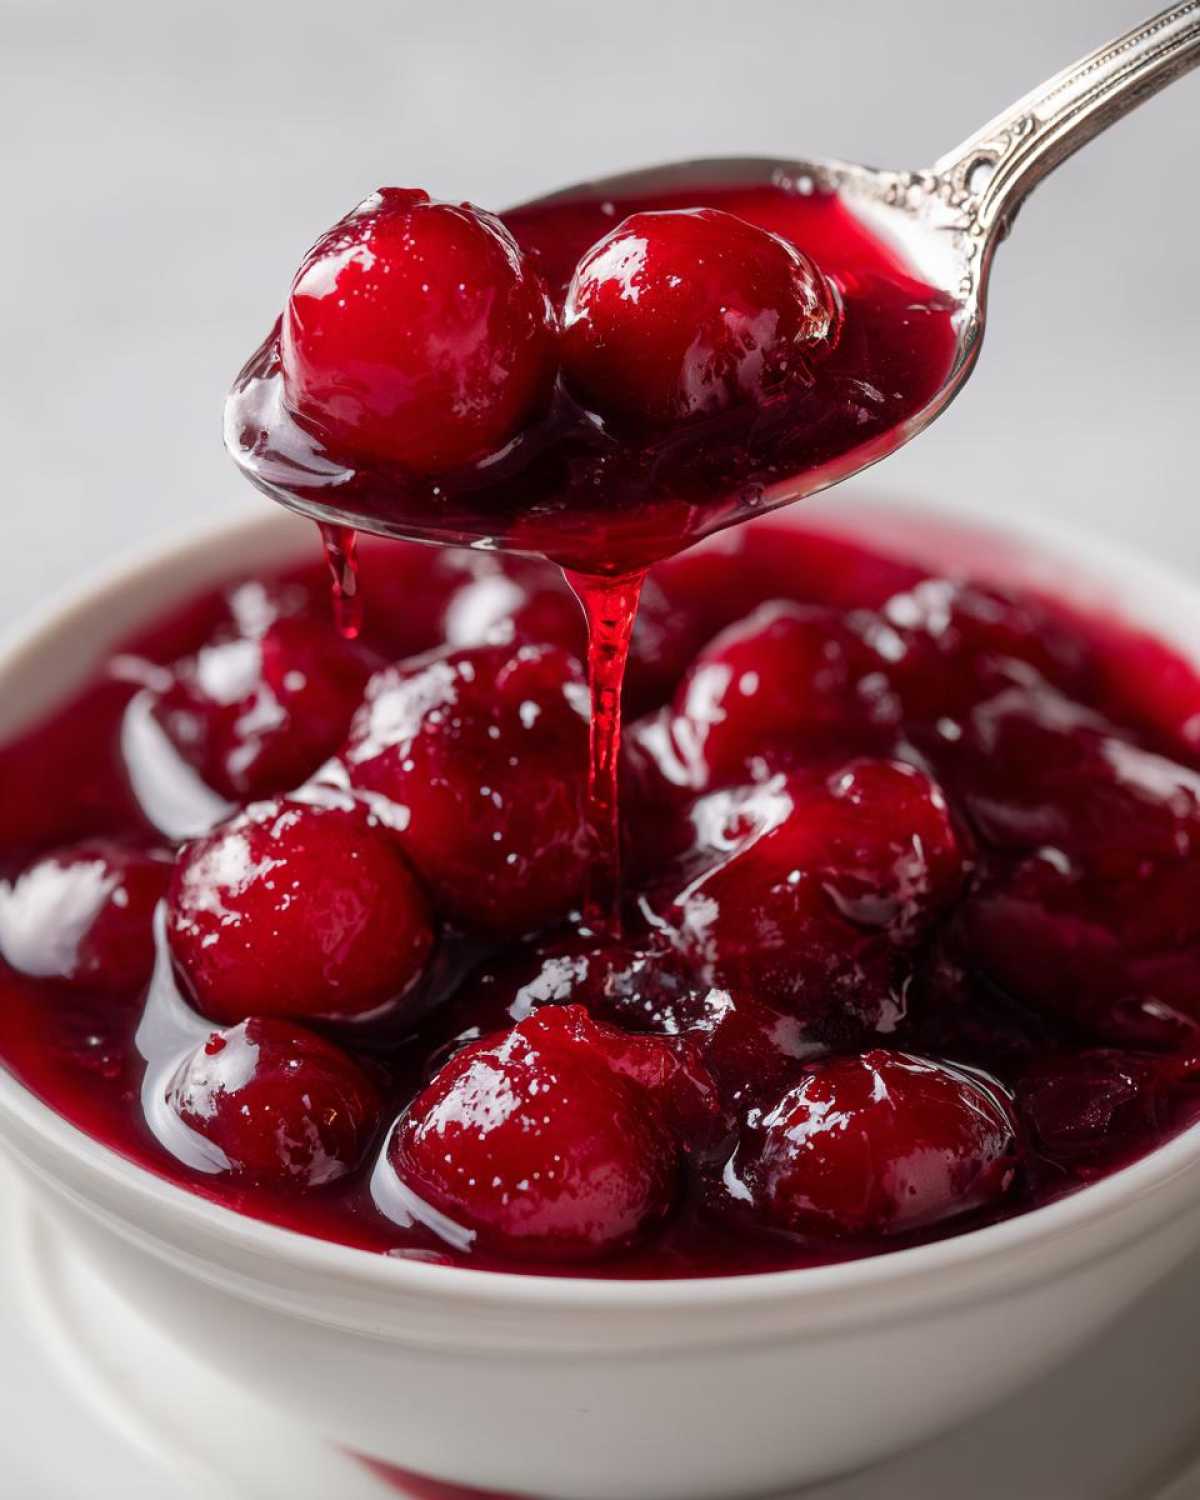
Once your sugary starch mix is ready, pour it over your cherries on the stove. Bring that whole mixture up over medium heat and stir non-stop. You want it to get thick and bubbly. When it’s boiling and thick enough to really coat the back of your spoon heavily, keep it bubbling for just one full minute more. That minute cooks out that funny raw starch taste. Once you pull it off the heat, stir in your almond and lemon juice, and then you just have to let it cool completely. That resting time is when it truly sets up strong!
Tips for the Best Cherry Pie Filling Texture and Flavor
We’ve got the thickness locked down, but Liam also showed me how to push the flavor over the top. If you’ve ever had that deep, almost unnervingly vibrant filling from a fancy bakery, you can do it too! It really elevates this basic fruit pie filling beyond just a home-style dessert.
If you want that true bakery style cherry filling—that gorgeous, deep, saturated red—you can absolutely add just a few drops of red food coloring right at the very end when you add the almond extract. Don’t go crazy; we want it looking like intense cherries, not cartoonish, you know?
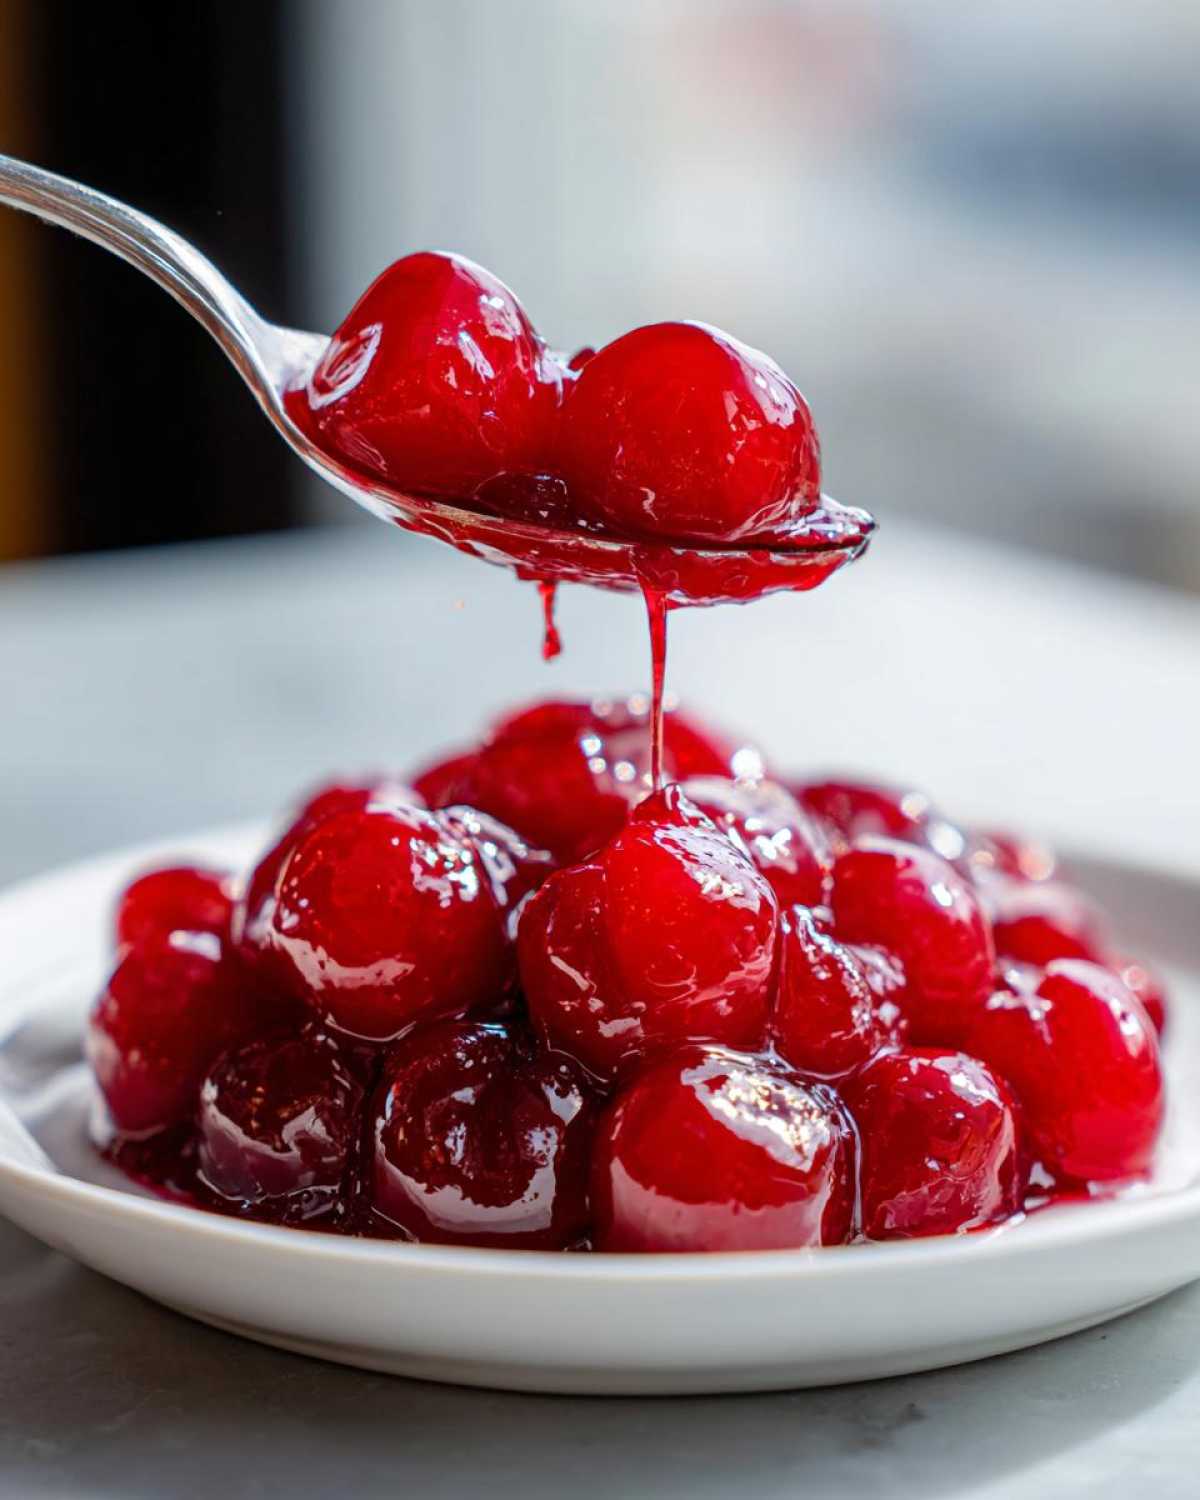
Now, if you are chasing that zingy, sharp flavor that cuts through rich cheesecake, remember my note about sour cherries. They are tart, but they have an amazing depth. If you’re using the sweet ones, a tiny bit more lemon juice really brightens things up. Once you’ve got this filling perfected, you should totally check out the recipe linked here for another delicious take on homemade cherry pie filling!
Creative Ways to Use Your Homemade Cherry Pie Filling
Okay, now that you’ve got this absolutely perfect, thick jar of cherry pie filling cooling on the counter, you might realize you made way too much for just one pie! Don’t worry, that’s planned! This filling is too good to be reserved only for the crust folks. It’s honestly one of my favorite versatile baking dessert ingredients.
Because we made sure this filling is thick, it’s a superstar for anything creamy. Have you ever made a no-bake cheesecake? Because it’s already set up, you can spoon this right over the top without fear of weeping or running. It makes the best cherry filling for cheesecake I’ve ever seen—bright red and perfectly chewy on top of the creamy base. We actually have a creamy cheesecake recipe, the snickerdoodle version, where this filling would be divine!
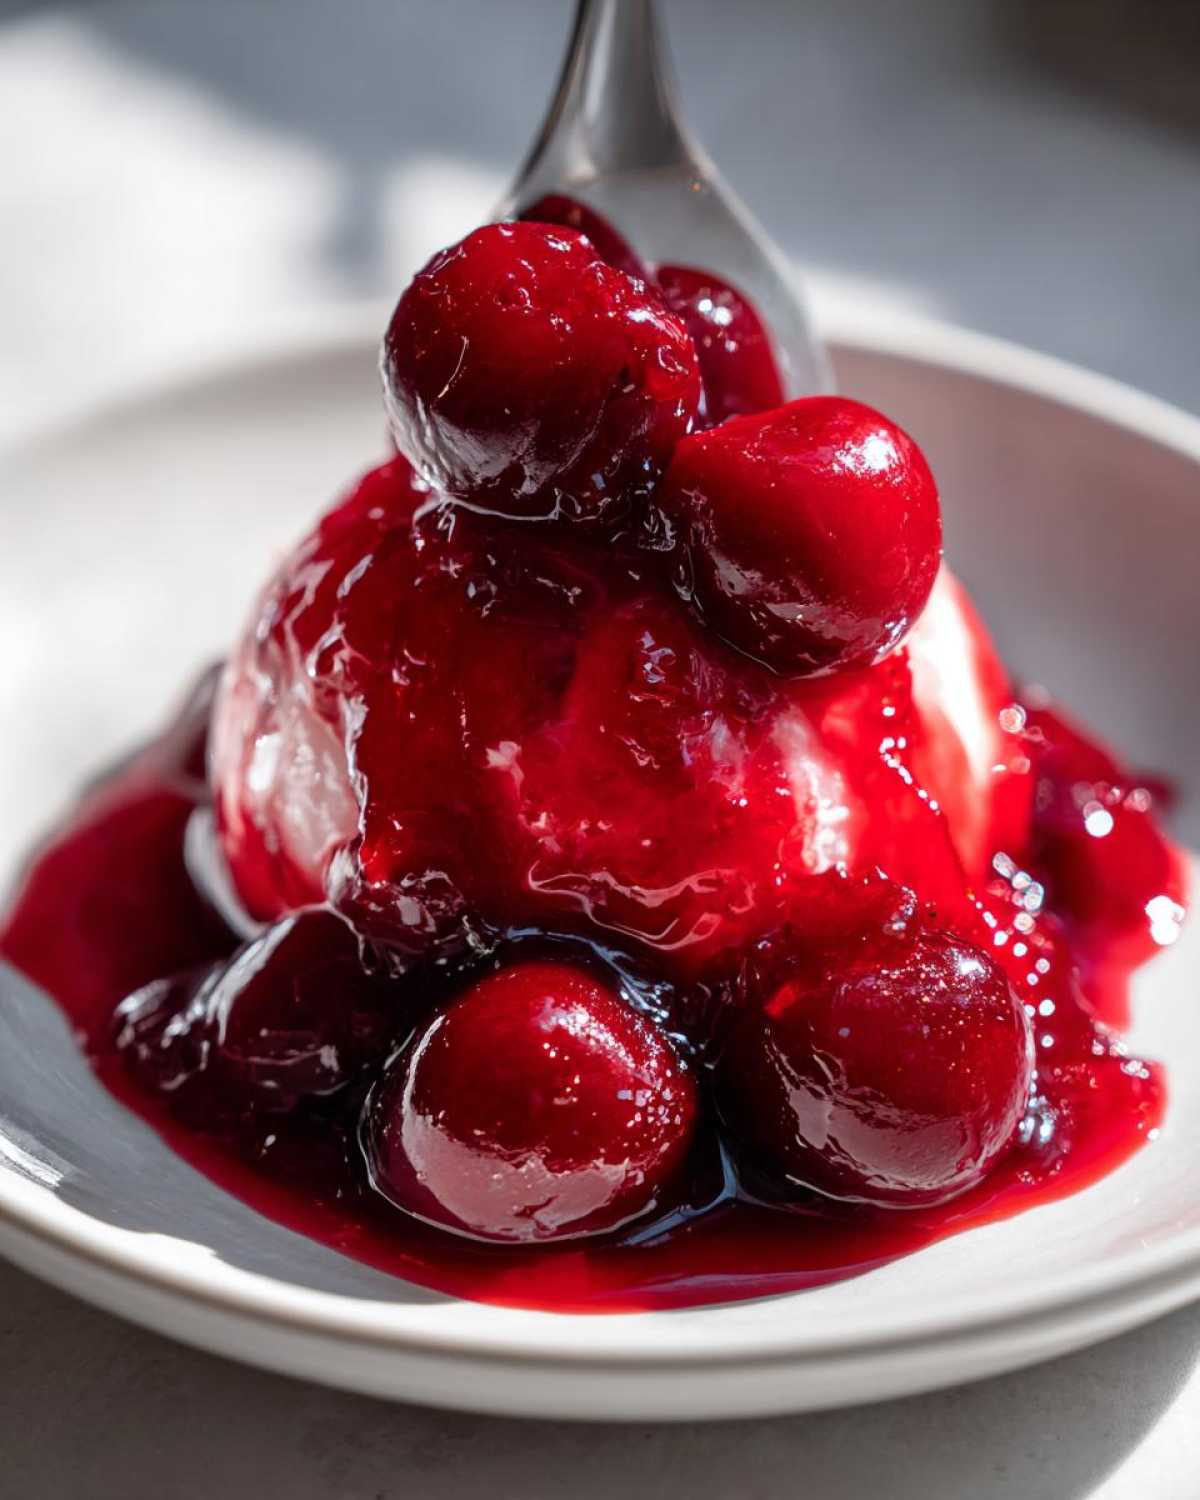
It is also fantastic whipped up with a little bit of whipped cream to make a beautiful topping. Picture it on top of waffles in the morning or spooned over vanilla ice cream for a warm evening treat. It’s a premium cherry dessert topping, plain and simple!
Quick Cherry Pie Filling Recipe Shortcut Using Canned Cherries
Now, I’m never going to tell you to skip making it from scratch—you know how much I love having control over the sugar! But life happens, right? If you’re in a real bind and need an instant dessert topping, you can always rely on a can of store-bought stuff for a quick fix. The trick is still texture, though! If you use canned cherries, always drain off some of that super watery syrup before you use it as a topping. Even when taking a shortcut, you still want that thick body so things don’t slide right off your waffle!
Storage and Making Ahead Tips for Cherry Pie Filling
One of the best things about making this fruit pie filling from scratch is that you totally get to be ahead of the game! Seriously, you can make a massive double batch and keep it ready for when those pie cravings hit. Just remember, cooling is non-negotiable; you absolutely have to let it get completely cool before you put it anywhere.
Once it’s room temperature, scoop it into an airtight container. It stays beautifully in the fridge for about ten days—which is great for topping waffles or spreading on my husband Liam’s favorite date nut bread.
If you want to keep it even longer? Pop it in the freezer! It freezes like a charm for up to three months. When you’re ready to use it, just thaw it overnight in the fridge, give it one final stir, and you’re good to go!
Frequently Asked Questions About Making Cherry Pie Filling
I know you might still have a few little worries buzzing around—especially after dealing with messy fillings in the past! I asked Liam to quickly jot down answers to the most common things people ask when they want to master this recipe. We want you to feel totally confident serving up your next dessert!
Can I use cherry pie filling with frozen cherries?
Yes, absolutely! This is one of the best parts. You can use frozen cherries straight from the freezer bag; remember, don’t thaw them! The liquid in the bag will just count toward the water content we need for cooking. It’s perfect if you need an easy cherry pie filling because you don’t have to wait for fresh fruit!
What is the secret to a thick cherry pie filling recipe?
It all comes down to that slurry! The real secret to a thick cherry pie filling recipe that never runs is making sure you whisk the cornstarch and sugar together completely *before* they hit the hot liquid. Then, you MUST let it boil for a full minute after it thickens. That minute cooks off the chalky taste, giving you that perfect, glossy texture without that dreaded gloppy feeling. We’ve linked our main blog page here if you want to read more general baking tips!
Should I use sweet or sour cherries for the best result?
That depends entirely on your taste buds! If you like a dessert that is purely sweet and bursting with bright fruit flavor, stick to sweet cherries. If you love that deep, tart, old-fashioned flavor that balances out a sweet crust better, try sour cherries—just remember to add that extra sugar we mentioned!
Nutritional Estimate for Homemade Cherry Pie Filling
Now, I know some of you are watching the numbers, and honestly, when you’re making something this delicious completely from scratch, you deserve to know what you’re dealing with! Liam pulled together a quick estimate based on the portion sizes for this incredible fruit pie filling, but remember, this is just a ballpark figure.
Since we aren’t using weird processed fillers or tons of preservatives like big brands do, the numbers are pretty honest, especially with all that beautiful fresh fruit in there. These estimations are based on a ½ cup serving size, which is generous!
- Calories: Around 185
- Sugar: About 30g (Yes, there’s sugar, but it’s what makes it taste like summer!)
- Carbohydrates: Roughly 47g
- Protein: A tiny hint, about 0.5g
- Fat: Basically zero, which is amazing for a dessert topping!
Just keep in mind that these figures can definitely swing depending on what baking dessert ingredients you personally swap out—if you use a sugar alternative or bump up the sour cherries, it changes things. But as a baseline for our foolproof recipe, it gives you a great idea of the treat you’re enjoying!
Share Your Perfect Cherry Pie Filling Creations
Honestly, I hope you’re as excited as I am about how easy this was! Now that you have mastered the cherry pie filling secret—the one that keeps everything thick and unbelievably juicy—I want to see what you’ve made! This is the part where we build our little TasteTaught family together.
Please, if you try this recipe, don’t be shy! We absolutely live for your feedback. Leave a detailed comment below letting us know how it turned out. Did you use it in a pie? Did you put it on waffles? Tell us everything!
And for goodness sake, if you love it, give us that solid five-star rating! It helps other bakers find this foolproof guide. Also, when you post pictures on Instagram or Facebook—and you totally should because this filling looks gorgeous—please tag Clara and Liam! We love seeing your beautiful creations.
If you have any lingering questions or just want to share a success story that isn’t covered here, pop over to our contact page. We read every message, and we love hearing how Liam’s patience in the kitchen translated into your success!
PrintFoolproof Thick & Juicy Homemade Cherry Pie Filling Recipe

Learn how to make the best thick and juicy homemade cherry pie filling from scratch. This recipe prevents runny results and works perfectly for pies, cheesecakes, and tarts.
- Prep Time: 10 min
- Cook Time: 10 min
- Total Time: 20 min
- Yield: About 5 cups
- Category: Dessert Filling
- Method: Stovetop Cooking
- Cuisine: American
- Diet: Vegetarian
Ingredients
- 4 cups fresh or frozen sweet cherries, pitted
- 1 cup granulated sugar
- 1/2 cup water
- 1/4 cup cornstarch
- 1 teaspoon lemon juice
- 1/2 teaspoon almond extract
- 1/4 teaspoon salt
Instructions
- If using frozen cherries, do not thaw them first. Place the cherries and water in a medium saucepan.
- In a small bowl, whisk the cornstarch with the sugar until fully combined. This prevents lumps.
- Pour the sugar and cornstarch mixture over the cherries in the saucepan. Stir gently to combine.
- Place the saucepan over medium heat. Cook, stirring constantly, until the mixture thickens significantly and begins to bubble. This usually takes 5 to 8 minutes.
- Once boiling, continue to cook and stir for 1 minute to cook out the raw starch flavor. The filling should be thick enough to coat the back of a spoon heavily.
- Remove the pan from the heat. Stir in the lemon juice, almond extract, and salt.
- Allow the cherry pie filling to cool completely before using it in your pie crust or dessert. Cooling allows the filling to set to its final, thick consistency.
Notes
- For a more tart flavor, use sour cherries and increase the sugar by 1/4 cup.
- If you want a bakery style cherry filling, use only sweet cherries and add a few drops of red food coloring for a deeper color.
- This filling is excellent as a topping for waffles or spooned over vanilla ice cream.
- If you are canning this filling, follow proper safe canning procedures for high-acid fruit fillings.
Nutrition
- Serving Size: 1/2 cup
- Calories: 185
- Sugar: 30
- Sodium: 5
- Fat: 0.2
- Saturated Fat: 0
- Unsaturated Fat: 0.1
- Trans Fat: 0
- Carbohydrates: 47
- Fiber: 2
- Protein: 0.5
- Cholesterol: 0