

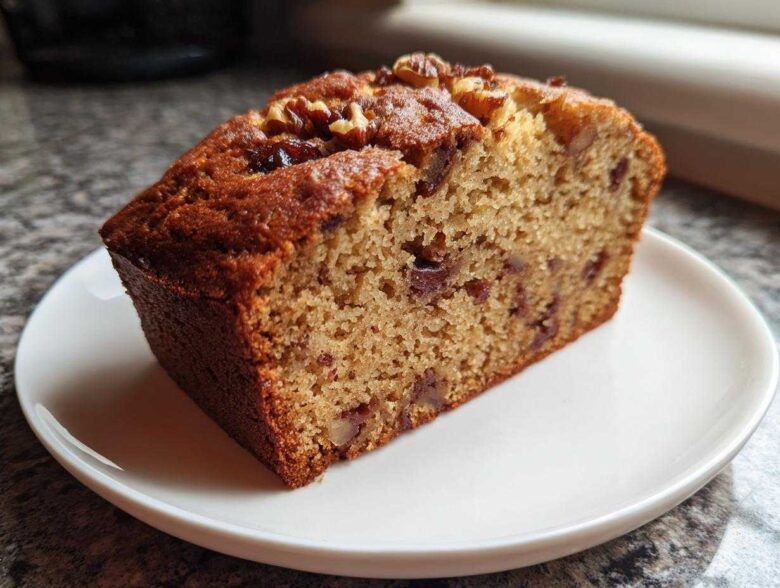
Oh, there’s just nothing better than the smell of a sweet, spiced loaf baking right when the air gets a little crisp outside, isn’t there? I swear, the scent of homemade date nut bread instantly fixes whatever mood I’m in. Forget fiddly cakes; this is the kind of comfort food baking that actually feels rewarding without taking up an entire afternoon. This recipe, my friends, is the one I always come back to because it is hands-down the most wonderfully moist and surprisingly easy **date nut bread** you will ever whip up. Trust me, this loaf has been the star of every family coffee morning and impromptu afternoon snack session at my house for years. I finally nailed the perfect texture, and now I’m sharing all my secrets with you so you can forget every dry loaf you’ve ever suffered through! If you want to know a little more about the care we put into these recipes, you can always check out our story here.
Why This Classic Date Nut Bread Recipe Tops the List
When I started developing this recipe, I wanted something that felt truly old-fashioned but didn’t require hours of fussing. This **date nut bread** delivers pure comfort without the complicated steps. It’s easily my favorite quick bread for a reason!
- It consistently produces a wonderfully **Moist Date Loaf**. You won’t have that dry, crumbly texture that some quick breads suffer from.
- It uses the simple creaming method, making it perfect for even beginner bakers looking for reliable **Comfort Food Baking**.
- The flavor is perfectly balanced—sweet dates mingling with earthy nuts. It tastes exactly like it *should*.
Achieving the Perfect Moist Date Loaf Texture
The secret to that irresistible moisture starts before you even touch the butter! After you chop the dates, the trick is immediately pouring boiling water over them and stirring in the baking soda. That 10-minute soak softens the dates beautifully and basically primes them to release all that wonderful moisture right into your batter as it bakes.
The Quick Bread Method for Easy Date Nut Bread
Because this is an **Easy Quick Bread**, you’re using baking soda and powder. That means absolutely no yeast, no kneading, and no waiting around for things to double in size! You mix your wet ingredients, mix your dry ingredients, throw them together, and it’s ready for the oven in minutes. That speed is a lifesaver on busy mornings.
Gathering Your Ingredients for Homemade Date Bread
Before we even think about turning on the oven, we need to talk about the ingredients. Since this is such a simple recipe, the quality of what you put in really makes or breaks your **date nut bread**. We aren’t hiding anything here, relying instead on the natural sweetness from the dates and the rich flavor profile you get from brown sugar. This is pure, delicious flavor coming straight from scratch!
Ingredient Clarity and Preparation Notes
I always keep these ingredients stocked, but here are the things you absolutely must pay attention to before you mix everything up. Small details make a huge difference in baking, especially when you are making a fantastic **Homemade Date Bread** loaf!
- Always use pitted dates! I like to roughly chop them before they go into the hot water soak—it helps them break down faster.
- For the creaming step, your butter needs to be truly softened—not melted and greasy—so it whips up light and airy with the sugar.
- We need one full cup of packed light brown sugar. That molasses content is key to the deep, slightly caramelized flavor. Don’t substitute plain white sugar if you can help it!
- For the nuts, I usually stick with walnuts, but pecans work just as beautifully. Make sure they are chopped; we want texture, not giant boulders in the batter!
Step-by-Step Instructions for Classic Date Nut Bread
Okay, now for the fun part! Getting this **From Scratch Bread** assembled is surprisingly fast once you get organized. Honestly, if you have your ingredients ready to go, you’re halfway there. Just remember that baking is chemistry, so try not to rush the creaming process or the date soak—those steps matter more than you think!
Preparing the Dates and Activating the Soda
This is step two, but it happens first! As soon as you chop those dates, get them into a bowl and pour that boiling water right over them. That hot water plumps them up beautifully, making them tender and easy to blend later. Stir in the baking soda while the water is hot, and then you just let that sit quietly for ten minutes. This gives the soda time to react with the acidity of the dates, which gives our loaf that little extra lift we want. Don’t skip that ten minutes!
Mixing Wet and Dry Components for Date Nut Bread
While the dates are chilling out, focus on your butter and sugar. Beat that softened butter with the light brown sugar until it looks light and fluffy—we’re supposed to be incorporating air here, so don’t skimp on the mixing time! Then, you add your eggs one at a time. In a separate bowl, whisk your flour, baking powder, and salt together so everything is evenly distributed. When you combine them, add the flour mixture gradually to the butter mixture. Pay close attention here: mix just until you see no more streaks of dry flour. If you overmix at this point, you’ll develop too much gluten, and suddenly your **Date Nut Bread** will be tough instead of tender. We want tender!
Baking Time and Cooling the Date Nut Bread
Once you gently fold in your date mixture and the nuts, pour that glorious batter into your prepared 9×5 pan and slide it into that 350-degree oven. Sixty minutes is the target, but ovens are funny things, right? Start checking around the 55-minute mark. You’re looking for that classic sign: a wooden skewer inserted right into the center should come out clean, maybe with a couple of moist crumbs clinging to it, but definitely no wet batter. Here’s my big tip: let it cool in the pan for exactly 10 minutes on a wire rack. If you try to jump it out right away, it might just crumble on you. Those ten minutes let the structure firm up enough so you can turn it out perfectly intact!
Tips for Perfect Old Fashioned Date Nut Bread
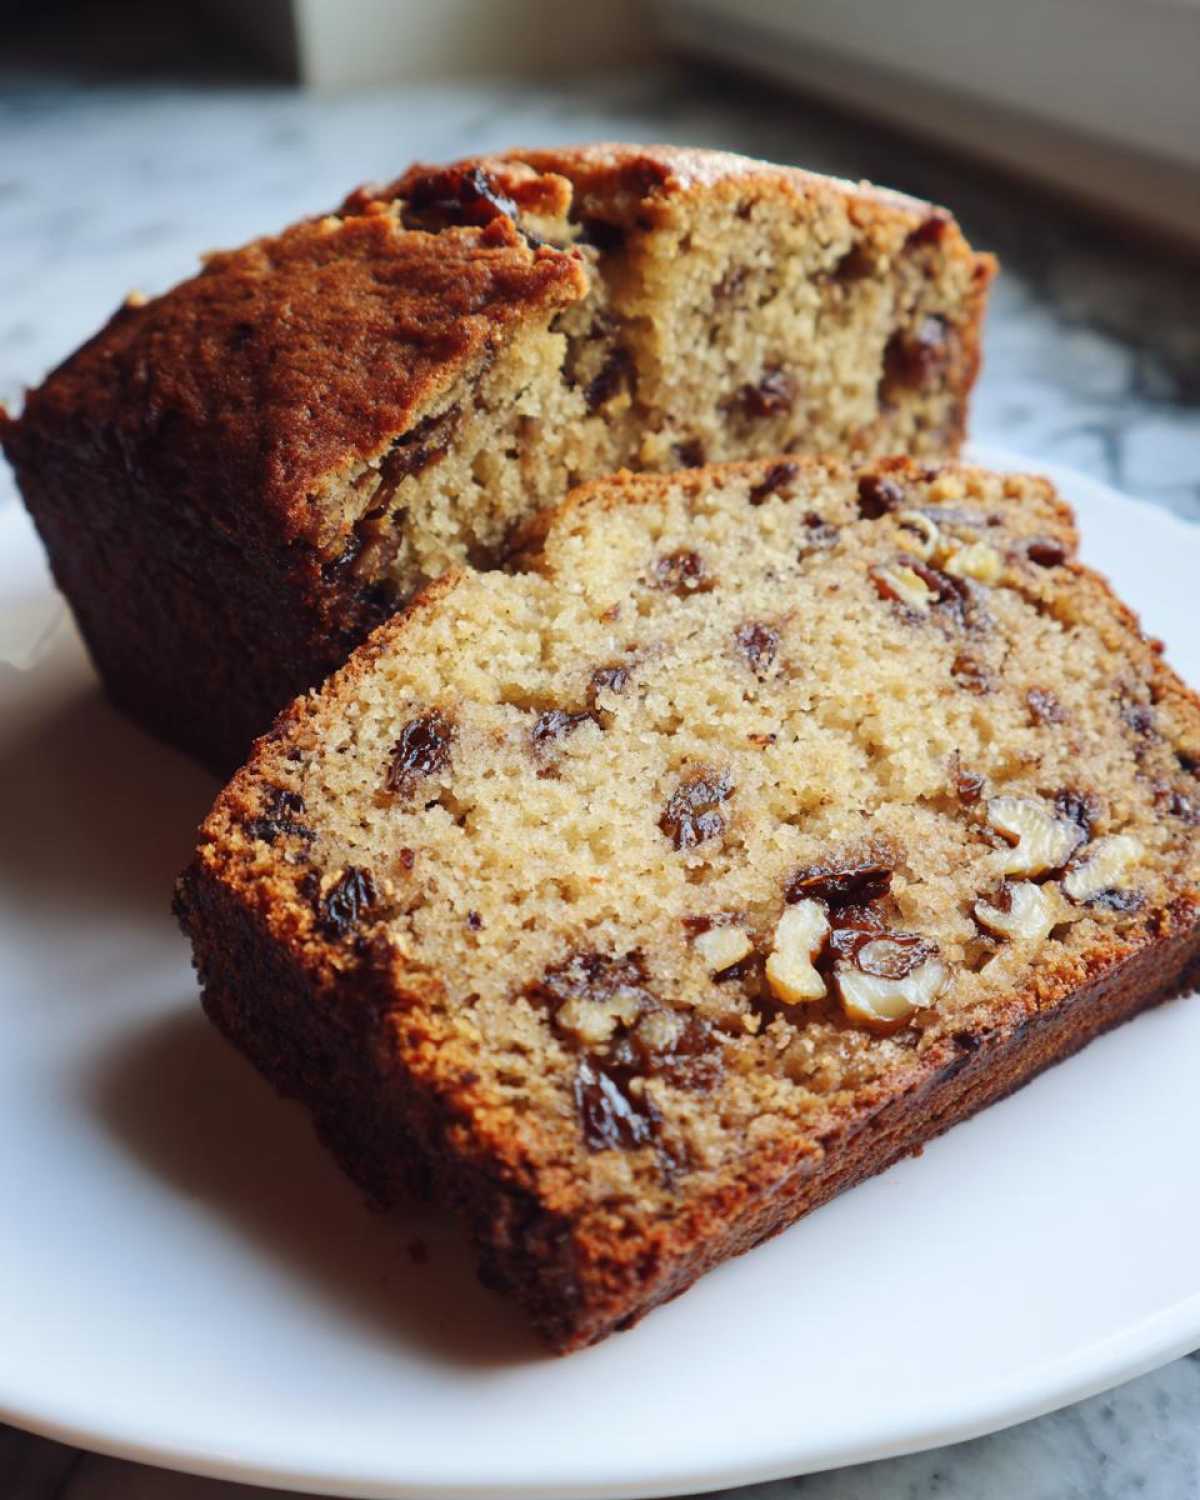
Even with a fantastic recipe, sometimes things don’t go exactly to plan, or maybe you just want to jazz it up a little! Making this **Old Fashioned Date Nut Bread** means using simple, honest ingredients, but there are a few tweaks I’ve learned over the years that really elevate the loaf. When it comes to baking with dates, you don’t want substitutions that compromise the moisture, so be careful what you change!
I remember one particularly embarrassing holiday when I ran out of walnuts halfway through making a batch destined for neighbors. I grabbed some slivered almonds, and oh boy, what a mistake! Almonds toast up way faster than walnuts and they just didn’t pair right with the dark sweetness of the dates. Lesson learned: stick close to the original recipe or substitute wisely!
Ingredient Swaps for Date and Walnut Bread
For this **Date and Walnut Bread**, if you aren’t a walnut fan, pecans are your golden ticket. They have a buttery, slightly richer flavor that complements the dates beautifully. They are usually a bit softer, too, which is nice in a **Snack Loaf Recipe** like this one.
The best advice I can give you on changing things up is sticking to the sugar. If you want a deeper, richer, almost molasses-heavy note in your loaf—which I think really highlights that old-fashioned flavor—try swapping out every bit of light brown sugar for dark brown sugar. It makes the crumb slightly denser and the color richer. Just make sure whatever sugar you use, it’s firmly packed when measuring it in!
Serving Suggestions for Your Date Nut Bread
So you’ve got this gorgeous, fragrant loaf of **date nut bread** sitting on your counter. Now what? The beauty of this type of sweet bread is its versatility! It’s not just a one-note treat. Seriously, you can serve this loaf any time of day and it feels totally appropriate.
For those early mornings, it makes an absolutely phenomenal **Breakfast Quick Bread**. I love slicing it thick, toasting it lightly until the edges are just crispy, and slathering it with a little salted butter—the contrast between the warm, soft interior and the melting butter is just heaven.
But wait, it gets better! This is also the perfect **Coffee Break Snack**. The dates and nuts pair incredibly well with a robust cup of coffee or even just a hot cup of tea in the afternoon. It travels well, too, so it’s great for packing in lunchboxes or taking along to a friend’s house.
If you’re feeling fancy, you absolutely have to try incorporating it into your entertaining spread. Slices of this bread are surprisingly elegant on a **Charcuterie Board Bread** selection. It offers a wonderful sweet counterpoint to salty cheeses, cured meats, and tangy jams. Just cut thin rounds, maybe drizzle a tiny bit of honey over the top, and watch people ask where you bought the fancy loaf!
Storage and Reheating Date Nut Bread
One of the best things about making a full loaf of **date nut bread** is knowing you have a ready-made **Snack Loaf Recipe** waiting for you all week long! You absolutely do not want this moist treasure drying out tucked away in the pantry, so here’s how I make sure every slice stays as tender as the first one.
For short-term storage—say, the first three or four days—I just wrap that cooled loaf tightly in plastic wrap first. I mean *tightly*. Then, I often place the wrapped loaf into a large zip-top bag, pressing out as much air as possible before sealing it. I keep it on the counter if I know we’ll eat it quickly, but if your kitchen is warm or humid, the fridge is safer. It’s surprisingly good straight out of the fridge, too!
Now, if you are like me and always accidentally bake two loaves when you only needed one, freezing is your best friend. Remember that tip about wrapping it tightly? Double-wrap it! Wrap the whole loaf in plastic wrap, then wrap it again in aluminum foil. This keeps freezer burn away, which is crucial for keeping that moisture locked in. It lasts wonderfully for about three months this way. And the best part? You don’t even need to thaw the whole thing.
When you’re craving just one slice, just slice off what you need while it’s still semi-frozen. Pop that slice straight into the toaster for a minute or two. It thaws perfectly while heating up, and it comes out tasting like it was baked fresh that morning. It’s the easiest way to guarantee you always have **date nut bread** on hand!
Frequently Asked Questions About Date Nut Bread Recipe
I know you might have a few last questions buzzing around before you dive into baking this batch of **date nut bread**. That’s totally normal! When you’re making something special, you want to get it right. I’ve pulled out some of the top things readers ask me about this **Classic Quick Bread** recipe. If you have a question not covered here, please feel free to check out our full disclaimer page for contact options!
Can I make this Date Nut Bread without nuts?
You absolutely can! Not everyone loves or can have nuts, and that’s fine. If you skip the nuts entirely, you might find the batter a little looser than expected since you removed a substantial dry ingredient. My favorite trick for keeping things interesting without adding pecans or walnuts is to just add an extra half-cup of chopped dates. That makes for an intensely sweet, fudgy loaf. Alternatively, some folks have toasted sunflower seeds mixed in for that necessary crunch; that works really well too!
What is the best way to sweeten Date Nut Bread?
For this specific recipe, I strongly suggest sticking with brown sugar—light or dark, either works. Brown sugar does so much more than just sweetening; it brings moisture because it contains molasses, which keeps our **date nut bread** soft, and it adds that deep, comforting background flavor that you just can’t replicate with plain white sugar. White sugar dries baked goods out faster, and we are working hard to make sure this is a perfectly **Moist Date Loaf**, remember?
Is this Date Nut Bread similar to Pat Nixon Date Nut Bread?
That’s such a fun question! The **Pat Nixon Date Nut Bread** recipe is famous because it’s such a strong example of an **Old Fashioned Date Nut Bread** style that was popular for years. What my recipe shares with that classic style is the focus on simplicity, the use of baking soda as the primary leavener, and that wonderfully moist texture. While I don’t know the exact measurements she used, I can tell you this recipe delivers that same homey, deeply flavorful, reliable loaf that everyone equates with those historic, comforting **Sweet Bread Recipes**.
Understanding the Nutrition of Homemade Date Bread
You know, when I’m baking something like this lovely **date nut bread**, the taste and the feeling are usually my main focus—it’s true comfort food! Because we’re all making this in our own kitchens with whatever brand of butter, sugar, or pecans we have on hand, the exact nutritional information can shift around quite a bit. That’s just the nature of baking from scratch!
So, while I might crunch some numbers occasionally, I always want to be super clear that any calorie or sugar estimate floating around for this **Homemade Date Bread** is truly just a general guideline based on standard ingredient databases. Think of it as inspiration, not gospel! If you have specific dietary concerns, or if you need exact counts for an intense health goal, please don’t rely on my quick estimates.
For precise dietary needs, the best thing you can do is plug in the specific brands and quantities you used into your favorite tracking app or consult directly with a registered dietitian who can give you personalized advice for your **Breakfast Quick Bread** portions. We want everyone baking, but we also want everyone safe and informed, so please check your ingredients against professional advice if you need to!
If you’re curious about how we run things around here privacy-wise, you can always take a peek at our privacy policy.
Share Your Date Nut Bread Creations
Now that you’ve got a steaming, fragrant loaf of the best **date nut bread** your kitchen has ever produced, I really want to see it! Seriously, there is nothing that makes my day more than hearing that someone else’s family is enjoying one of these recipes.
Did you try the dark brown sugar swap? Did you serve it warm on a chilly morning or have it sitting out for a beautiful **Coffee Break Snack**? Please tell me everything in the comments below! Your feedback helps other bakers feel confident when they approach this recipe next time.
And if you snapped a picture of your finished loaf—maybe sliced thin for a cheese board or slathered with cream cheese—please tag me on social media! Seeing your gorgeous, moist loaves is the highlight of my week. It’s so much fun to connect over these simple, beautiful bakes.
For any other questions or if you just want to chat more about the magic of **baking with dates**, don’t hesitate to reach out through the contact page. Happy baking, and enjoy every slice!
PrintClassic Moist Date Nut Bread
This recipe yields a moist, flavorful loaf of date nut bread, perfect for breakfast or snacking.
- Prep Time: 15 min
- Cook Time: 60 min
- Total Time: 75 min
- Yield: 1 loaf
- Category: Baking
- Method: Baking
- Cuisine: American
- Diet: Vegetarian
Ingredients
- 1 cup boiling water
- 1 cup pitted dates, chopped
- 1 teaspoon baking soda
- 1/2 cup (1 stick) unsalted butter, softened
- 1 cup packed light brown sugar
- 2 large eggs
- 1 teaspoon vanilla extract
- 1 3/4 cups all-purpose flour
- 1 teaspoon baking powder
- 1/2 teaspoon salt
- 1 cup chopped walnuts or pecans
Instructions
- Preheat your oven to 350 degrees F (175 degrees C). Grease and flour a standard 9×5 inch loaf pan.
- Pour the boiling water over the chopped dates in a medium bowl. Stir in the baking soda and set aside for 10 minutes to soften.
- In a large bowl, cream together the softened butter and brown sugar until light and fluffy. Beat in the eggs one at a time, then stir in the vanilla extract.
- In a separate bowl, whisk together the flour, baking powder, and salt.
- Gradually add the dry ingredients to the wet ingredients, mixing just until combined. Do not overmix.
- Stir in the softened date mixture and the chopped nuts until they are evenly distributed throughout the batter.
- Pour the batter into the prepared loaf pan.
- Bake for 55 to 65 minutes, or until a wooden skewer inserted into the center comes out clean.
- Let the bread cool in the pan for 10 minutes before turning it out onto a wire rack to cool completely.
Notes
- For a richer flavor, use dark brown sugar instead of light brown sugar.
- This bread freezes well; wrap tightly in plastic wrap and then foil before freezing.
- Serve slices plain, toasted, or with cream cheese or butter.
Nutrition
- Serving Size: 1 slice
- Calories: 280
- Sugar: 25
- Sodium: 180
- Fat: 13
- Saturated Fat: 5
- Unsaturated Fat: 8
- Trans Fat: 0
- Carbohydrates: 39
- Fiber: 2
- Protein: 5
- Cholesterol: 55