

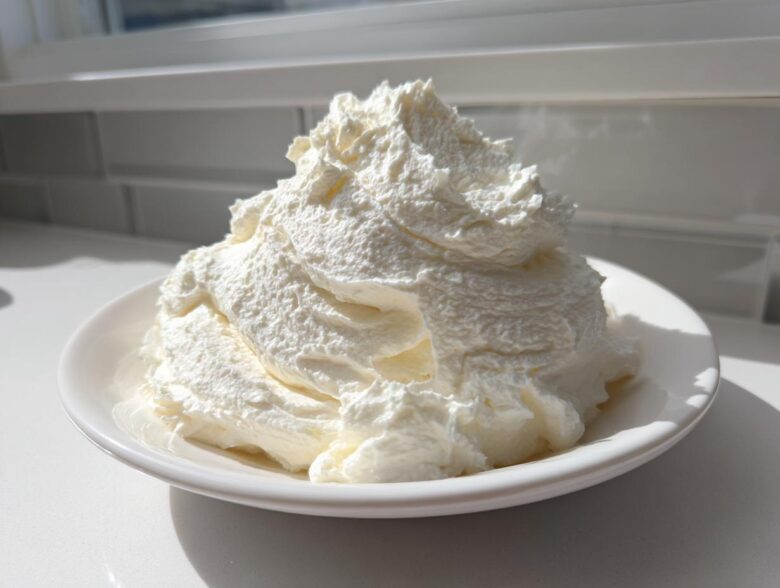
If you’ve ever stared longingly at a bakery case, wondering how they get their frosting so perfectly piped, I’m here to tell you: you absolutely can do that! Right in your own kitchen. When Liam first started teaching me, I thought making a truly impressive topping was some kind of baking magic trick, but it’s really just about technique. That’s why we are so excited to share our vanilla buttercream frosting recipe with you. This isn’t just any icing; it’s creamy, it’s delightfully stable for piping, and seriously, it comes together in about 10 to 15 minutes. Liam’s steady hand helped me nail the ratios every time, ensuring that even a beginner like me can achieve that fluffy, bakery-style finish. Forget runny messes; get ready for pure piping perfection! It reminds me a little bit of the creamy texture we get in the snickerdoodle cheesecake.
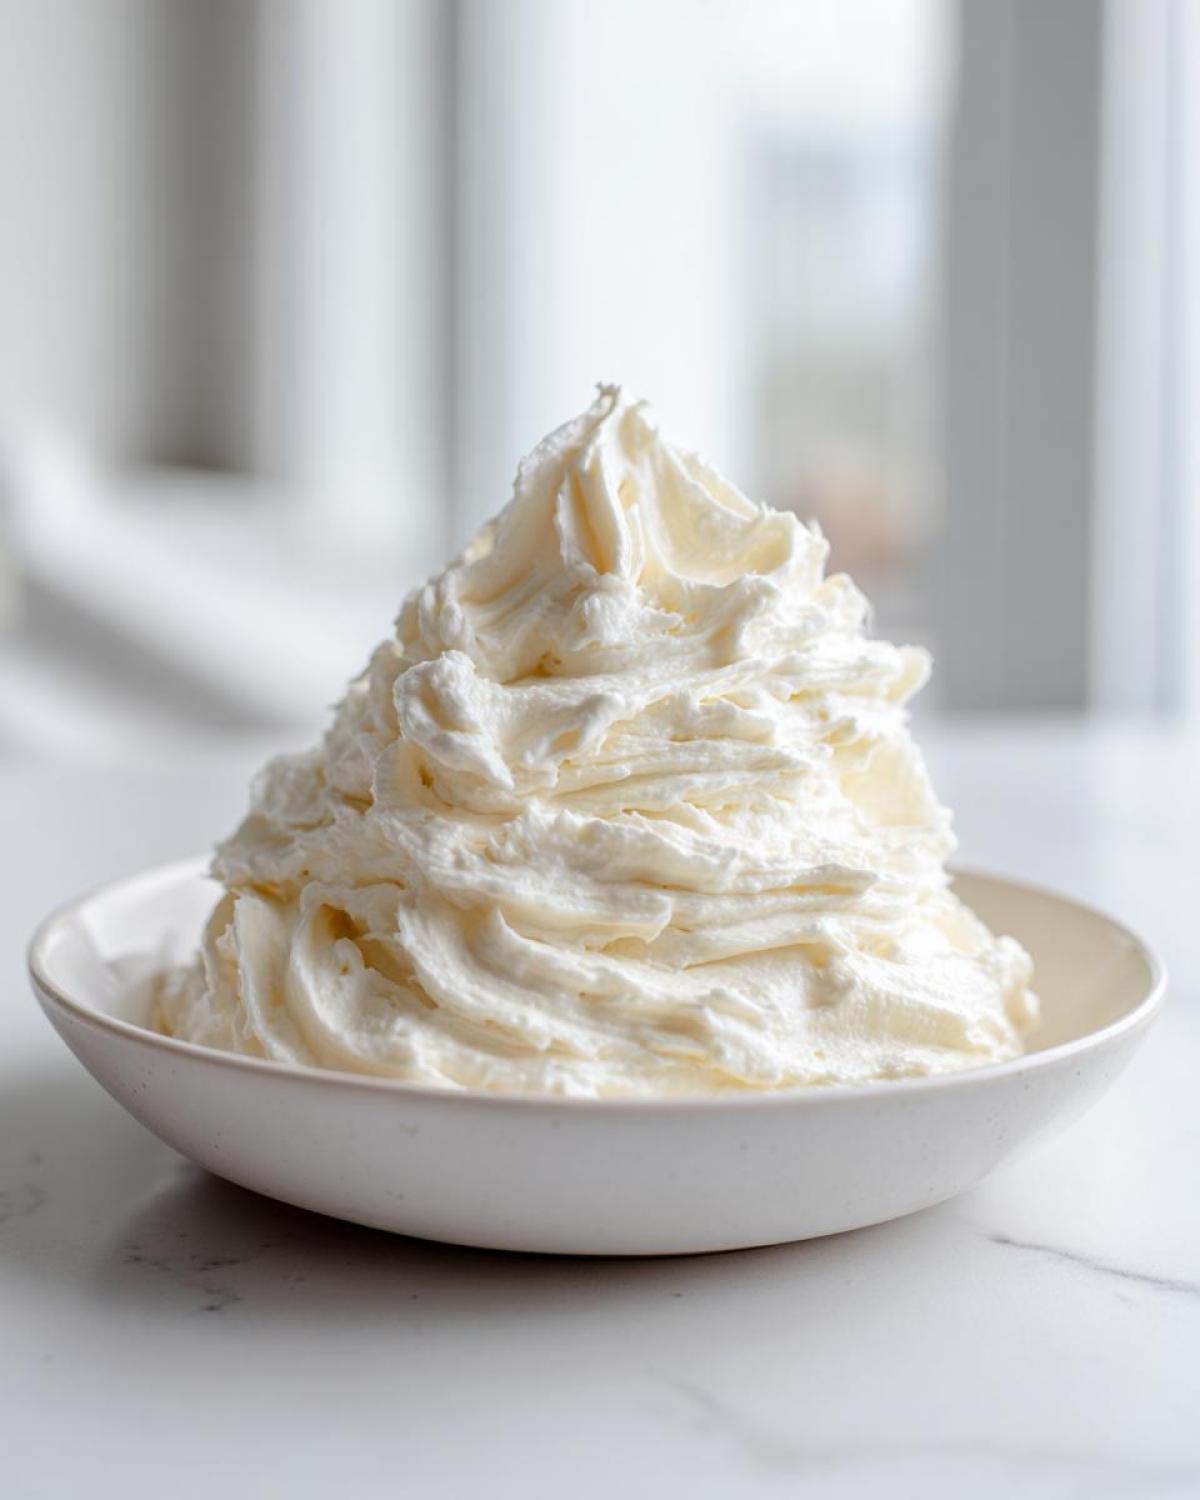
Why This is the Best Vanilla Buttercream Frosting Recipe You Will Ever Need
Honestly, there are a million frosting recipes out there, but ours is the one that stuck! This vanilla buttercream frosting works because it’s built on the classic American method, which is incredibly fast—we’re talking under 15 minutes total. That speed doesn’t sacrifice quality, either. We use Liam’s exact timing specifications to ensure you get that sought-after Bakery Style Buttercream feel without needing meringue or egg whites. It’s my go-to topping for everything from chocolate cakes to my favorite chocolate chip cookies.
Achieving That Fluffy Frosting Recipe Texture
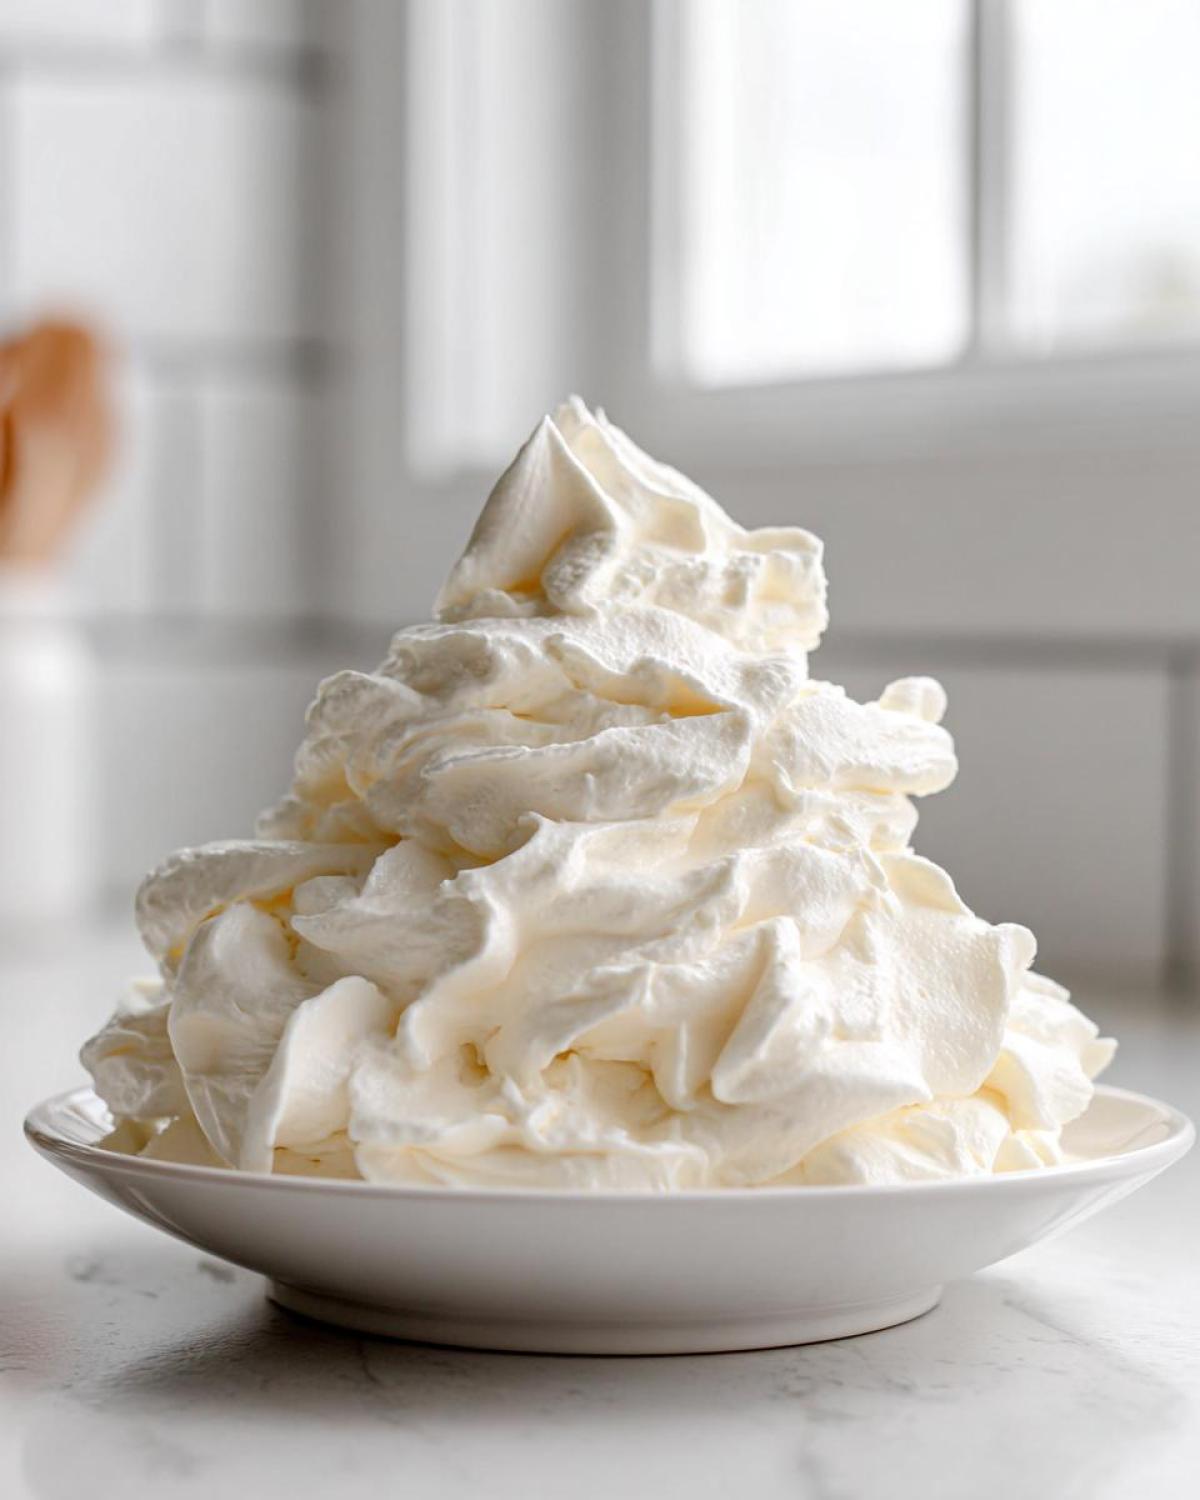
The real magic that makes this a true Fluffy Frosting Recipe happens right at the end. If you stop mixing too soon, it tastes heavy. You absolutely must follow Step 5! That final 2 to 3 minutes of whipping on medium-high speed is crucial. It incorporates loads of tiny air bubbles, making the frosting unbelievably light right before you use it. Don’t skip it; it’s Liam’s technical trick!
Stable Buttercream for Cakes: Holding Its Shape
This is why I love using this recipe when the weather gets a little warmer. Because we use high-quality butter and get the sugar-to-fat ratio just right, you end up with Stable Buttercream for Cakes that doesn’t melt into a puddle instantly. That stability translates directly to perfect results when you are aiming for beautiful Piping Consistency Frosting swirls on your cupcakes.
Ingredients for Your Creamy Buttercream
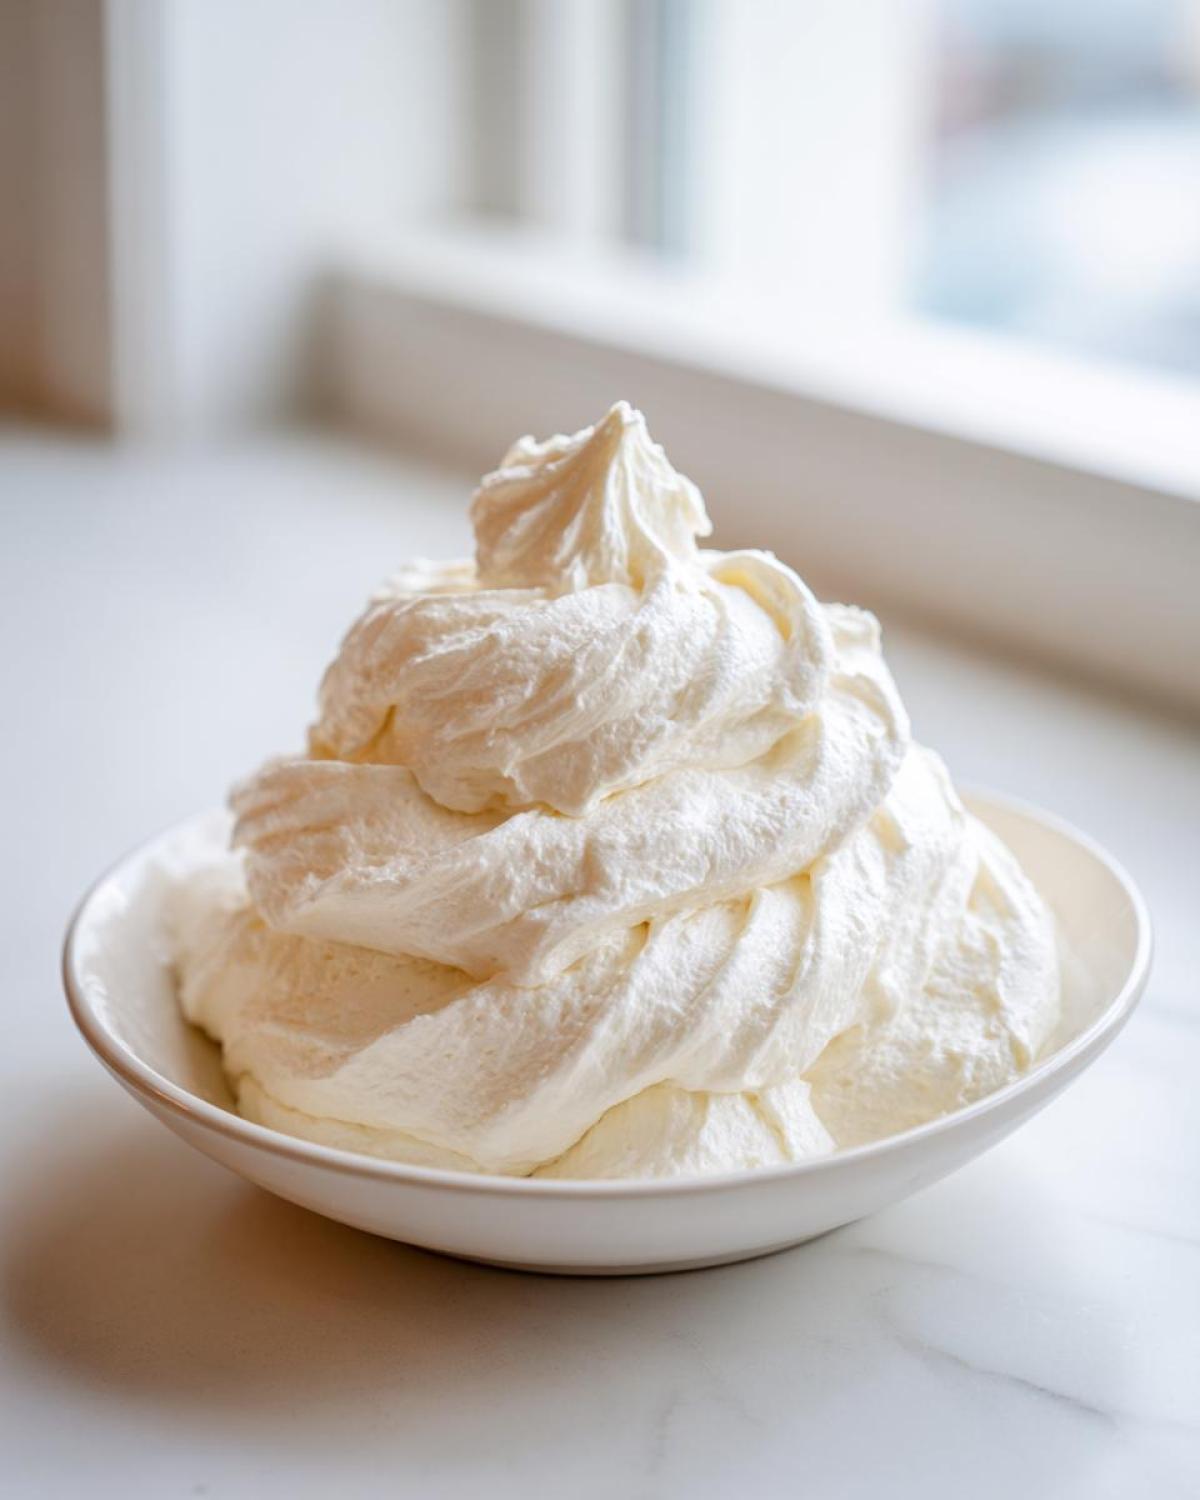
You asked for an easy recipe, and honestly, the ingredients list is super simple—that’s the beauty of an American Creamy Buttercream! What matters most here is the quality of what you use, especially that vanilla. Liam always insists on pure vanilla so we get that wonderfully Rich Vanilla Flavor Frosting.
- 1 cup unsalted butter, softened to room temperature (Seriously, let it sit out!)
- 4 cups powdered sugar, sifted (Sifting is non-negotiable for smoothness!)
- 1 teaspoon pure vanilla extract (The good stuff counts here!)
- 1/4 teaspoon salt
- 3 to 5 tablespoons heavy cream or milk
We usually make enough for a full layer cake, which yields about 3 cups of topping. If you want to avoid the crust on your next blueberry pie, make sure your butter isn’t greasy!
How To Make Vanilla Buttercream Frosting: Step-by-Step American Buttercream Tutorial
Okay, deep breath. You’re about to make the most amazing vanilla buttercream frosting in about 10 minutes flat. It’s all about moving quickly but accurately, which Liam drills into me every time! We are going to walk through the mixing process so you end up with that gorgeous, Smooth Vanilla Frosting that’s ready for cookies and cakes. Don’t stress about timing; just follow the machine!
Creaming the Butter for the Perfect Base
First things first: the butter. Pop your softened butter into your mixer bowl with the paddle attachment. You want it to look like pale, beautiful silk—no lumps allowed! Liam always tells me, “Clara, if you see a stubborn hard spot, stop the mixer and wait five more minutes.” Seriously, cold butter equals a lumpy frosting, and we don’t want that sticky texture. Beat it until it’s completely smooth and creamy on medium speed, which usually takes about two minutes.
Incorporating Sugar and Achieving the Right Consistency
Next, bring that speed down to low because we don’t want a powdered sugar cloud explosion in your kitchen (Oops! Happened once!). Add your sifted sugar one cup at a time, letting it incorporate fully before the next cup goes in. After all the sugar is in, toss in the vanilla and salt, and this is the fun part: increase the speed to medium-high for 3 minutes. That’s the secret to making it truly fluffy. Finally, splash in your heavy cream or milk, starting with just 3 tablespoons if you want that firm Piping Consistency Frosting. Only add more one tablespoon at a time until it swirls exactly how you want it. You can always check out a quick guide on getting the right consistency here: fluffy stable recipe tutorial. Don’t forget to check out tips for making puff pastry while you wait for your butter to soften!
Tips for Success: Avoiding Grainy or Melting vanilla buttercream frosting
Liam always says that making a perfect vanilla buttercream frosting is 90% preparation and 10% mixing. My biggest early mistakes were skipping the prep steps, which led to disastrous textures! If you want that perfect, Smooth Vanilla Frosting, these are the things you absolutely must pay attention to. We’ve all been there, staring at a lumpy batch, and it’s so frustrating when you just want to frost those perfect dirt cake cups!
Troubleshooting Common Issues
Let’s talk fixes, because things happen—that’s baking! The number one way to avoid that gritty mouthfeel is to make sure you are meticulously sifting your powdered sugar. If you skip that, the frosting will stay slightly grainy, no matter how long you beat it. For texture, remember that room-temperature butter is your best friend; it creams better and won’t leave those hard, cold chunks throughout your Creamy Buttercream.
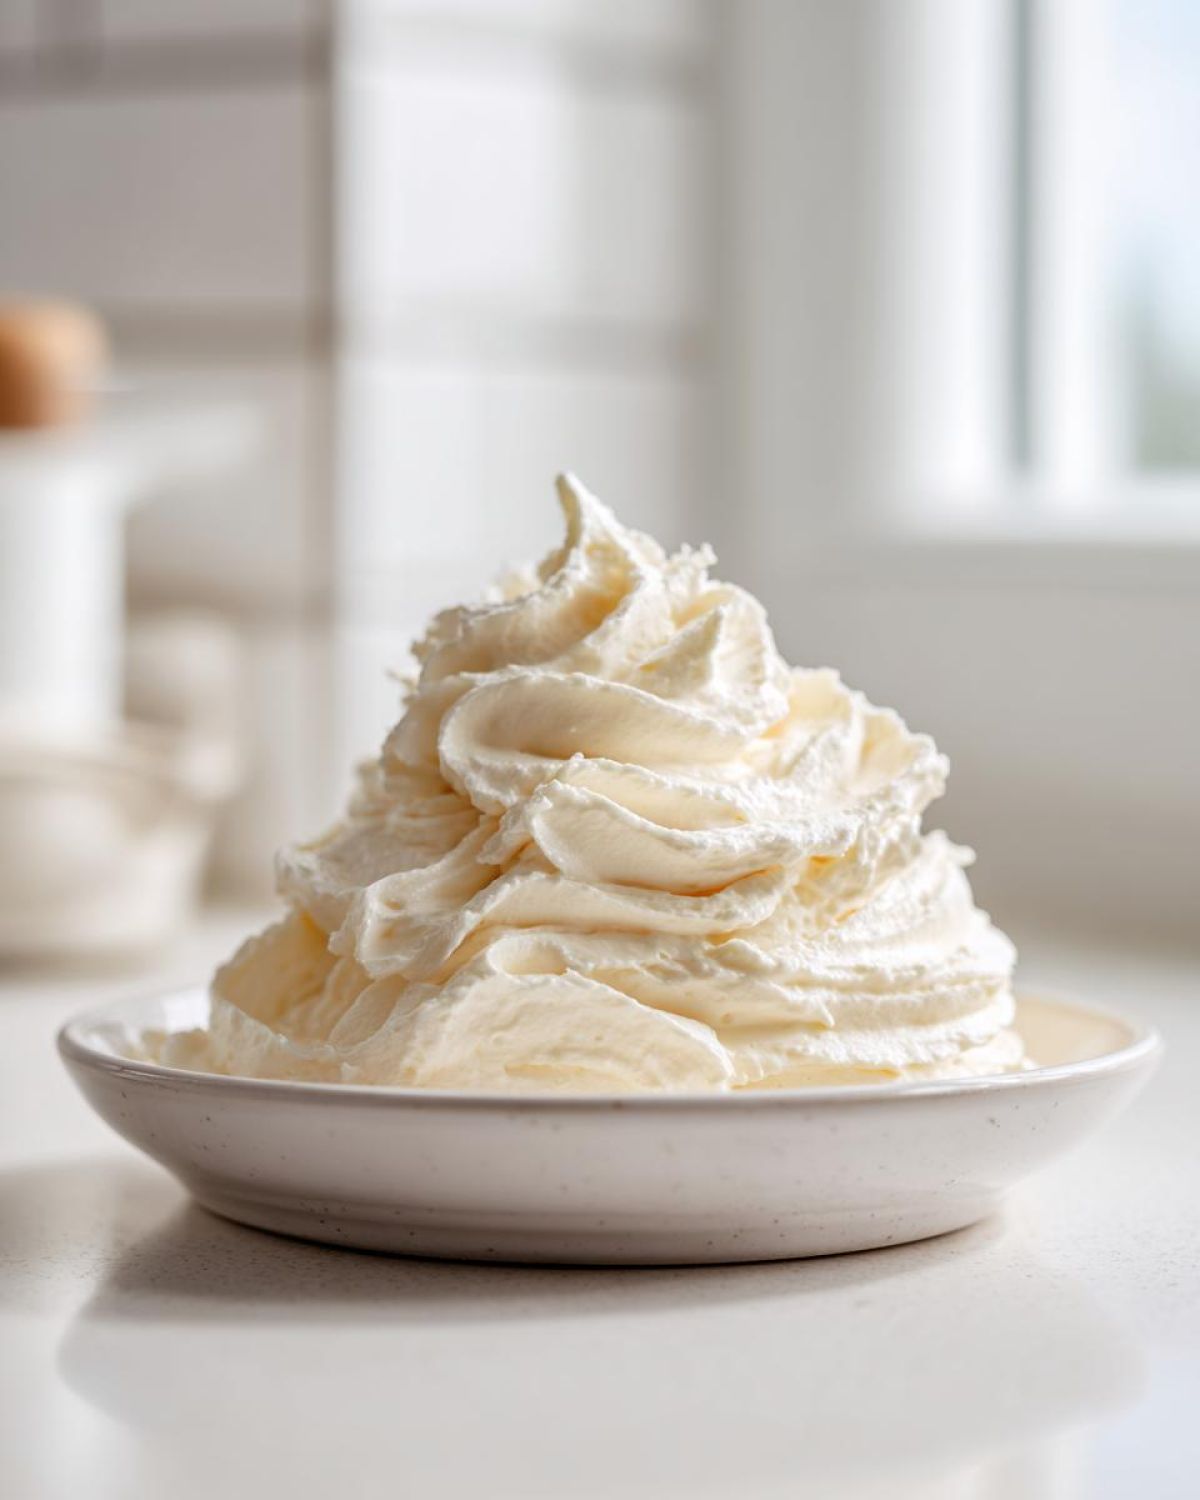
Now, what if you’re ready to pipe but it won’t budge? If it seems too stiff for squeezing out of the tip, just stir in more heavy cream, one tiny teaspoon at a time. Don’t rush it! Conversely, if your beautiful batch has turned a little soupy (maybe the kitchen got warm!), don’t panic. Just slowly add in an extra tablespoon of sifted powdered sugar, and it will firm right back up to that perfect, Stable Buttercream consistency.
Ingredient Notes and Substitutions for Your Homemade Vanilla Icing
I know sometimes you just have to work with what’s in the pantry, and that’s okay because this is an Easy Cake Frosting recipe at heart. But Liam and I have learned that small tweaks to the base ingredients really make the difference between ‘fine’ frosting and ‘remember that amazing frosting?’ when it comes to our Homemade Vanilla Icing.
First, let’s talk butter. The recipe calls for unsalted butter, and that’s because it lets us control the salt level entirely. If you look in your fridge and all you have is salted, go ahead and use it! But you must cut back on the 1/4 teaspoon of salt we call for. Taste as you go, but I usually recommend cutting that salt amount in half, perhaps even more. That way, your frosting is sweet, not savory.
Then there’s the liquid: heavy cream versus milk. Heavy cream is definitely the Gold Standard here! It has higher fat content, which lends itself brilliantly to that Stable Buttercream structure we love for piping. If you use heavy cream, you’ll likely only need 3 tablespoons to get perfect piping consistency. If you swap it out for standard milk, you might need the full 5 tablespoons, and sometimes even a little more. Be warned, though: milk can make your final topping a *touch* softer than cream does, so if you’re planning on stacking a cake super high in a warm room, stick with the cream for stability.
If you’ve never made a quick batch of chocolate fudge, this frosting will give you the same satisfaction of turning simple things into something amazing. Quality ingredients make for quality results!
Serving Suggestions for Classic Vanilla Frosting
This Classic Vanilla Frosting is so flexible, it’s almost rude! While it’s absolutely perfect for smoothing over a simple layer cake, don’t stop there. Remember how fluffy this frosting is? That means it’s dream material for swirling high on top of cupcakes—think of those gorgeous peaks you see in bakeries! It’s also firm enough for spreading onto cut-out sugar cookies.
If you’re baking for the holidays, this makes an incredible Winter Frosting Idea—a touch of almond extract mixed in instead of vanilla makes it taste perfectly festive. Honestly, no dessert seems complete without a dollop of this good stuff. It’s fantastic on top of our Boston Cream Pie cupcakes, too!
You can even thin it down just a bit (add maybe two more teaspoons of cream!) to use as a dip for fruit or maybe even alongside some warm chocolate fondue. It’s just that good!
Storage and Reheating Instructions for Leftover Frosting
First off, congratulations, you made too much! That’s what happens when you make the ultimate vanilla buttercream frosting—it’s just too delicious to stop eating it straight from the bowl. Liam always jokes that the best part of the leftovers is licking the paddle attachment, but we actually store ours properly so it’s ready for the next batch of cookies or the next day’s cupcakes.
For short-term storage, if you plan on using the frosting again within a day or two, leaving it on the counter at cool room temperature is totally fine, provided your kitchen isn’t scorching hot. You just need to seal it up tight! I use a piece of plastic wrap pressed directly onto the surface of the frosting inside the mixing bowl before popping the whole thing into an airtight container. This prevents a weird crust from forming.
If you need to keep it longer, definitely pop it into the fridge. Again, use an airtight container. When you pull that cold frosting out days later, it will look hard and sad—don’t toss it! This is where Liam’s patience shines. You can’t just microwave it; that’ll melt the structure right away. Instead, let it sit on the counter for maybe an hour until it softens up, then put it back in the mixer and beat it again on medium speed for a few minutes until it gets light and fluffy again. It comes right back to life! This trick saved the frosting for the crescent roll apple dumplings we made last week.
If you’re ever in doubt, beating it always makes it better. You just can’t rush getting that perfect, creamy texture back!
Frequently Asked Questions About This Simple Buttercream Basics Recipe
I get so many questions about this recipe after people try it for the first time—it’s become such a favorite! Honestly, seeing comments about how easy it was to achieve that Piping Consistency Frosting makes my day. Liam is always fielding the technical stuff, but here are the most common things people ask when they are learning the Simple Buttercream Basics.
Can I use salted butter instead of unsalted butter in this recipe?
Yes, you definitely can! If that’s what you have, don’t worry about making a separate trip. Just remember that salted butter already has salt blended in, which is why it’s so important to reduce what you add from the recipe. We originally call for 1/4 teaspoon of salt to balance the intense sweetness. If you use salted butter, I highly recommend starting with just half of that amount (about 1/8 teaspoon) and then tasting it before you add any more. You want that beautiful Rich Vanilla Flavor Frosting, not something that tastes borderline savory!
How long does this frosting last at room temperature?
This is a really important question, especially if you’re using this as a Homemade Vanilla Icing for a party centerpiece! Since this is a true American buttercream, meaning it’s mostly sugar and fat, it’s pretty shelf-stable compared to meringue-based frostings. Generally, I feel comfortable leaving it covered on the counter (away from direct sun or heat) for about 2 to 3 days. After that, the quality starts to drop, and I strongly recommend moving it to the fridge to keep it safe and fresh. If you are ever storing it somewhere warm, grab the recipe from Wikda just to double-check your local food safety guidelines!
Also, I often get asked if it can be colored. Absolutely! For vibrant shades that won’t ruin the texture, make sure you use gel food coloring—liquid coloring adds extra moisture and can turn your ultimate Creamy Buttercream too soft for decorating. You can find more tips on coloring right over here: nacho cheese recipe (Yes, I know, but the coloring advice transfers perfectly!).
Estimated Nutritional Information for Your Dessert Topping
Now, I know Liam is the technical professor here, and I’m the taste tester, but when it comes to counting things up, we try to give you the best estimate possible for this indulgent Dessert Topping. Since this vanilla buttercream frosting is mostly butter and sugar, as you can imagine, the calories climb up fairly quickly, but hey, it’s worth it for special occasions, right?
Here’s a general guideline based on a 1/4 cup serving size. Remember, this is just an estimate! The exact numbers will change based on the brand of butter you use, how much extract soaks in, and exactly how much heavy cream you add to reach your desired consistency. If you skip the cream entirely for piping, your fat and calorie count will shift a bit!
- Serving Size: About 1/4 cup
- Calories: Roughly 350
- Sugar: Around 45g (Yep, it’s sweet!)
- Fat: About 18g
- Saturated Fat: Around 11g
- Protein: 1g or less
Don’t sweat these numbers too much, though. If you’re making this amazing frosting, you’re making something special! The joy it brings to a simple cake or a batch of homemade cookies far outweighs the quick glance at the stats. Know that it’s a rich topping, and a little goes a long way!
Share Your Perfect Vanilla Buttercream Creations
Okay, look, the absolute best part of this whole TasteTaught journey for me—Clara—is hearing from you guys! We hope this vanilla buttercream frosting recipe made decorating less intimidating and more fun. Seriously, seeing your photos lights up our day. If you successfully piped those perfect swirls or finally mastered getting that Smooth Vanilla Frosting, please tell us about it!
We are always excited to see what you’ve baked. Do you have a favorite way you use this Easy Cake Frosting? Maybe you piped it onto some of our Boston Cream Pie cupcakes? Drop a comment below! I promise Liam and I read every single one, and seeing your success is what keeps us motivated to share our kitchen secrets.
And if you loved this recipe and found it helpful, giving it a quick five-star rating right at the top helps other bakers find this reliable technique, too. If I could learn this simple, No Fail Frosting Recipe, trust me, you can too. Thanks so much for baking with us, and we can’t wait to see what you create next!
You can always browse more of our adventures over at the main blog page. Happy decorating!
PrintThe Best Vanilla Buttercream Frosting: Stable, Fluffy, and Perfect for Piping
This is the ultimate American vanilla buttercream frosting recipe. You will learn how to make a creamy, smooth, and stable frosting that holds its shape perfectly for decorating cakes and cookies. It is quick to make and delivers a rich vanilla flavor.
- Prep Time: 10 min
- Cook Time: 0 min
- Total Time: 10 min
- Yield: About 3 cups
- Category: Dessert Topping
- Method: Mixing
- Cuisine: American
- Diet: Vegetarian
Ingredients
- 1 cup unsalted butter, softened to room temperature
- 4 cups powdered sugar, sifted
- 1 teaspoon pure vanilla extract
- 1/4 teaspoon salt
- 3 to 5 tablespoons heavy cream or milk
Instructions
- Place the softened butter in the bowl of a stand mixer fitted with the paddle attachment. Beat the butter on medium speed until it is completely smooth and creamy, about 2 minutes. Scrape down the sides of the bowl.
- Gradually add the sifted powdered sugar, one cup at a time, mixing on low speed until just combined after each addition.
- Add the vanilla extract and salt. Increase the mixer speed to medium-high and beat for 3 minutes. This step incorporates air, making the frosting fluffy.
- Add the heavy cream or milk, one tablespoon at a time, beating well after each addition until you reach your desired consistency. For piping consistency, start with 3 tablespoons.
- Once the desired texture is reached, beat the frosting on medium-high speed for an additional 2 to 3 minutes until it is very light, fluffy, and smooth. This final whipping ensures a bakery style finish.
- Use immediately to frost cakes, cupcakes, or cookies.
Notes
- For the smoothest texture, make sure your butter is truly at room temperature, not melted. Cold butter causes lumps.
- Sifting the powdered sugar prevents graininess in your final frosting.
- If the frosting seems too stiff for spreading, add more cream, one teaspoon at a time. If it is too soft for piping, add more sifted powdered sugar, one tablespoon at a time.
- To achieve a rich vanilla flavor, use high-quality pure vanilla extract.
- This stable buttercream holds its shape well for decorating, even in slightly warmer rooms.
Nutrition
- Serving Size: 1/4 cup
- Calories: 350
- Sugar: 45g
- Sodium: 50mg
- Fat: 18g
- Saturated Fat: 11g
- Unsaturated Fat: 7g
- Trans Fat: 0g
- Carbohydrates: 48g
- Fiber: 0g
- Protein: 1g
- Cholesterol: 55mg