

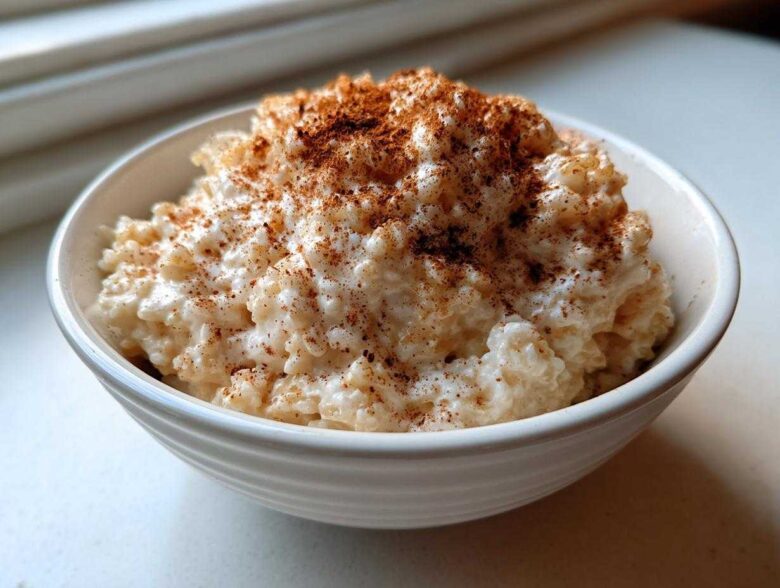
When the weather turns chilly, or honestly, any Tuesday afternoon, my kitchen just begs for something warm, sweet, and utterly comforting. Forget those runny, grainy disappointments you sometimes find! I’ve spent what feels like a lifetime fiddling with this classic rice pudding recipe until I nailed it. What you’re getting here isn’t just a recipe; it’s the ultimate creamy stovetop rice pudding standard. I’m talking about pudding so rich and velvety it feels like a hug in a bowl. Trust me, after making this stovetop version for decades, I know exactly how those starches need to behave to get that perfect, nostalgic texture.
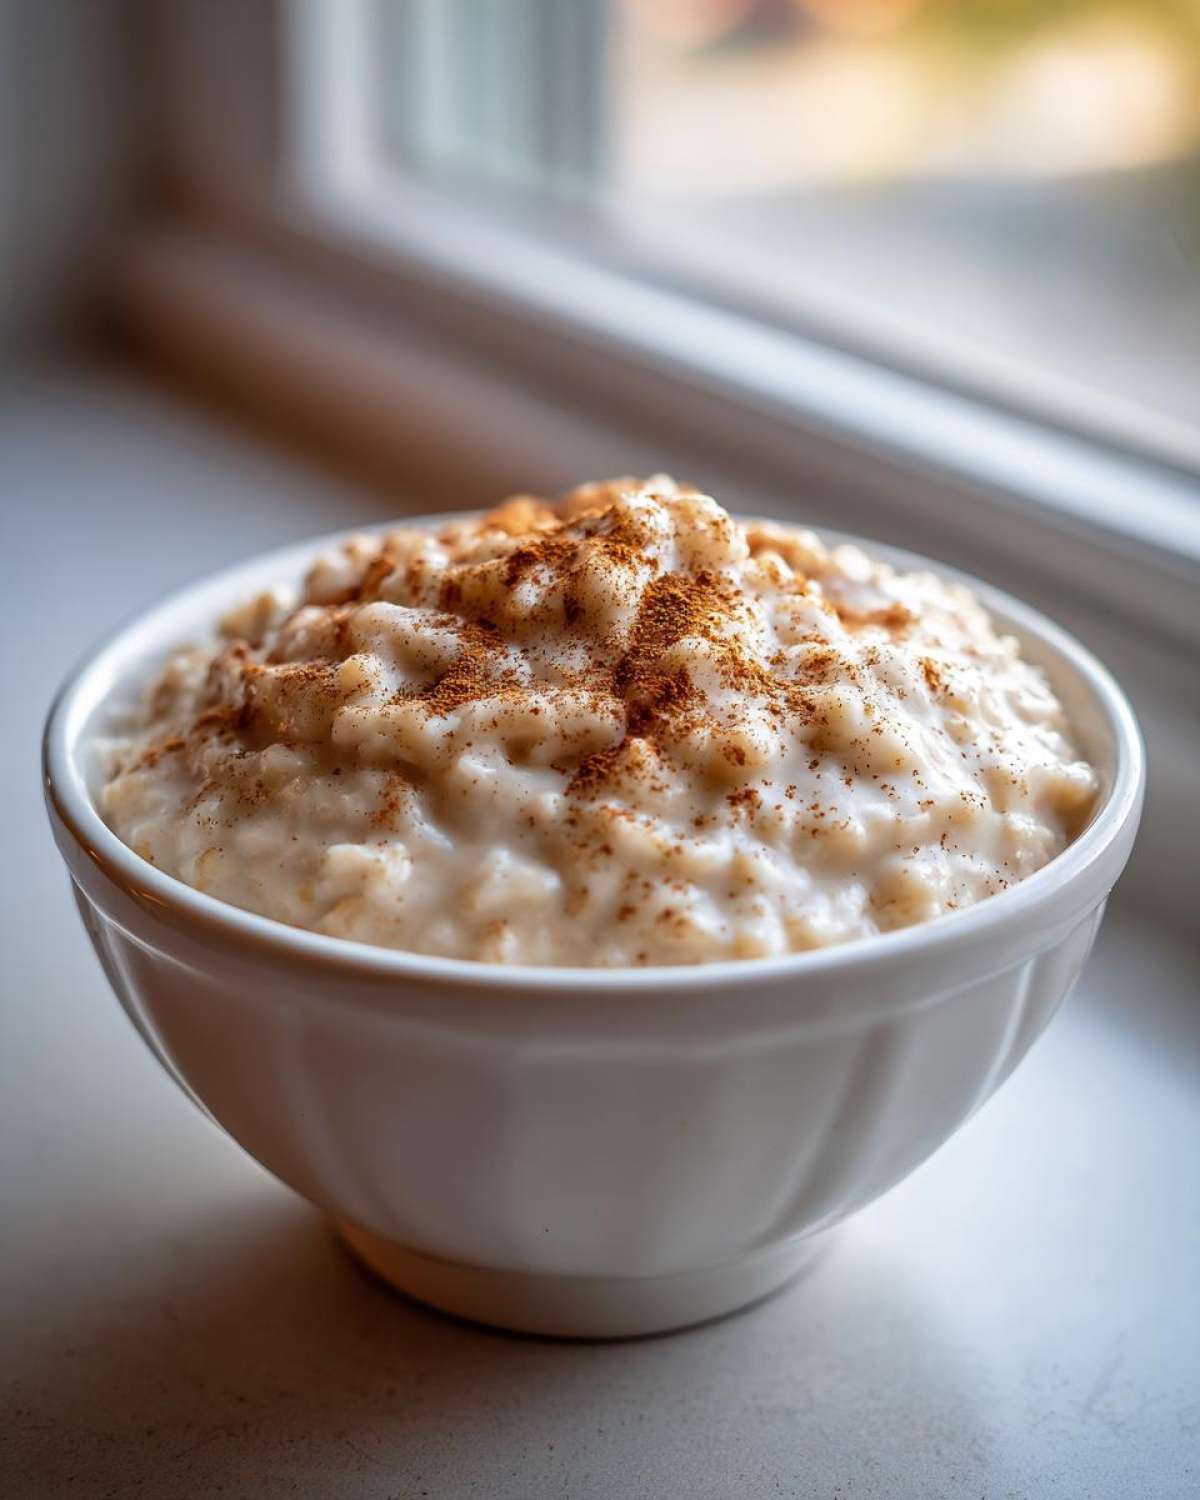
It’s straightforward, relies on pantry staples, and beats any boxed version hands down. If you’re looking for that true, old-fashioned goodness paired with my secret tricks for maximum creaminess, keep reading. You’ll never need another recipe for this delicious creamy cinnamon dessert.
Why This Creamy Rice Pudding Recipe Works So Well
So many people struggle with gritty or thin pudding, but that’s usually because they try to rush the process! That’s the absolute worst thing you can do to this creamy rice pudding. My favorite part about this recipe is that it’s truly an easy comfort food dessert to make, provided you respect the simmer time. We aren’t baking here; we are coaxing the starches out of the rice slowly over the stovetop. The result is far superior to anything you can whip up quickly. I learned this method years ago and haven’t looked back!
It’s all about technique over fancy gadgets, which is why I love sharing simple ways to get incredible results, much like I did for that famous no-bake dirt cake trick.
The Secret to Truly Creamy Rice Pudding
The magic truly happens because of two things working together: the starch and the time. First, you absolutely need short-grain rice, like Arborio or medium-grain. These types release more starch when they cook, which is what thickens our milk into that luxurious sauce. Long-grain rice just turns into separate cooked grains, and we don’t want that! Second, you have to cook it low and slow. If you boil it hard, the milk scorches on the bottom and the rice burns before the inside gets tender. We reduce the heat until it’s just gently bubbling—a lazy simmer. Stirring every few minutes keeps that creamy texture uniform throughout the whole 45 to 60 minutes. Patience is literally the thickest ingredient!
Gathering Ingredients for Your Classic Rice Pudding Recipe
You’re going to love how simple the ingredient list is for this classic dessert recipe. If you keep a good pantry, you probably have most of this stuff right now! When I first started making this rice pudding recipe decades ago, I discovered that using whole milk is non-negotiable if you want that amazing richness. Skim milk just won’t cut it; we need the fat content to achieve that velvety mouthfeel we’re after. Don’t overthink sourcing exotic items—this is supposed to be pure comfort food.
It’s amazing how such basic elements combine into something so luxurious when cooked just right. Before you grab your pots, check out the list below. You can find incredible inspiration for other pantry staples when you look at this easy homemade lasagna one, too!
Ingredient List for the Rice Pudding Recipe
- 1/2 cup short-grain white rice (Arborio or medium-grain works best)
- 4 cups whole milk
- 1/2 cup granulated sugar
- 1/4 teaspoon salt
- 1 teaspoon vanilla extract
- 1/2 teaspoon ground cinnamon, plus extra for topping
- 1/4 cup raisins (optional)
See? Nothing scary there! The rice type is crucial, remember. And yes, the raisins are totally optional. I know some people hate them, so feel free to leave them out, or toss them in for that traditional sweet chewiness!
How to Make Rice Pudding: Stovetop Pudding Recipe Instructions
Now for the fun part! Getting this stovetop pudding recipe right is all about following a few simple actions in sequence. Don’t worry about the 60 minutes; it’s mostly hands-off once you get it simmering, but you do need to pay attention in the beginning. My grandmother always said that the heat you use in the first five minutes sets the tone for the whole dish. We aren’t looking for a rolling boil, heavens no! We want gentle persuasion here.
Preparation and Initial Simmer
First things first: rinse that rice! I put it in a fine-mesh sieve and run cold water over it until the water isn’t cloudy white anymore. This gets rid of excess surface starch that could make things gummy later. Drain it really well. Next, combine the rinsed rice, the whole milk, sugar, and that pinch of salt in a heavy-bottomed pot—that’s important for even heating! Put this mixture over medium heat. You’ll need to stir frequently at this stage until you see the milk just starting to get steamy and little tell-tale bubbles forming around the edges of the pan. That’s our signal that it’s time to back off the heat!
Achieving the Perfect Texture in Your Rice Pudding Recipe
Once those edges start singing, immediately knock the heat way down to low. We are aiming for a very gentle, slow simmer—just a small hiccup on the surface every now and then. Cook it uncovered for about 45 to 60 minutes. This is where the time investment pays off and gives you that unbeatable creamy rice pudding. You must stir every 5 to 7 minutes, scraping the bottom carefully so nothing scorches. If you’re adding those optional raisins, toss them in during the last 10 minutes of that long simmer. You’ll know it’s ready when the mixture has visibly thickened and can definitely coat the back of a metal spoon without sliding right off. That’s the texture marker I always look for!
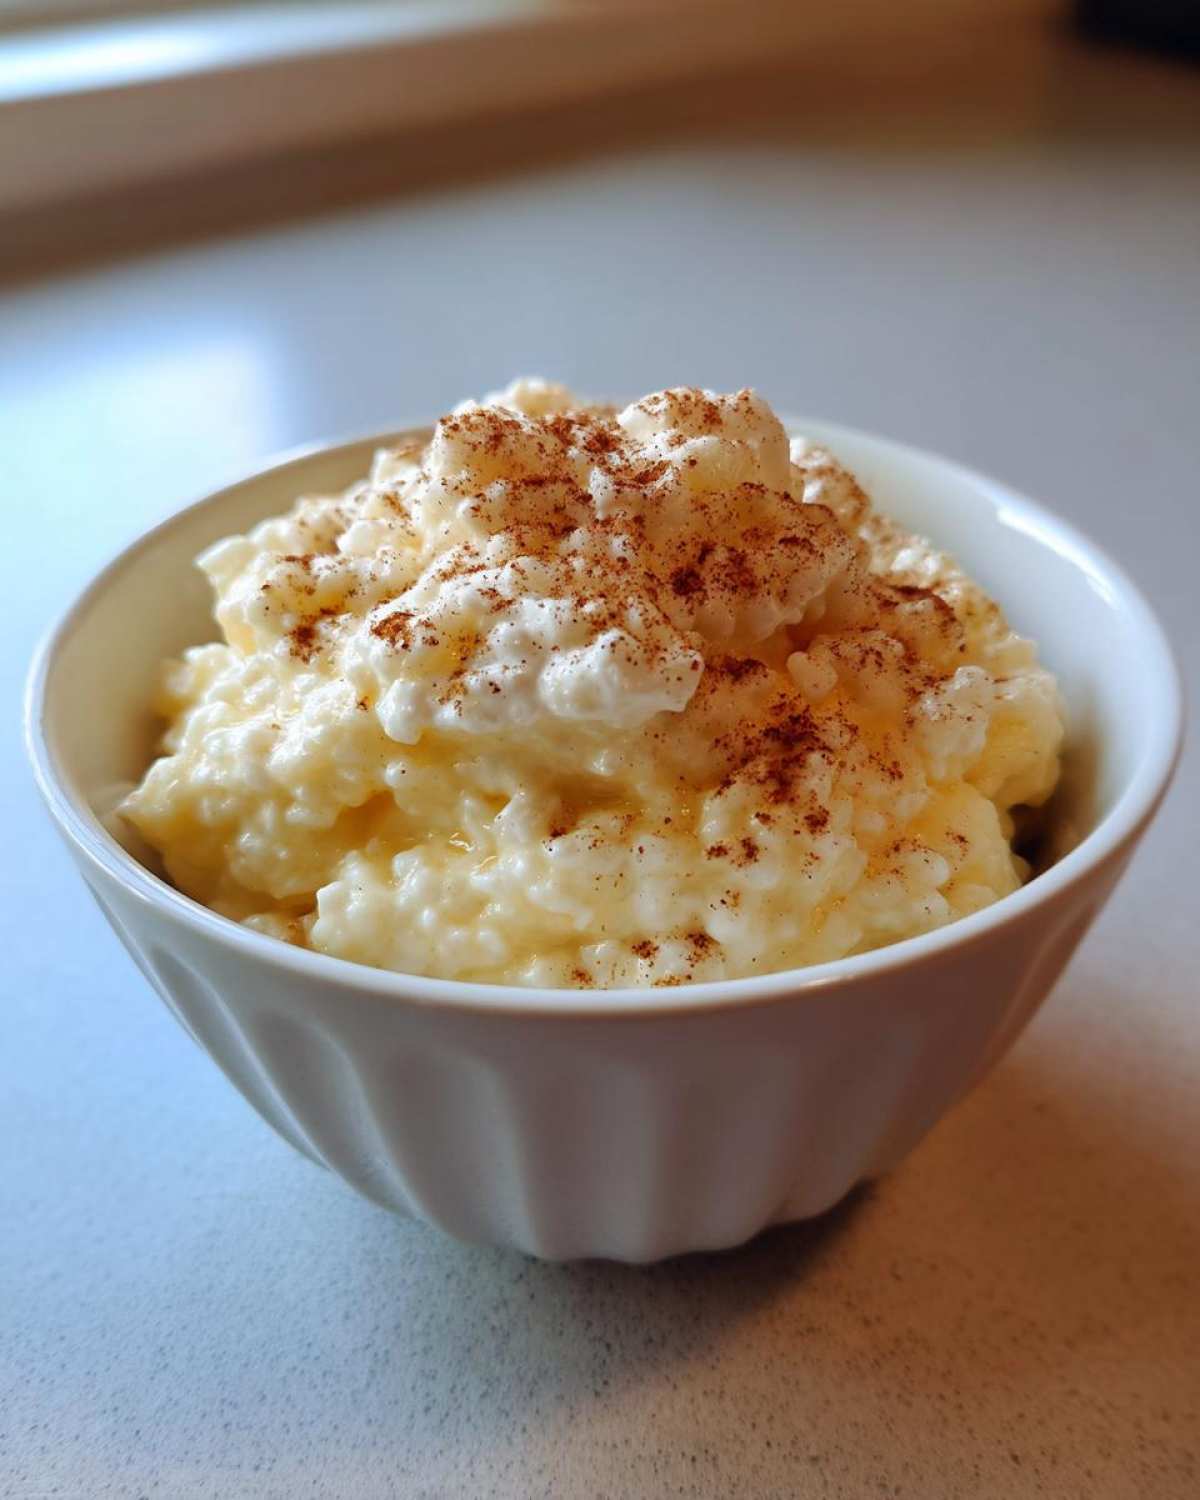
Once it passes the spoon test, take it off the heat immediately. Stir in your vanilla and cinnamon, and remember, it thickens a lot as it cools down. If you rush this, you end up with something resembling watery soup—and nobody wants that! You can check out my method for making quick, creamy nacho cheese if you want another recipe where technique trumps speed!
Tips for the Best Ever Creamy Rice Pudding
Honestly, even after you follow all those steps perfectly, sometimes the pudding sets up a bit *too* firm once it lives in the fridge. Don’t panic! This is usually because we used whole milk, which is great for flavor but creates a very dense structure when cooled. But that’s easily fixed, and it’s worth it for the flavor we get!
The secret to ensuring you always have the **best creamy pudding** is keeping a little extra milk or even heavy cream on hand. If your leftover pudding seems stiff the next day for breakfast—yes, I eat this for breakfast—just whisk in a splash or two of cold milk until it loosens up back to that perfect, spoonable consistency. Don’t try to thin it out while it’s hot again; just save a little liquid to loosen the chilled pudding.
I also want to remember to mention something for those who don’t want to stand over the stove, even though the low-and-slow technique is best. If you’re in a real rush, that recipe notes mentioned an alternative: you can simmer it on the stove for just 15 minutes, then transfer the whole mix into a baking dish and pop it in the oven at 325°F for about 30 minutes. It’s slightly different, but still delicious! I usually prefer the stovetop so I can keep an eye on it, much like when I’m making my slow cooker pulled chicken.
Adjusting Consistency for Your Homemade Rice Pudding
If you find your homemade rice pudding has become a brick overnight, don’t try microwaving it hard, or you’ll get scorching spots! Instead, scoop the amount you want into a small saucepan, add a tablespoon or two of whole milk or cream, and gently warm it over very low heat, stirring constantly. It will soften right up and become gorgeously drizzly again. You want that beautiful spoon-coating texture back before serving. This little adjustment ensures every portion, whether eaten warm right away or cold tomorrow, hits that perfect creamy note every single time.
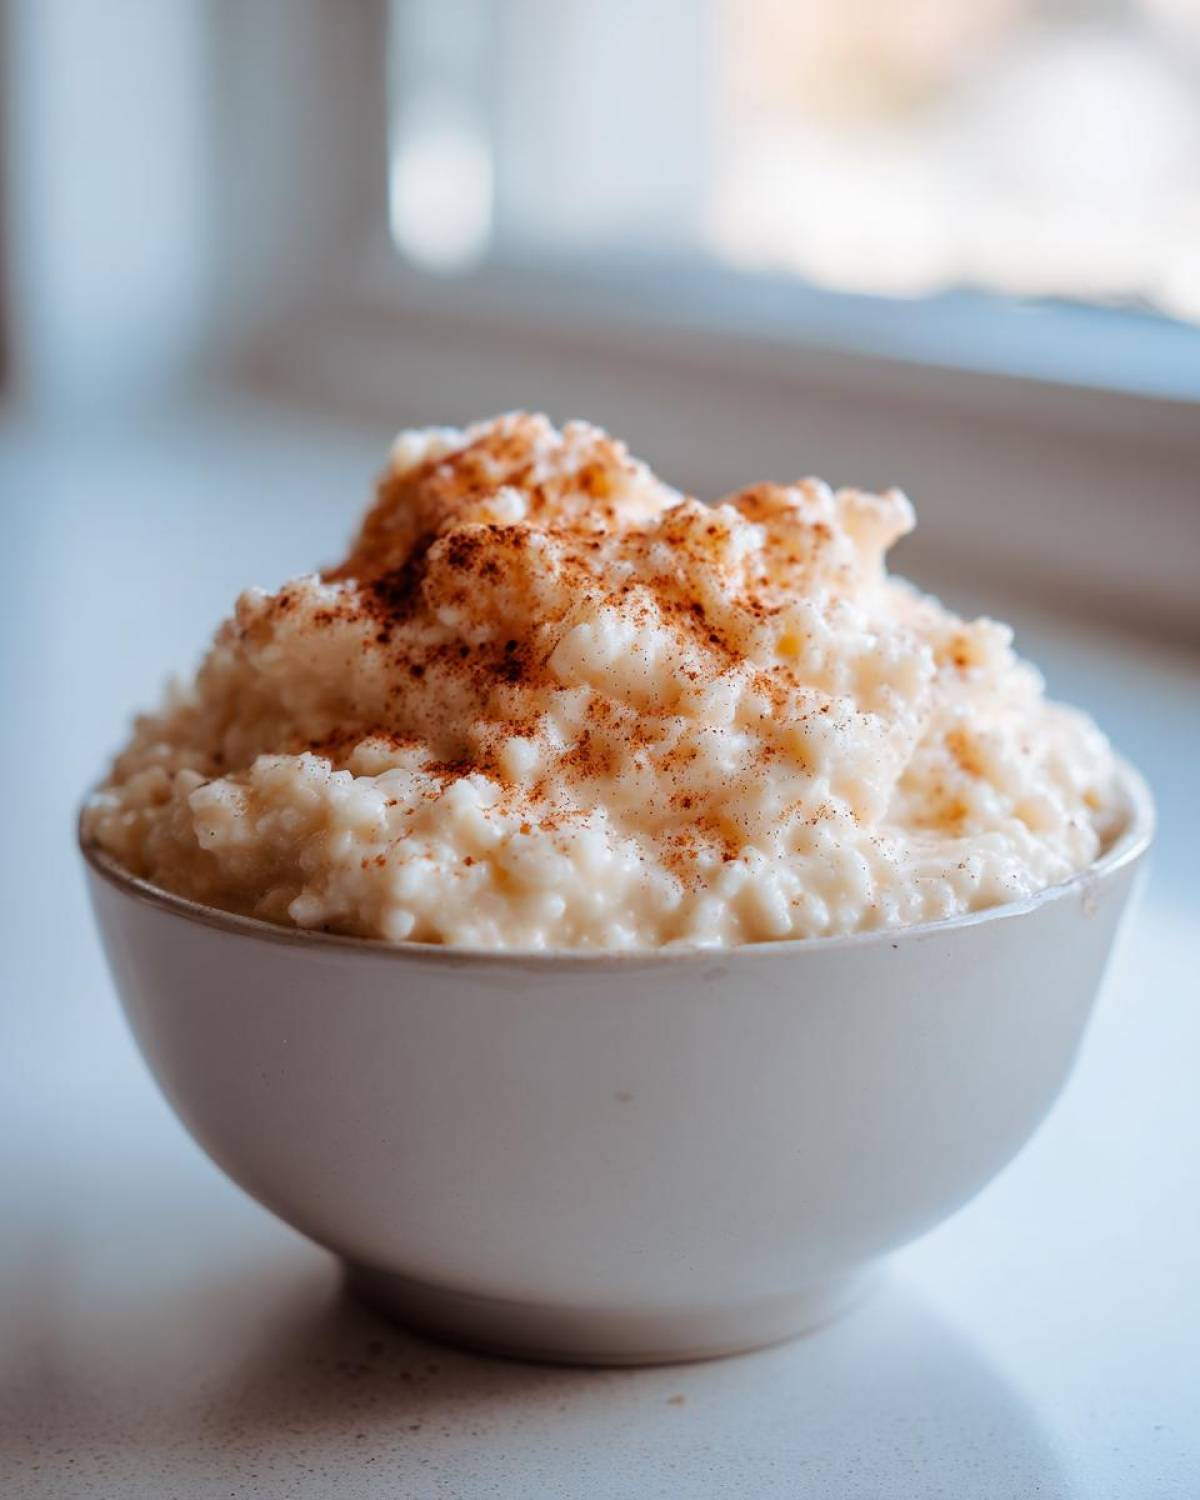
Flavor Variations for This Rice Pudding Recipe
While I am obsessed with keeping this old fashioned rice pudding recipe true to its roots—just milk, rice, sugar, vanilla, and cinnamon—I totally understand wanting to mix it up sometimes! It’s such a wonderful canvas for flavor experimentation. Sometimes you just need a little twist to keep things exciting, right? I’ve played around with a few things over the years when I had certain ingredients lingering around the kitchen.
If you were thinking about lightening up the base, swapping out some of the whole milk for light coconut milk is a fantastic idea for a real tropical rice pudding inspiration moment! It adds a lovely nutty depth. Another super easy addition that takes almost no effort is swapping out half the vanilla extract for a teaspoon of almond extract—it gives the pudding this wonderfully warm, slightly marzipan flavor that is just divine, especially sprinkled with toasted pecans.
Incorporating Raisins or Other Add-ins
Let’s talk about raisins again because I know people feel strongly about them! If you decide you *do* want those little bursts of sweetness in your pudding, you need to be careful when you add them. If you toss them in at the beginning with the milk and rice, they soak up all the liquid and become huge, bloated, mushy clouds of sugar by the time the rice is cooked. Nobody wants that in their pudding!
The rule here is simple: Wait until the very end. Add your raisins during the last 10 minutes of that long simmer we talked about. That gives them just enough time to plump up sweetly without dissolving into oblivion. If you’re trying out flavor swaps, this is also a great time to introduce things like lemon zest if you’re going for a brighter profile, or maybe even some finely chopped candied ginger! If you need a little inspiration for brighter flavors, check out my coconut lime skillet later on for some ideas!
Serving Suggestions for Your Vanilla Cinnamon Dessert
The way you serve this pudding really finishes the experience, right? I usually pull it off the stove and eat a big bowl warm, right then and there, because that’s when it’s at its absolute creamiest. Just a generous dusting of extra cinnamon on top—don’t be shy with the spice! It wakes everything up beautifully.
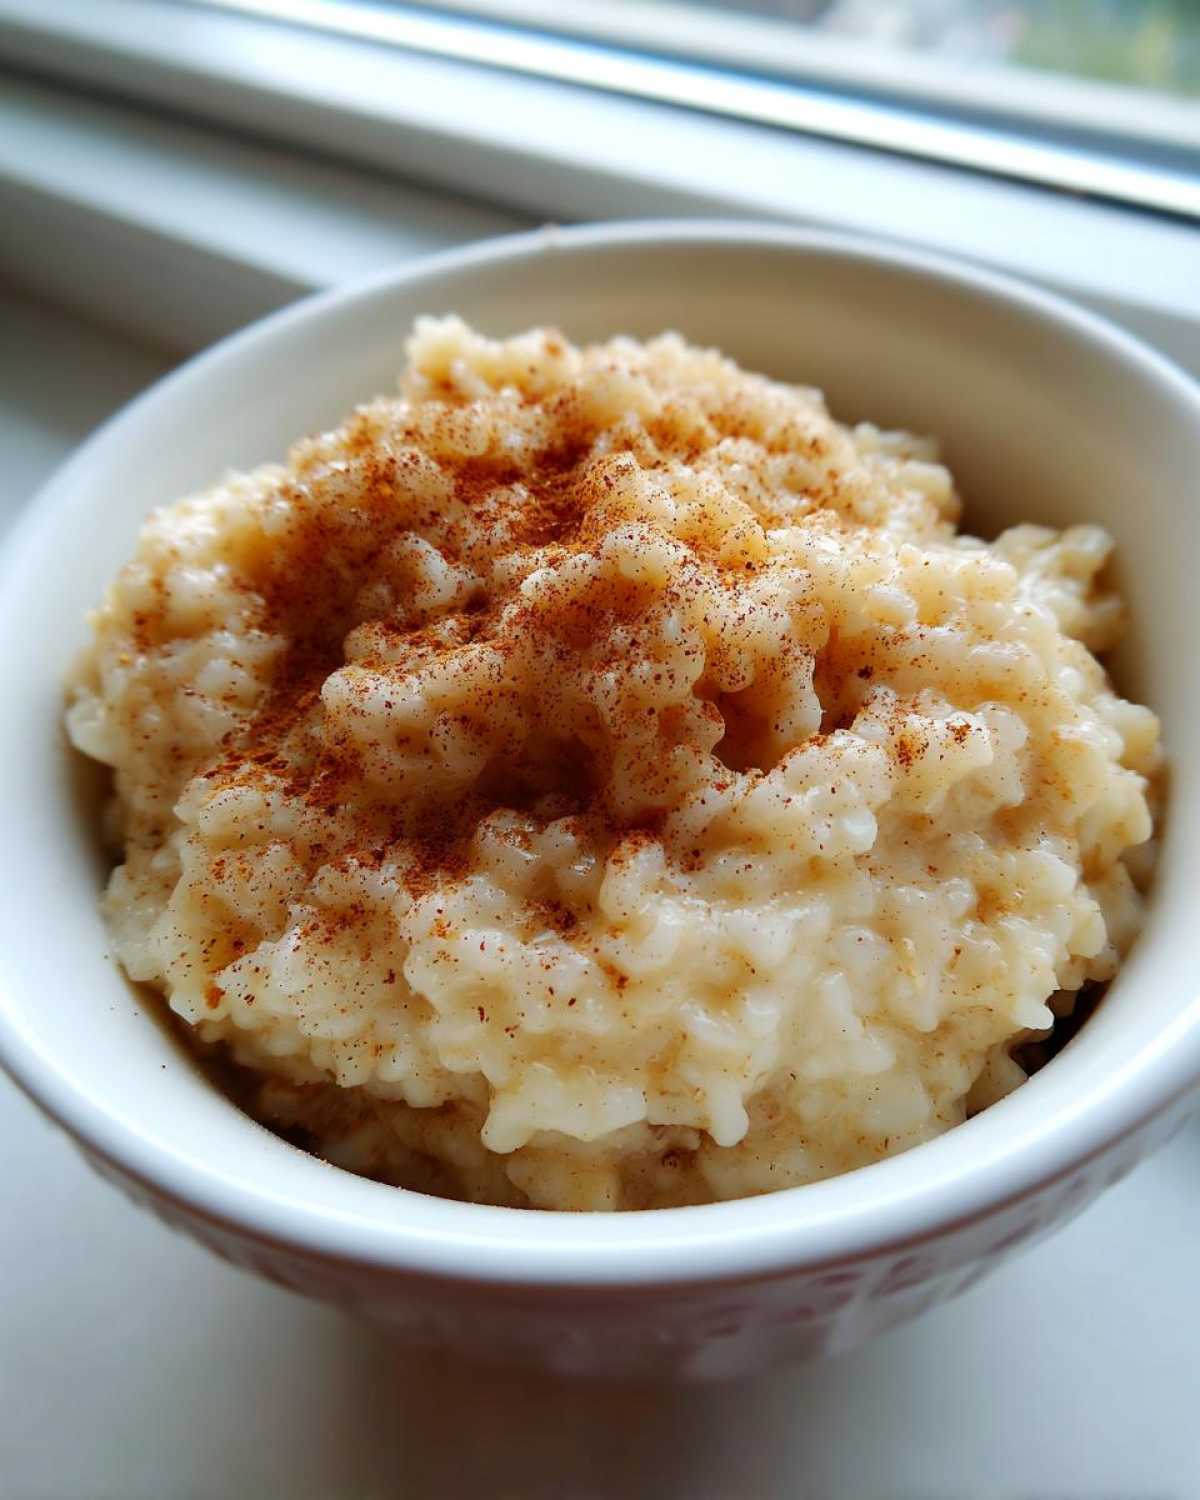
If you chill it overnight, it sets up wonderfully, making it practically sliceable, which is great for entertaining. For a cold serving, I love topping it with a dollop of slightly sweetened whipped cream or even a spoonful of warmed, tart fruit compote, like sour cherries. It cuts through the sweetness perfectly. If you like cinnamon flavors, you absolutely have to try my method for baked sweet potatoes with cinnamon butter later—it uses that spice profile so well!
Storage and Reheating Instructions for Leftover Rice Pudding Recipe
The great thing about this rice pudding recipe is that it’s actually better the next day, assuming you stored it correctly! You can keep this homemade rice pudding in an airtight container in the refrigerator for about four to five days, easily. That’s nearly a week of delicious, ready-made dessert just waiting for you! Honestly, I usually don’t have leftovers this long because my family tends to devour it, but it holds up really well.
Now, when it comes to reheating, remember what we talked about: it will have thickened considerably. Don’t try to eat it cold if you prefer it warm, and definitely don’t microwave it straight from the fridge without doing something first! That’s a recipe for burnt edges and a cold center.
The best method for reheating is low and slow warming, just like cooking. Scoop the amount you want into a small saucepan. Then, add a splash—maybe a tablespoon or two—of whole milk or even heavy cream for extra richness. Warm it over low heat, stirring constantly until it’s perfectly heated through and has loosened back up to that perfect, creamy texture. It’s so much better than blasting it in the microwave! If you’re looking for other recipes that store and reheat beautifully, you should bookmark that date nut bread recipe too!
Frequently Asked Questions About Making Rice Pudding
I get so many questions about this rice pudding recipe, mostly centered around texture, which I totally understand! It’s easy to get it wrong if you cut corners. I’ve spent ages answering these, and I hope this clears everything up for your next batch of this perfect dessert with rice and milk. If you have a specific question about making this smooth, luxurious dish, chances are it’s answered right here! I’ve collected the most common things people ask me, especially when they’re trying to replicate that classic, creamy texture we love so much.
Can I substitute the milk in this rice pudding recipe?
You totally can swap out the milk, but I have to be honest—you lose something special when you do. Whole milk is my number one recommendation because that fat content is crucial for developing that deep, comforting richness and creaminess we are aiming for. If you use non-fat milk, the pudding will be much thinner and won’t thicken up properly because there isn’t enough fat coating the starches!
If you want to try a non-dairy option, I’ve had success using canned full-fat coconut milk. It makes a richer, almost tropical pudding, but it does change the flavor profile away from the traditional vanilla cinnamon dessert. If you’re deep-diving into recipe tweaks, you can always check out general baking notes over on my main blog page!
Why is my stovetop pudding recipe sticking to the bottom?
Oh, that sad, burnt smell—I hate that sound when I’m making a great stovetop pudding recipe! If your pudding is sticking, it almost always comes down to two things: the heat is too high, or you aren’t stirring enough, especially near the end. Remember, after the initial heating phase, we reduce the heat down to the lowest setting possible—just enough heat to move the milk, not enough to boil it hard! You need to stir frequently, making sure you scrape the bottom and sides of your heavy-bottomed saucepan. That starch settles and sticks fast if you let it sit undisturbed, even for a minute too long. Keep that heat low, and keep stirring so the rice cooks evenly!
Nutritional Estimates for This Sweet Rice Dish
I always try to be transparent about what we’re eating, even with an indulgent treat like this sweet rice dish! Now, you have to take these numbers with a grain (pun intended!) of salt. Since I encourage using whole milk, and if you decide to add those optional raisins or use a splash of heavy cream when warming it up, these numbers can shift a bit. These estimates are based on the core recipe ratios when divided into four generous servings, so treat them as a helpful guideline rather than gospel.
The richness from the milk and butter means it carries some satisfying fat and calories, but you also get a decent punch of slow-release carbohydrates from the rice and a good bit of protein, too. It’s an old-school dessert, and those traditional recipes focused on real, whole ingredients that keep you full. Before you run off to make something else, you might want to check out my super easy recipe for three-ingredient chocolate fudge for another simple treat!
- Serving Size: 1 cup
- Calories: Approximately 350
- Total Fat: Around 8g
- Carbohydrates: Roughly 60g
- Protein: About 10g
- Sugar: Near 30g
Remember, if you skip the sugar or use skim milk, the numbers change significantly! The goal here is pure flavor and comfort, and I think you’ll find this perfectly balanced, sweet rice dish delivers exactly that without any fuss.
PrintClassic Creamy Stovetop Rice Pudding

A simple recipe for traditional, creamy rice pudding cooked slowly on the stovetop.
- Prep Time: 5 min
- Cook Time: 60 min
- Total Time: 65 min
- Yield: 4 servings
- Category: Dessert
- Method: Stovetop
- Cuisine: American
- Diet: Vegetarian
Ingredients
- 1/2 cup short-grain white rice (Arborio or medium-grain works best)
- 4 cups whole milk
- 1/2 cup granulated sugar
- 1/4 teaspoon salt
- 1 teaspoon vanilla extract
- 1/2 teaspoon ground cinnamon, plus extra for topping
- 1/4 cup raisins (optional)
Instructions
- Rinse the rice under cold water until the water runs mostly clear. Drain well.
- Combine the rinsed rice, milk, sugar, and salt in a heavy-bottomed saucepan.
- Place the saucepan over medium heat. Stir frequently until the mixture just begins to simmer around the edges.
- Reduce the heat to low. You want a very gentle simmer. Cook uncovered for 45 to 60 minutes, stirring every 5 to 7 minutes to prevent sticking and scorching on the bottom.
- The pudding is done when the rice is tender and the mixture has thickened considerably. It should coat the back of a spoon. If using raisins, stir them in during the last 10 minutes of cooking.
- Remove the saucepan from the heat. Stir in the vanilla extract and 1/2 teaspoon of ground cinnamon.
- Serve warm, sprinkled with extra cinnamon, or chill completely for a firmer texture.
Notes
- For the creamiest result, use whole milk and do not rush the simmering process. Low and slow cooking releases the starch needed for thickness.
- If the pudding becomes too thick upon cooling, stir in a splash of milk or cream before serving.
- If you prefer a baked version, transfer the mixture to a baking dish after simmering for 15 minutes, then bake at 325 degrees Fahrenheit for 30 minutes until set.
Nutrition
- Serving Size: 1 cup
- Calories: 350
- Sugar: 30
- Sodium: 150
- Fat: 8
- Saturated Fat: 4
- Unsaturated Fat: 4
- Trans Fat: 0
- Carbohydrates: 60
- Fiber: 1
- Protein: 10
- Cholesterol: 25