

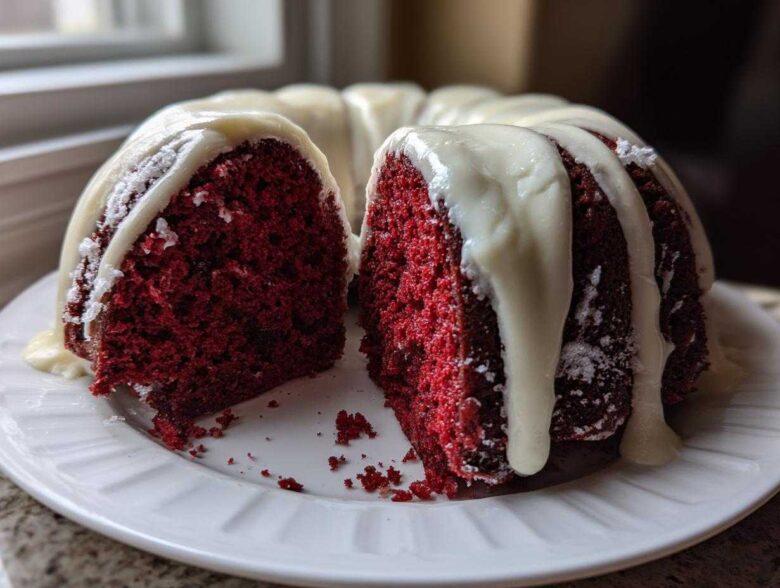
Okay, listen up! If you are looking for that show-stopping, deep crimson dessert that just screams ‘special occasion,’ forget everything else. My absolute favorite cake to bring to any party—especially around the holidays—is this incredible red velvet bundt cake. Honestly, when Liam and I first started dating, the idea of baking anything from scratch felt like rocket science to me. I was terrified of messing up something so visually dramatic!
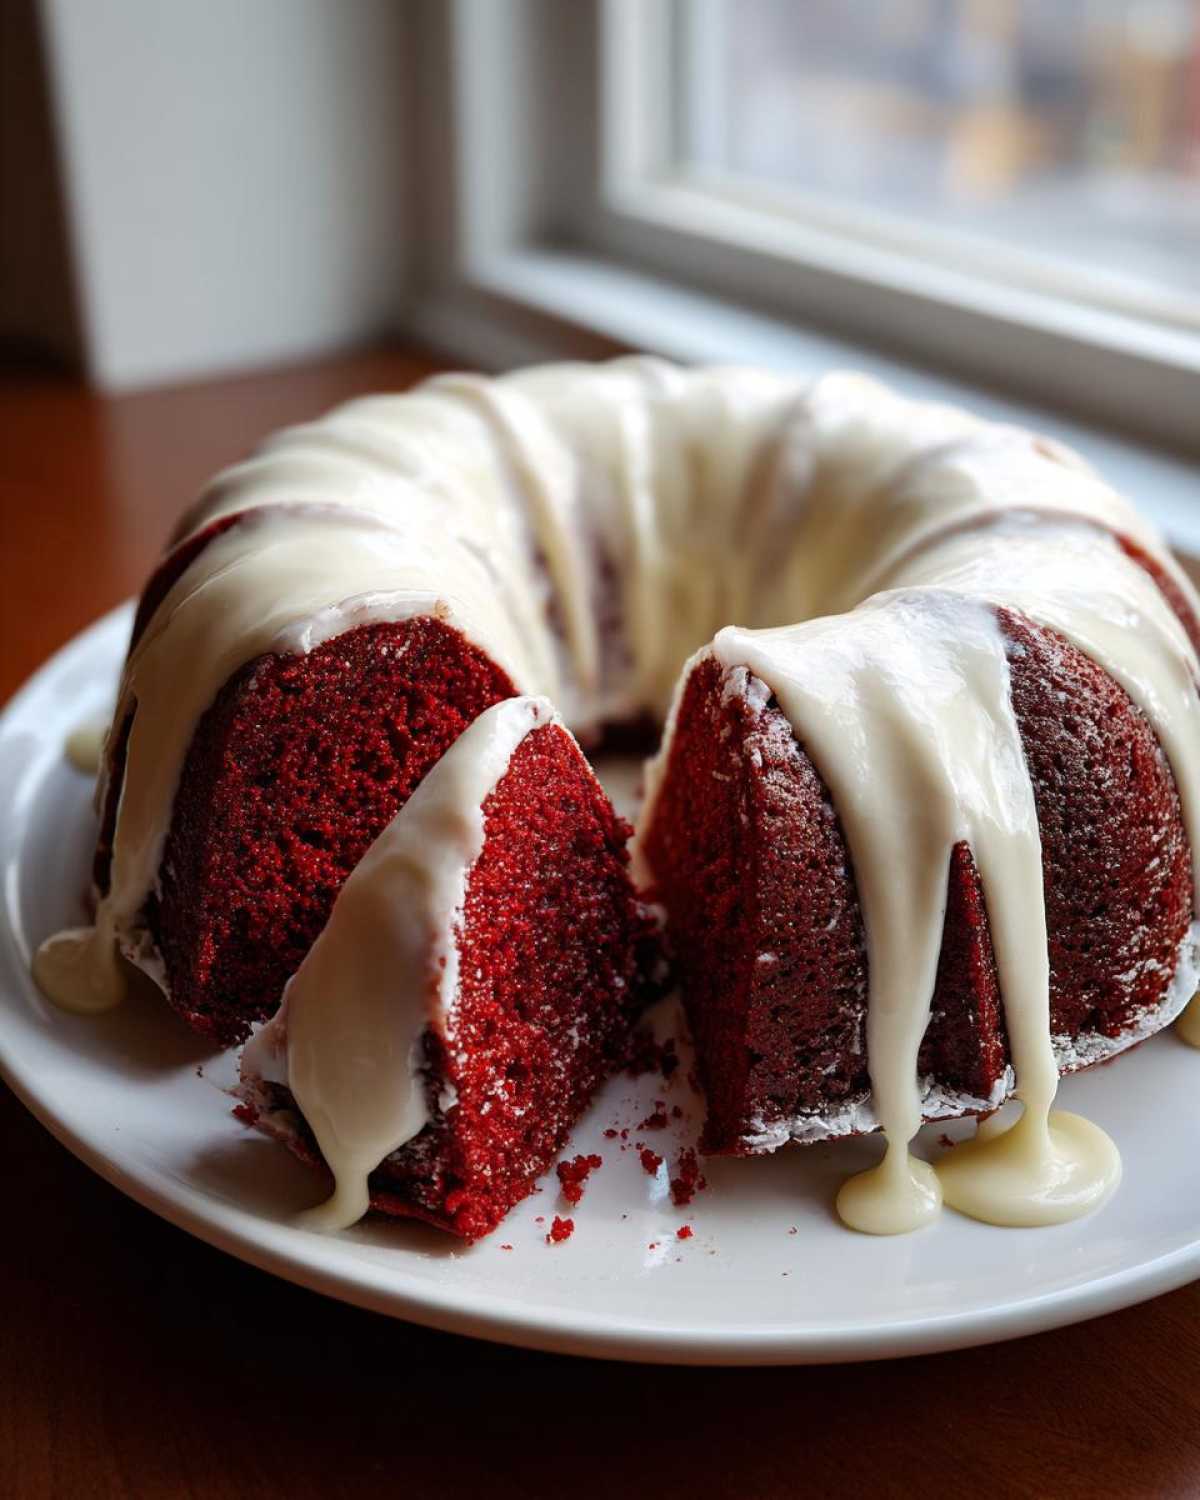
I remember the first time he tried to teach me red velvet. I kept asking a million questions about why we used oil instead of butter, and I was convinced the color would just turn out brownish-pink. Liam just smiled, pointed to the whisk, and told me, “Clara, trust the process. We’re building flavor layers.” He was so patient, showing me how to mix the buttermilk without curdling the batter. That day, I realized this cake wasn’t just about mixing ingredients; it was about learning the language of food—the texture, the smell, the taste. To learn more about our journey and why we started sharing these kitchen secrets, check out our story here.
Now, I can whip up this moist red velvet bundt cake completely on my own, and I am excited to pass on all his incredible tips! We want you to feel confident serving this majestic cake. It’s perfectly easy to make from scratch, yet it looks like it came straight from a fancy bakery!
Why This Is the Best Red Velvet Bundt Cake Recipe You Will Make
There are a lot of red velvet recipes out there, but ours is the one you’ll return to again and again. This red velvet bundt cake delivers stunning results without all the hassle. If you want a cake that turns heads and tastes amazing, this is it!
- It’s incredibly moist—seriously, this cake practically melts.
- The deep, rich cocoa flavor truly shines through.
- It’s a true showstopper dessert, perfect for impressing guests.
- The process feels manageable, even for newer bakers like I used to be!
- It holds its shape beautifully in the Bundt pan for easy decorating.
We’ve linked to some great inspiration for festive ideas over on this site if you are planning for a big holiday table.
Achieving That Signature Moist Red Velvet Cake Texture
What’s the secret to keeping this cake velvety instead of dry? It’s all about the fat! Unlike butter-based cakes, Liam insisted on using vegetable oil here. Oil stays liquid even at room temperature, coating the flour particles much better and locking in moisture. That, plus the acid from the buttermilk, gives us that perfect, tender crumb every single time. You can thank him later!
Ingredients for Your From Scratch Red Velvet Bundt Cake
Baking something truly special from scratch means not cutting corners on the ingredients list. We need things that work together perfectly to give us that beautiful, Deep Red Velvet Cake appearance and that amazing melt-in-your-mouth texture. Don’t worry, this list looks long, but it’s really just separating the cake stuff from the icing stuff!
For the main batter, gather these wet ingredients first: 1 1/2 cups vegetable oil, 1 1/2 cups granulated sugar, 2 large eggs, and 1 teaspoon vanilla extract. Then, for the dry elements, you’ll need 2 1/2 cups all-purpose flour and 1 teaspoon salt. Now, here’s where the chemistry comes in: 1 tablespoon unsweetened cocoa powder, 1 teaspoon white vinegar, 1 teaspoon baking soda, and 1 cup buttermilk. For that vibrant color we love, use about 1 teaspoon of red food coloring, but don’t be shy if you want it deeper!
The last two little bits are crucial: we mix the coloring into the buttermilk, and we dissolve the salt in 1/2 cup of hot water right before adding it all together. See? So straightforward!
Ingredients for the Tangy Cream Cheese Glaze Bundt Cake Topping
This glaze is non-negotiable—it needs that perfect tang to balance the rich cake. For the best results, make sure your cream cheese is truly soft! You’ll need 4 ounces of cream cheese (softened!), 1 1/2 cups powdered sugar, 2 tablespoons of milk, and just 1/2 teaspoon of vanilla extract.
If you want a slightly thinner drizzle for your Cream Cheese Glaze Bundt Cake, just add the milk a tiny bit at a time until it flows just right off your spoon. That slight sharpness from the cream cheese is what makes this homemade treat feel earned!
Simple Steps for Your Easy Red Velvet Bundt Recipe
I know, looking at the ingredient list made you think this red velvet bundt cake was going to be tough, right? Nope! Liam walked me through this a million times, and now it’s totally automatic. The whole secret to getting this classic dessert right is just taking it one step at a time. Don’t rush the mixing, and your cake will be perfectly baked and beautiful!
Preparing the Pan and Mixing the Batter
First thing’s first: oven temperature! Preheat that to 325 degrees Fahrenheit. Now, listen, we cannot skip prepping the pan. For a cake this large and detailed, you need to grease and flour a 10-cup Bundt pan really well. I mean, cover every nook and cranny! If you don’t want to risk sticking, you can always use a good commercial pan release spray—we have a tutorial on making homemade one on the blog if you’re interested in that for Baking Bundt Cakes.
Once the pan is ready, grab your big bowl. Whisk together the oil and sugar until they look happy together. Then, beat in your two eggs one by one, followed by that vanilla extract. Easy peasy so far!
Combining Wet and Dry Elements for a Velvety Bundt Dessert
Next up is the flavor magic! In a smaller bowl, quickly whisk together the cocoa powder, vinegar, and baking soda. Add this to your oil mixture and mix *just* until it disappears. Next, mix your red food coloring right into the buttermilk, then slowly add that to the main bowl, mixing only on low speed until it smooths out. We want everything combined, but not overworked!
The very last thing to go in? The hot water with the salt dissolved in it. Gently mix that in until you don’t see any streaks left. Remember what Liam taught me? Don’t overmix, or you will lose that amazing Moist Red Velvet Cake texture! Pour that beautiful batter right into your prepared pan.
Baking and Cooling the Showstopper Bundt Cake
Time to bake! This beauty usually takes between 50 to 60 minutes at 325F. You’ll know it’s done when a wooden pick stuck right in the center comes out totally clean. Patience is key here during the cooling stage, too!
Let the cake chill out in the pan on a wire rack for a full 15 minutes. Seriously, set a timer! If you try to flip it too soon, your gorgeous Showstopper Bundt Cake might crack. After 15 minutes, carefully invert it onto the rack and let it cool completely. Once it’s cool, that’s when we move on to the really fun part—glazing!

Mastering the Cream Cheese Icing for Your Red Velvet Bundt Cake
Okay, friends, we have baked our gorgeous, moist red velvet bundt cake; now we need the crown jewel: the glaze! The tangy cream cheese icing is what takes this from ‘nice cake’ to ‘absolutely unforgettable.’ This step is so quick, but a little practice gets you that professional, flowing look we all adore.
To start, you need your 4 ounces of cream cheese fully softened—no exceptions! Pop it in your mixer, and beat it until it’s completely smooth and lump-free. This is important because we don’t want any surprises when we pour this over the cooled cake later.
Next, slowly start adding your 1 1/2 cups of powdered sugar. I like to add it half a cup at a time, mixing on low speed so I don’t create an accidental sugar tornado in the kitchen. Once the sugar is mostly incorporated, mix in the 2 tablespoons of milk and the 1/2 teaspoon of vanilla extract. Give it a good scrape down, and check that consistency!
We are aiming for a thick drizzle that coats the back of a spoon but still pours gracefully. If it looks too stiff, add milk just one teaspoon at a time until you reach the perfect fluidity. If you accidentally go too far (oops, happens to the best of us!), just beat in a spoonful more of powdered sugar to tighten it up. This is how you nail the Cream Cheese Glaze Bundt Cake topping!
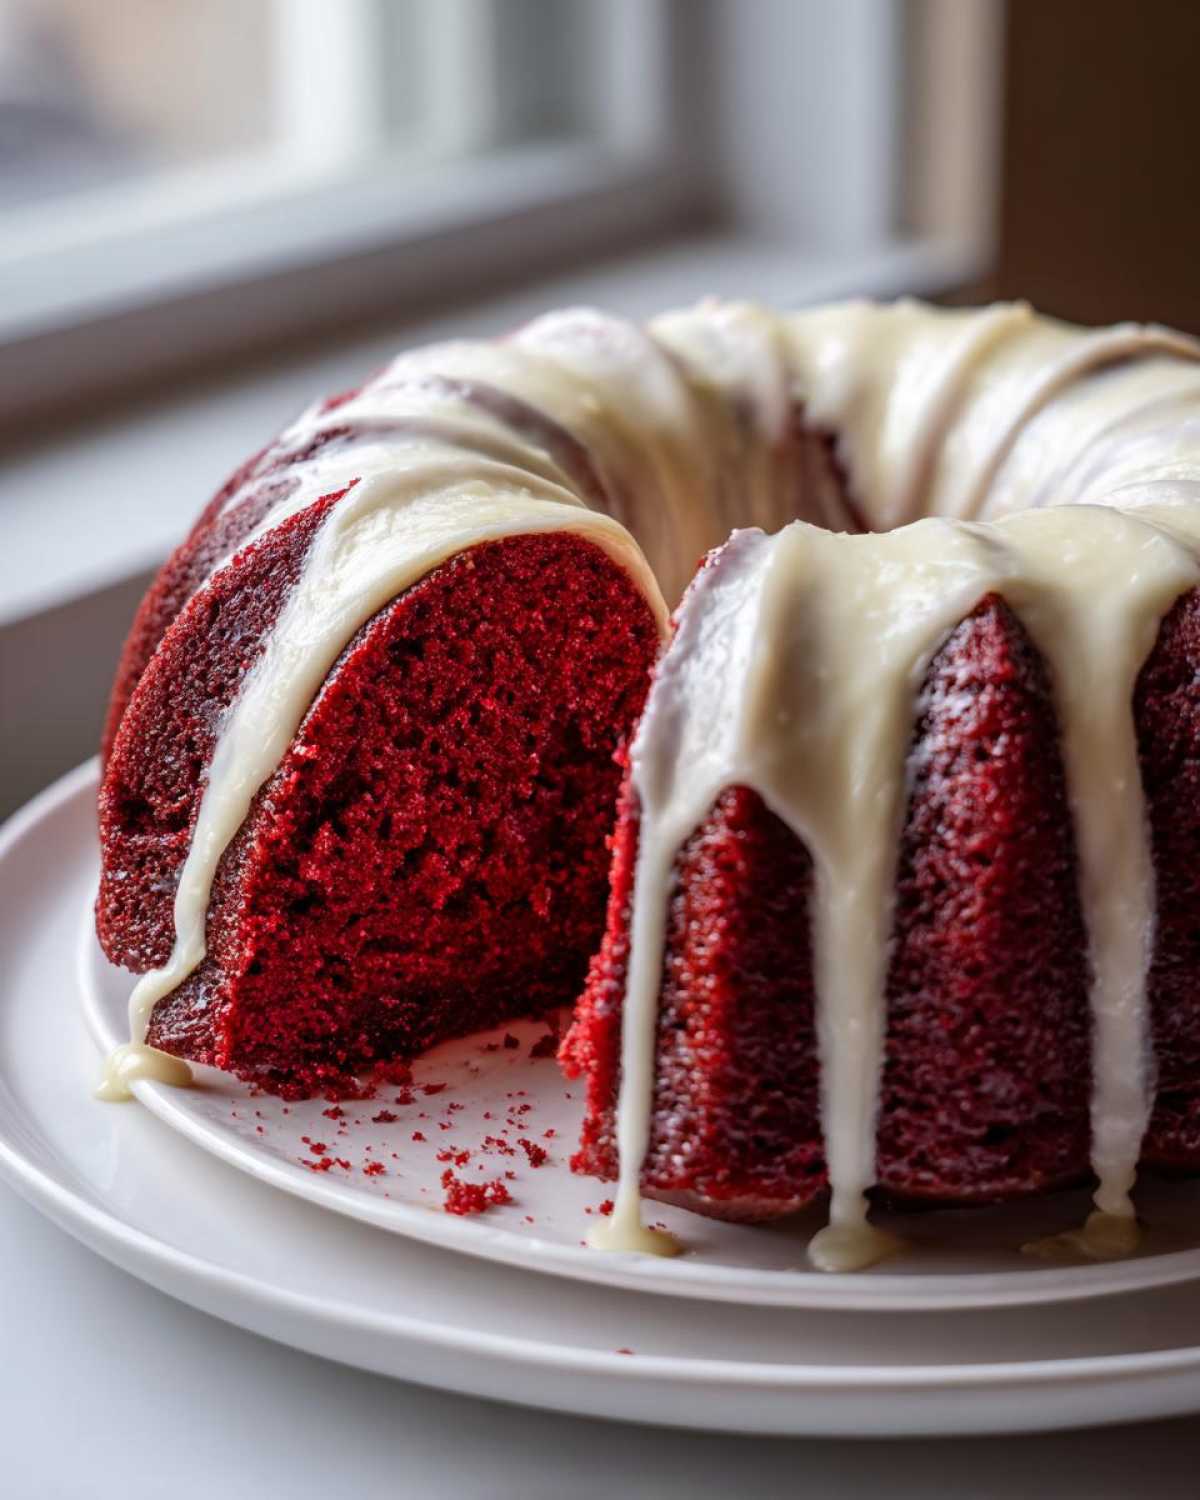
When you’re ready to dress your cooled cake, place the rack over a piece of parchment paper—this catches the drips so cleanup is a breeze! Drizzle that tangy icing generously everywhere. For extra inspiration on a show-stopping presentation, check out this great recipe for icing application. I always end up wanting to drizzle a little extra right over my slice before I eat it, because why not?
P.S. If you’re curious about other decadent toppings, I have a fantastic recipe for slow-cooker chocolate fondue that would make an incredible secondary drizzle!
Tips for a Copycat Nothing Bundt Cake Red Velvet Appearance
Okay, if you’re anything like me, you want that perfectly beautiful look that makes people ask, “Where did you buy that?” We can totally nail that famous bakery style right here at home with our red velvet bundt cake! The secret isn’t just the cake; it’s 100% in how that gorgeous cream cheese icing falls.
When you drizzle the glaze in step 10, don’t try to spread it perfectly smooth. That’s the key! Let it fall naturally over the cooled ridges of the Bundt pan. You want those thick, elegant drips running down the sides. If you’re struggling to get the glaze thick enough to hold those drips, just let it sit out for five extra minutes before you start pouring.
For the ultimate presentation that screams ‘showstopper,’ wait until the glaze has mostly set before moving the cake. Then, place it on a clean, simple white pedestal or platter. It looks so elegant and professional! If you want to see exactly how the best in the business make theirs look stunning, I always check out tips like this one on copycat recipes. Trust me, using oil in the batter helps keep the cake soft enough that the weight of the icing won’t squash the intricate design!
Ingredient Notes and Substitutions for This Recipe
Liam always emphasized that ingredient quality dictates flavor, even in a recipe as easy as this one. We learned a few tricks over the years when we were running low on something, or when we just wanted to boost that flavor profile a little bit more. These tiny adjustments make sure your cake is reliably delicious every single time you make it!
Remember how I mentioned room temperature buttermilk? That’s super important! If the buttermilk is ice cold, it can shock the batter and make it dense. Take it out about 30 minutes before you start mixing. If you forget, no big deal! Just set the cup of buttermilk in a larger bowl of warm water for 10 minutes. It warms right up!
Also, let’s talk color. If you want that truly dramatic, vibrant red color, skip the standard liquid food coloring drops. Liquid coloring adds too much extra moisture, which messes with the balance. Instead, splurge a tiny bit on a high-quality gel coloring—a little bit goes a *long* way to achieving that classic, deep hue. If you love learning about how small ingredient swaps affect texture, you’ll want to check out our notes on moist blueberry muffins; the science is surprisingly similar!
Now, for the oil substitution. Since this recipe relies on oil for that classic moist texture, swapping it out can be tricky. If you absolutely must, you can substitute half of the vegetable oil with melted, slightly cooled unsalted butter. But please, don’t substitute all of it! If you use all butter, you risk ending up with a slightly drier crumb because butter contains water, whereas oil is 100% fat.
Finally, a quick note on cocoa! We use standard unsweetened cocoa powder, but I learned that Dutch-processed cocoa can sometimes dull the red color because it’s less acidic. Stick to regular cocoa powder if you want that perfect visual impact for your Red Velvet Bundt Cake.
Serving Suggestions for Your Festive Bundt Cake Dessert
Now that you’ve baked this amazing red velvet bundt cake and crowned it with that tangy glaze, how should you serve it? Presentation really matters when you’ve put this much love into baking an Elegant Ring Cake Dessert!
For a truly festive spread, I love setting this cake out during holiday parties. It looks stunning all by itself, but you can really elevate it:
- Serve individual slices alongside a scoop of high-quality vanilla bean ice cream. The coldness contrasts beautifully with the cake’s rich, velvety texture.
- Pair it with a warm drink! My homemade hot cocoa mix is the perfect companion for cutting through the sweetness.
- If you are serving it near Christmas, try placing a few sugared cranberries or rosemary sprigs around the base of the serving plate for a pop of color, just like some inspiration I saw here.
Honestly though, the best way to serve this Festive Bundt Cake Dessert is warm, with a big fork, surrounded by people you love!
Storage and Reheating Instructions for Your Red Velvet Bundt Cake
I always try to bake this red velvet bundt cake the day before we serve it because the flavors really deepen overnight! How you store it depends on whether you’ve planned ahead and glazed it yet. If the cake is completely cooled and plain, wrap it tightly in plastic wrap—make sure there are no gaps! It will stay perfectly fine on the counter for about two days.
Once you’ve added that beautiful cream cheese glaze, you really should keep it covered in the fridge, since the dairy needs cooling. It’s still great for about four or five days. If you happen to have leftovers and they seem a little stiff, just slice off a piece and zap it for about 10 seconds in the microwave. Liam showed me that a quick warm-up brings back that marvelous, melt-in-your-mouth texture. If you want more tips on keeping baked goods fresh, I’ve written down everything I learned from Liam about storing moist pumpkin bread, too!
Frequently Asked Questions About This Elegant Ring Cake Dessert
I get so many messages about this recipe, and I love hearing all your questions! Before you go, let’s quickly cover a few things I hear often—especially about getting that perfect color and keeping the crumb soft for your red velvet bundt cake. It’s all about knowing the little tricks!
Can I use sour cream instead of buttermilk in this red velvet bundt cake recipe?
That’s a really smart question! Yes, you absolutely can, but you have to swap it 1-to-1 for the buttermilk. Sour cream is thicker, though, so Liam suggests thinning it out slightly. For every cup of sour cream you use, mix in about two tablespoons of regular milk or maybe even water until it seems to move about the same way your buttermilk does. This keeps the acid balance right for the reaction with the baking soda but helps keep the batter from getting too heavy when you are Baking Bundt Cakes.
How do I ensure my cake doesn’t have a dense crumb?
This is the number one concern people have with any Moist Red Velvet Cake recipe! The secret here is twofold: first, we use oil, not butter, which keeps things liquid and tender inside. Second, and this is crucial, you must not overmix once the flour goes in. Mix only until you see that last bit of flour disappear. If you mix too long, you develop gluten, and that causes stiffness. Keep mixing to a minimum, and you’ll nail that perfect, velvety texture every time. If you are looking for more bread-baking tips that focus on texture, check out the notes on my date nut bread—the principle of gentle mixing is the same!
Estimated Nutritional Information for This Dessert
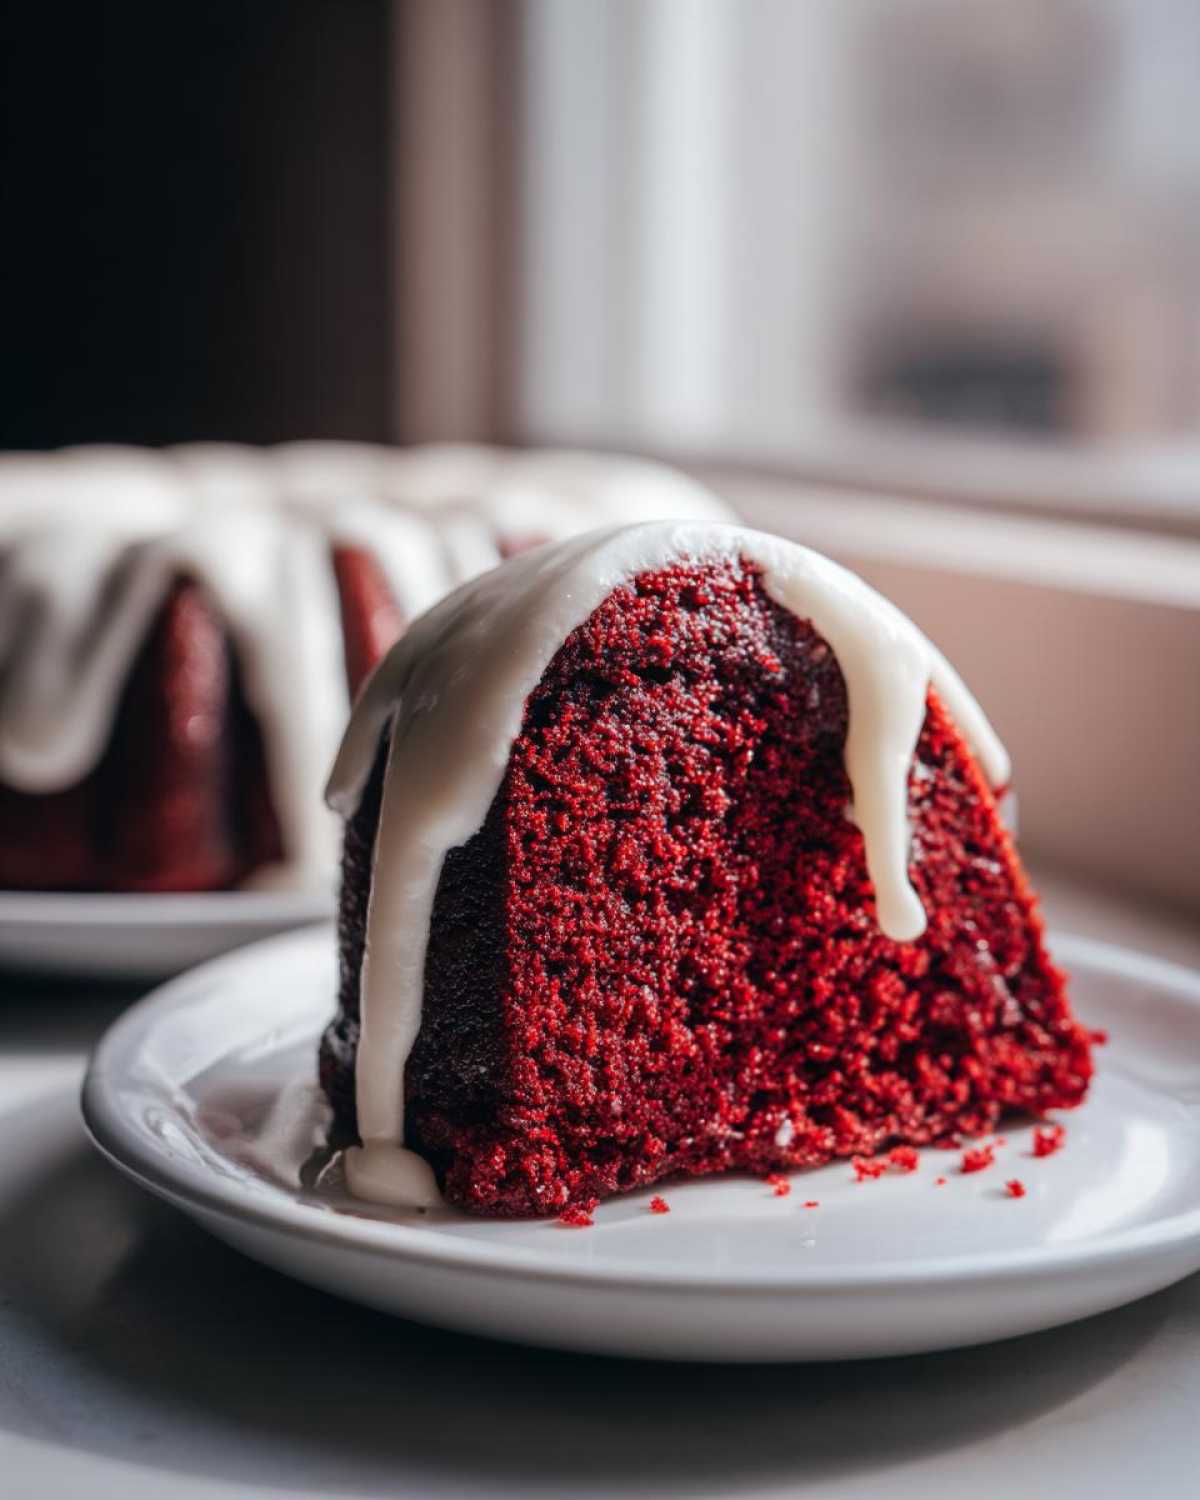
I always feel a little nervous posting nutrition facts because, honestly, when you’re baking the best red velvet bundt cake, you aren’t counting every single gram of sugar, are you? Haha! But, since we aim to be thorough here at TasteTaught, I’ve put together the general estimates based on the ingredients we used in this recipe. This is for a single, generous slice of that beautiful, glazed cake.
Keep in mind these numbers are just a guide because how much glaze you use, or even the exact brand of buttermilk, can shift things around a little bit! This is just to give you a ballpark idea of what you’re enjoying.
- Serving Size: 1 slice
- Calories: 450
- Sugar: 55g
- Fat: 24g (this includes that delicious fat from the oil and cream cheese!)
- Carbohydrates: 60g
- Protein: 4g
So, yes, it’s a treat! But it’s a homemade, from-scratch treat that you absolutely deserve to enjoy. Don’t worry too much about the numbers; just make sure you savor every velvety bite of that amazing red velvet bundt cake!
Share Your Homemade Red Velvet Treat
Wow, you made it! You tackled the creaming, you managed the red coloring, and you poured that gorgeous glaze. Now comes the absolute best part: showing off your masterpiece! Sharing your baking journey is how we all learn and get inspired.
If you followed this recipe and baked our delicious red velvet bundt cake, please come back and tell us how it went! Did you add extra cocoa? Did the glaze drip exactly how you wanted it to? Leave a comment right down below and let us know your favorite part—was it the texture, or the look?
And please, please, *please* snap a picture! Tag us on social media; we absolutely love seeing your gorgeous bakes. Showing off your Homemade Red Velvet Treat brightens our day, seriously. We’ve built this community together, one successful bake at a time. If you ever need to get in touch to ask a follow-up question about the recipe or anything else, you can always send us a note via our contact page. Happy baking, everyone!
PrintMoist Red Velvet Bundt Cake with Tangy Cream Cheese Glaze
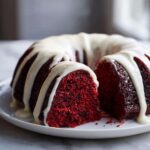
Bake a show-stopping, moist Red Velvet Bundt Cake from scratch that delivers that signature deep red color and rich cocoa flavor. This recipe includes the simple steps for a tender crumb and a tangy cream cheese glaze, making it an elegant, easy dessert for any special occasion.
- Prep Time: 20 min
- Cook Time: 60 min
- Total Time: 80 min
- Yield: 12 servings
- Category: Dessert
- Method: Baking
- Cuisine: American
- Diet: Vegetarian
Ingredients
- 1 1/2 cups vegetable oil
- 1 1/2 cups granulated sugar
- 2 large eggs
- 1 teaspoon vanilla extract
- 1 tablespoon unsweetened cocoa powder
- 1 teaspoon white vinegar
- 1 teaspoon baking soda
- 1 cup buttermilk
- 2 1/2 cups all-purpose flour
- 1 teaspoon salt
- 1 teaspoon red food coloring (or more for deep color)
- 1/2 cup hot water
- For the Cream Cheese Glaze: 4 ounces cream cheese, softened
- 1 1/2 cups powdered sugar
- 2 tablespoons milk
- 1/2 teaspoon vanilla extract
Instructions
- Preheat your oven to 325 degrees Fahrenheit. Grease and flour a 10-cup Bundt pan well.
- In a large bowl, whisk together the vegetable oil and granulated sugar until combined. Beat in the eggs one at a time, then mix in the vanilla extract.
- In a separate small bowl, whisk together the cocoa powder, white vinegar, and baking soda. Add this mixture to the wet ingredients and mix until just combined.
- In a measuring cup, stir the red food coloring into the buttermilk. Add the buttermilk mixture to the batter and mix on low speed until smooth.
- In a small bowl, dissolve the salt in the hot water. Add this to the batter and mix until just incorporated. Do not overmix.
- Pour the batter evenly into the prepared Bundt pan.
- Bake for 50 to 60 minutes, or until a wooden pick inserted into the center comes out clean.
- Let the cake cool in the pan on a wire rack for 15 minutes. Invert the cake onto the wire rack and allow it to cool completely before glazing.
- To make the cream cheese glaze, beat the softened cream cheese until smooth. Gradually beat in the powdered sugar, milk, and vanilla extract until you reach a smooth, pourable consistency. Add more milk, a teaspoon at a time, if the glaze is too thick.
- Drizzle the cream cheese glaze generously over the cooled cake. Let the glaze set before slicing and serving your showstopper Bundt cake.
Notes
- For the best, moist red velvet cake, make sure your buttermilk is at room temperature before mixing it in.
- If you want a deeper red color, use a high-quality gel food coloring instead of liquid drops.
- To achieve a copycat Nothing Bundt Cake look, let the glaze drip naturally down the sides of the cooled cake.
Nutrition
- Serving Size: 1 slice
- Calories: 450
- Sugar: 55g
- Sodium: 300mg
- Fat: 24g
- Saturated Fat: 7g
- Unsaturated Fat: 17g
- Trans Fat: 0g
- Carbohydrates: 60g
- Fiber: 1g
- Protein: 4g
- Cholesterol: 35mg