

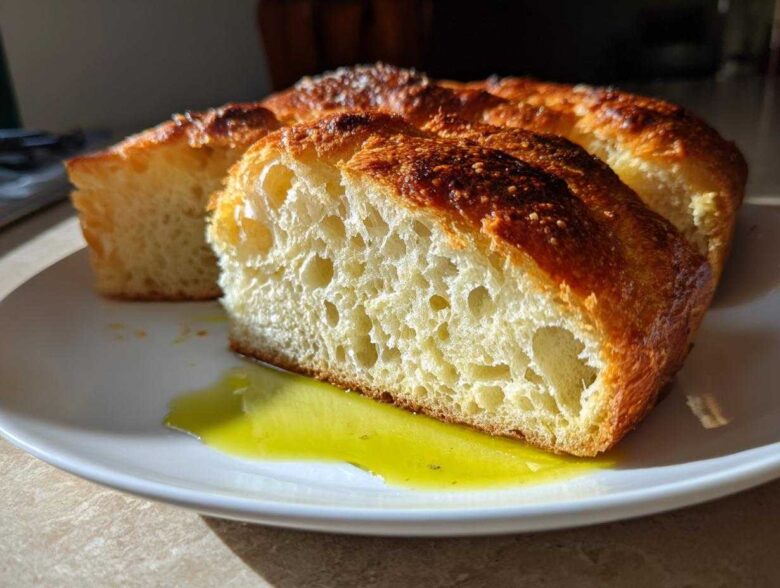
Oh, my goodness, friends, is there anything that beats that smell? That deep, yeasty, slightly toasted perfume that only comes from pulling a real loaf of bread out of your own oven? When Liam first taught me how to do this, I thought I needed all sorts of fancy equipment and endless hours of folding dough. Wrong! This Easy No-Knead Crusty Italian Bread is the one that proved me wrong, and it’s my absolute favorite for serving with pasta or just tearing apart dipped in good olive oil. Seriously, this recipe gives you that perfectly crusty Italian bread exterior you dream about, but with an interior that’s so soft and chewy it practically melts. It’s proof that you don’t need to be a professional baker to achieve true bakery results at home. If you want the best homemade bread without the workout, you’ve come to the right place! You can read a little more about how we started our whole teaching journey over on the TasteTaught story page.
Why This Homemade Italian Bread Recipe Works for Everyone
I know what you’re thinking: “I don’t have time to bake bread,” or “I always kill my yeast.” Don’t you worry one bit! Liam had me convinced that this Homemade Italian Bread was fool-proof, and it really is. The magic here is that we substitute elbow grease for time, which is a trade I’ll take every single time. This recipe is truly an Easy Artisan Bread that looks and tastes like it took all day!
- Minimal hands-on work—just mix, rest, and bake!
- Perfect for busy weeknights when you crave fresh bread.
- Produces a robust loaf perfect for week-old sandwiches or dipping.
Achieving the Perfect Crusty Italian Loaf Texture
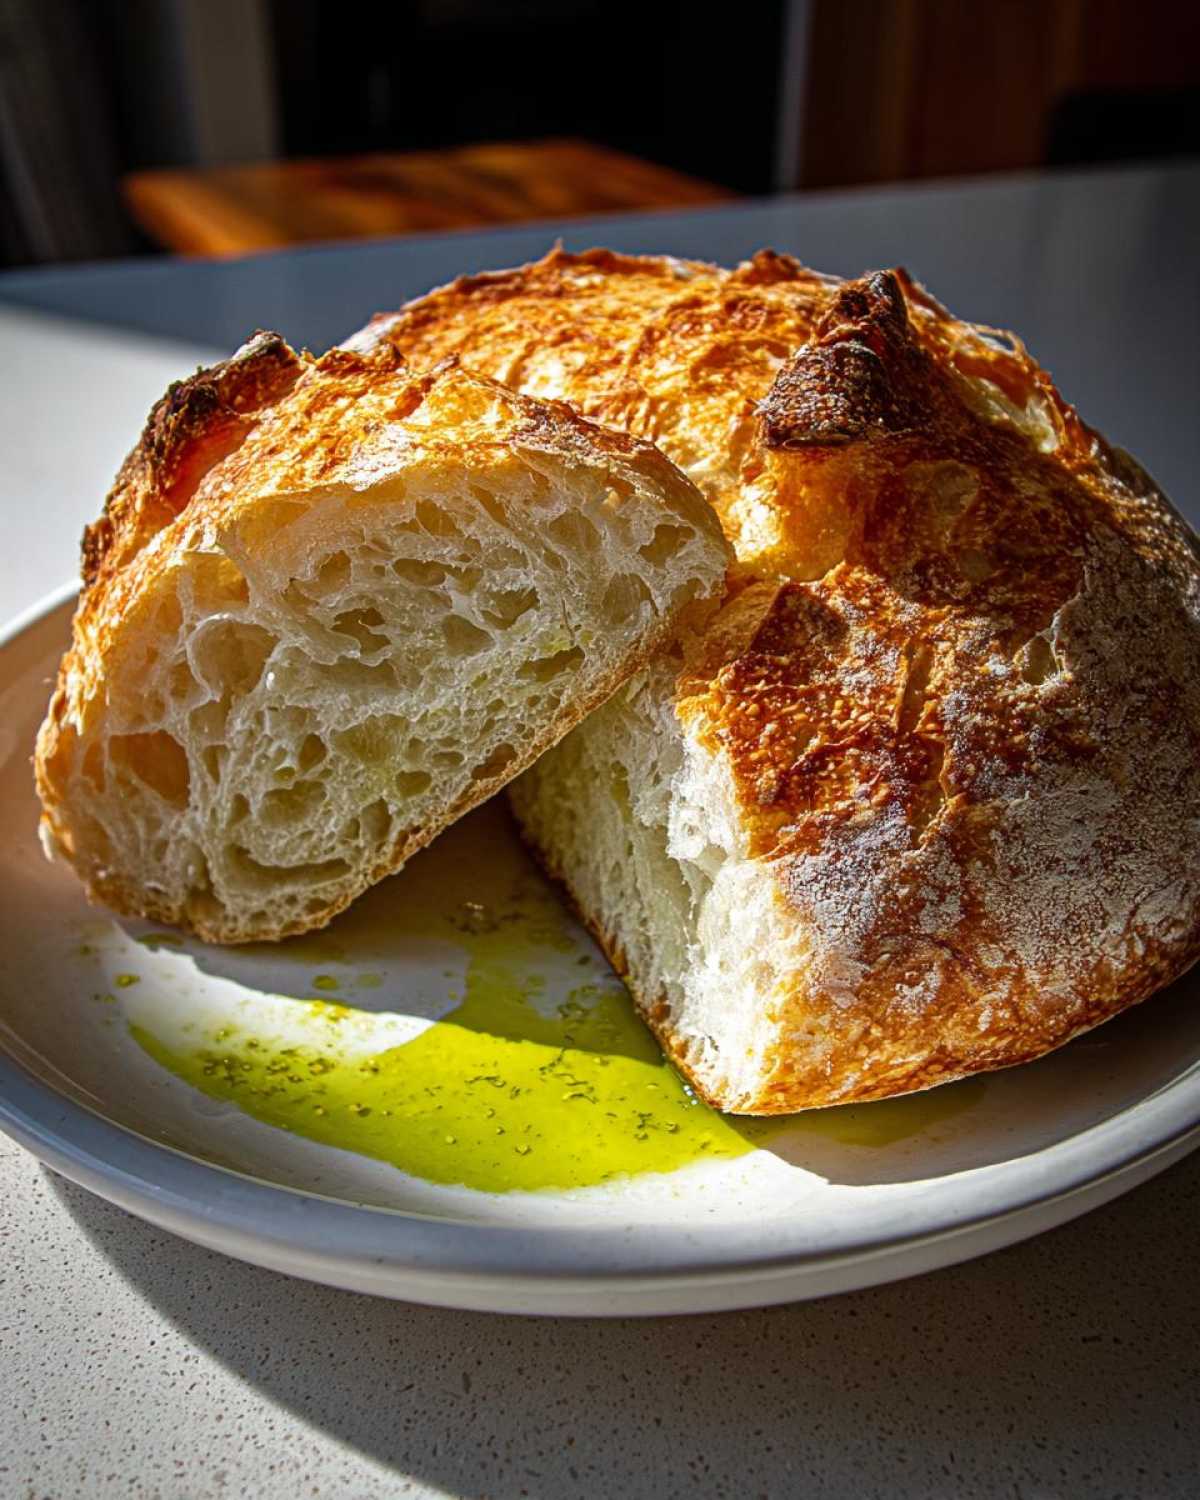
That crunchy, crackly exterior everyone wants in a Crusty Italian Loaf comes from one key thing: steam! When we bake this dough inside a pre-heated Dutch oven, the lid traps all the moisture the dough releases. This steamy environment keeps the surface moist long enough for the dough to fully expand before it bakes hard. Once we lift the lid, *that’s* when the crust goes from pale to deep, golden brown and wonderfully crunchy. It’s genius, honestly!
The Beauty of No Knead Italian Bread
Forget spending fifteen minutes wrestling a sticky mound of dough! This is pure No Knead Italian Bread, which means the long, slow fermentation process develops the gluten structure for you. All you do is mix the ingredients until they’re just combined, cover it up, and walk away for most of the day. It’s the easiest way to create the open, airy crumb we are aiming for in authentic Italian baking.
Essential Ingredients for Authentic Italian Bread at Home
Okay, since this is a no-knead recipe, the ingredients really have to pull their own weight! Because we aren’t beating the gluten structure into submission, we rely on the quality of what goes in. Liam always says, “If you only use four things, make sure they’re the right four things.” It’s true! We keep this simple—just flour, water, salt, and yeast, plus a little oil for richness. Having these ready is half the battle in baking any Italian bread.
Ingredient Clarity and Quality Notes
I’ve learned the hard way that substituting here can really mess up the delicate balance of a long, slow rise. For this recipe, we need precise things:
- Flour: Stick to standard All-Purpose Flour. Don’t worry about high-protein bread flour here; the long rest time handles the gluten formation just fine.
- Yeast: You must use Instant Yeast. This is crucial for any no-knead method because it doesn’t need to be “activated” in warm water first; it can mix right into the dry ingredients and start working immediately during that big, long rest.
- Water: It must be Cool Water! If the water is too warm, it will rush the yeast and you’ll end up with a flat, bland loaf after 18 hours. Cool water keeps the yeast happy and slow-moving.
Step-by-Step Instructions for Your Crusty Italian Loaf
This part is where the magic really happens, but don’t let the timeline scare you! Most of the time here is just you chilling out while the yeast does all the heavy lifting. I remember when Liam first showed me this 18-hour rest, I thought he was joking! But trust me, this is the secret to getting that amazing, deep flavor profile in your italian bread without having to knead for ages. Ready to watch something amazing happen? We cover lots of simple baking concepts like this over on the main blog page!
Mixing and the Long Rest for Flavor Development
First step: grab a big bowl. You want to whisk your flour, salt, and instant yeast together until they look completely uniform. Then, pour in the cool water and that little bit of olive oil. Mix it with a sturdy spoon—stop as soon as you see no dry flour patches left. It will look shaggy, sticky, and slightly messy; that’s exactly what you want! Remember, you are doing NO KNEADING here whatsoever. Once it’s shaggy, cover that bowl super tight with plastic wrap and leave it on your counter—not the fridge—for a long, relaxing 12 to 18 hours at room temperature.
Shaping and Final Proofing
When the long rest is up, gently turn the dough onto a lightly floured surface. Don’t panic if it looks a little bubbly or weird—it’s supposed to! We just want to gently fold it in on itself a few times to create a rough ball shape; think of it like tidying up a very soft blanket. We’re not trying to punch air out of it! Place that shaped ball onto a piece of parchment paper (this makes transferring it so much easier later), cover it loosely, and let it quickly proof for just 30 minutes. While it rests, get your Dutch oven sizzling hot in the oven at 450°F (232°C).
Baking Your Italian Bread for Maximum Crust
Once that 30 minutes is up and your pot is screaming hot, use the parchment paper as a sling to gently lower your dough right into that blazing hot pot. Cover it immediately and bake it like that for 30 minutes. This is where the steam does its amazing work! After 30 minutes, yank that heavy lid off and let it bake uncovered for another 10 to 15 minutes. Keep an eye on it until that crust turns deep golden brown and sounds hollow when you tap the bottom—that’s how you know you have the perfect crusty italian bread!
Tips for Success When Making Italian Bread
Even with a super simple recipe like this, sometimes questions pop up, right? That’s totally normal! Liam always told me that troubleshooting is just learning the conversation your dough is having with you. Once you master the timing and temperature, this becomes the Best Italian Bread Recipe you’ll ever use because it’s so forgiving. Don’t be discouraged if your first loaf isn’t perfect—every loaf tastes amazing when you dip it in good olive oil anyway!
Troubleshooting Common Issues with Your Yeast Bread Recipe
If you are having any trouble getting your Yeast Bread Recipe to cooperate, don’t sweat it. Here are a couple of things that used to trip me up when I was first learning the ropes:
- My dough felt way too sticky, even after the long rest! If it feels like pancake batter when you go to scrape it out, that’s okay, but you need a little structure for shaping. Lightly flour your hands and your surface, and dust the top of the dough lightly before you fold it. You only want to add just enough flour so you can handle it without it sticking everywhere; remember, we are being very gentle with this dough!
- My loaf didn’t rise much after the 30-minute proof. This is almost always down to the water temperature. Remember I stressed using cool water? If the water was even a little too warm initially (like tap water that feels hot to your wrist), it shocked your yeast. Or, if your kitchen is genuinely freezing, the yeast got sluggish. Next time, make sure the water is cool, or try proofing your yeast separately if you want extra insurance.
For more handy baking knowledge, like how to handle things when baking sweets, check out our steps for the easy puff pastry apple strudel recipe—it uses some of the same patience that great bread needs!
Variations: Making Italian Herb Cheese Bread
You know I love to play with my food—Liam just has to hide the Parmesan sometimes so I don’t put it in everything! If you want to elevate this italian bread into something stunning for a party or just a really fun weeknight meal, you HAVE to try the herb and cheese version. It’s such a simple switch that makes the flavor profile feel completely different!
You’ll take the exact same recipe up until the shaping step, right before that final 30-minute proof. At that moment, gently unfold your shaggy dough ball just a little bit on your floured counter. Carefully fold around 1/2 cup of grated Parmesan cheese and about one tablespoon of dried Italian herbs—oregano, basil, whatever smells good to you—right into the surface. Then, gently fold it back into a rough ball shape, just the way you did before. Seriously, that’s it! You bake it exactly the same way in the Dutch oven.
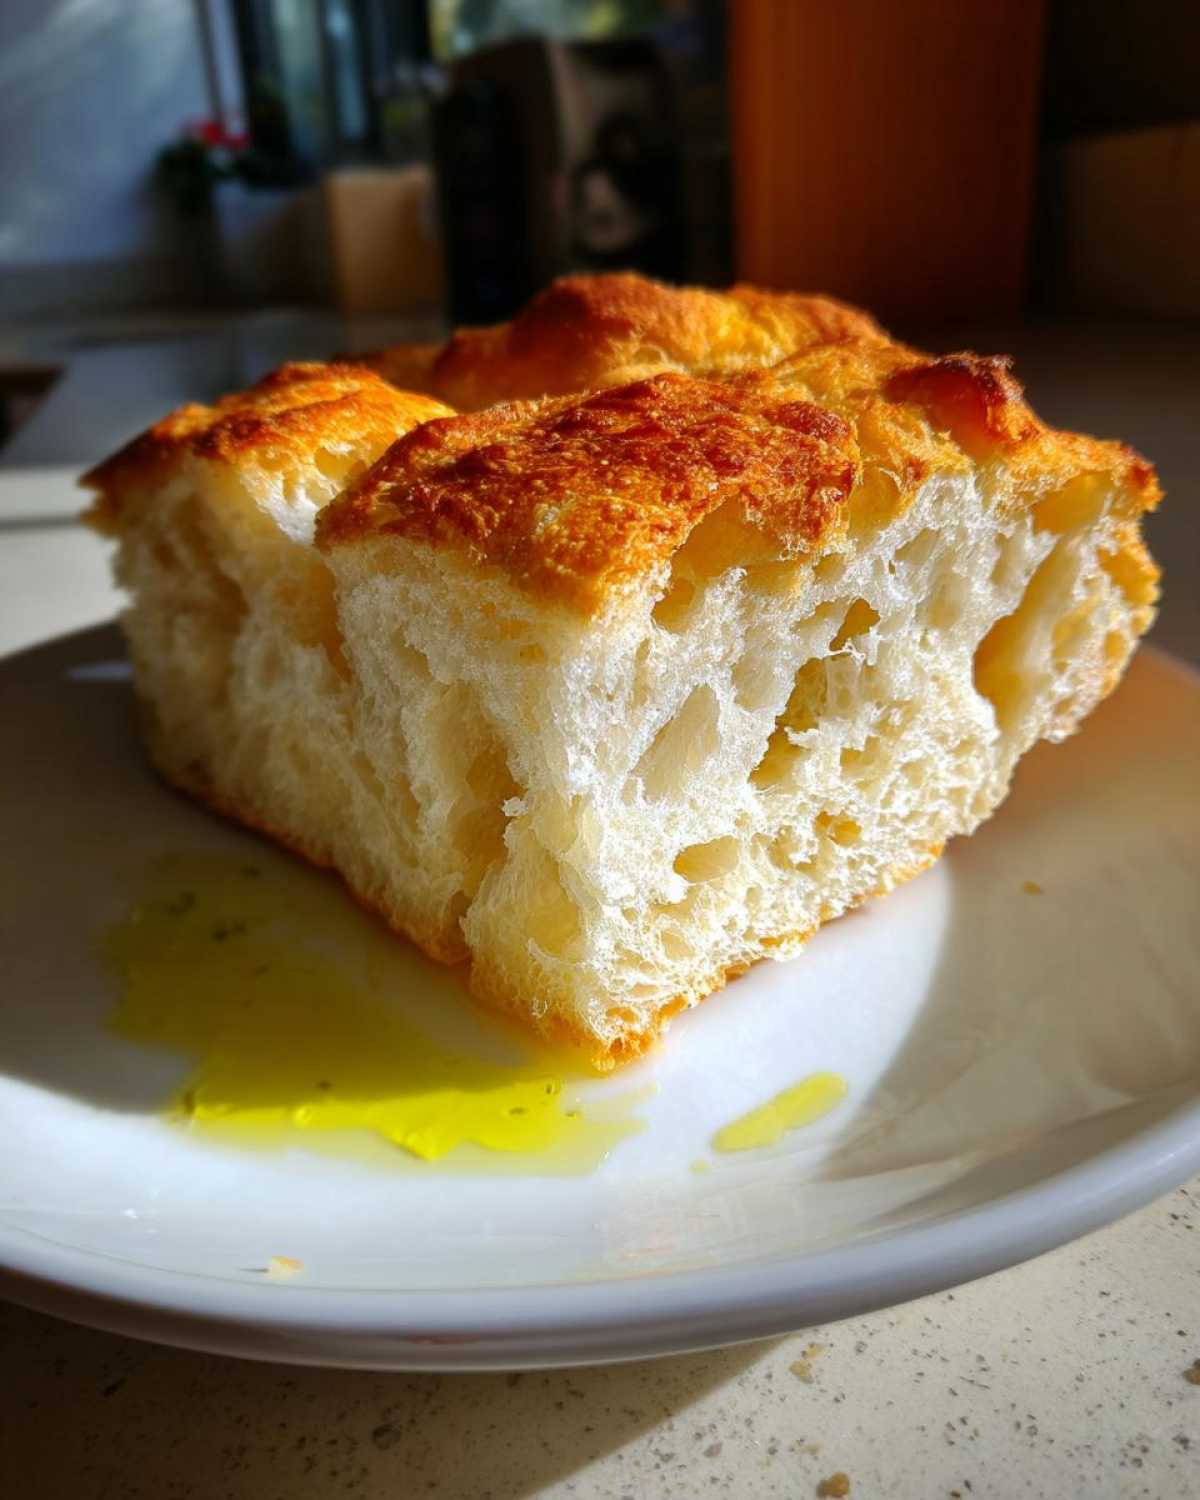
The result is this incredible, savory Italian Herb Cheese Bread with that same crackly crust and soft center. It’s fantastic served hot alongside a big bowl of marinara sauce. If you love fun, savory breads like this, you absolutely must check out how we make our easy homemade garlic breadsticks next time!
Serving Suggestions for Your Rustic Italian Baking
Now that you have spent the time—even if it was mostly resting time—baking this gorgeous, crusty loaf, what do you do with it? My favorite way to celebrate Rustic Italian Baking is keeping it simple. Seriously, just a fantastic quality extra virgin olive oil that you dip into makes me ridiculously happy. That simple pairing lets the flavor of the bread shine through more than anything else.
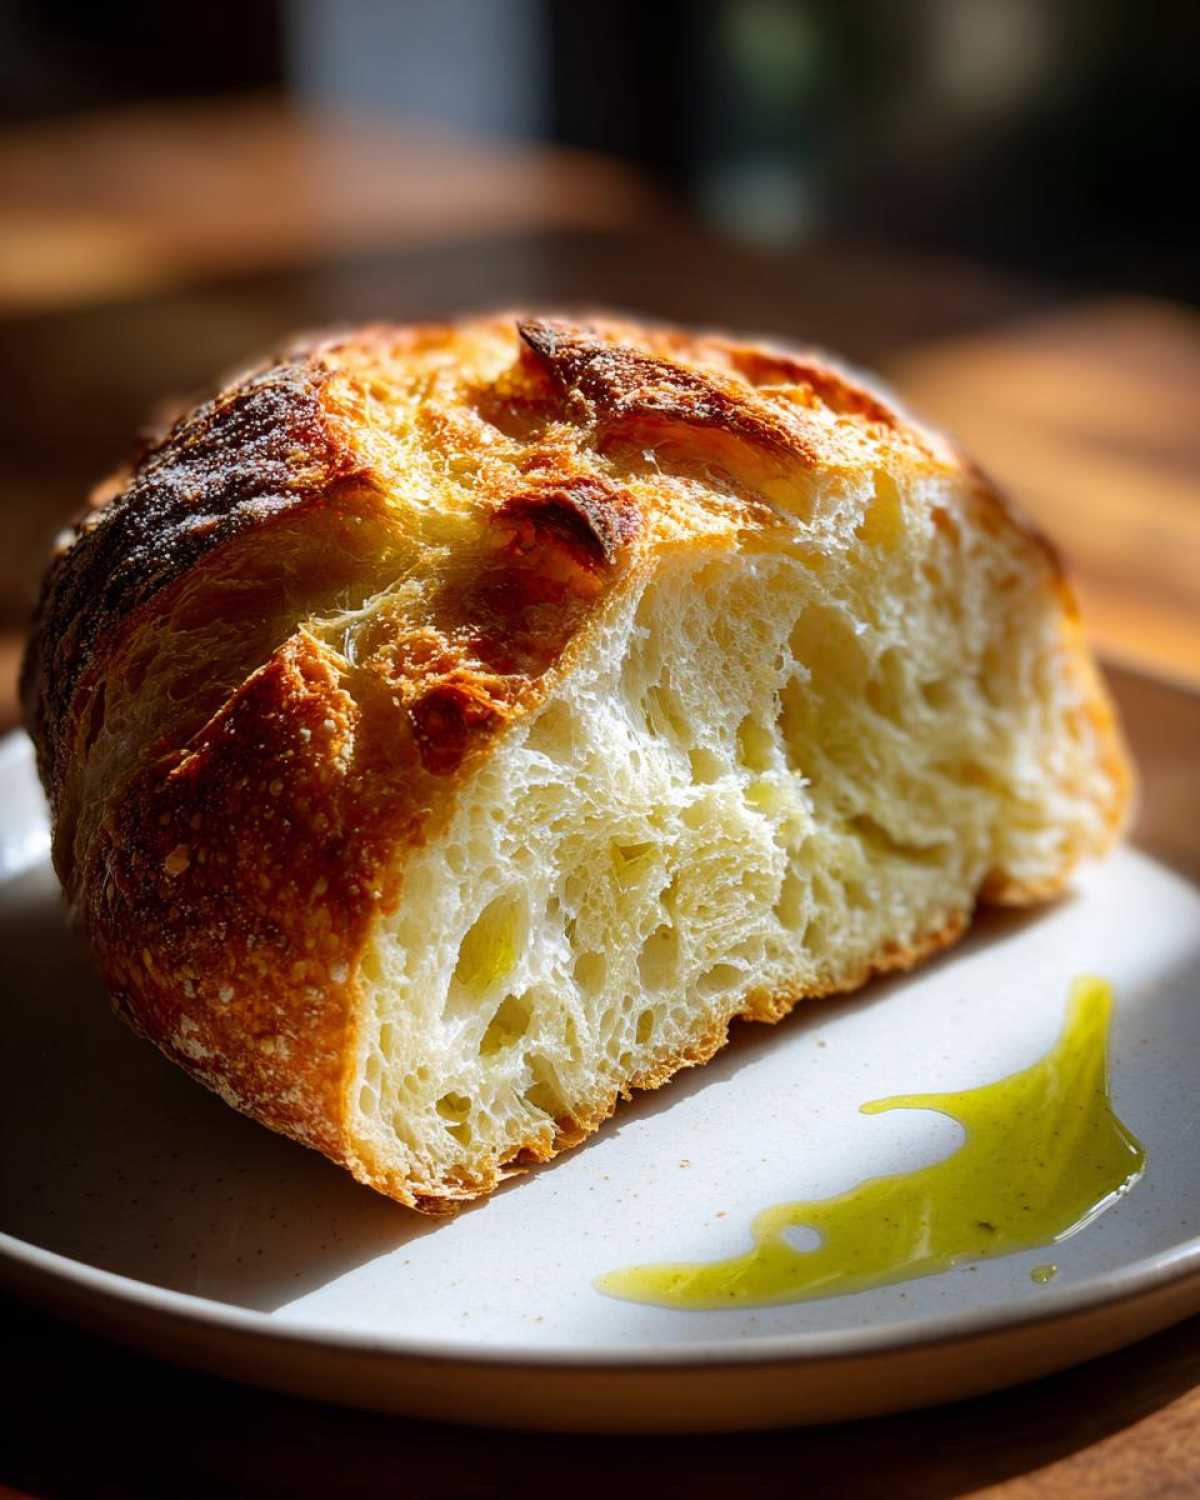
Of course, this bread was practically *made* for soaking up sauces. If you’re making any saucy Italian dish, you need a proper mop on the table. This loaf is the MVP for hearty ragu or even just a super simple tomato sauce. Serve it alongside our best easy homemade lasagna recipe; you won’t have a single bit left, I promise!
Storage and Reheating Instructions for Soft Crust Bread Recipe
Okay, one of the hardest parts about baking a perfect loaf is trying to save some for later, right? Freshly baked italian bread starts losing that beautiful crust almost immediately once it cools down fully. For the first day, I store my loaf only in a paper bag left loosely on the counter. This lets any residual steam escape, which helps keep the exterior as crisp as possible for those first 24 hours. If you need it to last longer, you can switch to a sealed plastic bag, but know that you’ll sacrifice that initial crunch, which is why we have a great reheating trick!
To bring back the glory of that Soft Crust Bread Recipe, you just need a blast of heat. Wait until the bread is fully cool, then wrap the loaf loosely in foil and place it in a 350°F oven for about 8–10 minutes. The foil steams the inside back to fluffy perfection while the heat re-crisps the exterior crust. It tastes practically straight from the Dutch oven again!
Frequently Asked Questions About Homemade Italian Bread
I always feel like I could talk about italian bread forever because every time I bake it, I learn something new! Liam and I gathered some of the questions we get asked most often about this process. Hopefully, this clears up anything sticking points so you can have success with your very first Homemade Italian Bread!
Can I use active dry yeast instead of instant yeast in this italian bread recipe?
You absolutely can, but you have to promise me you’ll wake the yeast up first! Instant yeast is so convenient because it just mixes right in, but active dry yeast needs a little warm water hug before it gets invited to the party. So, if you only have active dry, mix your required 1 teaspoon of sugar and the yeast into about 1/2 cup of the total water needed, and let it sit for about 5 to 10 minutes until it gets foamy and bubbly on top. Once it’s foamy, add that mixture to your rest of the ingredients when the recipe calls for water. If it doesn’t foam, your yeast is old, and you’ll need to grab a new packet!
What is the best way to get a fluffy Italian Bread Interior?
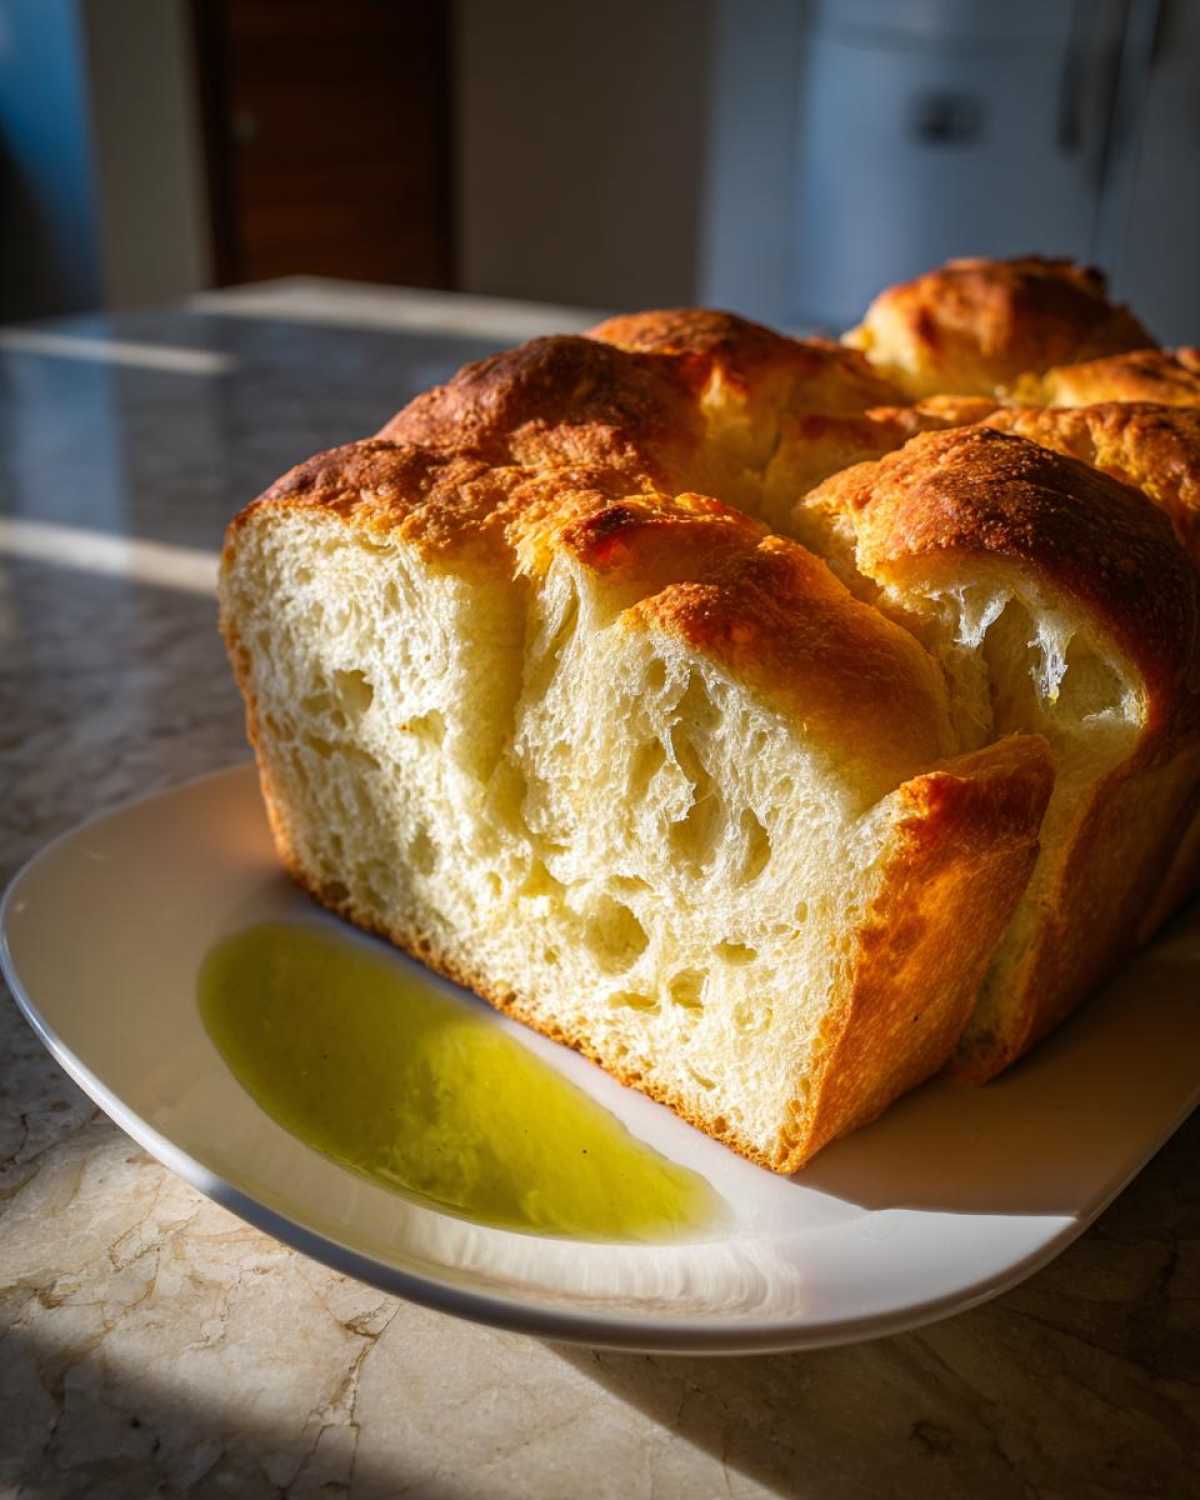
This is where we talk about texture, which is everything, right? If you want that light, open, and airy crumb—that real Fluffy Italian Bread Interior—you need two things: time and gentleness. The time comes from letting that dough rest for the full 12 to 18 hours; that slow fermentation is responsible for creating all those gas bubbles needed for airiness. The gentleness comes during the shaping stage. You have to resist the urge to press down hard or knead it when you fold it. Treat that developed dough like a slightly inflated balloon—handle it lightly so those precious air pockets you spent 18 hours making don’t get squished out before baking. If you want more troubleshooting tips on recipes that depend on air development, take a peek at this crusty Italian bread recipe guide.
Sharing Your Best Bread for Italian Dinners
Whew! You’ve done it. You’ve created truly spectacular Best Bread for Italian Dinners, and I can almost smell that fresh crust from here! I would absolutely adore it if you tried this recipe and came back to let me know how it went. Did that Dutch oven trick work its magic for you? Drop a rating and tell us in the comments below—or if you have any lingering questions, reach out to us through the contact page. Happy baking, friends!
PrintEasy No-Knead Crusty Italian Bread with Fluffy Interior
Learn how to make authentic, homemade Italian bread that features a perfect, crackly crust and a soft, chewy interior. This easy, no-knead recipe is ideal for beginners and pairs perfectly with any Italian dinner or for dipping in olive oil.
- Prep Time: 10 min
- Cook Time: 45 min
- Total Time: 13 hours 55 min
- Yield: 1 large loaf
- Category: Bread
- Method: Baking
- Cuisine: Italian
- Diet: Vegetarian
Ingredients
- 3 cups All-Purpose Flour
- 1 ½ teaspoons Salt
- ½ teaspoon Instant Yeast
- 1 ½ cups Cool Water
- 1 tablespoon Olive Oil, plus more for the bowl
Instructions
- In a large bowl, whisk together the flour, salt, and instant yeast until they are fully combined.
- Pour in the cool water and the olive oil. Mix with a wooden spoon or spatula until a shaggy, sticky dough forms. You do not need to knead this dough.
- Cover the bowl tightly with plastic wrap. Let the dough rest at room temperature for 12 to 18 hours. This long, slow rise develops the flavor and texture.
- After the long rise, lightly flour a work surface. Gently scrape the dough out of the bowl onto the flour. Dust the top of the dough lightly with flour.
- Fold the dough over itself a few times to form a rough ball shape. Do not overwork it.
- Place the dough ball onto a piece of parchment paper. Cover it loosely with plastic wrap or a clean kitchen towel. Let it rest for a second proof for 30 minutes.
- About 20 minutes before the second proof ends, place a Dutch oven (with the lid on) into your oven. Preheat the oven to 450°F (232°C).
- Carefully remove the hot Dutch oven from the oven. Lift the dough using the parchment paper and gently lower it into the hot pot. Score the top of the dough once with a sharp knife or razor blade if desired.
- Cover the Dutch oven and bake for 30 minutes.
- Remove the lid and continue baking for another 10 to 15 minutes, or until the crust is deep golden brown and sounds hollow when tapped. This creates your desired crusty Italian loaf.
- Carefully remove the bread from the Dutch oven and let it cool completely on a wire rack before slicing. Enjoy this best Italian bread recipe!
Notes
- For an Italian Herb and Cheese Bread variation, gently fold in 1/2 cup of grated Parmesan cheese and 1 tablespoon of dried Italian herbs during the final shaping step before the second proof.
- If you prefer a softer crust, remove the bread from the Dutch oven for the last 10 minutes of baking and finish it directly on the oven rack.
- This bread is perfect for dipping in olive oil or serving with your favorite Italian dishes.
Nutrition
- Serving Size: 1 slice
- Calories: 180
- Sugar: 1
- Sodium: 350
- Fat: 1.5
- Saturated Fat: 0.3
- Unsaturated Fat: 1.2
- Trans Fat: 0
- Carbohydrates: 37
- Fiber: 1.5
- Protein: 6
- Cholesterol: 0