

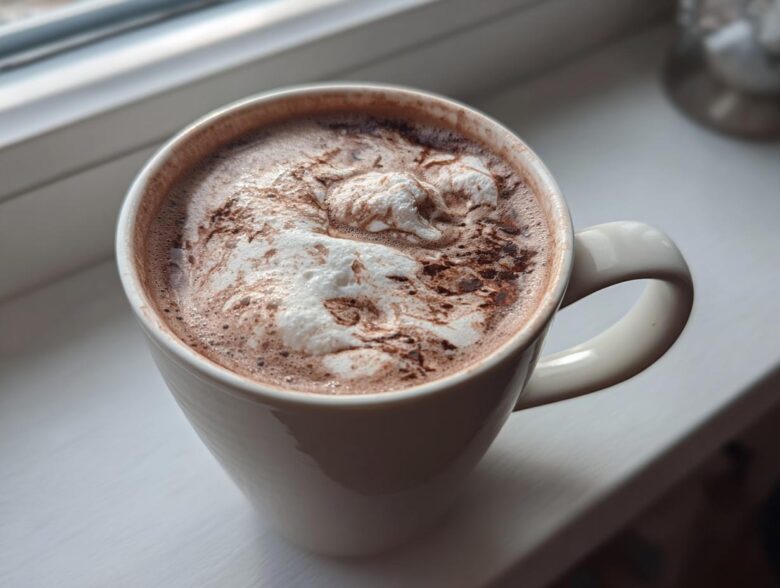
Oh, the absolute joy of the first truly cold snap! Nothing makes me feel cozier than having a steaming mug of something chocolatey in my hands, and trust me, you don’t need those powdery little packets anymore. We’re making a truly rich, creamy, big-batch homemade hot cocoa mix today that blows anything store-bought out of the water. When I first learned how to make this hot cocoa mix, I was shocked at how easy it was. Liam, bless his patient soul, showed me that the best pantry staple drinks are usually the simplest. You can find more of Liam’s reliable go-tos when you check out our best hot cocoa mix recipe advice. He designed this recipe to be foolproof and reliable—he taught me that I could trust the measurements, which meant I could finally trust myself in the kitchen.
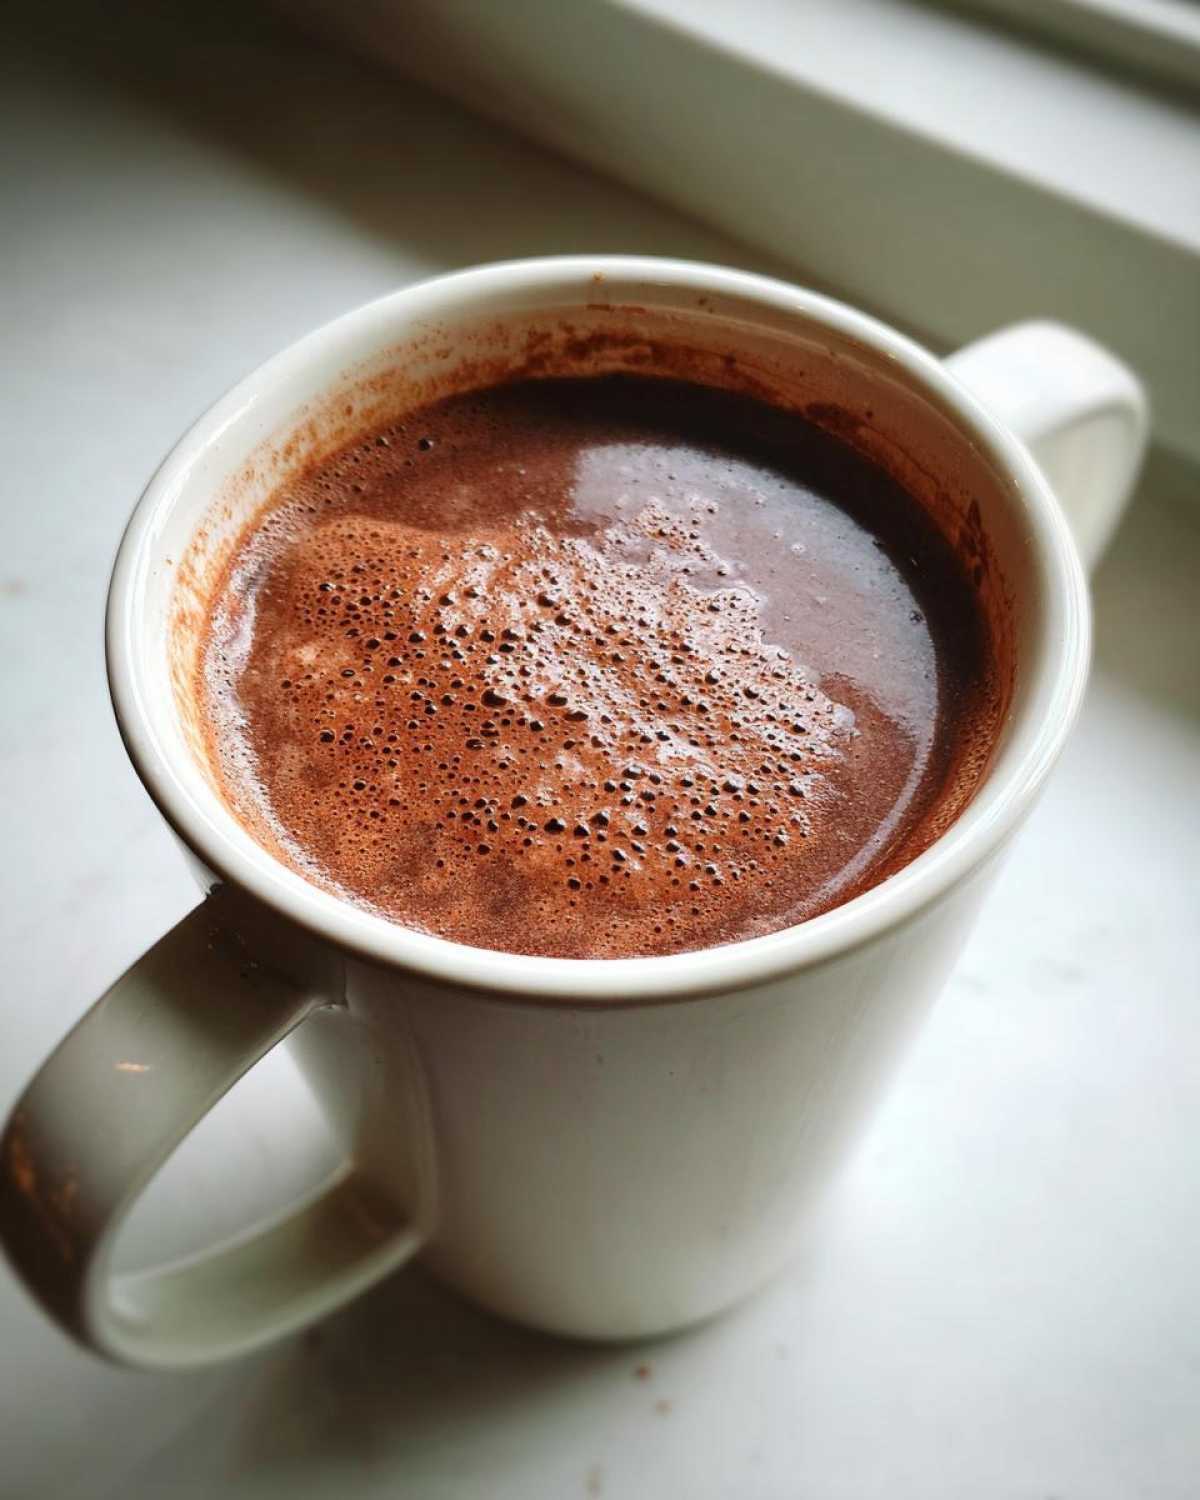
Why This Homemade Hot Cocoa Mix is Your New Pantry Staple Drinks Favorite
I love this recipe because it truly solves several problems at once. It’s honestly the best way to make sure rich chocolate goodness is always within reach. Since we make it in a big batch cocoa mix, I fill up one container for us, and then—ta-da!—we have several ready-to-go containers for thoughtful presents.
- It delivers that perfect, rich chocolate mix recipe flavor that honestly tastes like fudge is melting into your cup.
- It replaces those sketchy store-bought packets with something clean and delicious.
- It’s incredibly versatile, whether you are whipping up a quick mug or assembling a fun Holiday gift in a jar.
Achieving Rich Chocolate Mix Recipe Quality
The secret to making this the best hot cocoa mix you’ve ever had isn’t some fancy ingredient—it’s just paying attention to the cocoa powder. Since this is essentially a dry mix, the quality of the chocolate you put in is what you get out. Trust me on this: spend a little extra on a good, unsweetened cocoa powder. It makes all the difference in the depth of the chocolate flavor.
Ingredients for Your Big Batch Hot Cocoa Mix
Gathering these ingredients is honestly the longest part of the whole process, and it takes maybe five minutes, tops! We are sticking to simple things you probably already have in your pantry. To get that luxurious, creamy hot chocolate powder texture, I highly recommend using the cornstarch listed below, but don’t stress if you don’t have it—it’s optional!
- 2 cups powdered sugar (the fine stuff!)
- 1 cup unsweetened cocoa powder (use the good stuff!)
- 1 cup nonfat dry milk powder (Leave this out if you need a dairy-free version.)
- 1 teaspoon salt (Yes, salt! It wakes up the chocolate.)
- 1 teaspoon cornstarch (This is our secret for extra creaminess)
That’s it! Just simple, good components ready to go.
How to Make Hot Cocoa From Scratch: Simple Powdered Cocoa Instructions
Okay, now for the fun part where everything comes together! This process is so straightforward, which is why it’s perfect for keeping on hand—you just toss it all together and mix. We aren’t baking anything, so the whole prep time is super snappy. Remember, since this is a dry mixture, the key is making sure everything is perfectly combined so you don’t end up with a sugar clump in your first mug!
- Grab a large bowl; I mean, one big enough that you can actually move your whisk around without making a huge mess!
- Carefully measure out your powdered sugar, that high-quality cocoa powder, the dry milk (if you’re using it, of course), salt, and that little bit of cornstarch.
- Now, whisk. This isn’t like gently folding egg whites; this needs some elbow grease! You need to whisk for a solid minute, really digging into the corners of the bowl to break up every single cocoa clump.
- Once it’s all smoothly incorporated, just scoop it into your airtight storage container. You can see Liam’s overall thoughts on our blog if you want more mixing philosophy!
Mixing for the Best Creamy Hot Chocolate Powder
I can’t stress this enough: Whisk it until you think you couldn’t possibly whisk it anymore, and then whisk it for another fifteen seconds! Those little bits of cocoa powder are sneaky, and if they don’t fully incorporate now, they’ll just float sadly on top of your finished drink. We want every scoop of this hot cocoa mix—whether it’s your first or your last spoonful from the jar—to be perfectly balanced for that ultimate flavor.
Preparing the Perfect Cup of Hot Cocoa Mix
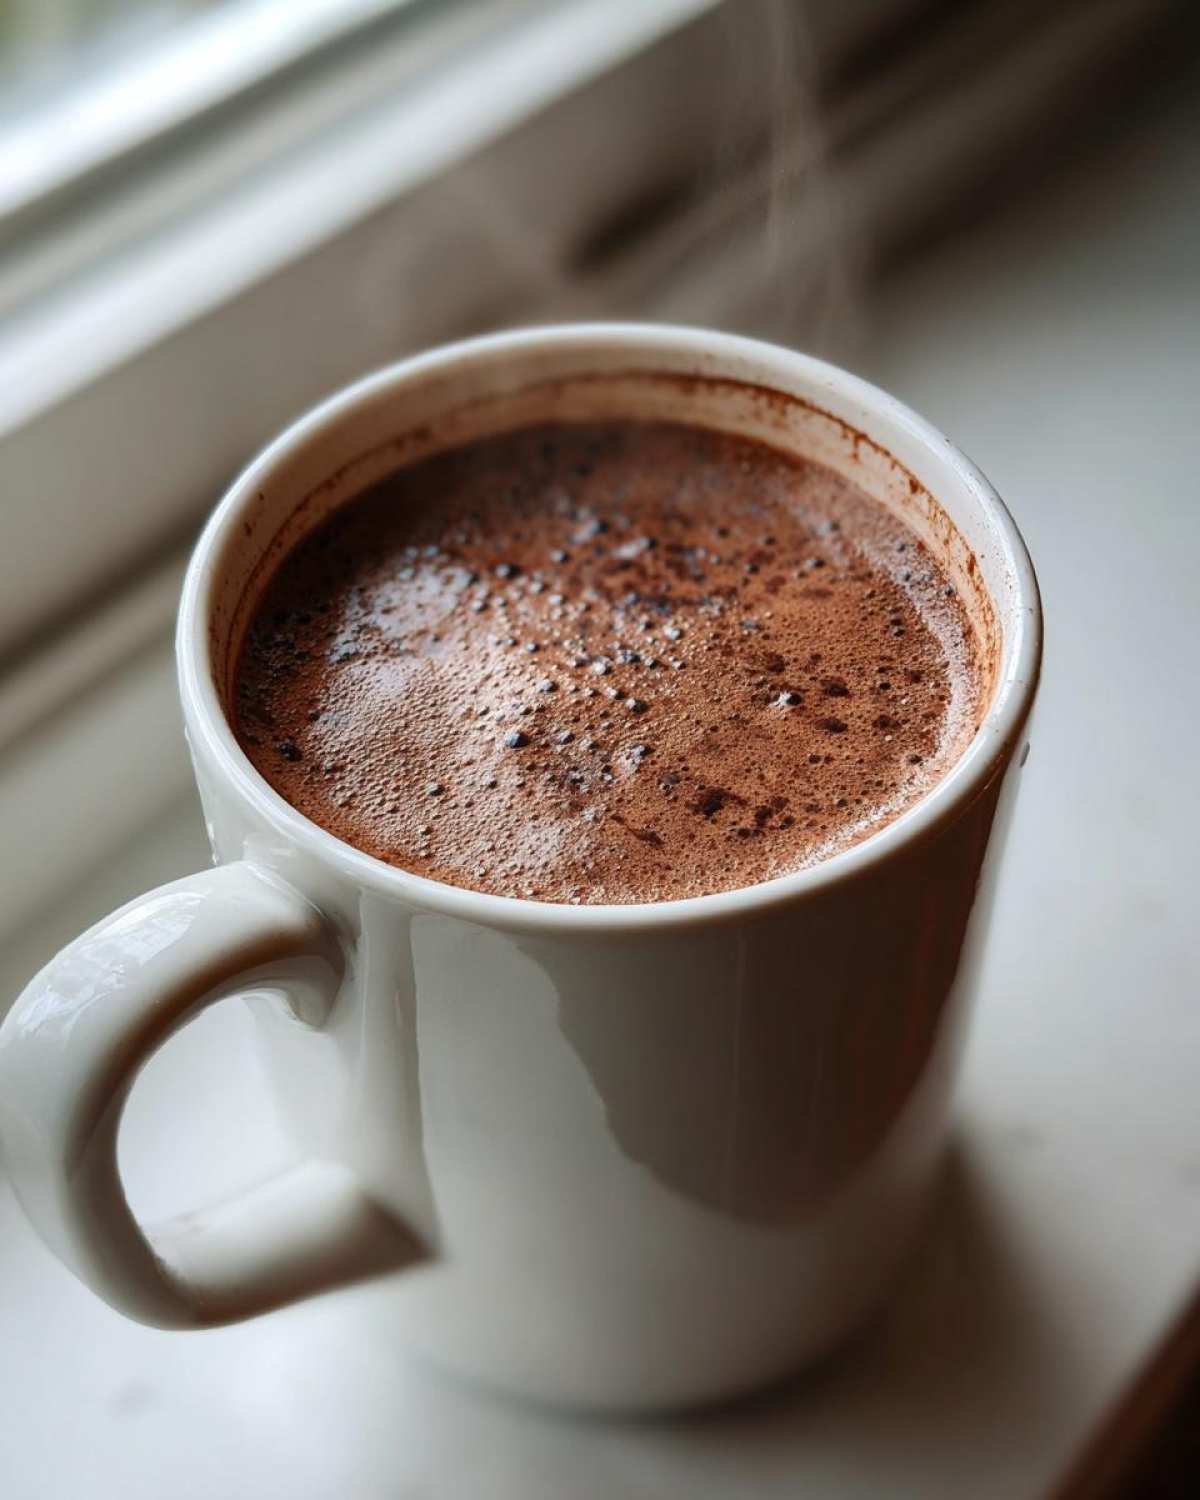
You’ve done all the hard work mixing up your big batch—now for the reward! Making this delicious homemade hot cocoa couldn’t be easier when you use the mix. This is where you see why we called this the best hot cocoa mix; the flavor is intense, so you don’t need as much as those watery packets.
For one perfect, indulgent serving, grab about 3 or maybe 4 tablespoons of the dry mix and put it into your favorite mug. I always start with 4 tablespoons because I like digging into that rich chocolate flavor, but you can start lower and work your way up!
Next, you need your liquid. You can absolutely use hot water, and it will still be great, especially if you used the dry milk powder in the mix. But honestly? Hot milk is what takes this over the top. Whole milk is decadent, but even 2% gives you a really lovely, satiny texture. If you’re dairy-free, grab your favorite oat milk—it foams up so nicely!
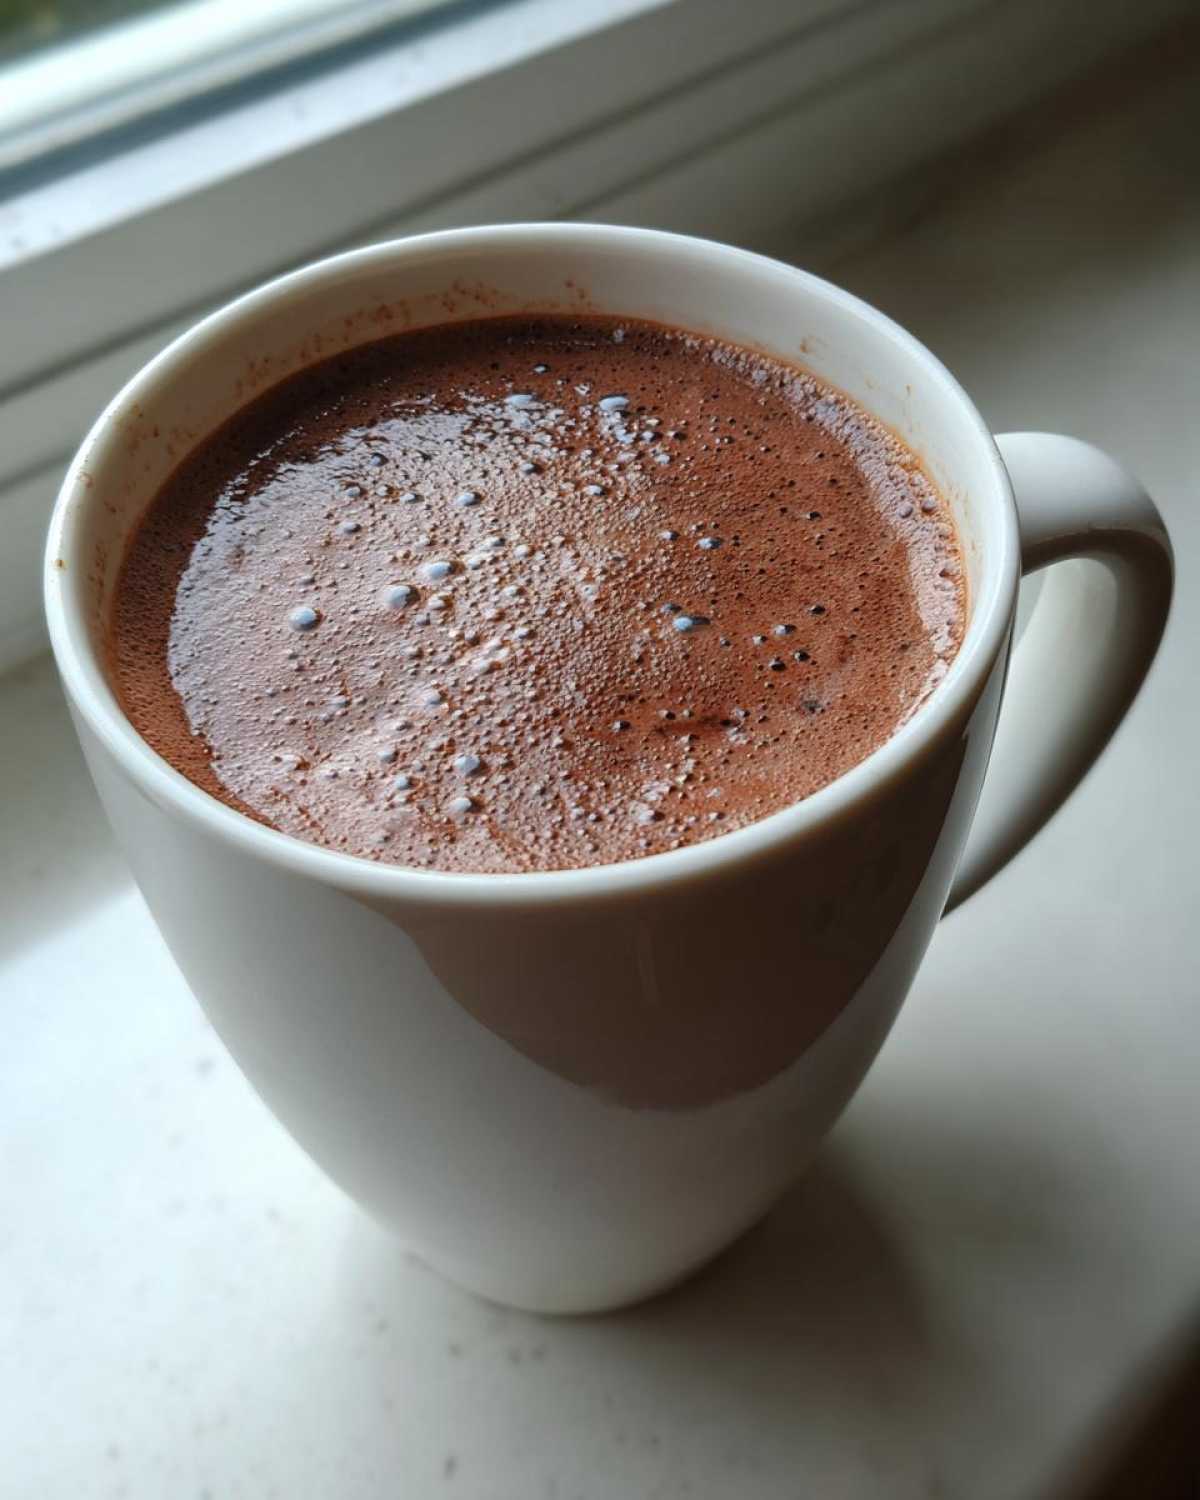
Whisk your mix right into the hot liquid until it’s completely smooth. If you’re feeling extra fancy, you can always use one of Liam’s slightly more grown-up versions by checking out the tips for boozy hot chocolate once you have your base made!
Seriously, the convenience of having this rich chocolate mix recipe ready to go means a cozy winter night is just five minutes away!
Tips for Success with Your Homemade Hot Cocoa Mix
When you’re making a big batch like this, you want it to be perfect every time—and for it to be able to adapt to everyone’s needs! Liam always makes sure a recipe can be tweaked slightly without losing its core deliciousness. These little additions and notes are the things that turn a good mix into your favorite DIY hot chocolate mix.
My top trick, and this is key if you want that dense, almost fudgy experience, is adding some extra chocolate right into the dry mix. Seriously, take about a half cup of really nice semi-sweet chocolate chips—and I mean finely grated or pulsed in a food processor until they are almost dust—and mix that right in with the sugar and cocoa. It gives the finished drink a richer texture, almost like a true fudge like hot chocolate, even when you use just water! It pairs perfectly with our recipe for easy 3-ingredient chocolate fudge if you’re looking for another quick treat!
If you’re worried about keeping things on hand long-term, remember the storage advice: cool, dry place, sealed tight. I’ve had batches last me well over six months without any change in flavor, which is fantastic for busy weeks.
Making This Hot Cocoa Mix Without Powdered Milk
A lot of you asked about making a version that skips the dry milk powder. That’s totally easy to do, and it makes this an amazing base for any winter warm beverages you want to create! If you omit the nonfat dry milk powder entirely, you just need to be clear on your final liquid choice.
When made without milk powder, this becomes a true no milk hot cocoa mix base. It’s still rich and deeply chocolatey when you whisk it into hot water, but you’ll notice the texture is slightly thinner—which is exactly what you want if you plan on using oat milk or almond milk anyway! Those plant-based liquids often build in their own creaminess, so skipping the dry milk helps keep everything tasting fresh and natural. If you’re looking for more simple tips, make sure to read what the folks over at Recipesweets has to say about their simple approach, too!
Storage and Making Ahead Hot Drinks with Your Cocoa Mix
Since we mixed up such a lovely, huge batch, the storage part is just as important as the mixing part! This is really designed to be a fantastic make ahead hot drinks solution for the whole season. You don’t want to be measuring cocoa powder every single morning when you’re half-asleep, right? I know I don’t!
Once your big batch cocoa mix is completely dry and lump-free—and I mean *completely*—you need to get it into an airtight container right away. I use those big glass jars we keep on the counter, but any container with a good seal works perfectly well. The enemies here are air and moisture. If you leave it open near the stove, the sugar will start to clump up, and we worked too hard whisking out those lumps just to bring them back!
When stored correctly in a cool, dry pantry away from direct sunlight, this mix should keep beautifully for up to six months. I usually make a huge batch right around Halloween, and chances are, there are still some leftovers when spring rolls around. It’s an incredible little security blanket for your kitchen!
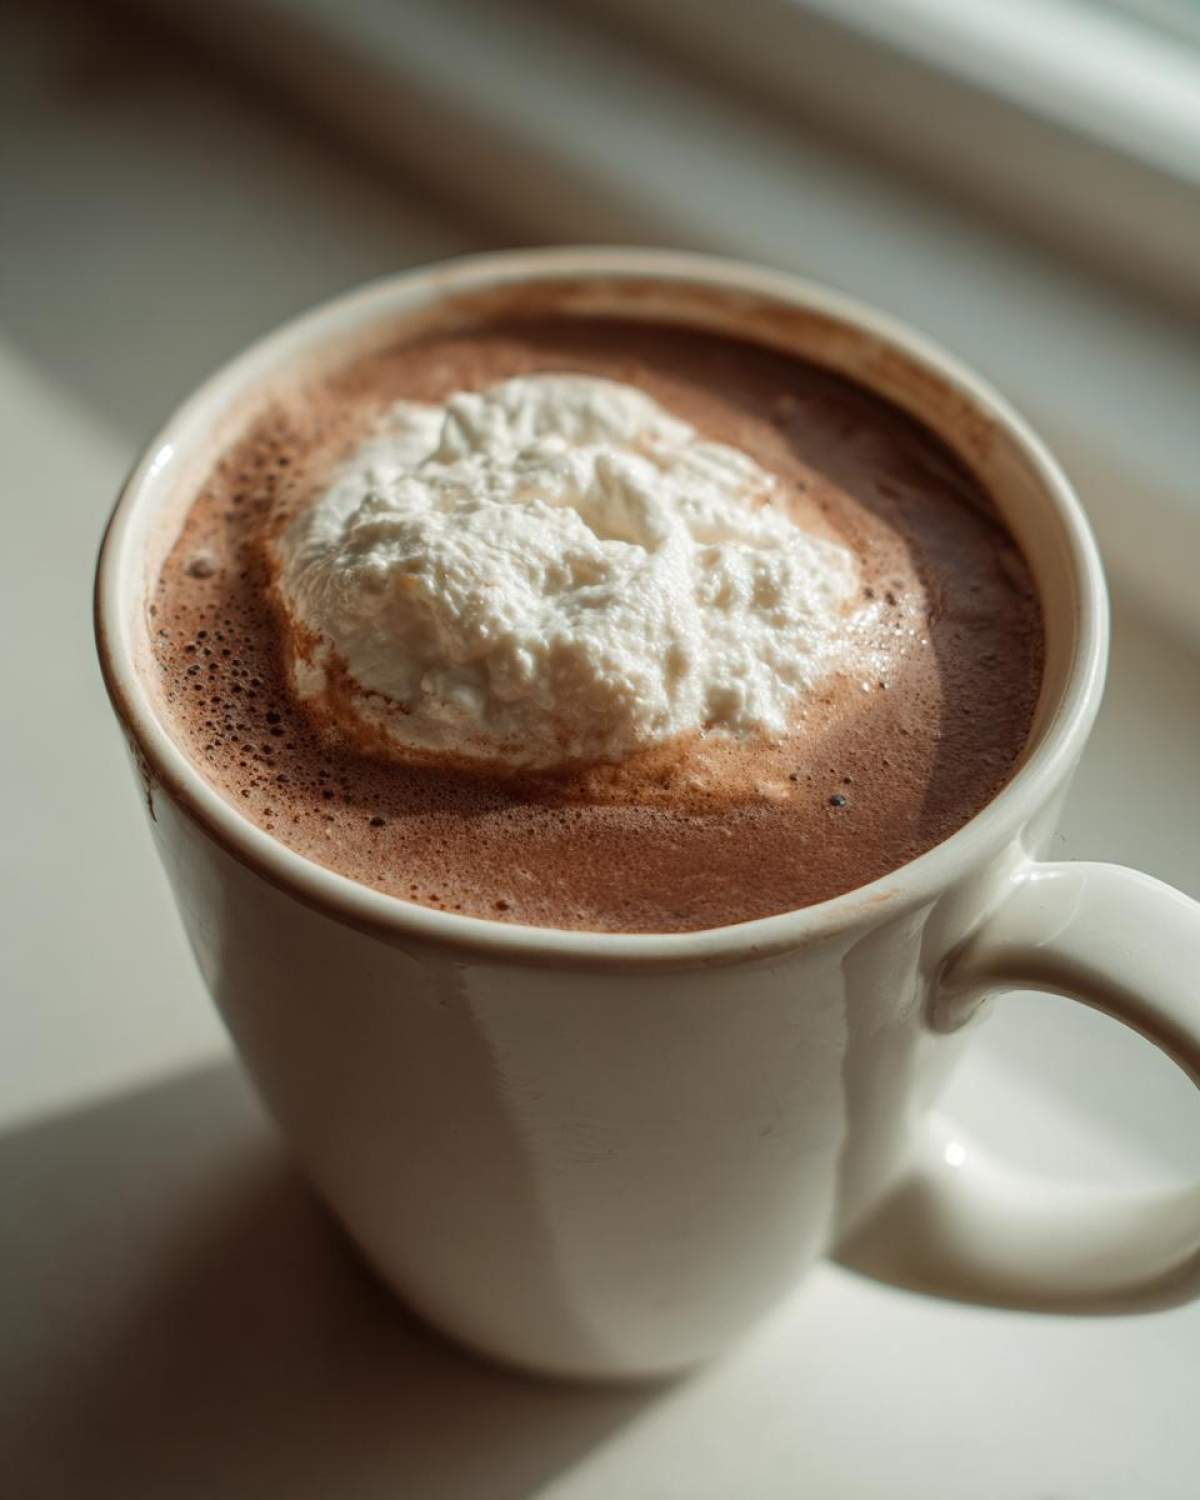
If you’re interested in other things you can mix up and put away for those chilly evenings, Liam has some amazing recipes for other make ahead hot drinks that are perfect for busy weeks. And if you want inspiration on other ways people make huge quantities of cocoa mix, check out how the folks at Sana Cooks handles their big batch—it’s always good to see what other cooks are up to!
The Ultimate Hot Cocoa Gift Idea: Packaging Your Mix
Okay, are we talking about the most thoughtful, easiest homemade chocolate powder gift ever? Because that’s what this becomes once you start talking about packaging it in a jar! This is the perfect solution for last-minute teachers’ gifts, stocking stuffers, or just a sweet, unexpected treat for a neighbor. We’re aiming for that perfect hot cocoa gift idea look.
The key to making this presentation really pop is layering. You can’t swirl it all together—that defeats the purpose of the beautiful visual! You want to take your ingredients and gently spoon them in one by one. Start with the powdered sugar on the bottom, then maybe the cocoa powder next, and if you did my little trick of adding the finely grated chocolate chips, put those right on top of the cocoa layer. It looks so intentional and gorgeous!
When you’re assembling this for a holiday gift in a jar, make sure you pack the dry ingredients down just a tiny bit between layers to keep things from shifting too much during transport. But here’s the absolute most critical piece of advice, which I learned the hard way once (Oops!): You must attach a tag with the instructions!
If you gift someone a jar of delicious mix, they need to know exactly how to turn it into a mug of cozy comfort. Print or write out the simple instructions clearly—something like, “Whisk 3-4 tablespoons into 1 cup of hot milk,”—and tie it right onto the jar with some cute twine. People love that they have a complete, ready-to-go cozy winter drink kit!
Liam always compliments me when I make these because they look way fancier than the five minutes of work they actually took. If you want more ideas for gifts you can whip up without spending all day in the kitchen, check out Liam’s roundup of our favorite easy gift recipes. And for some truly beautiful jar packaging inspiration, I always look at what the sweet folks over at Upstate Ramblings does with their jars—it’s stunning!
Frequently Asked Questions About This Chocolate Drink Mix
It’s always great when you have questions pop up, because usually those are the exact same things I needed clarification on when Liam first taught me this recipe! We want your homemade hot cocoa experience to be perfect, whether you are making a single mug for yourself or prepping several jars for winter warm beverages to give away.
Can I make this hot cocoa mix without cornstarch?
You absolutely can! That cornstarch is my little trick to get that extra, dreamy thickness—it helps create that velvety texture where the chocolate feels almost like it’s *fudge* melting into your milk. I call it the secret to a truly luxurious, creamy hot chocolate powder finish. But if you skip it, your DIY hot chocolate mix is still going to be excellent, especially if you use whole milk or a creamy oat milk for making the final drink. You’ll just notice it’s a little less thick, that’s all. No big drama!
What is the best cocoa powder to use for the richest hot cocoa mix?
This is where we talk about E-E-A-T, which stands for expertise, experience, authoritativeness, and trust, and for this recipe, the cocoa powder is where the expertise really shines! For the absolute richest flavor, you need to step up from your standard baking cocoa. I highly recommend using a Dutch-processed cocoa powder if you can find it. It’s treated to be less acidic, which results in a smoother, darker chocolate flavor that really sings in this easy cocoa recipe. It won’t taste bitter like some of the cheap stuff can, and it makes your final cup taste like it came from a gourmet chocolatier rather than my cozy kitchen!
If you want to see even more of Liam’s go-to advice for making fantastic chocolate drink mix bases, take a peek at this easy cocoa recipe article to see what other pointers he has shared!
Share Your Cozy Winter Drinks Experience
That’s honestly everything you need to know to have the absolute best hot cocoa mix sitting ready in your pantry all season long! I really hope you give this a try. It’s so rewarding knowing exactly what went into your mug, and it tastes worlds better than anything pre-packaged.
I would absolutely love to hear how it turned out for you! Did you use milk or water? Did you add extra chocolate chips to make it extra fudgy? Please leave a rating below so other hungry readers know this hot cocoa mix is worth making. If you packaged it up as a present, snap a picture and tag us! We love seeing our recipes out in the wild. If you have feedback or just want to send Liam a compliment on his foolproof instructions (ha!), feel free to reach out via our contact page. Happy cozy sipping!
PrintRich & Creamy Big Batch Homemade Hot Cocoa Mix (Perfect for Gifting)

Make this easy, big batch homemade hot cocoa mix using simple pantry staples. It creates a rich, creamy chocolate drink that is much better than store-bought versions. This recipe is perfect for keeping on hand or packaging as a thoughtful DIY gift in a jar.
- Prep Time: 5 min
- Cook Time: 0 min
- Total Time: 5 min
- Yield: About 16 servings
- Category: Beverage
- Method: Mixing
- Cuisine: American
- Diet: Vegetarian
Ingredients
- 2 cups powdered sugar
- 1 cup unsweetened cocoa powder (use high-quality for best flavor)
- 1 cup nonfat dry milk powder (omit for dairy-free)
- 1 teaspoon salt
- 1 teaspoon cornstarch (optional, for extra creaminess)
Instructions
- Gather all your dry ingredients: powdered sugar, cocoa powder, dry milk powder (if using), salt, and cornstarch (if using).
- Place all ingredients into a large bowl.
- Whisk the ingredients together thoroughly for at least one minute. You must break up all the cocoa clumps to ensure a smooth mix.
- Transfer the finished hot cocoa mix to an airtight container for storage. This recipe makes a big batch.
- To prepare one serving: Whisk 3 to 4 tablespoons of the mix into 1 cup of hot milk or hot water until fully dissolved. Adjust the amount of mix to suit your taste preference.
Notes
- For a richer, fudge-like hot chocolate, add 1/2 cup of finely grated semi-sweet chocolate chips to the dry mix before storing.
- Storage: Keep the sealed mix in a cool, dry pantry for up to 6 months.
- Gift Idea: Layer the dry mix ingredients in a clean mason jar. Attach a tag with the preparation instructions (3-4 tbsp mix per 1 cup hot liquid).
- For a dairy-free option, simply omit the dry milk powder. The mix will still be rich when prepared with water or a plant-based milk like oat or almond milk.
Nutrition
- Serving Size: 4 tablespoons dry mix
- Calories: 150
- Sugar: 25g
- Sodium: 110mg
- Fat: 2g
- Saturated Fat: 1g
- Unsaturated Fat: 1g
- Trans Fat: 0g
- Carbohydrates: 32g
- Fiber: 3g
- Protein: 3g
- Cholesterol: 5mg