

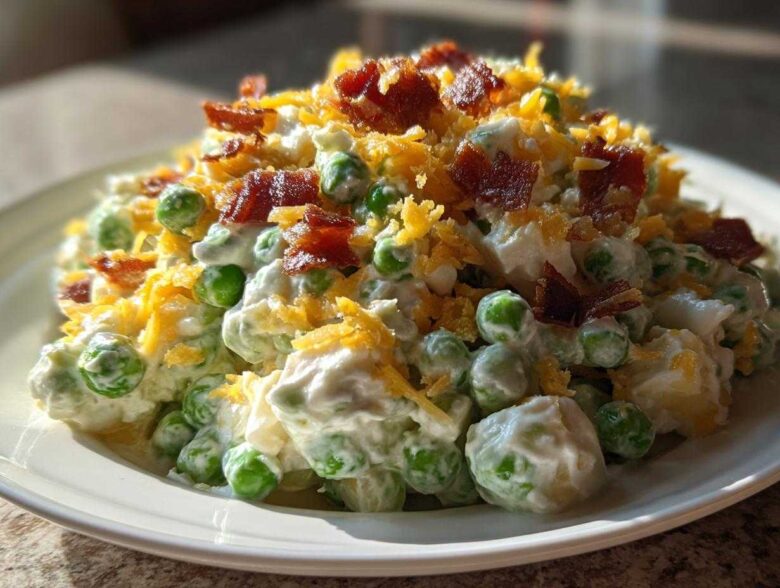
When you’re planning for a potluck or a big BBQ, you need side dishes that are reliable, comforting, and just plain delicious, right? I totally get it. For the longest time, I felt like creamy sides were too much fuss! But Liam showed me the magic of the pea salad, and now, I can’t host without it. This isn’t some fancy new invention; this is a true Southern classic. It’s rich, creamy, tangy, and packed with bacon and cheddar—what’s not to love?
I remember when Liam first made this for me; I actually scoffed at the idea of a cold pea salad! Honestly, I was skeptical. But his patience and insistence that this pea salad was different won me over immediately. He taught me that the secret is balancing the sharpness of the cheese with that sweet pea flavor. Trust me when I say this is the easiest, most flavorful version you are ever going to make, and it’s always the first dish gone at any gathering. If you love easy appetizers, you might also want to check out Liam’s Bisquick Sausage Balls recipe while you’re here, but right now, let’s get you taste-taught on this classic!
Why This Classic Creamy Pea Salad Recipe Works So Well
I know what you’re thinking: salad? Involving mayonnaise? My initial thought was always, “That’s going to get weird sitting outside at the BBQ.” But Liam explained why this particular version of a pea salad is different and why it stays so perfectly creamy and delicious. It’s not just about throwing things in a bowl; it’s about the structure and the balance. It’s become one of my go-to recipes, especially because it checks off two of the biggest boxes for me: speed and make-ahead capability!
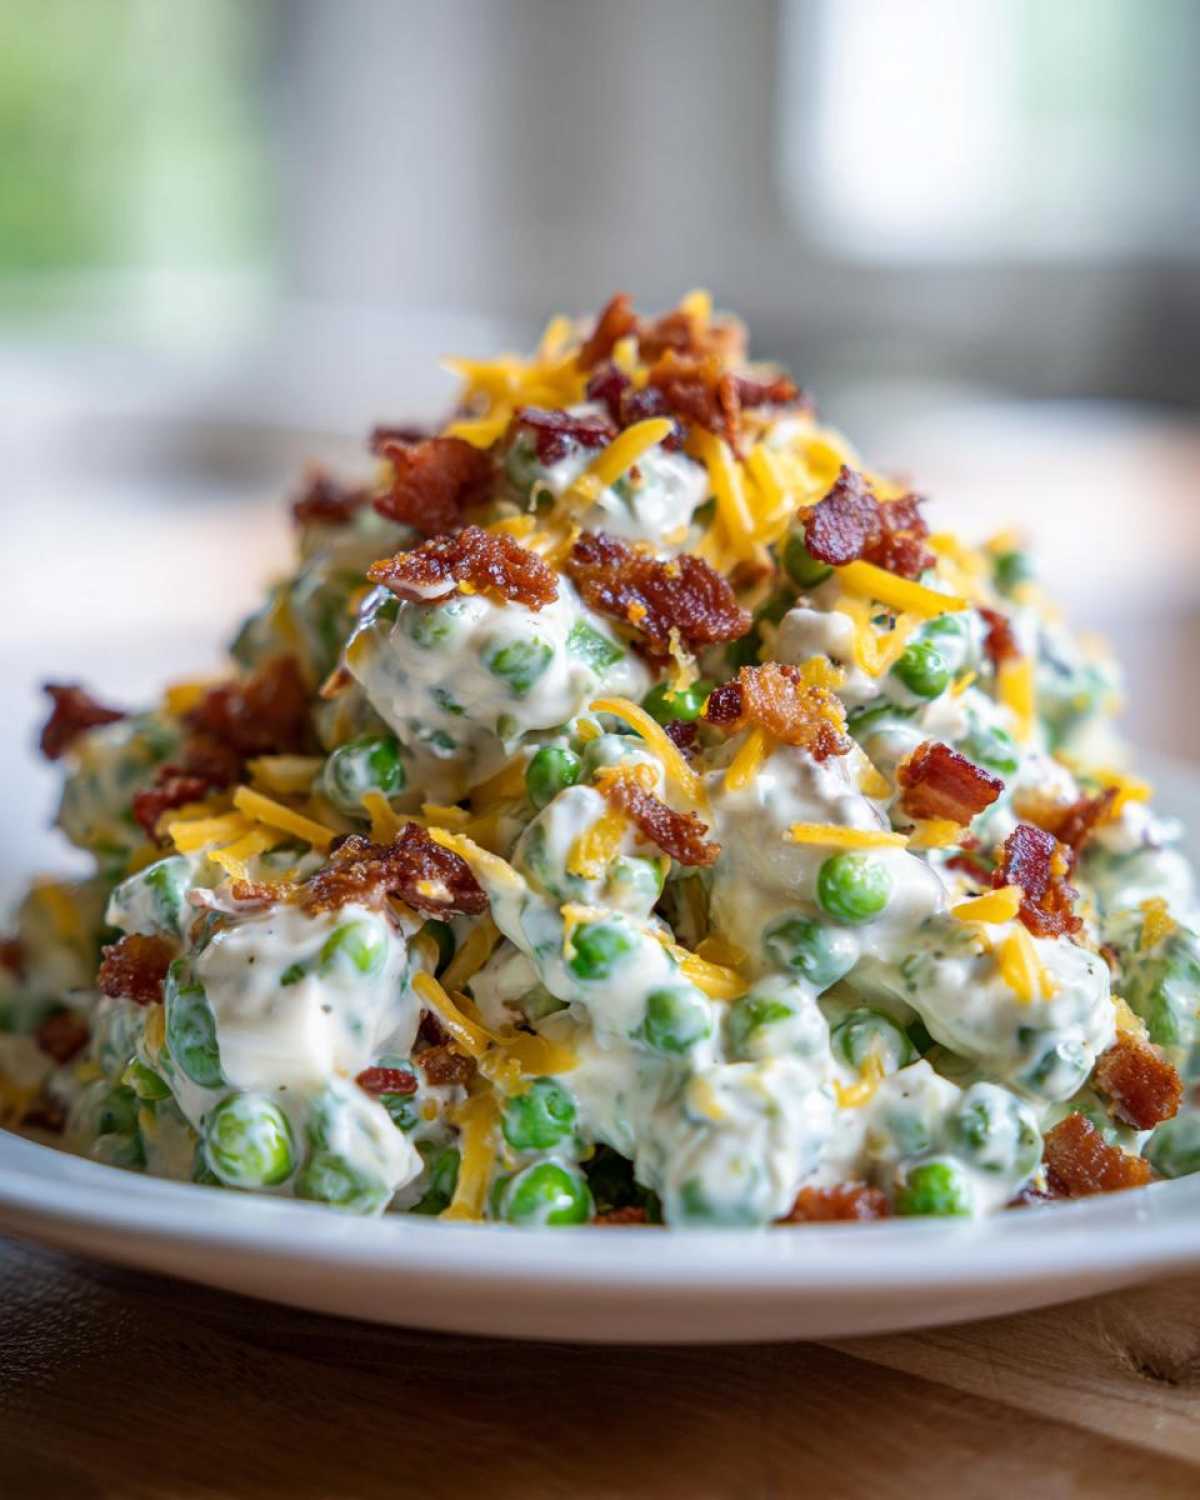
- It delivers that rich, comforting taste of an old fashioned pea salad without demanding hours of your time.
- The tang from the vinegar cuts right through the richness of the mayo and cheddar, making it surprisingly light.
- It travels perfectly! This salad thrives when it’s made ahead of time, which is key when you’re juggling side dishes for a busy gathering.
If you love simple, impressive baking, you should definitely check out Liam’s Easy Puff Pastry Apple Strudel recipe—but stick with me here, because this side dish is just as crucial!
Quick Assembly for Your Easy Pea Salad Side Dish
This is where the beginner-friendly nature shines. Seriously, the active time for this entire side dish is practically nothing. We’re talking about five minutes maximum for cooking the bacon—that’s the only heat involvement we have! Once the bacon is crisping on the paper towel, you’re just combining things. You can have this entire pea salad mixed up and dressed in under ten minutes. It’s honestly faster than making a complicated green salad, and way more satisfying!
The Secret to Perfect Make Ahead Side Salad Flavor
This is what Liam really hammered home: you *have* to let it chill. If you eat this right after you mix it, it’s good, sure. But if you let it sit, it transforms! Chilling allows the dressing to really soak into the peas and the onions to mellow out just slightly. It lets all those savory, sweet, and tangy components become friends. So, for the absolute best experience, plan on making this at least an hour ahead, or even the day before. That chilling time is your secret weapon for ensuring every bite of this make ahead side salad is perfectly melded.
Gathering Ingredients for Your Southern Pea Salad
Okay, let’s talk about what you need to gather for this fantastic Southern pea salad. Liam always says you can’t build a great house without the right lumber, and that’s true for this creamy dream, too! We are keeping this simple, focusing on quality where it counts, like using sharp cheddar cheese. If you need a quick dessert to bring along too, check out my recipe for Easy 3-Ingredient Chocolate Fudge!
Dressing Components for Creamy Pea Salad
The dressing is what gives this its signature tang. You need your mayonnaise base, of course, but don’t skip the apple cider vinegar—it brightens everything up beautifully. We also use just a tablespoon of regular granulated sugar. That little bit of sweetness is crucial to counter the saltiness we’re adding later. Make sure you get that whisking done until the dressing is totally smooth before you think about combining it with the peas!
Main Mix-Ins for Cheesy Pea Salad
This is where the texture comes from! First, your bacon absolutely *must* be cooked until it’s super crisp and crumbled; no floppy bacon allowed! You want sharp cheddar—the stronger flavor cuts through the dressing perfectly. And when the recipe calls for red onion, make sure you are chopping it finely. We want flavor bursts, not huge crunchy chunks in our cheesy pea salad.
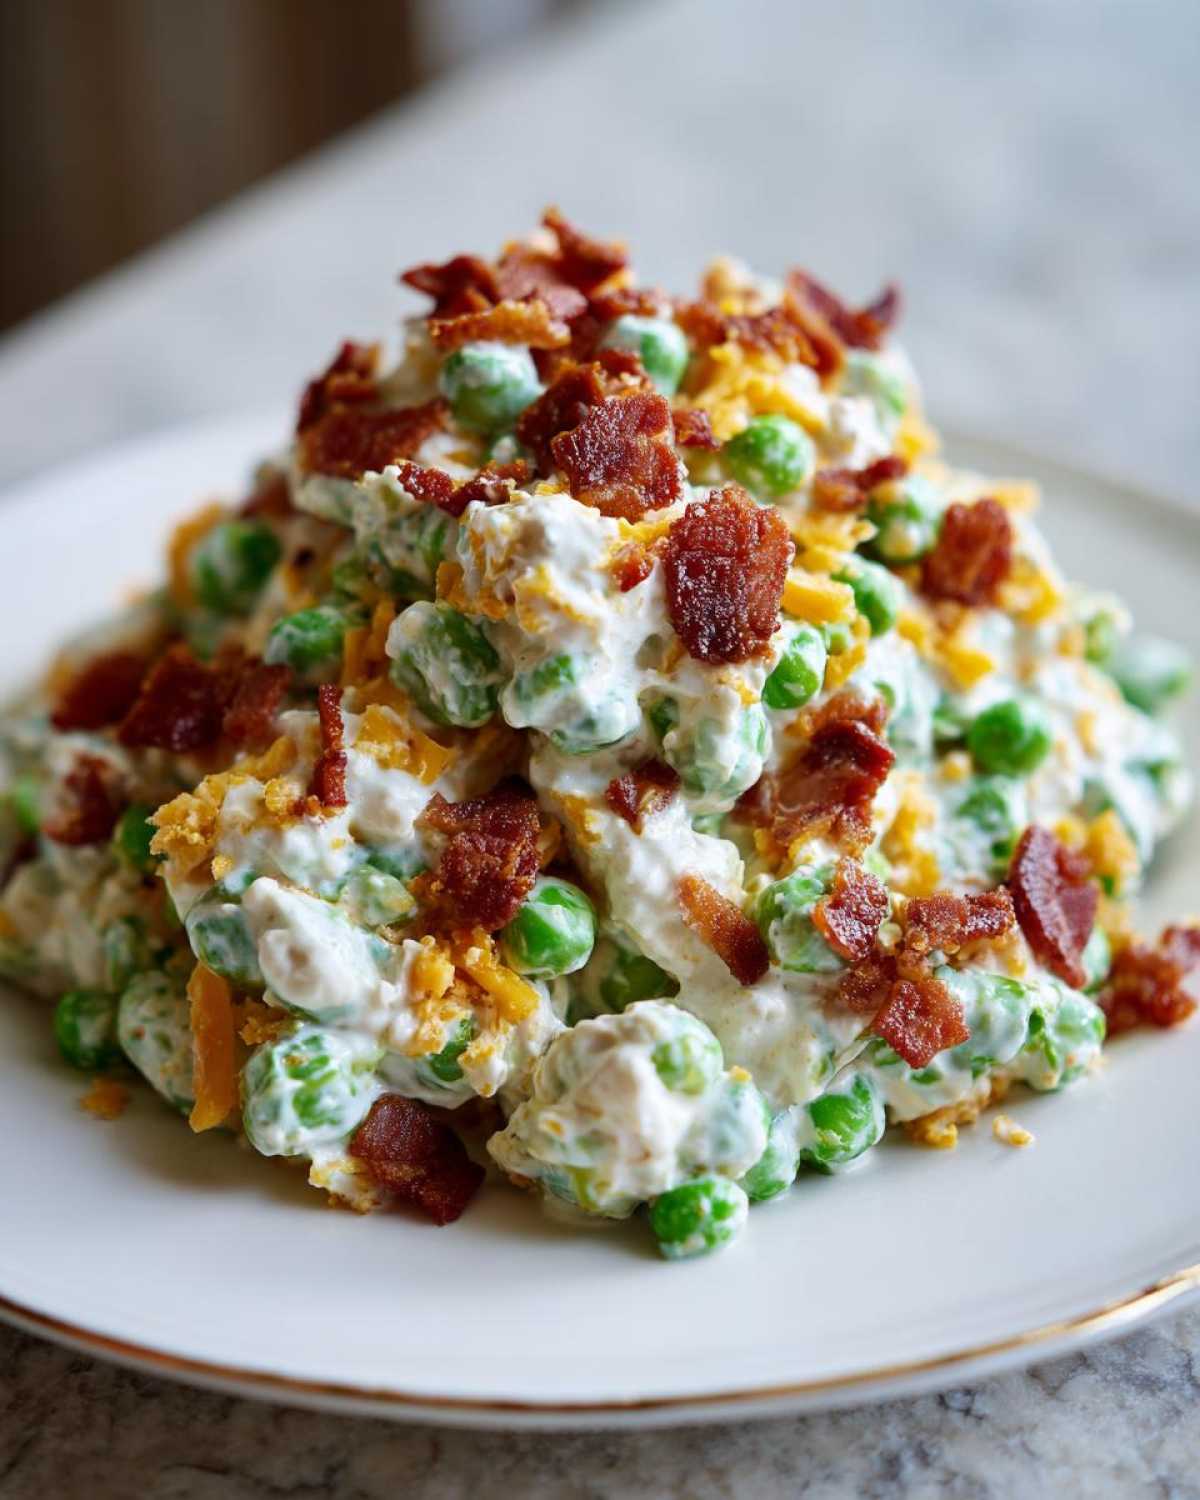
How to Prepare the Best Pea Salad with Bacon and Cheddar
Now that we have all our beautiful ingredients, let’s talk process! This is Liam’s territory—making sure we don’t overmix or rush the steps. Remember what I said about relying on the box instructions? Well, Liam taught me that even simple recipes need respect! If you need something else savory for your meal prep, hang onto this Easy Honey Garlic Chicken Skewers recipe for later. This process is so straightforward, you’ll be amazed at the flavor we get out of just a few steps.
Step 1: Preparing the Bacon and Combining Dry Ingredients
First things first: we deal with the bacon. Cook it up until it’s perfectly crisp—no floppy bits allowed! Once it’s done, drain it really well on paper towels and then crumble it up. Grab your largest mixing bowl. Into that bowl go your well-drained English peas, the sharp cheddar cheese, your crumbled bacon, and all that finely chopped red onion. Just give those four things a gentle stir together. We want them acquainted, but not mashed!
Step 2: Whisking the Dressing and Final Assembly of Pea Salad
In a separate, smaller bowl, we tackle the dressing. Take your mayonnaise, apple cider vinegar, sugar, salt, and pepper. Whisk it, whisk it, whisk it until it’s completely smooth and beautifully creamy—no lumps allowed! Then, you pour that luscious dressing right over your pea mixture. This is crucial: use a spatula and gently *fold* everything together. We are coating, not stirring aggressively. We don’t want sad, mushy peas. Keep folding until everything in your creamy pea salad recipe is evenly coated.
Step 3: Chilling Time for Flavor Development
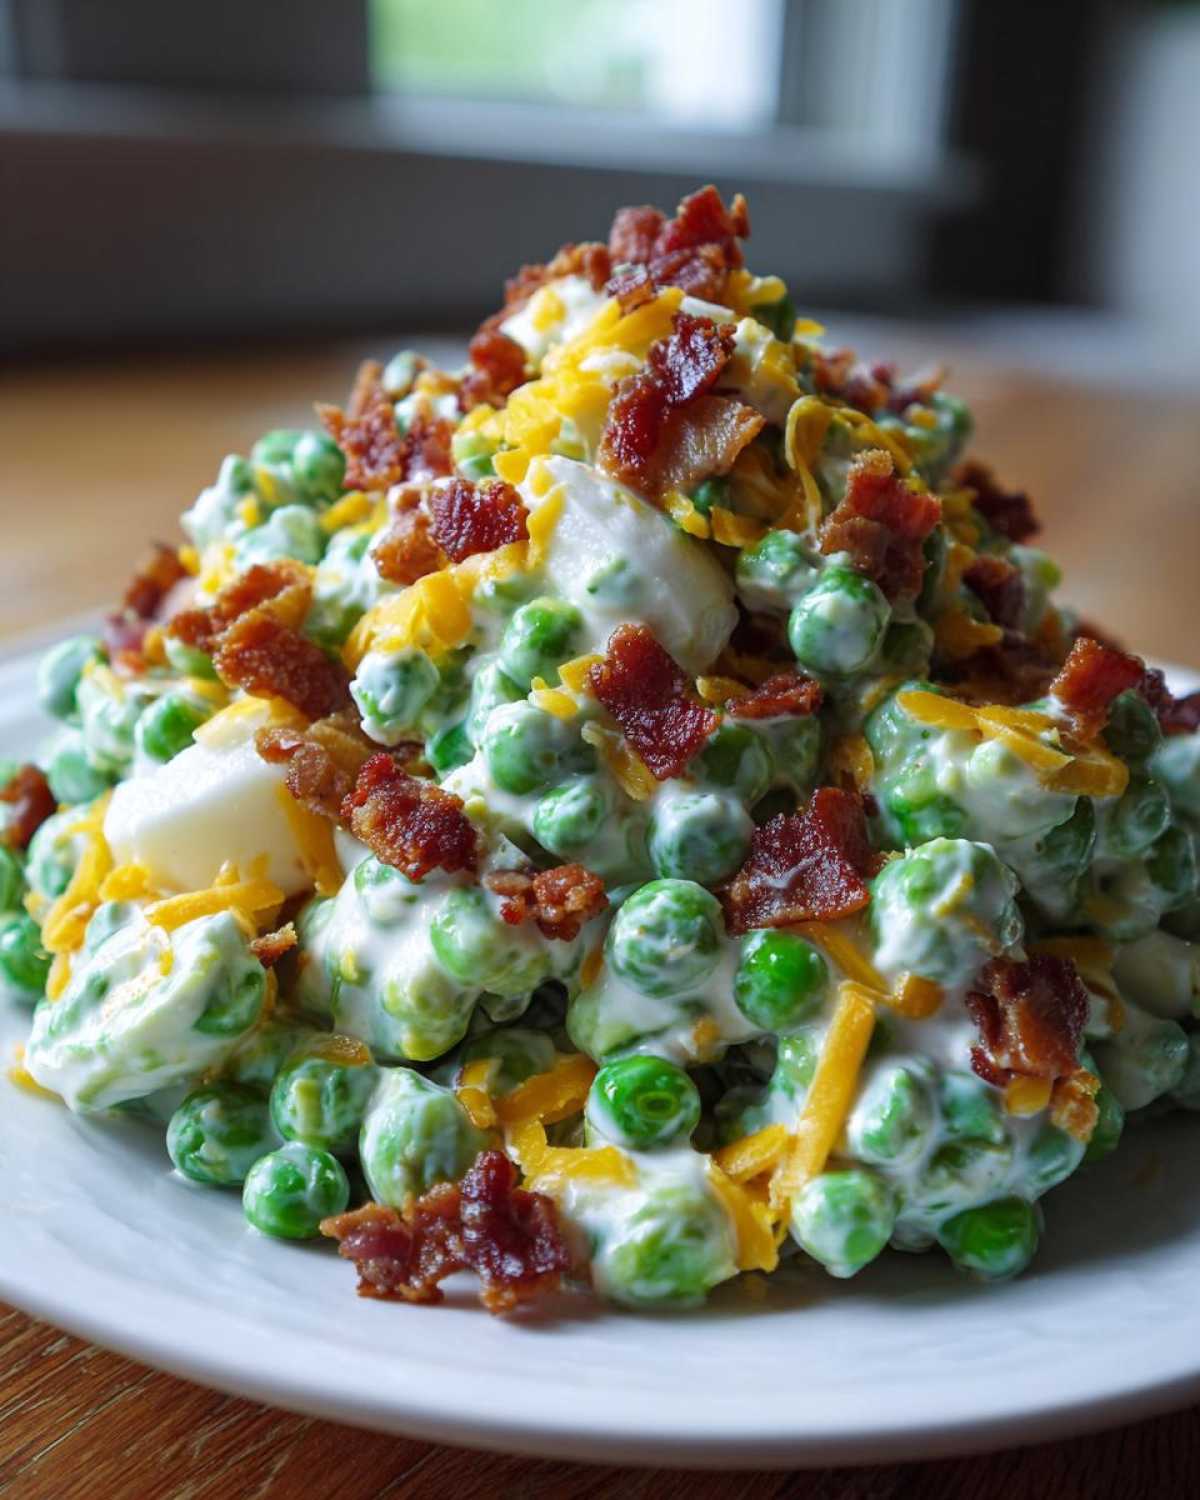
This is the step that separates good from absolutely incredible, and it’s non-negotiable! You must cover that bowl and stick it in the fridge for at least one hour minimum. If you can hold out until the next day, even better! This chilling time is what really develops the flavor profile of this old fashioned pea salad, letting the onion mellow and the vinegar notes integrate. Serving it cold is key to maintaining that perfect texture.
Tips for Success Making Your Old Fashioned Pea Salad
You know I love when Liam shares the behind-the-scenes secrets because it really helps me trust the recipe! Even with something as simple as a refrigerated side dish, there are little tricks that turn a decent bowl into that show-stopping pea salad everyone asks for. These tips are pulled straight from the notes on the original card—Liam says small details make all the difference!
If you are trying to plan your whole meal, you absolutely have to save this Easy Homemade Lasagna recipe for another day. It pairs perfectly with this traditional cold salad!
Crucial Step: Thoroughly Draining Canned Peas
This point is something Liam insisted I write in bold because it’s so important: drain those canned peas like your life depends on it! If you leave even a little bit of that watery brine clinging to the peas, I promise you, by the time you serve this later, your beautiful creamy dressing will have turned into pea soup. You want them dry enough to readily accept the mayonnaise mixture, not dilute it. I usually drain them in a fine-mesh sieve and then let them sit for five minutes just to be sure.
Adjusting the Dressing for Your Preference
I’ve learned that recipes are really just starting points, and this one is great for minor tweaks! If you taste that dressing mixture before you add it to the peas and you think, “Hmm, I wish it had a little more zip,” go ahead and add a tiny splash more of that apple cider vinegar. Liam sometimes likes it a bit tangier than I do, so I’ll add just half a teaspoon more vinegar right into the dressing bowl. It shows off how versatile this old fashioned pea salad really is—you can make it perfectly yours without messing up the structure!
Serving Suggestions for This Easy Pea Salad Side Dish
This creamy pea salad is truly the definition of a perfect potluck salad idea. It’s so robust and flavorful, it holds up beautifully next to everything else on the buffet table. When we take this to a summer cookout, it disappears almost instantly!
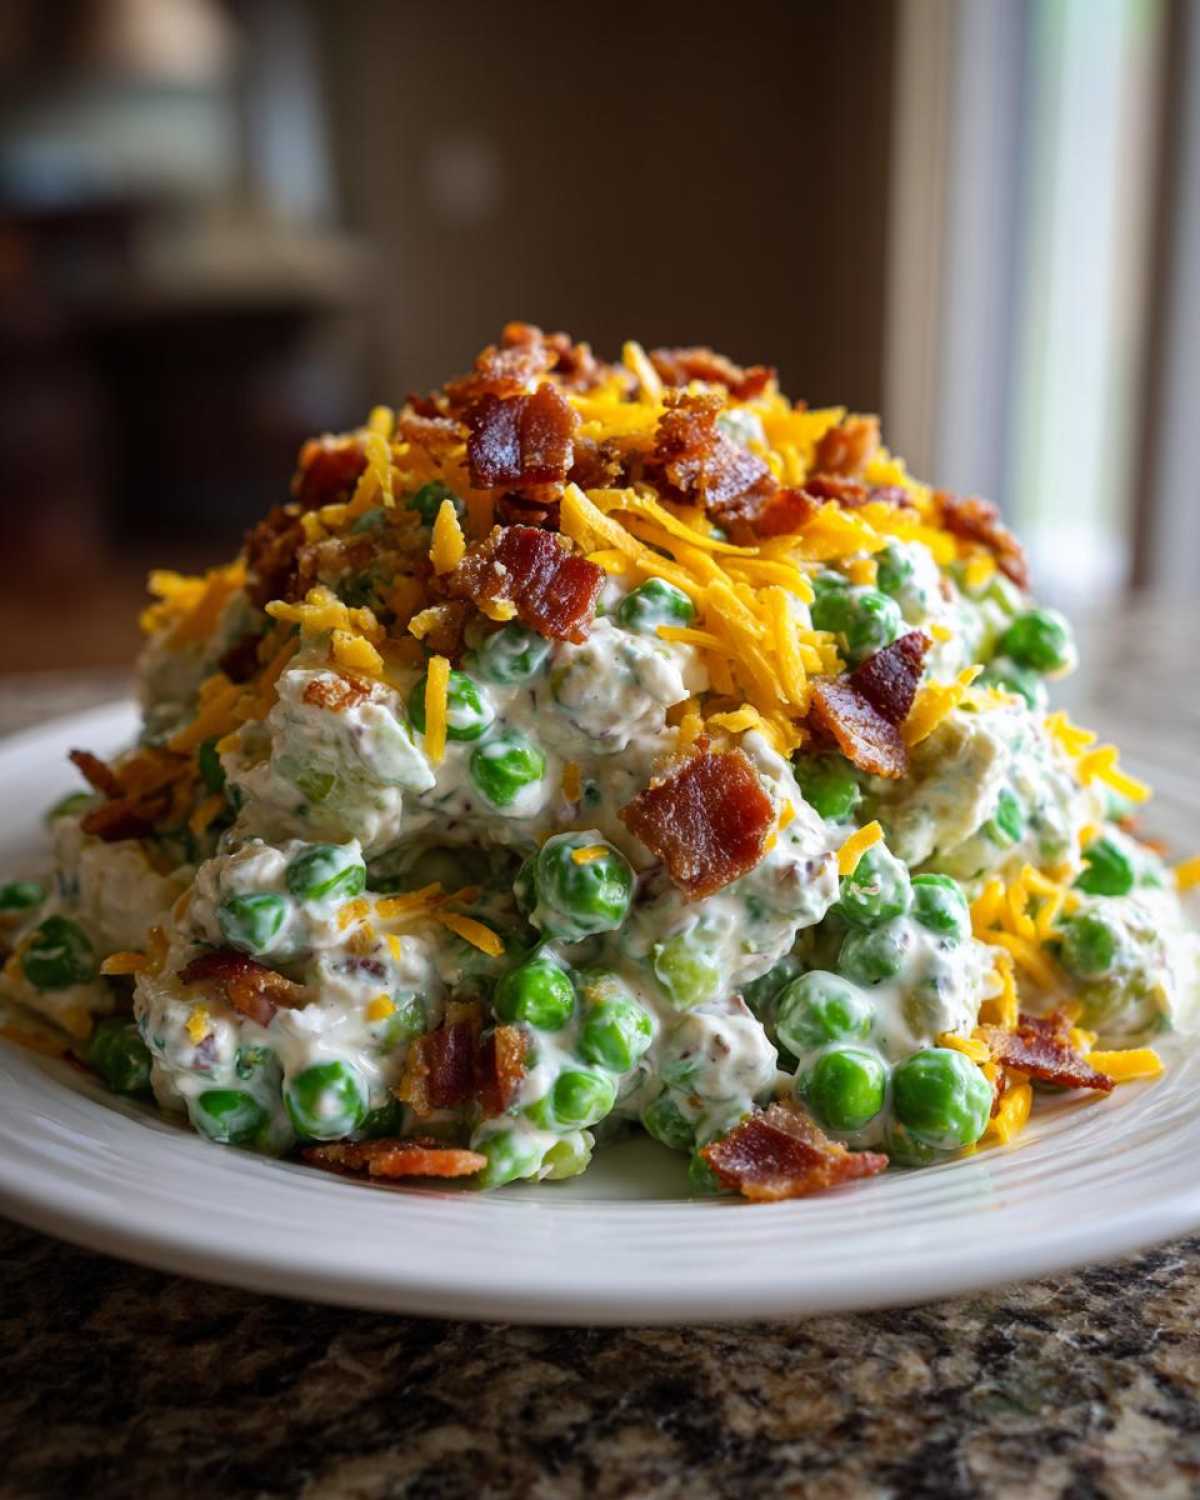
It’s amazing alongside grilled meats—think pulled pork or burgers—making it one of my top recommendations for BBQ side dishes. It’s also fantastic just served cold with a simple sandwich for lunch the next day. For more ideas on mains to serve it with, you’ve got to try Liam’s Easy Slow Cooker BBQ Pulled Chicken! If you want to see how another great cook handles this classic, check out this Classic Southern Pea Salad recipe.
Storage and Reheating Instructions for Your Pea Salad
Since this is a creamy, mayonnaise-based dish, we have to be smart about how we store this fantastic pea salad. The good news is that it truly shines after a little time in the fridge! Liam insists that making it the day before a party is ideal. When you store this pea salad, make sure it’s in an airtight container, tucked into the coldest part of your refrigerator.
I know convenience is huge, especially when planning big meals, so I love that this doubles as a make ahead side salad. When I make it the day before, I just pull it out about ten minutes before serving time—it doesn’t need to come completely to room temperature, but letting it sit for a minute is nice.
Now, here is a non-negotiable rule, especially because of the mayo base: you cannot reheat this! We aren’t aiming for a warm casserole side dish alternative here. Reheating mayonnaise breaks down the emulsion, making the whole thing either oily or separating into an unpleasant soup. This salad should always, always be served cold. For any leftovers, just keep them covered in the fridge. They are honestly better the second day, tasting richer and deeper!
If you’re looking for other great make-ahead options that handle the fridge well, check out Liam’s guide on Easy Casserole Side Dishes Alternative recipes—but remember, those can usually be reheated, unlike this lovely cold salad!
Frequently Asked Questions About This Classic Side Salad Recipe
I know you might have a few questions before you decide to bring this to your next big event. That’s why Liam and I gathered the top things people ask about this classic side salad recipe! We want you to feel totally confident walking into the kitchen, just like I did when I started learning from him. If you’re looking for general snack ideas outside of salads, check out our Snacks category for more inspiration!
Can I use fresh green pea salad instead of canned peas?
That’s a great question about making an English pea salad with fresh produce! Yes, you absolutely can, but you can’t just toss them in raw. If you get lovely fresh peas, you’ll need to quickly blanch them first. Just boil them for about three or four minutes until they are bright green and tender-crisp, and then immediately plunge them into an ice bath. That stops the cooking process and keeps them bright! Make sure you dry them off *really* well before you add them to the mix. We want flavor, not excess water!
How long does this pea salad last in the fridge?
Because this is our famous creamy pea salad recipe, we rely on that mayo dressing, which means we have to respect food safety! Generally, leftovers of this salad are great for about three, maybe four days, stored in a sealed container in the fridge. It truly tastes fantastic on days two and three, as the flavors deepen up. However, because it has bacon and the onion, I wouldn’t push it past four days. Never try to freeze it either; that mayonnaise will separate, and your beautiful texture will be ruined!
What can I substitute for bacon in this cheesy pea salad?
If you’re serving vegetarians or just want a slight variation on our cheesy pea salad, you have options! If you still want that smoky element, you could try using crumbled cooked smoked turkey, which adds a similar depth of savory flavor. For a fully meat-free version, my favorite trick is tossing in a handful of lightly toasted, coarsely chopped pecans or walnuts. They add that necessary crunch that the bacon usually brings, and they taste amazing with the sharp cheddar! For a look at another classic source, you can see how they approach their Old Fashioned Pea Salad, too!
Nutritional Estimates for Your Creamy Pea Salad Recipe
Now, I know some of you are tracking macros or maybe just curious about what exactly is in this delightful dish! While Liam is the science whiz, I always remind everyone that these numbers are just estimates based on the ingredients listed. Since we’re using full-fat mayo and sharp cheddar, it’s definitely a richer side, but worth every single bite for a special occasion or potluck. Think of this as comfort food that packs a good punch of protein, too!
We calculated this based on 6 servings, which works out to about 3/4 cup per person. If you want something heartier that fits nicely in a dinner rotation, you might want to save Liam’s Stuffed Pepper Soup recipe for later. Here are the estimates for this wonderfully creamy pea salad recipe:
- Serving Size: 3/4 cup
- Calories: 310
- Fat: 26g (mostly unsaturated, which is good!)
- Saturated Fat: 9g
- Carbohydrates: 14g
- Sugar: 6g
- Protein: 9g
- Sodium: 450mg
We rely on these estimates for general guidance, but really, the main goal here is nailing that classic, savory, fresh taste. Don’t let the numbers stop you from bringing this delicious, old fashioned pea salad to your next gathering!
Share Your TasteTaught Journey
Wow, if you’ve made it this far, I bet you’re just as excited as I am about this pea salad! Liam and I put so much heart into making sure these recipes are genuinely achievable for everyone, whether you’re a total beginner like I was or you’re looking for a killer potluck salad idea to bring to the next event.
We absolutely *love* hearing from you. Did you make this creamy side dish for a BBQ, a family dinner, or maybe even Easter? What did everyone say about the bacon and cheddar combo? Head down to the comments section below, give this recipe a big five-star rating if you loved it, and tell us all about your experience! It means the world to us knowing we’re helping you build your own cooking confidence, one delicious, nostalgic recipe at a time.
If you’re ever looking to connect directly, whether you have a question about swapping out the onion or just want to say hello, you can always reach out to us through the Contact Page. If you were inspired by that story about the neighbor sharing recipes, you can see that inspiration point happening over here, too: My Irish Neighbor’s Viral Recipe! Happy cooking, and thank you for being part of the TasteTaught family!
PrintClassic Southern Creamy Pea Salad with Bacon and Cheddar
You will love this easy, make-ahead Southern Pea Salad. It combines sweet peas with a creamy, tangy dressing, crispy bacon, and sharp cheddar cheese for a perfect potluck or BBQ side dish.
- Prep Time: 10 min
- Cook Time: 5 min
- Total Time: 15 min
- Yield: 6 servings
- Category: Side Dish
- Method: No Cook
- Cuisine: American Southern
- Diet: Vegetarian
Ingredients
- 2 (15 ounce) cans English peas, drained well
- 1 cup sharp cheddar cheese, shredded
- 1/2 cup cooked bacon, crumbled
- 1/2 cup red onion, finely chopped
- 1/2 cup mayonnaise
- 2 tablespoons apple cider vinegar
- 1 tablespoon granulated sugar
- 1/2 teaspoon salt
- 1/4 teaspoon black pepper
Instructions
- Prepare the bacon first. Cook the bacon until crisp. Drain the bacon on paper towels and crumble it. Set aside.
- In a large bowl, combine the drained English peas, shredded cheddar cheese, crumbled bacon, and finely chopped red onion. Mix these ingredients gently.
- In a separate small bowl, whisk together the mayonnaise, apple cider vinegar, sugar, salt, and pepper until the dressing is smooth.
- Pour the creamy dressing over the pea mixture. Fold everything together carefully until the peas and mix-ins are evenly coated.
- Cover the bowl and chill the pea salad in the refrigerator for at least one hour before serving. This allows the flavors to blend.
- Taste the salad before serving and add more salt or pepper if needed. Serve cold as a classic side dish.
Notes
- For the best texture, make sure you drain the canned peas very thoroughly before mixing them into the salad.
- You can prepare the bacon and chop the onion a day ahead to make assembly even quicker.
- This old fashioned pea salad tastes even better the next day, making it an ideal make ahead side dish.
- If you prefer a tangier dressing, slightly increase the amount of apple cider vinegar.
Nutrition
- Serving Size: 3/4 cup
- Calories: 310
- Sugar: 6
- Sodium: 450
- Fat: 26
- Saturated Fat: 9
- Unsaturated Fat: 17
- Trans Fat: 0
- Carbohydrates: 14
- Fiber: 3
- Protein: 9
- Cholesterol: 35