

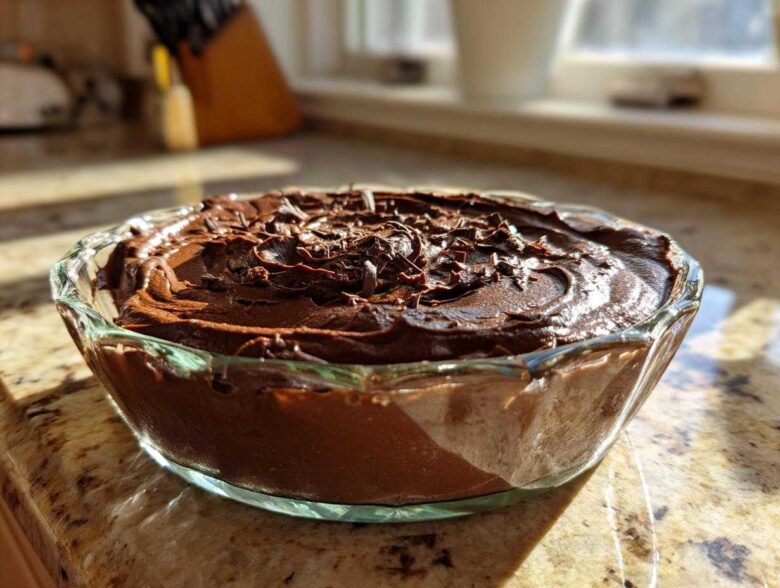
Oh, stop what you’re doing! If you’ve ever secretly dreamed of making restaurant-quality chocolate mousse but thought you needed scary culinary school tricks to get that perfect, airy, melt-in-your-mouth texture—I have huge news for you. This isn’t the complicated, multi-step, raw-egg-tempering fear-fest you might be picturing. This is the easy, no-bake recipe for a rich, creamy, and silky smooth chocolate mousse that you can whip up faster than you can decide on a beverage pairing.
I just added a whole new set of favorite chocolate secrets over on the main blog page at my main baking hub, but I promise you, this recipe stands alone. Trust me, I used to be intimidated by the classic French chocolate mousse until I figured out this shortcut. We’re skipping the raw eggs completely, relying on the magic of properly whipped heavy cream and good quality chocolate. Seriously, this chocolate mousse has become my go-to dinner party dessert because it looks impossibly elegant but takes practically no hands-on time. I’m so excited to show you my method that guarantees that signature velvet texture every single time!
Why This Is the Best Chocolate Mousse Recipe for Quick Desserts
If you need a showstopper but only have about fifteen minutes of actual work time, this is your holy grail. This recipe is the best chocolate mousse recipe because it checks every box for easy entertaining: absolutely no-bake, uses pantry-friendly basics, and delivers that instantly recognizable, decadent vibe. It’s truly a quick chocolate dessert winner for unexpected guests!
The secret to skipping hours of work—and avoiding tempering—is how we handle the chocolate itself. We don’t use a double boiler here. Nope! We just use hot water to gently melt the chocolate until it’s completely smooth. It cools down quickly, meaning we don’t have to worry about that base mixture being too hot when we eventually fold in the whipped cream. That temperature control is what keeps things from collapsing!
Achieving That Velvety Chocolate Mousse Texture
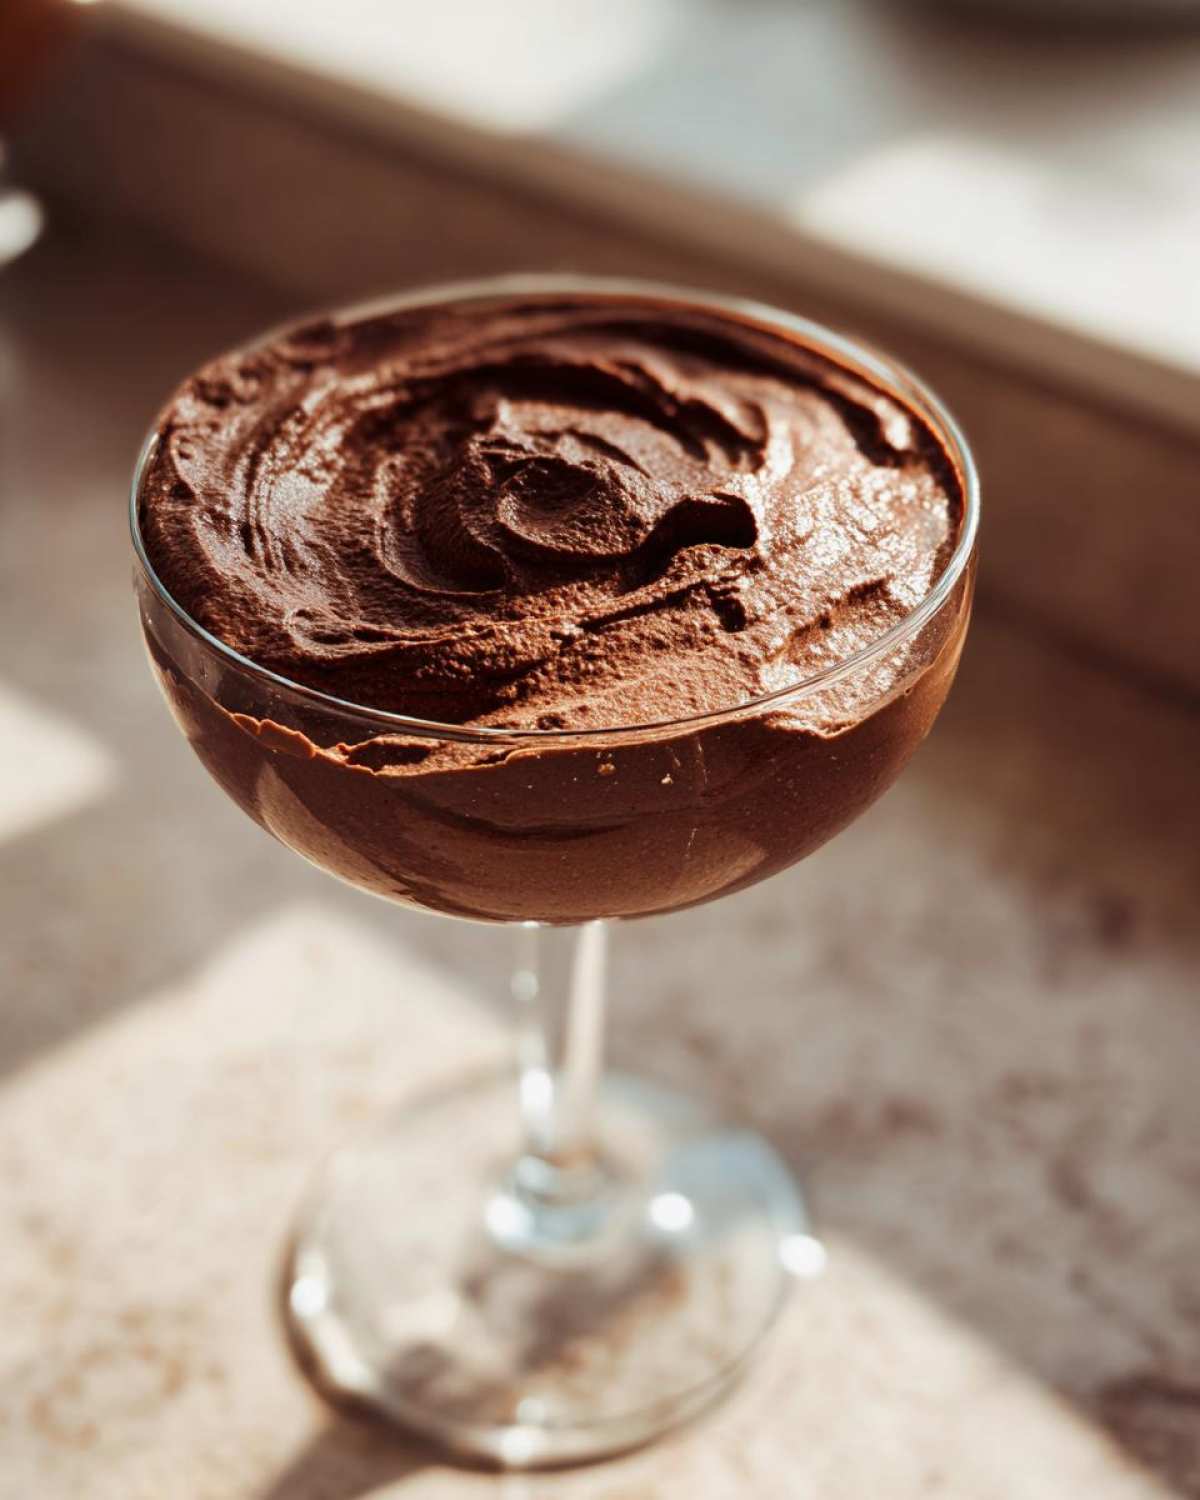
We are going for that gorgeous, velvety chocolate mousse here, you know? The kind that feels light as air but tastes intensely chocolatey. Since we aren’t messing with raw egg yolks or whites that need careful folding, we rely entirely on the whipped cream for lift. When you whip that heavy cream to stiff peaks and fold it in gently, you are creating millions of tiny pockets of air. Those little pockets are what give you that silky smooth mousse that dissolves perfectly on your tongue without ever tasting heavy or grainy. It’s pure, uncomplicated elegance!
If you are looking for other simple, satisfying sweets, you have to check out my guide on making super simple chocolate fudge. It uses totally different techniques but hits that same easy-to-make, super-rich mark!
Ingredients for Your Silky Smooth Chocolate Mousse
Okay, you’re going to love how short and sweet this ingredient list is. Seriously, less is more when you’re using great stuff! For this creamy chocolate dessert, you only need five things, but the quality really matters, especially the chocolate. I always grab the highest percentage bittersweet stuff I can find when I want that truly powerful, rich dark chocolate mousse flavor. Don’t skimp here if you can help it!
Here’s exactly what you need to gather for about four servings of this fantastic treat:
- 6 ounces bittersweet chocolate, finely chopped (This is key—chop it small so it melts fast!)
- 1/4 cup hot water (Just off the boil, nothing crazy)
- 1 tablespoon granulated sugar
- 1 teaspoon vanilla extract
- 1 1/2 cups heavy cream, very cold (I mean, straight from the back of the fridge cold!)
We keep the process incredibly simple, which is why this is such a wonderful chocolate dessert for beginners. If you want to see how I use similar techniques to create a flaky crust, you absolutely have to check out my easy apple strudel recipe—it’s all about technique!
Simple Mousse Instructions: Crafting Your Easy Chocolate Mousse
Honestly, these simple mousse instructions make whipping up something this luxurious feel almost like cheating. We are moving fast, but precision in the folding part is what separates a good mousse from a truly decadent chocolate treat. Once you have your ingredients ready, it flies by. Just remember: patience with the chocolate cooling, and complete gentleness when mixing the cream in!
If you want to see how I use similar techniques to create a flaky crust, you absolutely have to check out my easy apple strudel recipe—it’s all about technique!
Preparing the Chocolate Base
First things first, get your chocolate ready. You’ll chop those 6 ounces of bittersweet chocolate finely and toss it into a heatproof bowl. Now for the magic trick that avoids any messy melting setups: pour that 1/4 cup of hot water right over the top. Let it sit there, untouched, for a good two minutes. Don’t touch it! This lets the heat do all the hard work.
After two minutes, grab a whisk and start working that mixture. You must whisk until it is completely smooth and glossy. It should look like thick, melted velvet—this is the heart of your creamy chocolate dessert. Once it’s perfectly smooth, stir in the sugar and the vanilla extract. Then, this is important: set this bowl aside. It needs time to cool down just a bit so it doesn’t melt our whipped cream later on. It doesn’t need to be cold, maybe just slightly warm to the touch.
Whipping Cream for Lightness
While the chocolate is settling, turn your attention to that 1 1/2 cups of heavy cream. Remember how I stressed that it needed to be cold? That’s because cold cream whips up faster and holds its structure better! Pop it into a very clean, chilled bowl, and start beating it. I use my electric mixer on medium-high speed. You are looking for stiff peaks—when you lift the whisk or the beater out, the cream should stand straight up without flopping over.
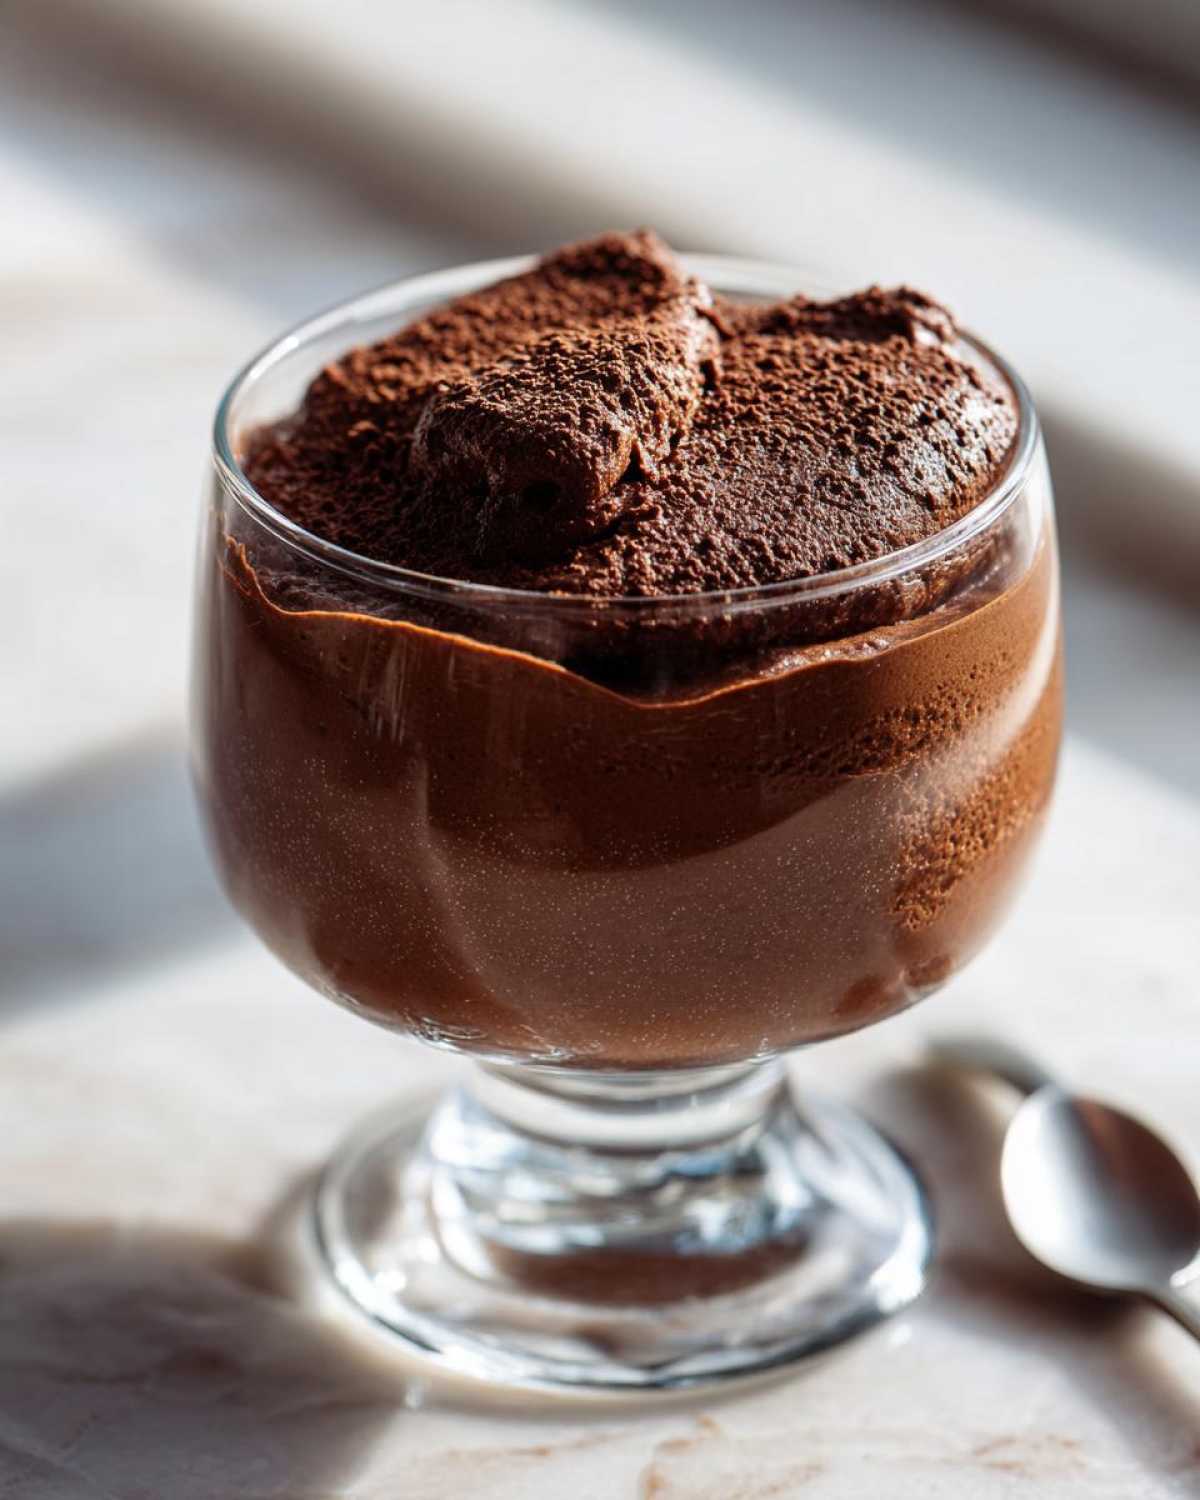
This perfect cream texture is what makes this a fantastic whipped cream dessert. If you stop too soon, you get soft peaks, and your mousse will be runny. If you go too far, you risk turning it into butter, so watch it closely! Stop as soon as those peaks are stiff.
Folding Technique for Perfect Chocolate Mousse
Now for the moment of truth! Take about one-third of that beautiful whipped cream and fold it right into the slightly cooled chocolate base. Don’t worry about being gentle here; this first addition is just to lighten up the heavy chocolate, making it easier to incorporate the rest without deflating everything. Fold until it’s mostly combined.
Then, gently take what’s left of your whipped cream and fold that in with the utmost care. I mean it—use a large spatula and cut down the middle, sweep up the side, and gently turn the bowl. You fold until you see *just* no more white streaks of cream remaining. If you overmix here, you lose all that wonderful air, and your chocolate mousse will come out dense. We want the light, airy finish, so stop mixing the second it looks uniform!
Tips for the Ultimate Chocolate Mousse Success
I’ve made this recipe dozens of times, and when it doesn’t come out perfect, it’s almost always because of one small, easily fixed mistake. These tips are my personal notes for turning a good batch into a truly decadent chocolate treat!
First, let’s talk chocolate quality again. While you don’t need to raid a French patisserie, using a decent quality bittersweet chocolate—say, something around 60% to 72% cacao—makes a huge difference. The better the chocolate tastes on its own, the richer your final homemade mousse recipe will be. The lower the cacao percentage, the sweeter and less intense the flavor will be, so adjust your sugar down if you use milk chocolate!
Second, temperature control is your best friend. Remember how I told you to let the chocolate base cool slightly? If it’s even a little warm when you start folding in the cream, the fat in the cream melts immediately, and you end up with a soupy mess instead of airy goodness. Let it cool until it feels just lukewarm or room temperature before you introduce the cold whipped cream. This is crucial for that light, indulgent sweet treat finish.
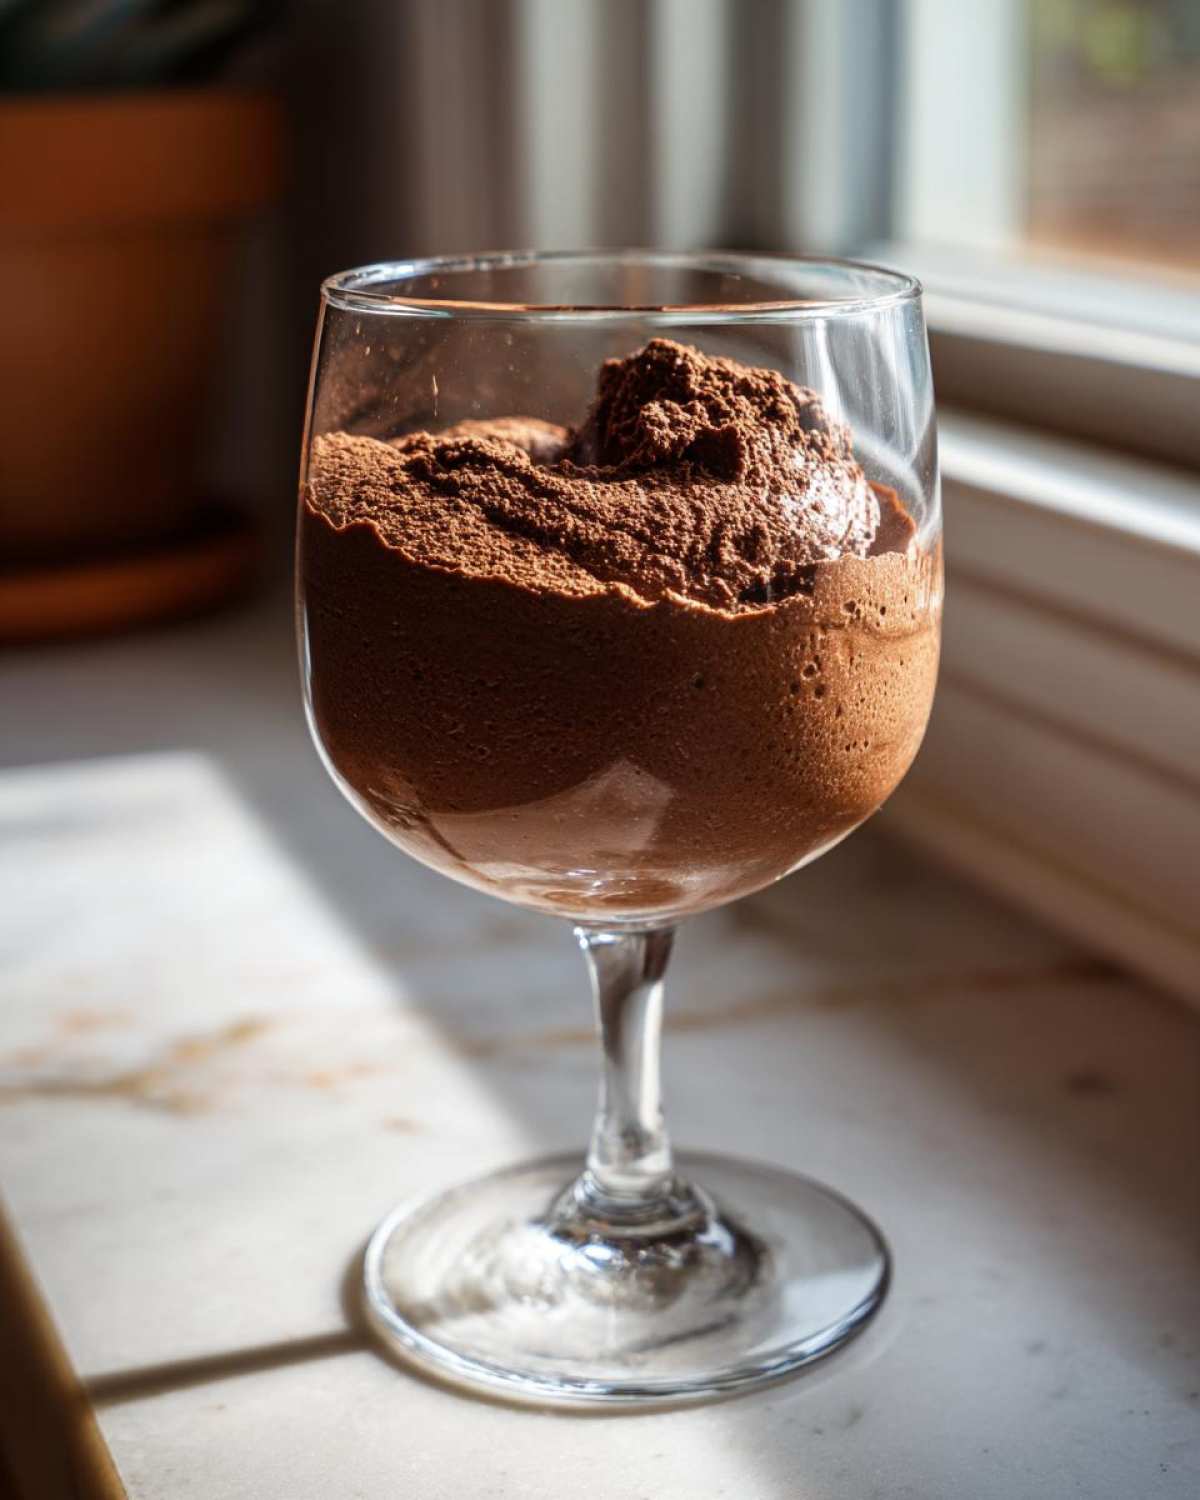
Third, and I can’t stress this enough, practice your folding! I know it sounds simple, but a gentle hand is everything when you combine the lightened chocolate with the rest of the stiffly whipped cream. If you stir aggressively, those millions of tiny air bubbles we worked so hard to create get smashed instantly. Fold slowly and deliberately until those last few streaks of white disappear, then stop immediately. You want that beautiful, velvety chocolate mousse structure, not a thick pudding!
Finally, after you’ve spooned the mousse into your serving dishes, cover them lightly and let them set in the fridge for at least three hours. Mousse needs time for the fats to firm up slightly. If you rush this chilling time, it will collapse when you try to dig in. Patience rewards you with that perfect, layered creaminess. If you’re looking for another simple, comforting bake, my chocolate cinnamon rolls are a weekend favorite around here!
Variations on the Classic Chocolate Mousse
This base recipe for our easy chocolate mousse is fantastic all by itself, but since we are all about playing in the kitchen, sometimes you just need a little twist, right? I have a couple of simple ways I shake this up when I want to serve the same no bake dessert but make it feel brand new for guests. None of these require extra baking or complicated steps, so we keep that easy factor high!
First off, if you love that deep, slightly sophisticated flavor, you have to try the coffee trick. Remember that hot water we used to melt the chocolate base? Instead of plain hot water, substitute it with strong, hot brewed coffee. You don’t need much—just that 1/4 cup! It blends right into the chocolate, creating this wonderful, subtle mocha flavor that really enhances the dark chocolate notes. It turns your simple mousse into an instantly more elegant chocolate dessert without tasting overwhelmingly like coffee.
Secondly, for the true chocoholics (that’s me, usually!), let’s talk about the double chocolate mousse option. Once your chocolate base is completely smooth after melting it with the water, let it cool down just like the original instructions say. But before you fold in the whipped cream, melt yourself an extra 1/4 cup of milk chocolate separately. Fold that melted milk chocolate into the bittersweet base mixture first. This gives the finished mousse a layered richness—intense dark flavor balanced by creamy milk chocolate sweetness. It’s such a satisfying textural experience!
If you’re feeling wild one weekend, check out my recipe for double chocolate peppermint cookies! They are a holiday staple here, but I love making them any time I crave that intense chocolate hit.
Serving Suggestions for Your Elegant Chocolate Dessert
The best part about this easy chocolate mousse is that it looks like you spent all day fussing over it, even though we know the prep took barely 15 minutes! Presenting it beautifully is the final step to transforming it into a genuine, elegant chocolate dessert worthy of any big celebration or upscale dinner party.
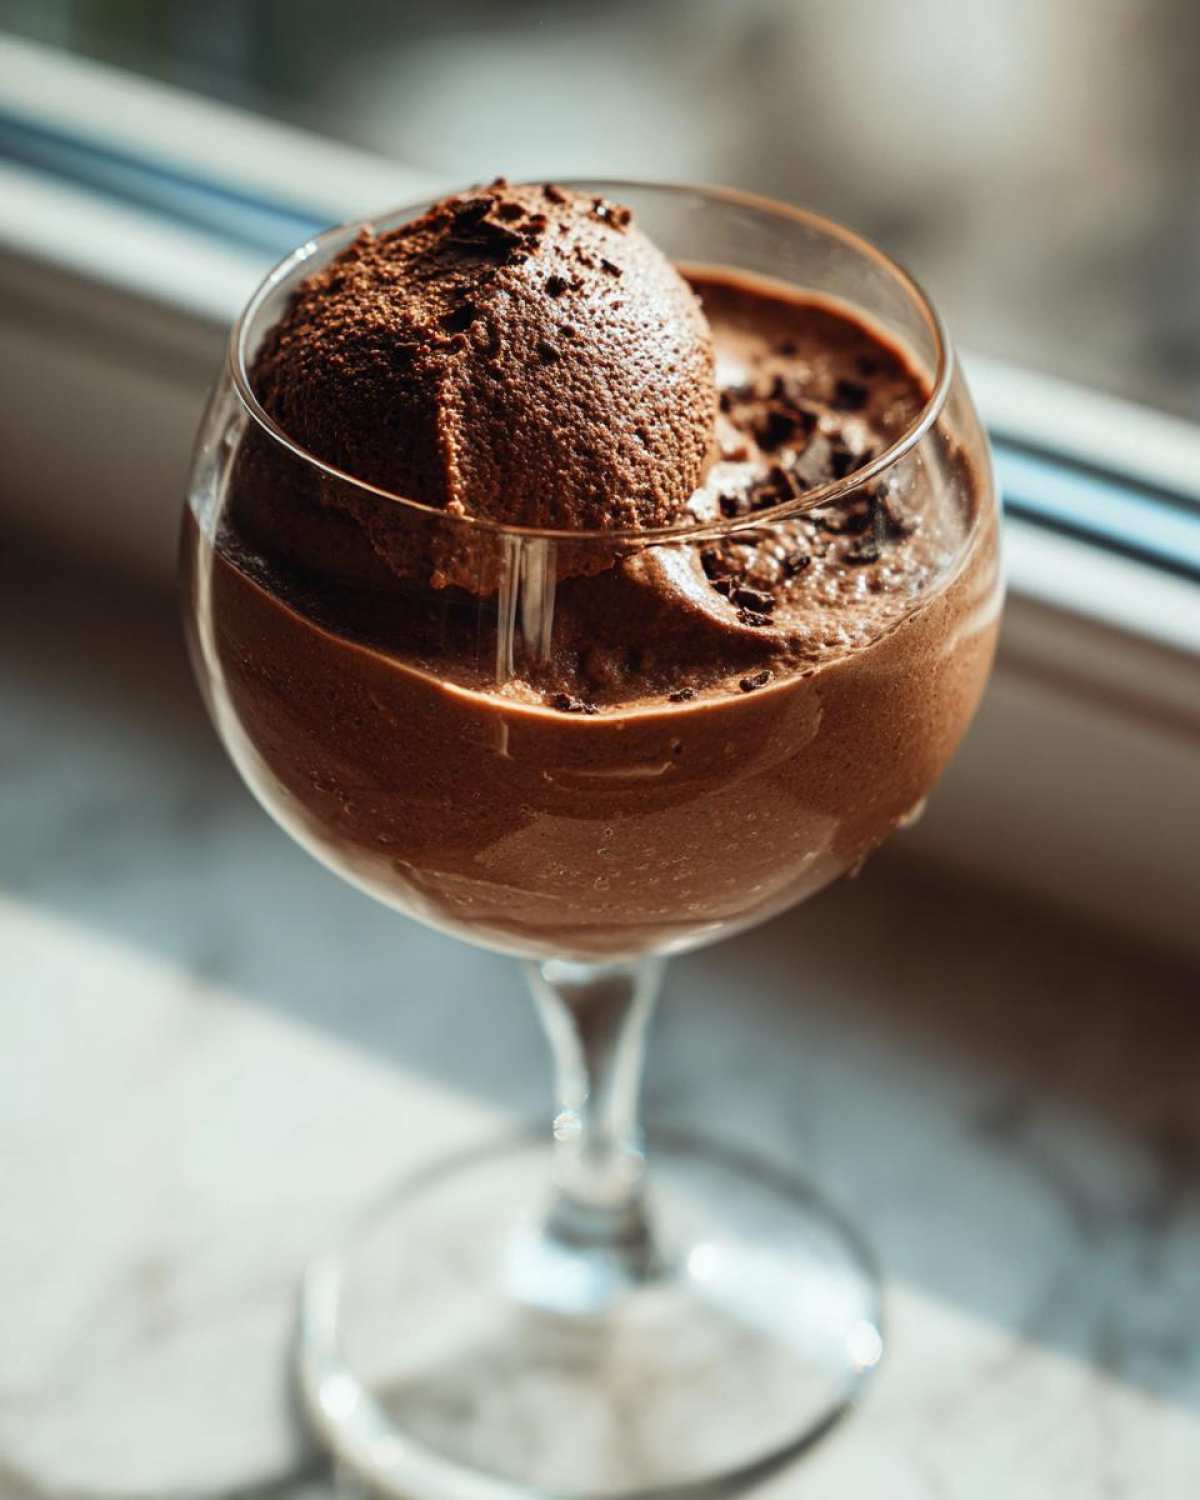
Since this no bake dessert isn’t overly sweet, it plays perfectly with contrasting textures and colors on top. I usually make a big batch and then serve it in individual clear glasses or small decorative ramekins instead of one big bowl. That way, everyone gets a perfect little peek at how light and airy the finished product is.
Here are my favorite ways to finish this incredible treat:
- The Classic Garnish: You absolutely cannot go wrong with high-quality dark chocolate shavings. Use a vegetable peeler on a cold bar of bittersweet chocolate; the curls look sophisticated and add an extra layer of snap when you eat it.
- Freshness Factor: A few bright red raspberries or segmented orange slices popped right on top cut through the richness of the dark chocolate beautifully. It adds this amazing pop of color against the deep brown mousse.
- Crunch Contrast: If you want a little bit of chew or crunch, try sprinkling just a few roughly chopped, toasted hazelnuts or slivered almonds over the top right before serving. Remember, a little bit goes a long way here so you don’t overpower that velvety chocolate mousse base.
If you’re serving this after something rich, maybe skip the shavings and stick just to some fresh fruit—it brightens everything up! For other show-stopping desserts that look complicated but aren’t, you should really browse my lemon meringue pie recipe; it’s another old-school favorite that truly impresses.
Storage and Reheating for Your Homemade Mousse Recipe
It’s honestly a blessing that making this chocolate mousse is so easy, but the real magic is that leftovers taste just as good the next day! Since this recipe is entirely no bake and relies on whipped cream for its structure, storage is pretty straightforward, but you need to be mindful of time.
Once your mousse has set up in the fridge for those mandatory three hours, it will keep beautifully in airtight containers or covered serving dishes for up to three days. I find that the texture holds up incredibly well—it stays delightfully silky smooth mousse for the whole period. Make sure they are well-covered, though! Chocolate loves to pick up any stray smells floating around in the fridge, and we definitely don’t want your indulgent sweet treat tasting faintly of leftover garlic bread!
Now, about freezing? I have to be honest with you: I don’t recommend it for this specific recipe. While some denser desserts handle the freezer okay, freezing and then thawing whipped cream can sometimes cause it to separate or weep when it warms up. You risk losing that gorgeous lift and developing those icy crystals we work so hard to avoid when whipping the cream for the first time. Stick to the fridge for the best results.
If you are taking some mousse into work or packing up leftovers for later, just keep it well-chilled in a cooler or insulated bag until you can get it back into the refrigerator. This helps maintain the structure until you are ready to enjoy those last bits of creamy chocolate dessert. Speaking of quick storage solutions, if you’re ever inundated with cucumbers, you have to try my easy refrigerator dilly beans—they’re so simple to keep on hand!
Frequently Asked Questions About Making Chocolate Mousse
I know when you look at a recipe, you always have a few burning questions, especially when you’re trying to nail that perfect texture for a rich dark chocolate mousse. No problem at all! I’ve pulled together the few things people always ask me about this specific recipe. Feel free to ask me more in the comments below! I’m happy to chat through any issues you have getting that silky smooth mousse!
Can I make this chocolate mousse without using raw eggs?
Yes! That’s one of the very best parts about this recipe, which is why I think it’s the ultimate chocolate dessert for beginners. This method relies entirely on high-quality, properly whipped heavy cream folded right into the melted chocolate base. You get that gorgeous lift and airiness without ever needing to worry about tempering egg yolks or risking raw eggs. So, if you are worried about that, you can relax—this homemade mousse recipe is totally safe and delicious!
What is the difference between this and a French chocolate mousse?
That’s a great question! Traditional French chocolate mousse usually gets most of its structure from beaten raw egg whites, often folded into tempered egg yolks and chocolate. It’s a much more involved process that requires super careful temperature control. Our version is a lovely, modern take—we skip the eggs completely and use that stiffly whipped heavy cream to give us the airiness and that beautiful, creamy chocolate dessert texture. It’s much faster and results in a slightly denser, wonderfully rich feel that stays light because of the cream. It’s just as decadent, but way less stressful to make!
If you’re looking for another fantastic dessert that uses whipped cream in a different way, you should definitely check out my recipe for Boston Cream Pie Cupcakes next time you have a gathering!
Do you have other thoughts on making a great quick chocolate dessert? I’m all ears!
Nutritional Estimates for This Indulgent Sweet Treat
Nobody is making this amazing chocolate mousse while counting every calorie, let’s be real! It’s meant to be an indulgent sweet treat, right? But I know some of you are curious about what goes into this glorious dessert, so I did a quick estimate based on the ingredients list above. Just remember, these numbers are an approximation. If you use very high-fat dark chocolate versus a slightly lighter percentage, or if you’re heavy-handed with the whipping cream, things can shift!
This breakdown is for one serving, based on the recipe yielding four portions. Consider it a helpful guideline, not a strict nutritional breakdown. If you want to see some other recipes I’ve posted that are lighter on sugar, you can always check out the details over on my privacy and general recipe notes page!
Here are the estimated values for one lovely serving of our silky smooth mousse:
- Calories: Approximately 380
- Sugar: Around 25 grams
- Fat: About 30 grams (A good chunk of this is from the decadent chocolate and cream!)
- Saturated Fat: Roughly 18 grams
- Carbohydrates: Nearly 28 grams
- Protein: Around 5 grams
- Sodium: Quite low, near 35 mg
- Cholesterol: Estimated at 95 mg
See? It’s rich because it’s made with real cream and good chocolate! That’s what gives you that fantastic creamy chocolate dessert mouthfeel we all crave. Enjoy every bite of this wonderful no bake dessert!
PrintEasy No-Bake Silky Chocolate Mousse
Make a rich, creamy, and smooth chocolate mousse without baking or using raw eggs. This simple recipe is perfect for beginners.
- Prep Time: 15 min
- Cook Time: 0 min
- Total Time: 3 hours 15 min
- Yield: 4 servings
- Category: Dessert
- Method: No-Bake
- Cuisine: French
- Diet: Vegetarian
Ingredients
- 6 ounces bittersweet chocolate, chopped
- 1/4 cup hot water
- 1 tablespoon granulated sugar
- 1 teaspoon vanilla extract
- 1 1/2 cups heavy cream, cold
Instructions
- Place the chopped chocolate in a medium heatproof bowl.
- Pour the hot water over the chocolate and let it sit for 2 minutes.
- Whisk the chocolate and water mixture until completely smooth. Stir in the sugar and vanilla extract. Set aside to cool slightly.
- In a separate large bowl, whip the cold heavy cream using an electric mixer until stiff peaks form.
- Gently fold about one-third of the whipped cream into the cooled chocolate mixture to lighten it.
- Carefully fold the remaining whipped cream into the chocolate mixture until just combined and no white streaks remain. Do not overmix.
- Spoon the mousse into individual serving dishes or small glasses.
- Chill in the refrigerator for at least 3 hours, or until firm.
Notes
- For a richer flavor, use dark chocolate with 70% cacao content or higher.
- If you prefer a double chocolate version, add 1/4 cup of melted milk chocolate to the base mixture before folding in the whipped cream.
- You can substitute the hot water with strong brewed coffee for a subtle mocha flavor.
Nutrition
- Serving Size: 1 serving
- Calories: 380
- Sugar: 25
- Sodium: 35
- Fat: 30
- Saturated Fat: 18
- Unsaturated Fat: 12
- Trans Fat: 0
- Carbohydrates: 28
- Fiber: 3
- Protein: 5
- Cholesterol: 95