

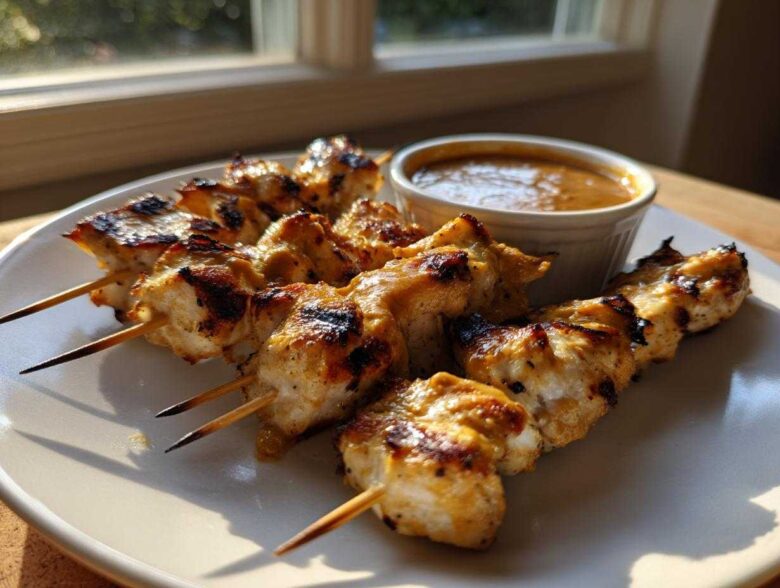
I don’t know about you, but sometimes that takeout craving hits, and nothing else will do! When I used to get that urgent need for deeply seasoned, grilled meat dipped in a rich, creamy sauce, ordering delivery was my only answer. Not anymore, though! Liam figured out the secrets to making restaurant-quality **Chicken Satay** right here on our little stove, and believe me when I say this recipe is truly better than takeout. You’ll get the juiciest chicken imaginable thanks to his specific marinade process. Plus, the homemade peanut dipping sauce is so unbelievably good—it’s the creamy, savory highlight we all dream about. Don’t let skewers intimidate you; for today, we’re making amazing food together! For more about how Liam taught me to conquer the kitchen, you can check out our story here.
Why This Chicken Satay Recipe Tastes Better Than Takeout
You’re going to wonder why you ever spent money on delivery once you taste this! Liam insisted that achieving that amazing, vibrant flavor takes a few special ingredients that the takeout places sometimes skip. We aren’t cutting corners here; we want big, bold flavor every time you make this **Chicken Satay**. It’s genuinely simple, but those few additions make all the difference in the world. If you love big flavor like this, you should check out some of our other spicy recipes, like Liam’s famous Jerk Chicken.
- The chicken is unbelievably juicy because of the coconut milk soak.
- We use authentic spices like turmeric and lemongrass for that spot-on Thai flavor.
- The homemade peanut dipping sauce is richer and creamier than anything else out there!
Achieving Tender, Juicy Marinated Grilled Chicken
The secret weapon in our **best chicken satay marinade** is definitely that full-fat coconut milk. It coats the chicken strips perfectly, and the tiny bit of fat helps keep everything incredibly tender while grilling. Liam always pushes for chicken thighs because they just don’t dry out, period. But if you prefer breast meat, just slice them thin—like half an inch—so they cook fast and stay moist. We want zero dry bites allowed!
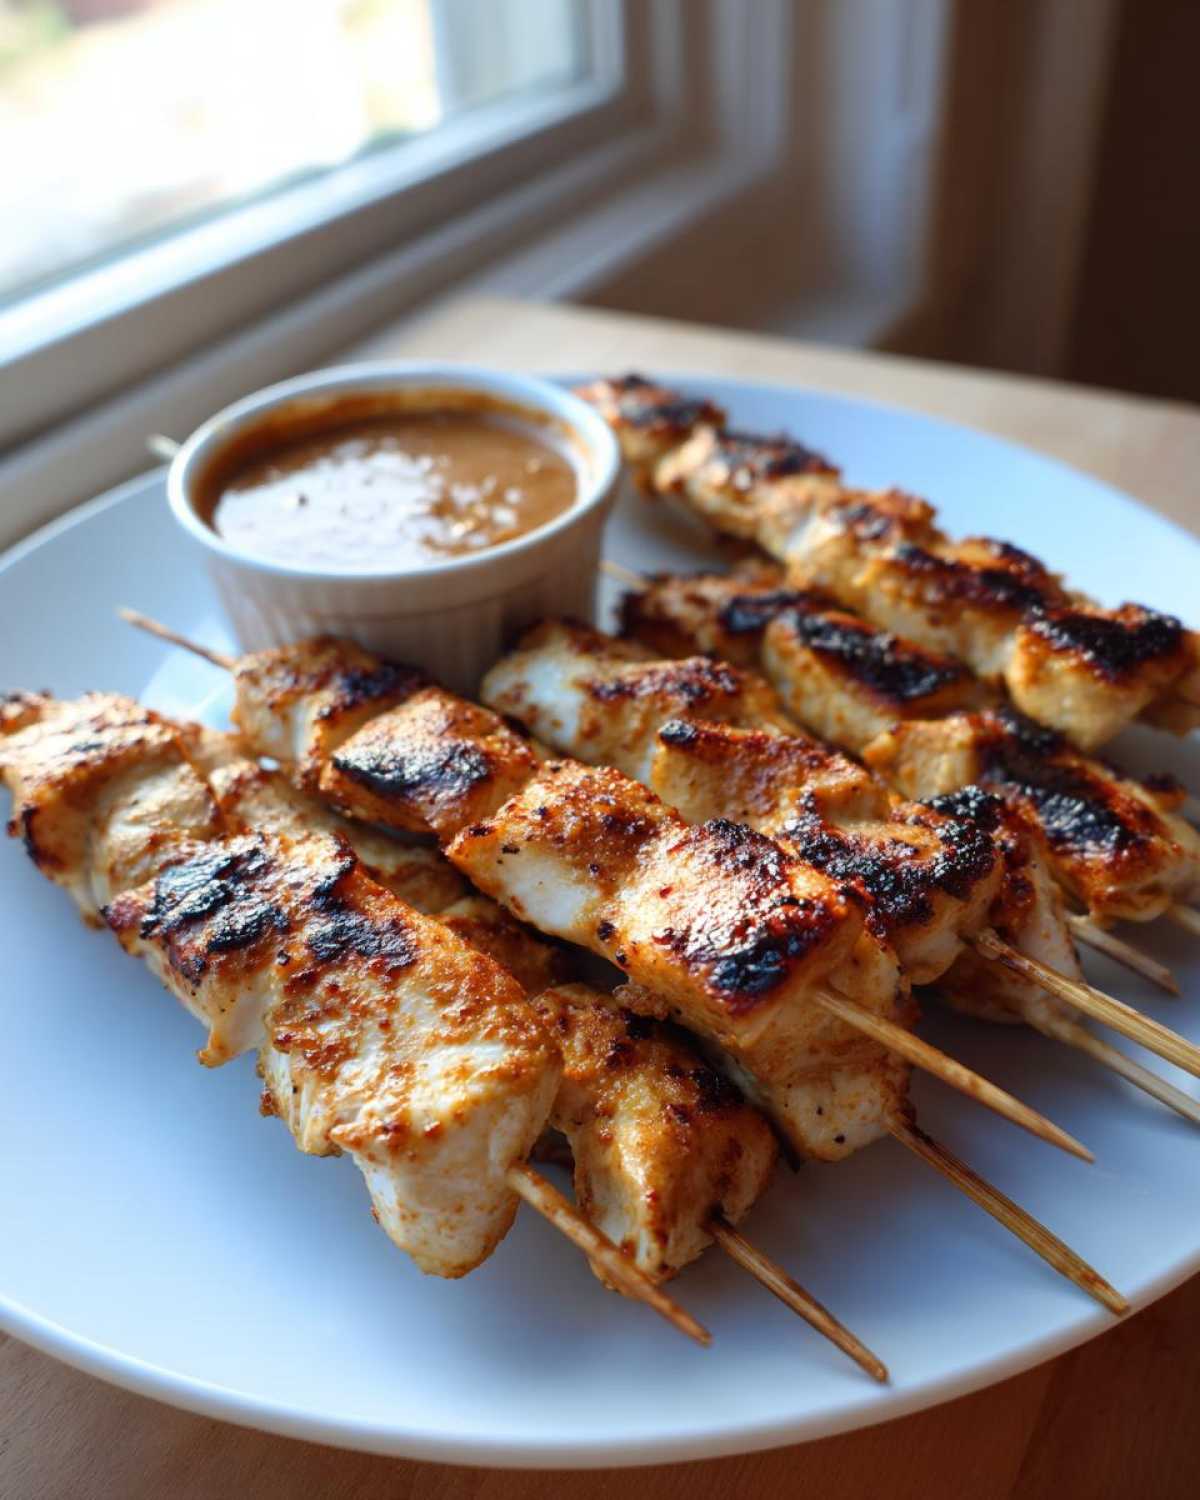
Gathering Ingredients for Your Chicken Satay and Peanut Sauce
Okay, let’s talk supplies! Before we start making magic, we need to get organized. Liam always insists that organizing the ingredients first is half the battle won, especially when you need things ready quickly so you can get that **Chicken Satay** marinating. Don’t skip the soaking step for your skewers, even though it seems like an extra hassle—wooden sticks burning on the grill looks really sad! If you’re planning ahead for game days, this recipe is a fantastic crowd-pleaser, much like our famous Buffalo Chicken Dip.
For the Flavorful Chicken Satay Marinade
This mix is where the real flavor gets locked into the meat. See that turmeric? That’s what gives it that beautiful, characteristic yellow color. And please try to find lemongrass; it really makes this taste like the real deal, not just seasoned chicken!
- 1.5 lb boneless, skinless chicken thighs or breasts, cut into 1-inch strips
- 120 ml unsweetened full-fat coconut milk (for marinade)
- 2 tablespoons soy sauce or tamari (for gluten-free option)
- 1 tablespoon brown sugar
- 1 teaspoon turmeric powder
- 1 teaspoon ground coriander
- 1 teaspoon minced lemongrass paste (optional, but recommended)
- 1 teaspoon minced garlic
- 1/2 teaspoon salt
- Wooden skewers, soaked in water for 30 minutes
For the Creamy Homemade Satay Dipping Sauce
This sauce is honestly the best part. The key to getting it perfectly creamy right away is ensuring your water is hot when you mix the peanut butter. That helps it dissolve beautifully without melting too aggressively.
- 1/2 cup creamy peanut butter
- 1/4 cup hot water
- 2 tablespoons soy sauce or tamari
- 1 tablespoon lime juice
- 1 tablespoon brown sugar
- 1 teaspoon grated fresh ginger
- 1 clove garlic, minced
- 1/2 teaspoon red pepper flakes (adjust to your spice preference)
Step-by-Step Instructions for Perfect Chicken Satay
Alright, let’s get these skewers ready for the fire! The actual cooking part goes super fast, which is great for a **quick weeknight dinner**, but we need to give that gorgeous marinade enough time to work its magic. Liam showed me that patience in this small step is the difference between good satay and *amazing* satay. If you’re looking for more skewered ideas, check out our honey garlic skewers recipe—just as easy!
Marinating the Chicken for Best Chicken Satay Flavor
This is where we infuse serious flavor. Toss your cut chicken into a bowl that won’t react with anything—glass or ceramic is always best. Make sure every strip is coated in that coconut milk mixture! We’re keeping this marinade brief because it’s lighter than some others. You really want to let it hang out for at least one full hour in the fridge. Liam says you can go up to four hours max; any longer, and sometimes the texture can get a little weird, even though this marinade isn’t super acidic. Don’t rush this part!
Making the Quick and Easy Peanut Sauce Recipe
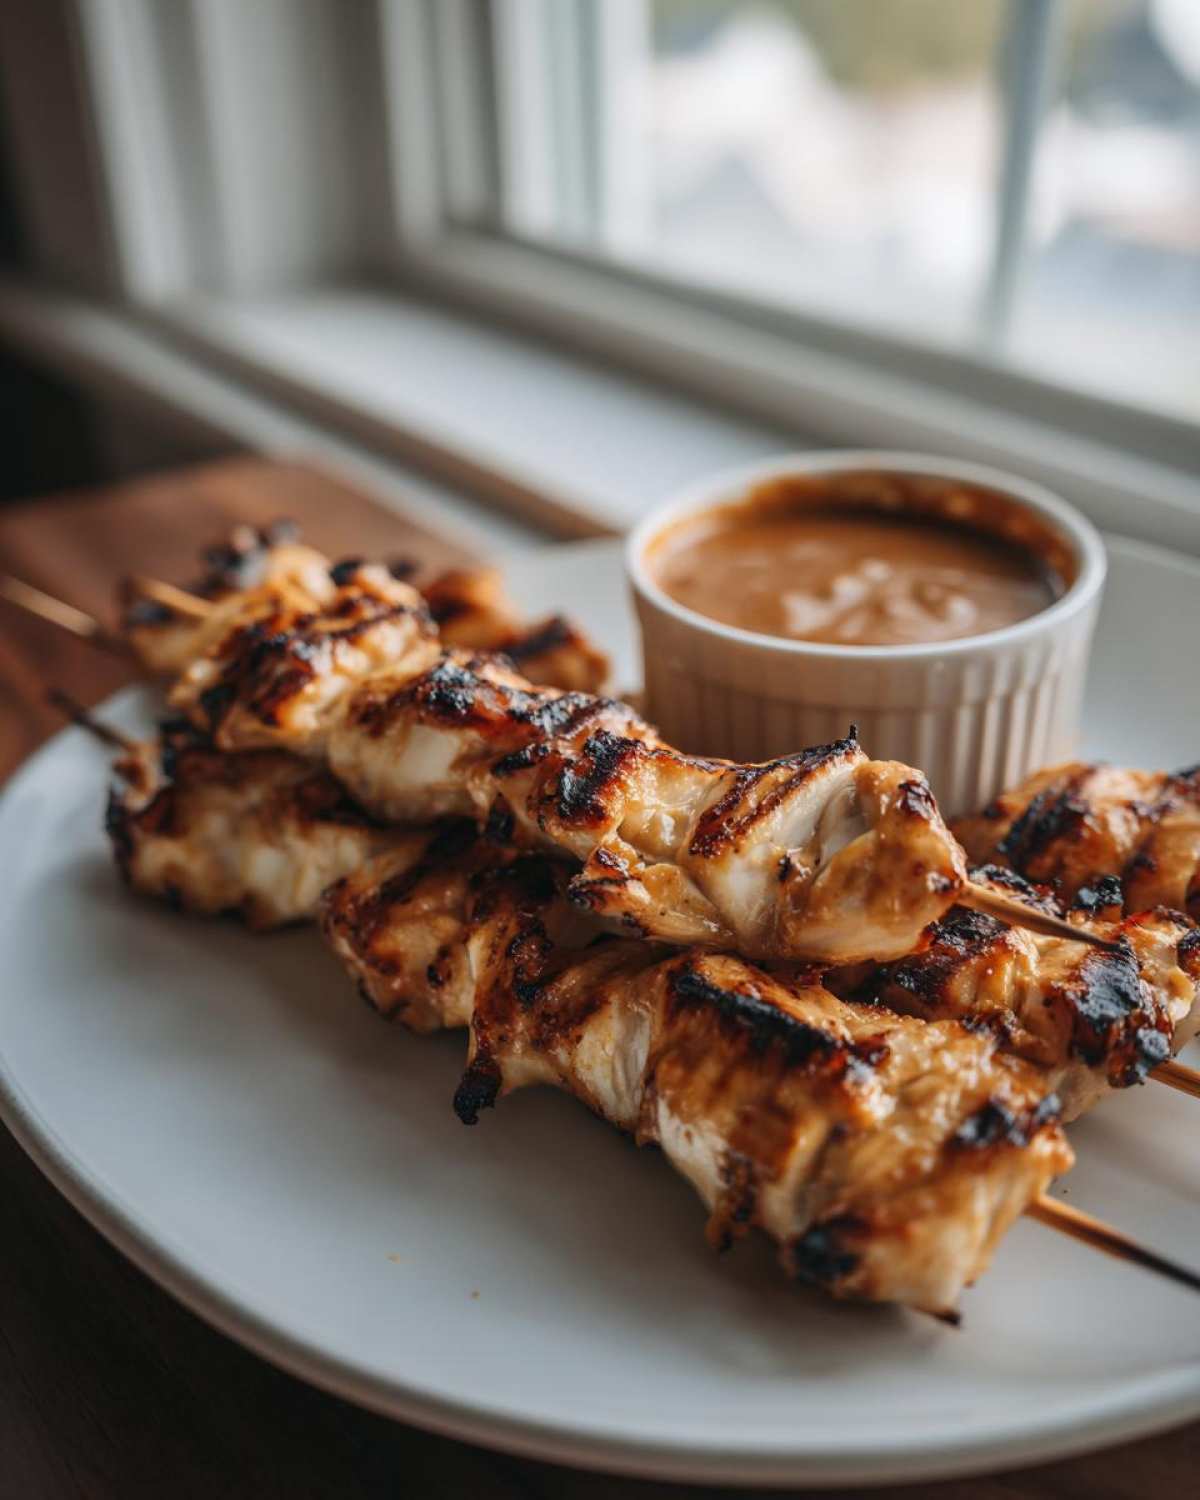
Now for the star of the show—the sauce! This is where you make your own **easy peanut sauce recipe** that beats anything store-bought. Put your peanut butter and liquids into a small saucepan over low heat, or use the microwave safely. The biggest tip here is to heat it gently! If you blast it too hot, the peanut butter clumps up and gets weirdly stiff. If it looks too thick to drizzle after stirring, just splash in a tiny bit more hot water until it’s perfectly creamy and pourable.
Assembling and Cooking Your Flavorful Grilled Skewers
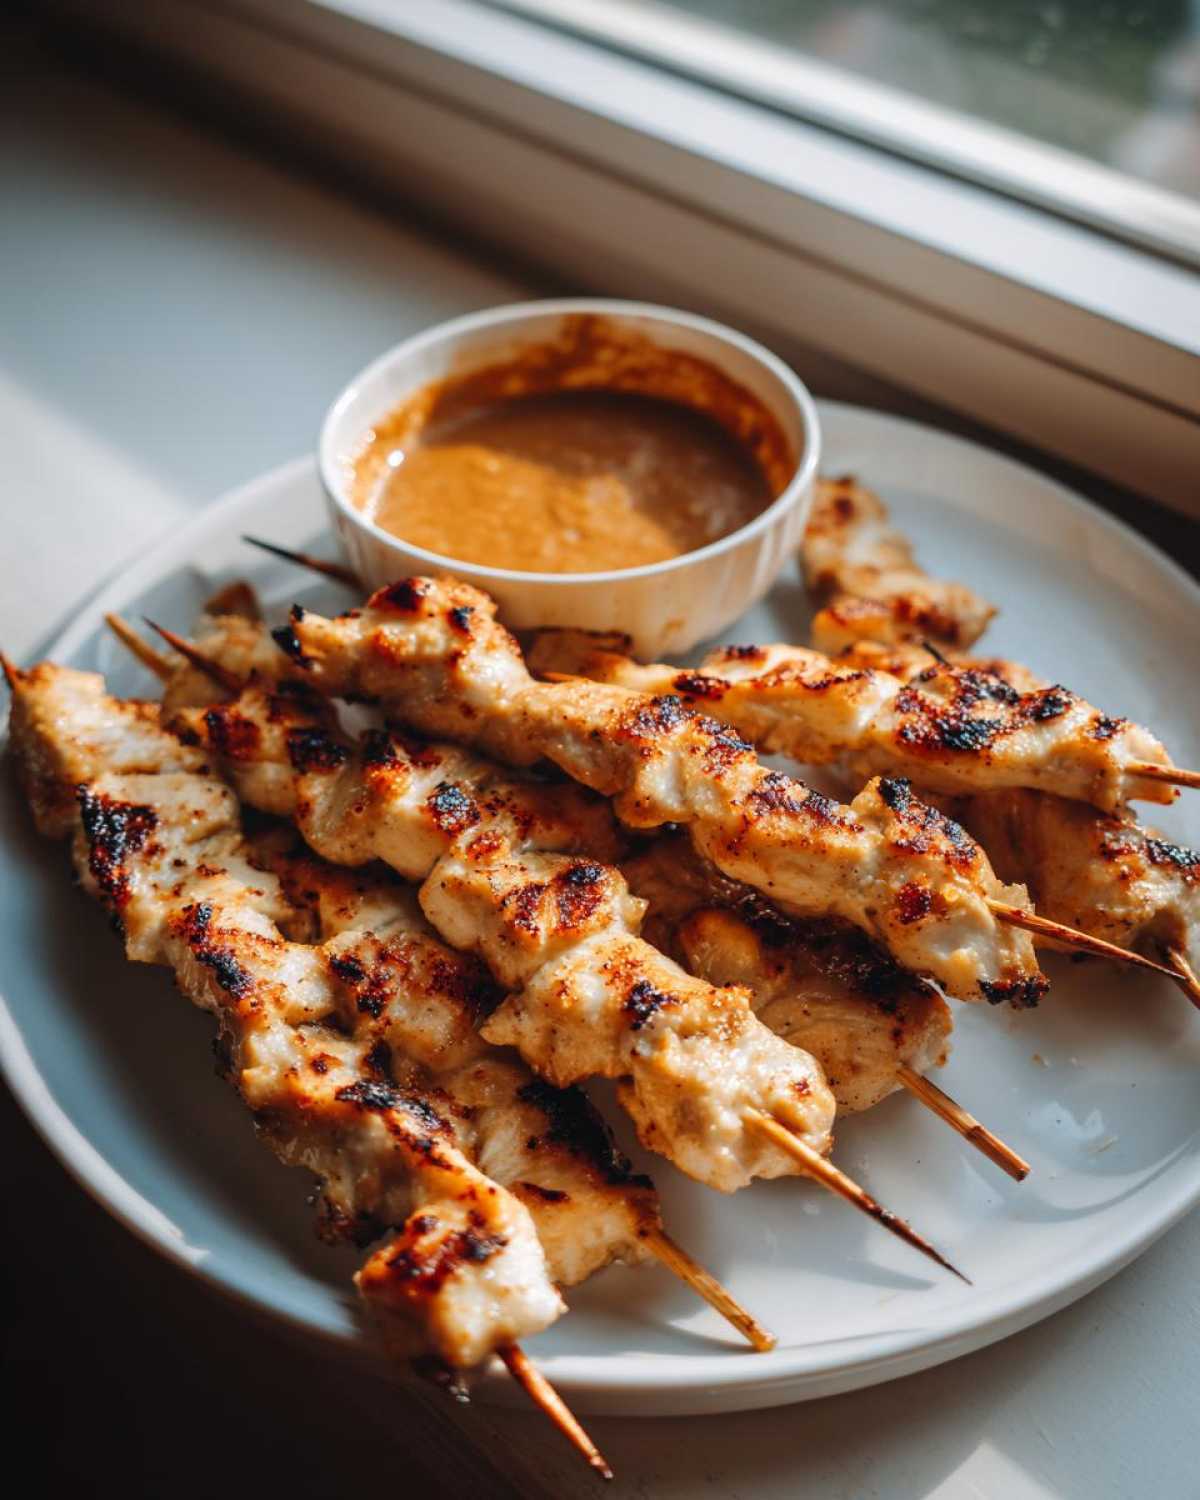
Before you even think about threading the meat, make 100% sure those wooden skewers have been soaking for at least half an hour. If you forget, they’ll just burn to charcoal right on the grill grates! Once soaked, thread those beautiful, deeply colored pieces of **Chicken Satay** on there, leaving just a bit of breathing room between them. The cooking is fast: high heat is key! You’re looking for about 3 to 4 minutes per side on the grill or under the broiler until they get those beautiful charred edges and are cooked right through. That minimal time keeps them super juicy!
Expert Tips for Restaurant Quality Chicken at Home
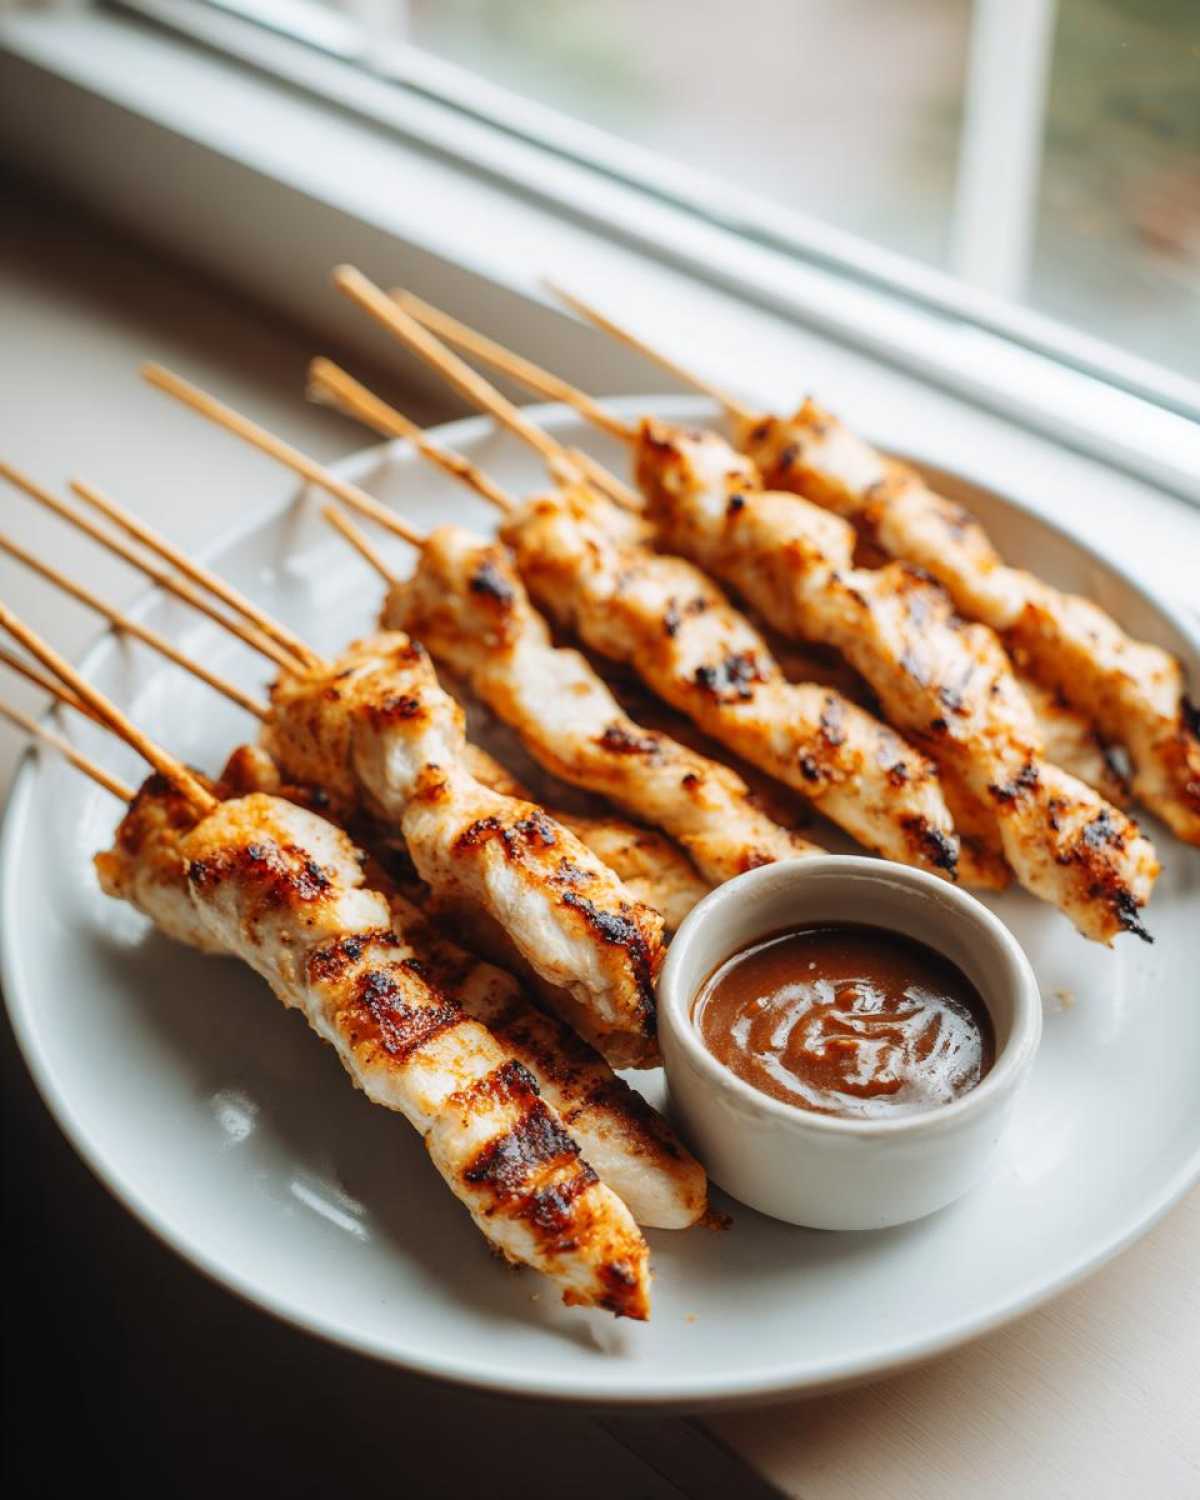
I love showing off the little secrets Liam taught me—the things that take a good recipe and push it straight into the “wow, you made this?!” category. Getting that restaurant quality **Chicken Satay** flavor really comes down to a couple of small tweaks we learned along the way. It’s not just about following the steps; it’s about understanding *why* we’re doing them, which is what TasteTaught is all about! We want flavor complexity, like the kind you might use when trying a technique like spatchcocking, which you can read more about in this post on juicy roasts.
Gluten Free Chicken Satay Option and Flavor Boosts
If you or someone you’re cooking for needs a **gluten free chicken satay option**, this recipe is fantastic because it’s so easy to adjust. Just substitute standard soy sauce with tamari—it’s a straight 1:1 swap and you won’t notice a difference in texture! Another thing Liam discovered when we were tweaking the marinade for maximum punch? Adding just half a teaspoon of fish sauce. I know! It sounds wild because fish sauce is so potent, but when you mix it with the coconut milk and spices, it just deepens that savory background note. It’s our little secret to making the flavor pop!
Serving Suggestions for Your Asian Inspired Chicken Main Dish
Once that **Chicken Satay** is off the grill, you’ve got to decide how you’re going to serve your masterpiece! These skewers are fantastic whether they’re the main event or tucked onto a platter as a party appetizer idea. For a satisfying, complete dinner, I always pair them with plain jasmine rice so it soaks up any extra sauce. A really quick, cooling cucumber salad on the side keeps things fresh and balances out the richness of a good peanut dipping sauce.
If you want a crunchier side that moves away from traditional rice, try making our super easy mixed bean salad; it adds great texture!
Storage and Reheating Instructions for Leftover Chicken Satay
Don’t worry if you have leftovers, though I doubt you’ll have much since this **Chicken Satay** disappears fast! You should always store the leftover skewers and the peanut sauce in separate containers. The sauce tends to thicken up a lot once it chills. When reheating the chicken, please skip the microwave if you can! It makes things rubbery. Liam swears by warming them gently in a 300°F oven for just about ten minutes. That keeps the meat nice and tender.
Frequently Asked Questions About Chicken Satay
It’s completely normal to have a few questions pop up when trying a new recipe, especially one that aims for that perfect restaurant flavor. Liam and I get asked these all the time! We want to make sure you feel totally confident making this **Chicken Satay**—whether it’s for an appetizer or a full **Asian inspired chicken main dish**. Remember, I started out thinking boiling water was complicated, so ask away!
Can I bake or air fry the chicken satay instead of grilling?
Yes, absolutely! Grilling gives you those classic charred spots, but we know not everyone has a grill handy, especially during the week when you need a **quick dinner** option. Baking works great—just set your oven to broil, or higher heat around 400°F, and watch them closely, turning every few minutes until they are golden. If you have an air fryer, that’s my personal non-grill favorite! Air fry at 375°F for about 10 to 12 minutes, shaking the basket halfway through. They come out so tender!
How far ahead can I prepare the homemade satay dipping sauce?
This is such a smart question for anyone planning ahead! You can definitely make your **homemade satay dipping sauce** up to three days in advance. Store it covered in the fridge. Here’s the catch: when it gets cold, peanut butter always gets super thick, kind of like cement! Don’t panic. Just take the sauce out about 30 minutes before you serve, or gently warm it up on the stove or microwave for a few seconds, then whisk in a tiny splash of hot water or fresh lime juice until it goes back to that luscious, creamy texture.
If you have any more burning questions about spices or technique, you can always browse our full collection of cooking guides on our blog page!
Understanding the Nutrition in This Chicken Satay
I know some of you are looking for a lighter option, especially when you compare this to a big takeout order! Here are the general numbers Liam and I worked out for one serving (that’s about four skewers of **Chicken Satay**). Remember, these are just good estimates—if you use tons more peanut sauce, or swap in leaner breast meat, your final counts will change. We always stress this: Cooking smart means knowing that the final nutrition really depends on the exact brands of coconut milk and peanut butter you grab! For more meal ideas that are just as clean, take a peek at our guide on a good healthy chicken takeout alternative.
- Serving Size: 4 skewers
- Calories: 380
- Fat: 22g
- Protein: 30g
- Carbohydrates: 15g
Share Your Perfect Chicken Satay Experience
Honestly, seeing you all succeed in the kitchen is the whole reason we started TasteTaught! I remember being so intimidated by something as simple as skewers, but look at you now! You’re whipping up restaurant-quality **Chicken Satay** with incredible homemade peanut sauce.
I truly hope you give this a try this week—maybe for a **quick weeknight dinner** or even as one of your go-to **party appetizer ideas**. When you make it, please come back and leave a star rating right on the recipe card. Or even better, reach out through the Contact page and tell me how it went! Did you love the juicy chicken? Did Liam’s marinade trick work its magic for you?
If you shared a photo on social media, tag us! We absolutely love seeing your beautiful creations. It means the world to us to know that we’re helping you taste and learn your way around the kitchen. If you’re looking for another easy recipe inspiration, I hear the folks over at Recipe Time have a great one too!
PrintBetter Than Takeout Chicken Satay Skewers with Creamy Thai Peanut Sauce
Learn how to make incredibly juicy, tender Chicken Satay skewers using a flavorful coconut milk marinade. This recipe includes simple steps for the rich, creamy peanut dipping sauce that makes this dish taste better than your favorite takeout spot. Perfect for a quick weeknight dinner or an impressive party appetizer.
- Prep Time: 15 min
- Cook Time: 15 min
- Total Time: 1 hour 30 min
- Yield: 4 servings
- Category: Dinner
- Method: Grilling
- Cuisine: Thai
- Diet: Low Fat
Ingredients
- 1.5 lb boneless, skinless chicken thighs or breasts, cut into 1-inch strips
- 120 ml unsweetened full-fat coconut milk (for marinade)
- 2 tablespoons soy sauce or tamari (for gluten-free option)
- 1 tablespoon brown sugar
- 1 teaspoon turmeric powder
- 1 teaspoon ground coriander
- 1 teaspoon minced lemongrass paste (optional, but recommended)
- 1 teaspoon minced garlic
- 1/2 teaspoon salt
- Wooden skewers, soaked in water for 30 minutes
- For the Peanut Sauce: 1/2 cup creamy peanut butter
- 1/4 cup hot water
- 2 tablespoons soy sauce or tamari
- 1 tablespoon lime juice
- 1 tablespoon brown sugar
- 1 teaspoon grated fresh ginger
- 1 clove garlic, minced
- 1/2 teaspoon red pepper flakes (adjust to your spice preference)
Instructions
- Prepare the Marinade: In a medium bowl, whisk together the coconut milk, soy sauce, brown sugar, turmeric, coriander, lemongrass paste, minced garlic, and salt until combined.
- Marinate the Chicken: Add the chicken strips to the marinade, toss to coat completely, cover the bowl, and refrigerate for at least 1 hour, or up to 4 hours, for the best flavor.
- Prepare the Peanut Sauce: While the chicken marinates, combine all peanut sauce ingredients (peanut butter, hot water, soy sauce, lime juice, brown sugar, ginger, garlic, and red pepper flakes) in a small saucepan or microwave-safe bowl. Heat gently, stirring constantly, until the sauce is smooth and creamy. Add a splash more hot water if the sauce is too thick. Set aside.
- Assemble Skewers: Thread the marinated chicken pieces onto the soaked wooden skewers, leaving a small space between each piece.
- Cook the Chicken: You can grill, broil, or pan-cook the skewers. For grilling or broiling, preheat your grill or oven broiler to medium-high heat. Cook the skewers for 3 to 4 minutes per side, turning occasionally, until the chicken is cooked through and lightly charred (about 10-12 minutes total).
- Serve: Arrange the cooked chicken satay skewers on a platter. Serve immediately with the warm peanut dipping sauce on the side.
Notes
- For an authentic Thai flavor boost, add 1/2 teaspoon of fish sauce to the marinade.
- If you prefer chicken breast, pound the strips slightly thinner so they cook evenly with the thighs.
- This recipe is naturally gluten-free if you use tamari instead of standard soy sauce.
Nutrition
- Serving Size: 4 skewers
- Calories: 380
- Sugar: 8
- Sodium: 550
- Fat: 22
- Saturated Fat: 6
- Unsaturated Fat: 16
- Trans Fat: 0
- Carbohydrates: 15
- Fiber: 3
- Protein: 30
- Cholesterol: 85