

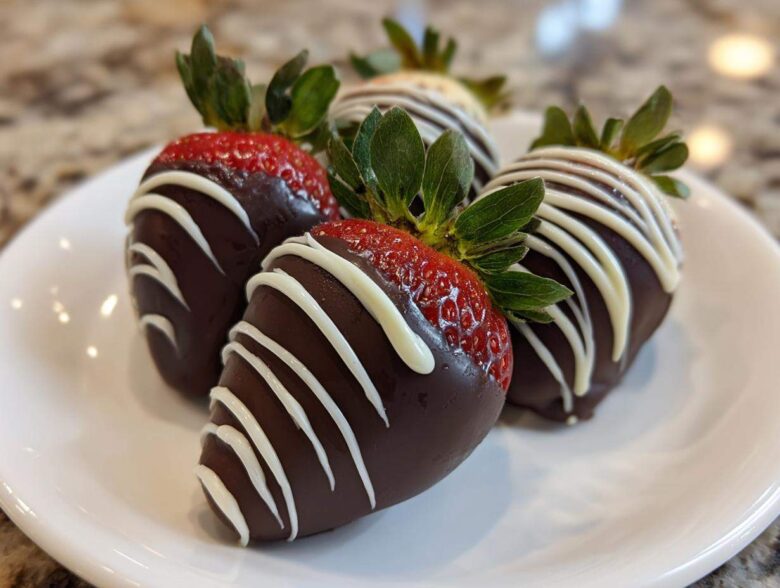
When I tell people I make show-stopping desserts, they always assume I spent hours fussing over tricky techniques. But honestly, the most frequently requested recipe—the one that always blows people away—is shockingly simple: my recipe for chocolate covered strawberries. Seriously, who doesn’t love that beautiful, glossy shell giving way to a perfect, fresh berry? Trust me, I have fought the battle with chocolate—the seizing, the dull finish, the way it cracks when you look at it wrong. Oops! But I figured it out.
This guide delivers the ultimate easy chocolate covered strawberries recipe you can make in minutes. We’re skipping the drama and jumping straight to the secrets that give you that super smooth, professional finish every single time. If you’ve been scared of dipping fruit, prepare to be amazed at how easy truly gourmet treats can be. You won’t believe you didn’t start making these sooner.
Thinking about that perfect, snappy coating reminds me of the disaster I had for my best friend’s engagement party. I used the wrong kind of chocolate, and half the berries looked dull and pasty right after I finished decorating them. I almost ditched the whole platter! But I went back to basics, tested things out (way too many berries were sacrificed!), and cracked the code. Now, I’m sharing that reliable method with you, including how to get that amazing dip consistency we both dream about. And yes, we’ll also sneak in a link for our favorite slow cooker chocolate fondue if you ever want to keep the dipping going!
Why You’ll Love This Easy Chocolate Covered Strawberries Recipe
Look, I get it. You want impressive treats without spending your whole afternoon babysitting a double boiler. That’s why this recipe is my absolute go-to when I need something elegant fast. I promise, this method works, and you’ll have professional homemade dipped strawberries ready before you know it. Forget complicated candy making!
Here is why you are going to fall head over heels for this simple approach:
- It’s Lightning Fast: Seriously, with just 15 minutes of prep time, these are arguably the fastest impressive desserts out there. It’s perfect for those last-minute gatherings!
- No Fuss, All Shine: We focus on the technique that guarantees a smooth, glossy coat that looks like it came straight from a fancy chocolatier.
- Maximum Versatility: Whether you need romantic treats for two, or piles of quick fruit desserts for a party, these look amazing every time.
- Totally Forgiving: Even if your chocolate starts to thicken a bit, I share the simple fix right in the instructions below. It’s hard to mess this one up!
Gathering Ingredients for Perfect Chocolate Covered Strawberries
Okay, let’s talk supplies! For homemade dipped strawberries that truly shine, you can’t skimp on quality here, especially with the chocolate. Since the chocolate is the star, I always grab a high-quality bar or the best melting wafers I can find. Don’t just grab mediocre chips if you can help it; the final snap and gloss depend on it. We keep the ingredient list simple because the fruit itself should do most of the heavy lifting.
Remember, even if you’re looking for easy holiday fruit dessert ideas, the ingredients must be spot-on for that professional look we’re aiming for.
Essential Components for Chocolate Covered Strawberries
Here’s what you need to have ready: Only the freshest strawberries—about a pound is perfect for a typical batch—and you need to wash them and, listen to me, make sure they are completely dry. If they are even a little bit damp, your chocolate coat will buckle and slide right off. For the coating, grab 12 ounces of your favorite milk, dark, or semi-sweet melting chocolate. A tiny teaspoon of coconut oil or shortening is my little secret; it makes the chocolate super luxurious and smooth when melted.
- 1 lb fresh strawberries (washed and bone-dry!)
- 12 oz high-quality dark, milk, or semi-sweet chocolate
- 1 tsp coconut oil or vegetable shortening (optional, but highly recommended for that super smooth texture)
Toppings and Decoration Options for Chocolate Covered Strawberries
Once the main dipping is done, that’s where the fun starts! This lets you customize them for weddings, birthdays, or just a Tuesday night. If you want to try drizzling, set aside about 1/4 cup of white chocolate to melt separately later on. Otherwise, get creative with your sprinkles! I love keeping jars of these on hand for spontaneous baking.
You’ll want to have these ready to go right when the berries come out of the chocolate:
- Assorted sprinkles of every color
- Finely chopped nuts (pistachios are gorgeous!)
- Crushed cookies or toffee bits
If you love cookie desserts, you should check out my recipe for the best chocolate chip cookies; sometimes I crush those up for an extra fun topping!
How to Make Chocolate Covered Strawberries: Step-by-Step Instructions
Alright, let’s get down to business and turn those fresh berries into true edible jewels! This process feels intimidating, but trust me; if you follow these steps for achieving that no-fail chocolate shell, you’ll look like a total pro. These instructions are the exact ones I use to get the most beautiful, crack-free coating possible. If you’re looking for something equally simple later, check out my easy 3-ingredient chocolate fudge!
Preparing the Strawberries for Dipping Success
This first step is non-negotiable. You have to treat your strawberries like they are super sensitive to water—because they are! Wash them gently, making sure to save those pretty little green tops! Those stems are your handles, so don’t you dare chop them off yet. The most crucial part? Drying. You need zero, zilch, none water left on these berries. I usually pat them aggressively with paper towels and then let them sit on a towel for about 10 minutes just to air-dry any last bits of moisture. Water and melted chocolate do not mix; they cause seizing, and nobody wants chunky chocolate!
Melting Chocolate: Achieving That Glossy Coating
Now for the velvety chocolate. You have two ways to go here. If you’re using the microwave, put your chocolate in a nice, wide bowl—this gives you more room to dip. Zap it for 30 seconds, stir it really well, then repeat in 15-second bursts. You must stir between every session! If you leave it alone, the edges burn, and you’re back to square one. It should be perfectly smooth before you stop heating it.
If you prefer the double boiler method, that works beautifully too, just keep the heat low and steady. Here’s where I usually sneak in that little bit of coconut oil or shortening if I have it. That fat helps thin the chocolate just enough to give you that incredible glossy chocolate coating tips result and helps keep it liquid longer while you work. It makes all the difference for true gourmet style!
The Dipping Technique for Professional Chocolate Covered Strawberries
Holding the berry tightly by the stem, you’re going to gently dip it straight down into the bowl. Aim to coat about two-thirds of the berry. You want a nice, thick layer, but don’t drown the poor thing! As you pull it out, tilt the bowl slightly and gently rotate the strawberry to let all that excess chocolate drip back in. This step is key to avoiding big puddles at the base when they set. Don’t worry if you mess up the first one; that one is usually for taste-testing anyway!
Setting and Decorating Your Chocolate Covered Strawberries
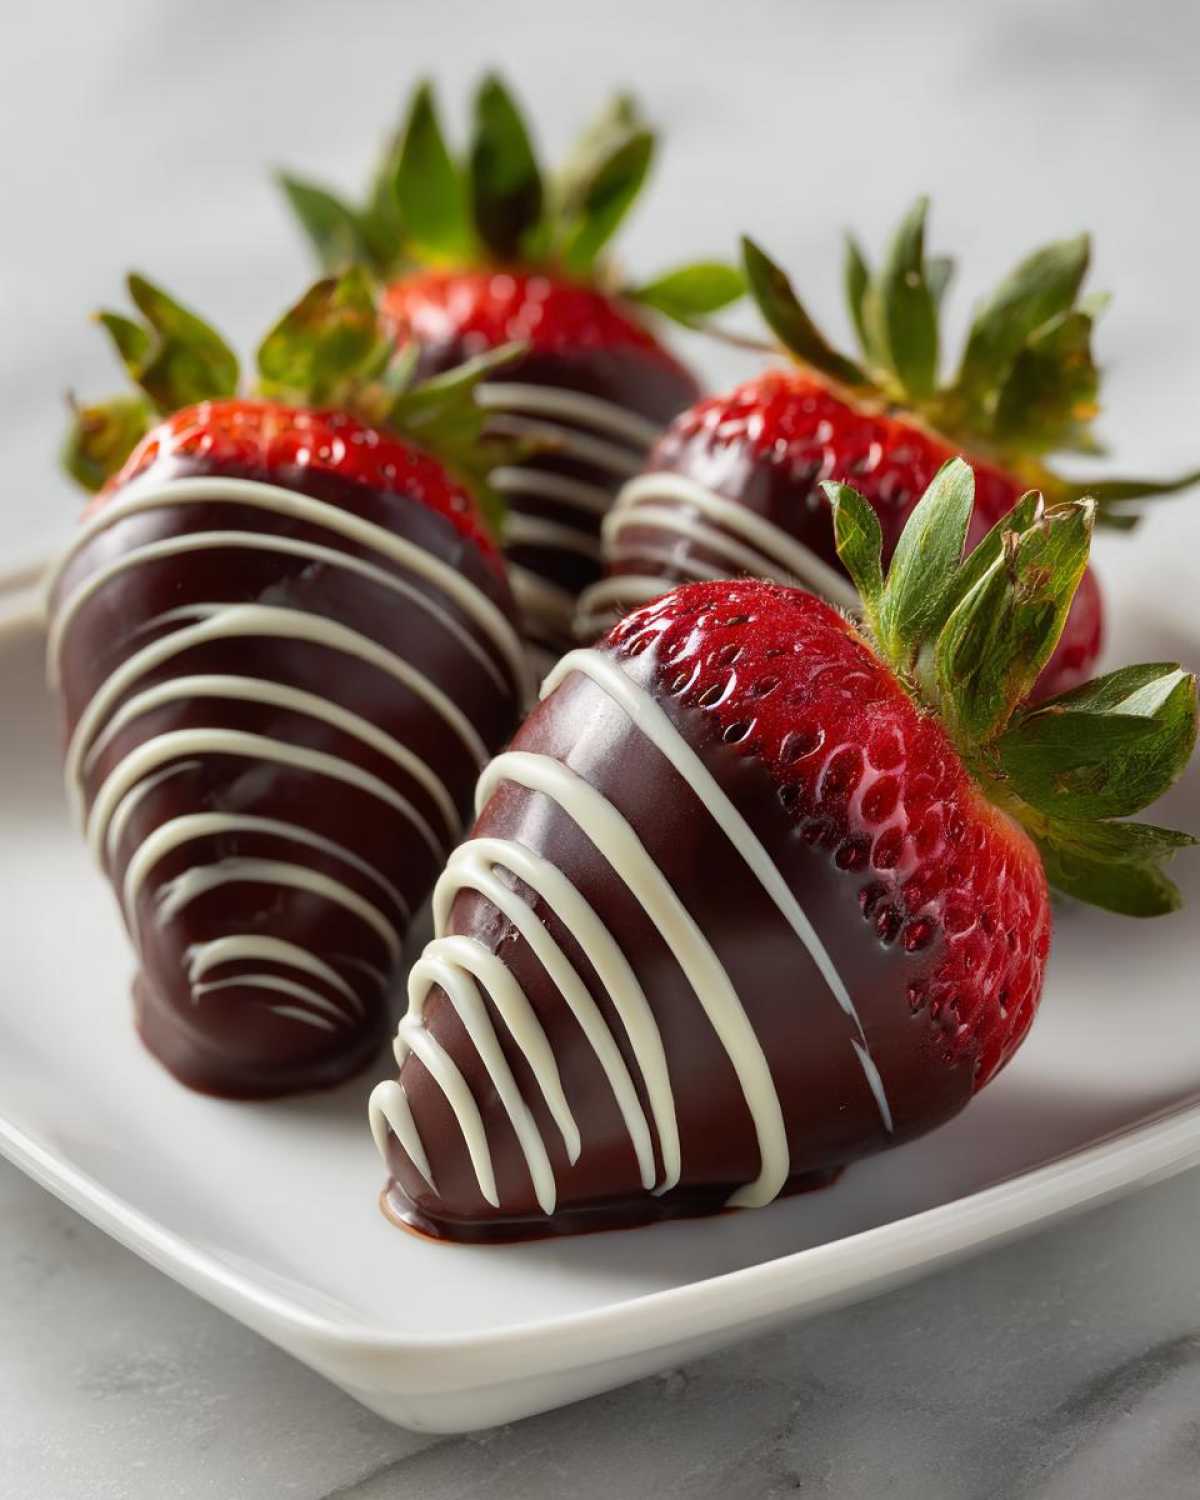
Immediately after dipping and dripping, work fast! If you want sprinkles or crushed nuts, apply them right away while the chocolate is still wet so they stick perfectly. Lay the treated strawberries down gently on a sheet of parchment paper—never wax paper, it can sometimes peel off when dry. Let them set at room temperature for about 20 minutes until the chocolate is hard to the touch. If you’re impatient like me, you can pop them in the fridge for just 10 minutes.
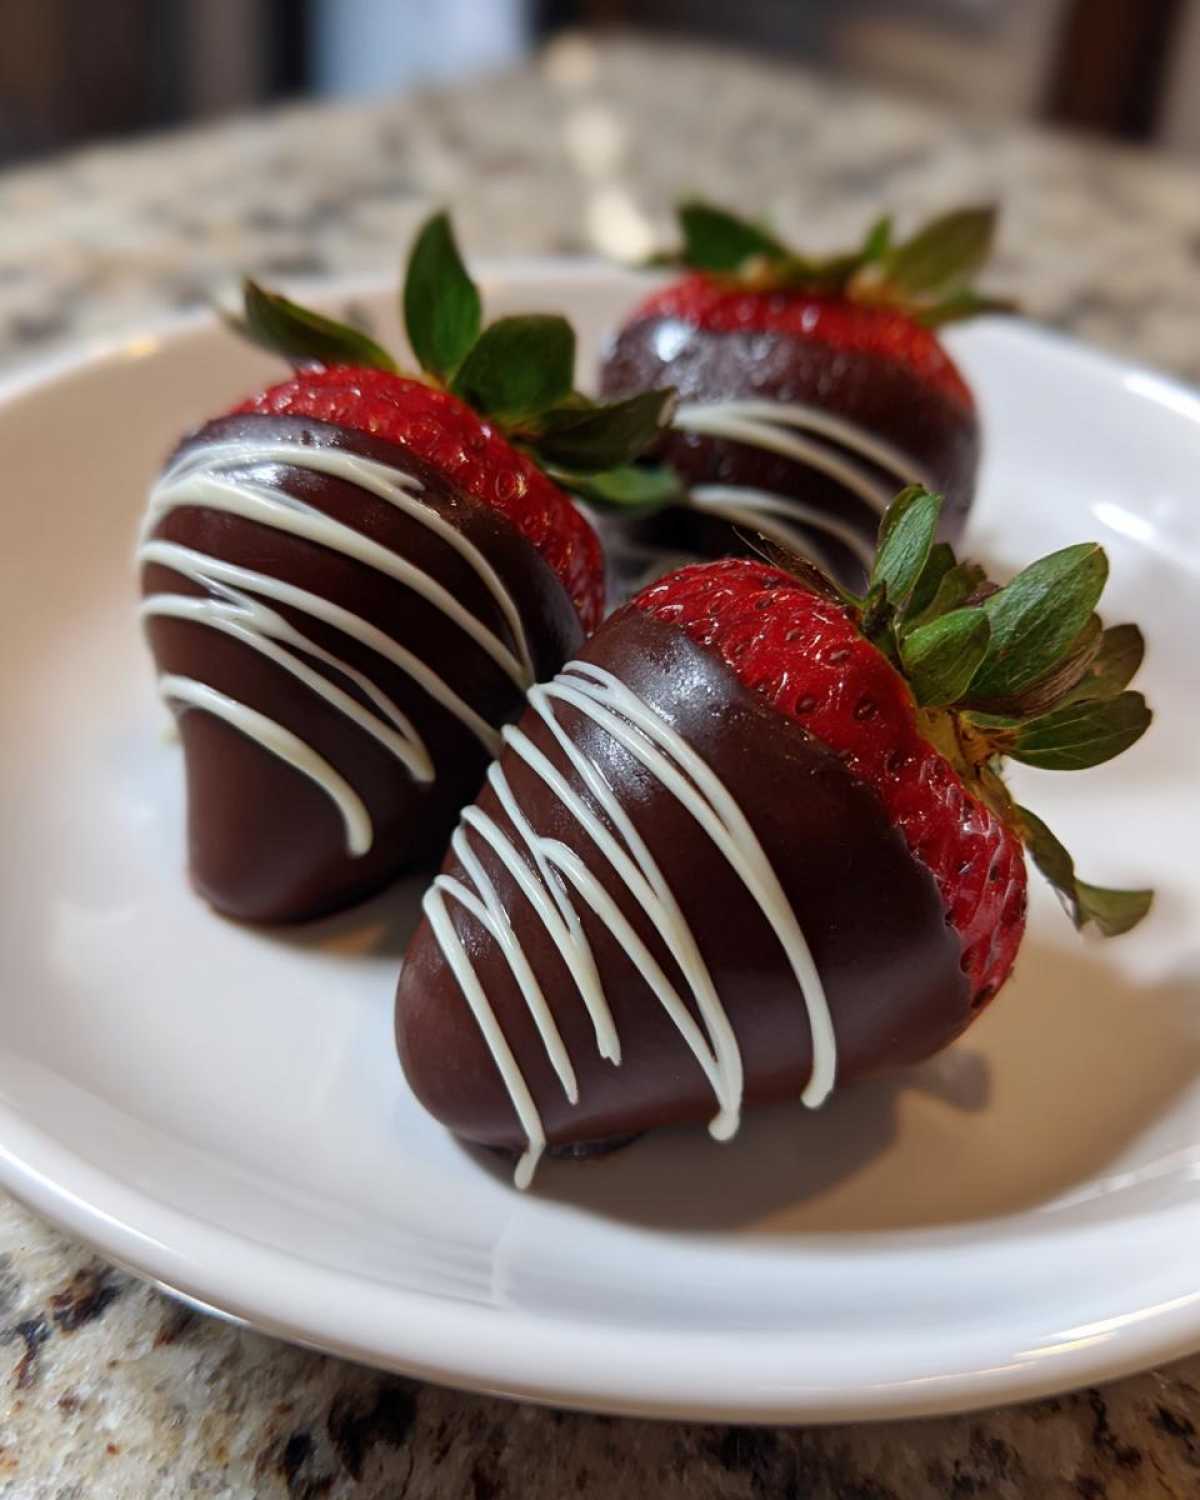
When you want to jazz things up, melt that reserved white chocolate separately (same gentle steps as before) and use a small fork or piping bag to drizzle lines across the dark chocolate. This two-tone effect always makes them look extra fancy!
Gourmet Chocolate Strawberries Guide: Tips for a Perfect Dip
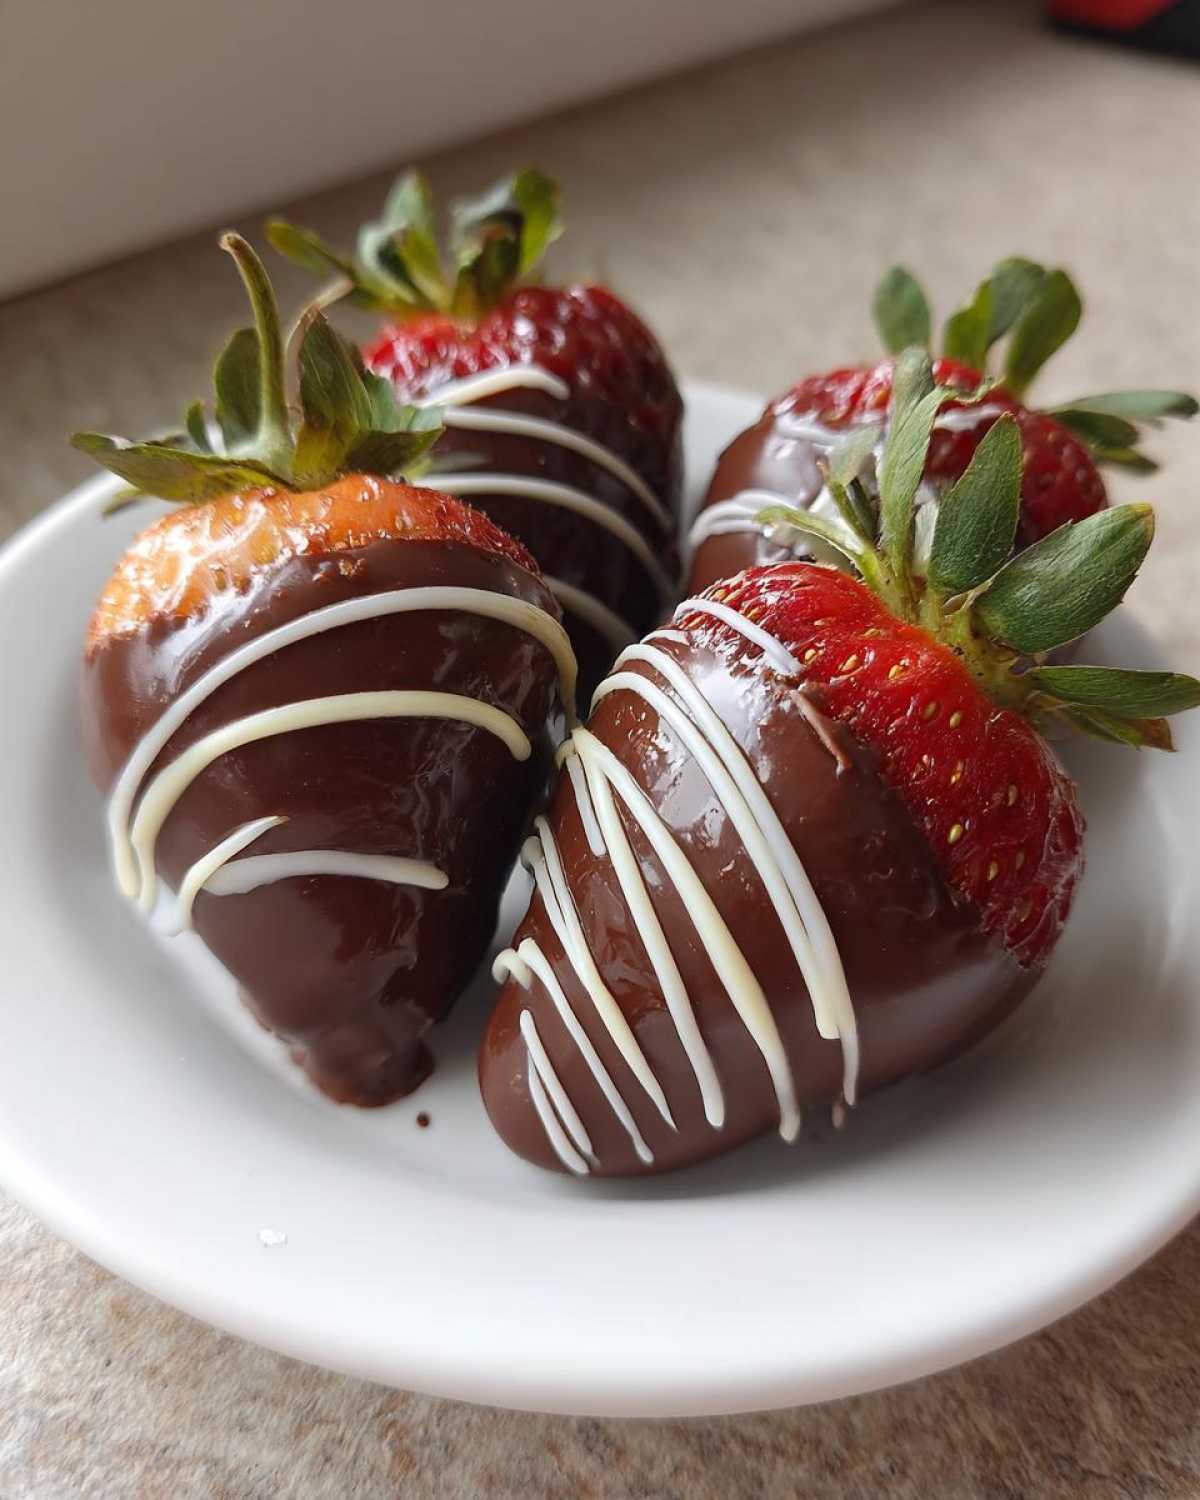
Now that you’ve mastered the basic dip, let’s dive into the little secrets that take these from homemade to truly high-end. This whole gourmet chocolate strawberries guide is about texture and shine, right? If your chocolate looks dull or starts getting thick halfway through your batch, don’t panic! It happens to the best of us, especially when we’re making a big platter for a party.
A little extra attention here ensures you get that gorgeous *snap* when you bite into that perfect berry. And always remember, if you happen to have extra chocolate leftover, you can always go make some of that incredible chocolate fondue I mentioned earlier!
Best Chocolate for Dipping Strawberries Secrets
If you want the absolute best results, skip those standard baking chips unless you absolutely have to use them. Standard chips have stabilizers that keep them good on the shelf forever, but they also make the chocolate set up too fast and sometimes look a bit grainy after they cool. I swear by using good quality bars—like couverture chocolate if you can find it—or high-end melting wafers designed specifically for dipping. They contain more cocoa butter, which is what really gives you that velvety texture and incredible shine once it hardens up. That’s the secret to the professional look!
Troubleshooting: Why Your Chocolate Covered Strawberries Aren’t Setting
If you notice your chocolate getting stiff and hard to work with while you’re halfway through dipping, it’s usually one of two things. First, if you look closely, you might see those dreaded little white streaks—that can be blooming, often caused by temperature changes. Second, if they look thick and paste-like, you might have gotten a tiny droplet of water in there, which causes seizing!
The fix is easy: Take the bowl off the heat source and add just a *tiny* bit more of that coconut oil or shortening we talked about. Stir it very gently until it loosens back up. You can also pop it in the microwave for 15 seconds, but be extremely gentle. Reheating slowly is the key to saving a thickened coating and getting back to those beautiful, glossy results.
Creative Chocolate Covered Strawberry Decorating Ideas
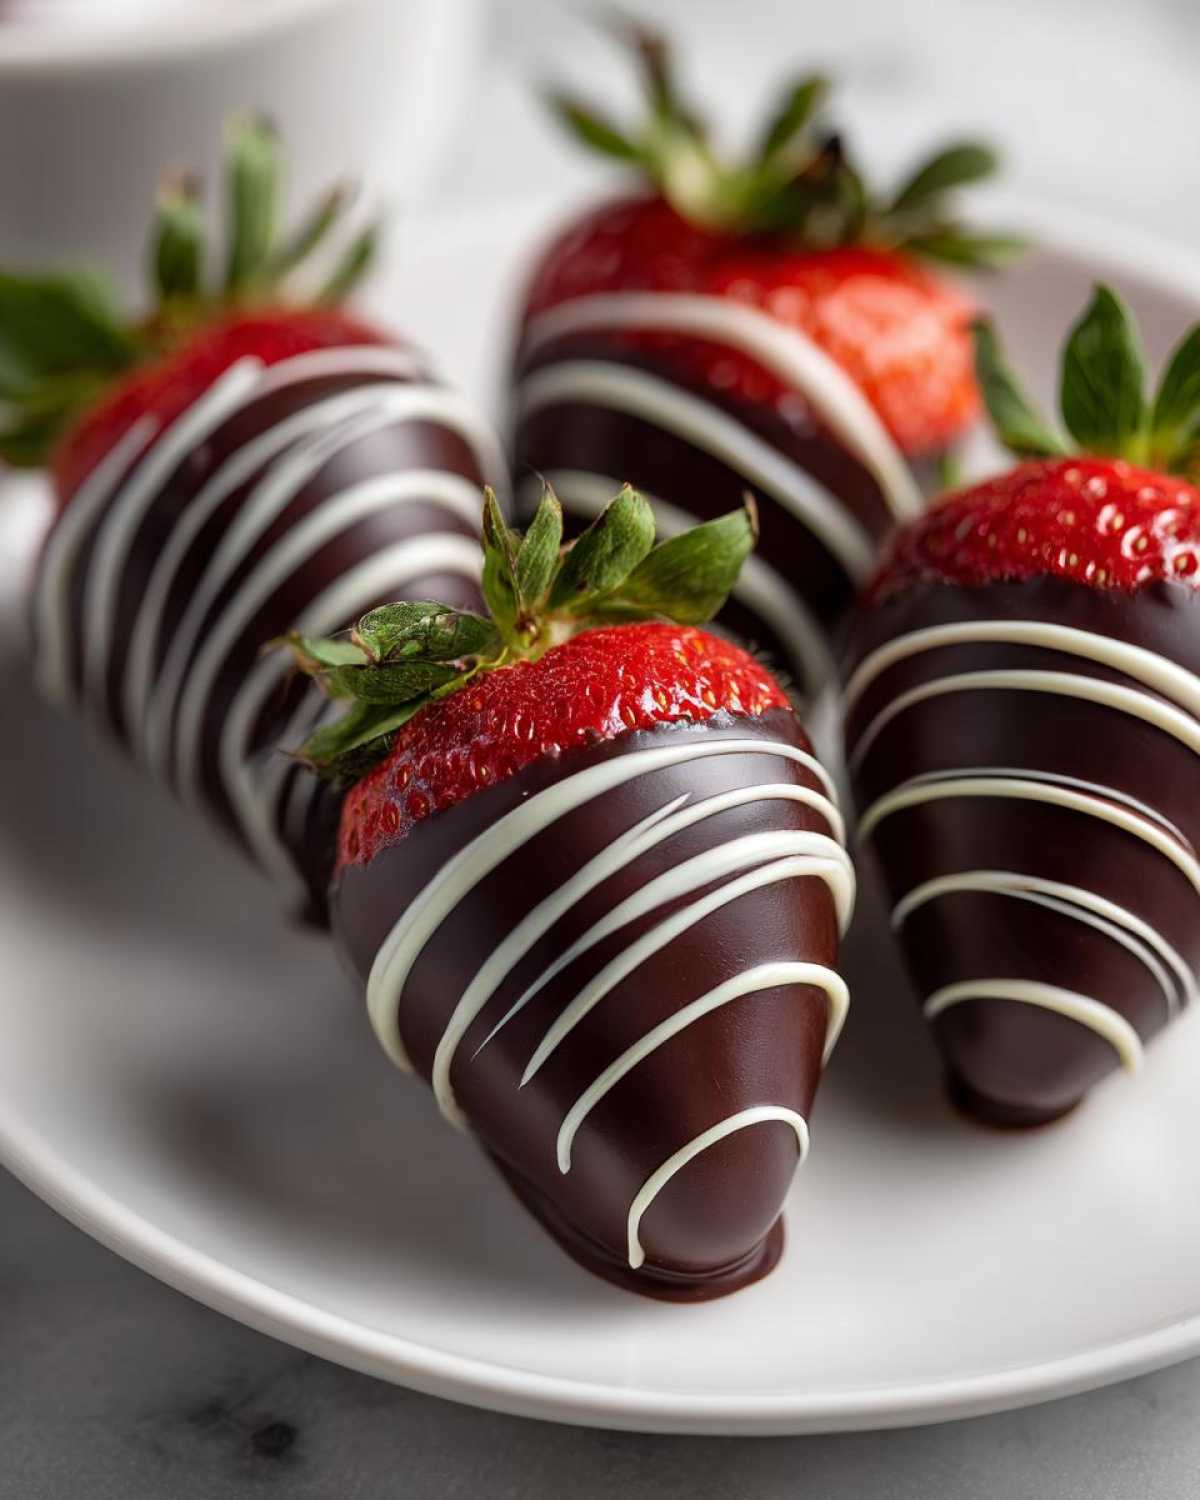
The fun truly starts after the main dip, right? Once you have your base coat set, that’s when you can get into some really fun chocolate covered strawberry decorating ideas. While sprinkles and nuts are always a win—and definitely fast—we should absolutely talk about going all-in with white chocolate!
If you want to try a full white chocolate covered strawberries recipe, you need to melt that white chocolate in a completely separate, clean bowl. White chocolate behaves a little differently than the dark kind, so treat it gently! You can dip the whole berry in white, let it set, and then use your leftover dark chocolate to drizzle a thin zigzag over the top. See? Instant contrast!
Alternatively, if you only want a hint of contrast, just melt the white chocolate and place it in a small Ziploc bag. Snip the tiniest bit off the corner to make a mini piping tip and drizzle delicate lines across your set dark-coated berries. It adds such an elegant touch, making them look like they belong on a tiered cake display! If you love easy chocolate treats piled high, you absolutely have to check out my recipe for easy Oreo balls next!
Storage and Serving Suggestions for Chocolate Covered Strawberries
Here’s the sad truth about these gorgeous homemade dipped strawberries: they are absolutely best eaten the day you make them. That chocolate shell is at its peak snap right after it sets up! If you need to store them, put them gently in a single layer in an airtight container in the fridge, but try to eat them within 24 hours. Honestly, the cold can sometimes make the chocolate feel a little stiff, and storing them too long can cause that dreaded moisture from the fridge to try and sneak onto the berry.
When it comes to serving, these are totally showstoppers! They make for amazing romantic strawberry treats just sitting on a nice pedestal plate, maybe next to a small bowl of my creamy homemade strawberry ice cream for contrast. They’re also fantastic laid out for an afternoon party with coffee or even sparkling cider or champagne. Everyone loves an elegant homemade candy that looks this good!
Quick Fruit Desserts: Making Chocolate Covered Strawberries Ahead of Time
I know sometimes you need quick fruit desserts ready to go, which makes preparing things ahead of time super tempting! For chocolate covered strawberries, you have to be a little cautious. The fresh berry inside starts releasing moisture, which can make the chocolate look sad after a day—and nobody wants sad chocolate!
If you absolutely must prep them early, do it the morning of your event. Let them set completely and store them in the coolest part of the counter, but never more than 4 hours before serving. If you have to refrigerate, take them out 30 minutes before serving so the chocolate has a chance to come back to life a little. If you’re looking for a make-ahead dessert that holds up better, you might want to try my recipe for easy mixed berry cobbler!
Frequently Asked Questions About Homemade Dipped Strawberries
I figured you smart bakers might have a few last-minute questions about turning this into a showstopper! It’s normal; even after making hundreds of batches, I still double-check things sometimes. We want these to be the best homemade dipped strawberries you’ve ever made, so let’s clear up any little doubts. If you’re craving something cheesy after all that sweetness, maybe you can check out my recipe for quick creamy homemade nacho cheese later!
Can I use fresh chocolate chips instead of melting wafers for chocolate covered strawberries?
Oh, that’s a great question that comes up all the time! You can use regular chocolate chips in a pinch, but I really caution against it if you want that beautiful, shiny finish. Standard chips usually have things like paraffin wax mixed in so they hold their shape in the bag. When you melt them, those stabilizers often mean the chocolate won’t flow as smoothly, and it sets up looking a bit dull or slightly grainy instead of getting that satisfying, snappy shell. For the absolute best results, stick to either good quality melting wafers or actual compound chocolate bars for that perfect look.
What is the secret to easy chocolate covered strawberries that look professional?
If I had to boil it down to the two things that absolutely cannot be skipped—the two things that make the difference between a sad, clumpy berry and a professional one—it comes down to moisture and temperature. First, your fruit must be bone-dry. Seriously, I can’t stress this enough. Any speck of water ruins the chocolate’s smooth texture immediately. Second, your chocolate temperature must be right. It needs to be perfectly smooth right before you dip, never too hot and never too thick. Keep it warm and fluid (that tiny bit of oil helps!) and you’ll have those flawless easy chocolate covered strawberries every time!
Nutritional Snapshot of These Chocolate Covered Strawberries
Now, I’m not one of those cooks who gets obsessed with counting every single calorie, especially when we’re talking treats, right? These chocolate covered strawberries are meant to be enjoyed! They use real fruit, so we get some good stuff in there, but they are definitely more dessert than health food.
This little table gives you a general idea of what you’re looking at per serving—that’s usually one delicious strawberry—based on the ingredients listed in the recipe. This is just an estimate, you know, based on using standard milk or dark chocolate. If you go heavy on the white chocolate drizzle or use extra peanut butter drizzle, those numbers are going to shift!
For a fun, healthier side to go with them later, you should absolutely look at my recipe for those amazing banana oatmeal pancakes—they’re a lifesaver for weekend breakfast!
- Serving Size: 1 berry
- Calories: Around 120
- Sugar: Approximately 12g
- Total Fat: About 8g (with 5g of that being saturated fat from the chocolate)
- Carbohydrates: Around 14g
- Protein: About 2g
See? Not terrible for an impressive, elegant homemade candy! It’s mostly the natural sugar from the fruit balancing out the richness of the coating. Enjoy them guilt-free!
Share Your Elegant Homemade Candy Creations
And just like that, we’re done! Can you believe how easy that was to turn out perfect, restaurant-worthy chocolate covered strawberries? I feel like a proud parent watching all these glossy berries set up on the counter. My favorite part of making any dessert is seeing the final result and, honestly, seeing you all enjoy them!
I absolutely want to see what you came up with! Snap a picture of your platter—whether you went classic dark chocolate, did a fancy white chocolate drizzle, or loaded them up with rainbow sprinkles—and tag me on social media. Show off those elegant homemade candy skills!
If you loved how simple this recipe was, please take a second to give the recipe a star rating right below. It helps other folks who might be nervous about dipping find this foolproof guide. And hey, while you’re feeling inspired to make simple gourmet sweets, don’t forget to explore the rest of the blog for more treats that look fancy but are secretly super easy to pull off. You can always find more inspiration over on my main recipe index!
Happy dipping, everyone! Let me know when you make your next batch!
PrintEasy Chocolate Covered Strawberries Recipe

Learn how to make smooth, glossy chocolate covered strawberries with simple steps and tips for perfect dipping every time.
- Prep Time: 15 min
- Cook Time: 5 min
- Total Time: 20 min
- Yield: About 20 strawberries
- Category: Dessert
- Method: Dipping
- Cuisine: American
- Diet: Vegetarian
Ingredients
- 1 pound fresh strawberries, washed and completely dried
- 12 ounces high-quality melting chocolate or chocolate chips (milk, dark, or semi-sweet)
- 1 teaspoon coconut oil or vegetable shortening (optional, for smoother coating)
- 1/4 cup white chocolate, melted (for drizzling or dipping variation)
- Assorted toppings: sprinkles, chopped nuts, crushed cookies
Instructions
- Prepare the strawberries: Wash the strawberries and dry them thoroughly. Moisture prevents the chocolate from sticking. Leave the green stems intact for easy handling.
- Melt the chocolate: Place the main chocolate (milk or dark) in a microwave-safe bowl. Microwave in 30-second intervals, stirring well after each interval, until smooth. Alternatively, melt the chocolate using a double boiler until smooth. Stir in coconut oil if using.
- Dip the strawberries: Hold a strawberry by the stem end. Dip it into the melted chocolate, rotating to coat about two-thirds of the berry. Allow excess chocolate to drip off.
- Add toppings: Immediately after dipping, sprinkle with your chosen toppings, or place the dipped strawberry on parchment paper to set.
- Set the chocolate: Place the dipped strawberries on a baking sheet lined with parchment paper or wax paper.
- Allow to set: Let the chocolate set completely at room temperature for about 20 minutes, or speed up the process by chilling them in the refrigerator for 10 minutes.
- Optional white chocolate drizzle: Melt the white chocolate separately. Use a fork or a small piping bag to drizzle the white chocolate over the set dark chocolate for decoration.
Notes
- The key to a smooth coating is ensuring your strawberries are completely dry before dipping.
- Use good quality melting wafers or chocolate bars for the best shine and snap.
- If the chocolate thickens while you work, reheat it gently for 15 seconds.
- For a full white chocolate coating, melt the white chocolate separately and follow the same dipping process.
Nutrition
- Serving Size: 1 strawberry
- Calories: 120
- Sugar: 12
- Sodium: 5
- Fat: 8
- Saturated Fat: 5
- Unsaturated Fat: 3
- Trans Fat: 0
- Carbohydrates: 14
- Fiber: 1
- Protein: 2
- Cholesterol: 5