

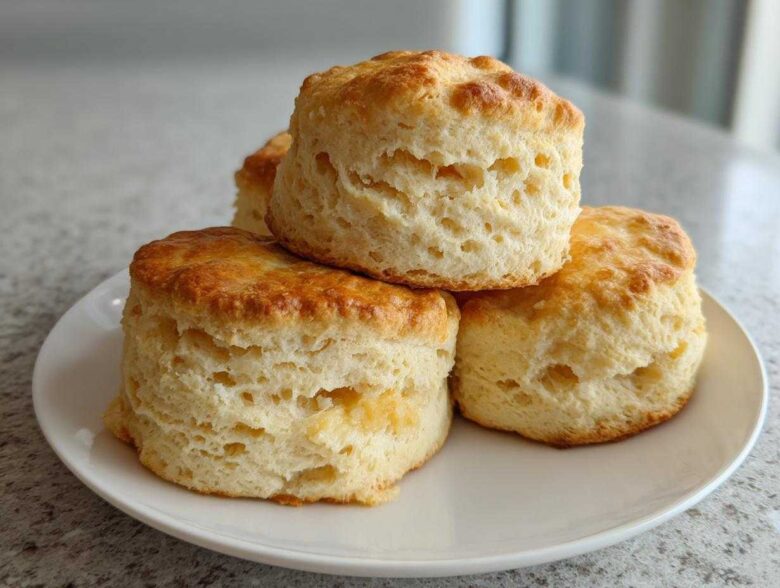
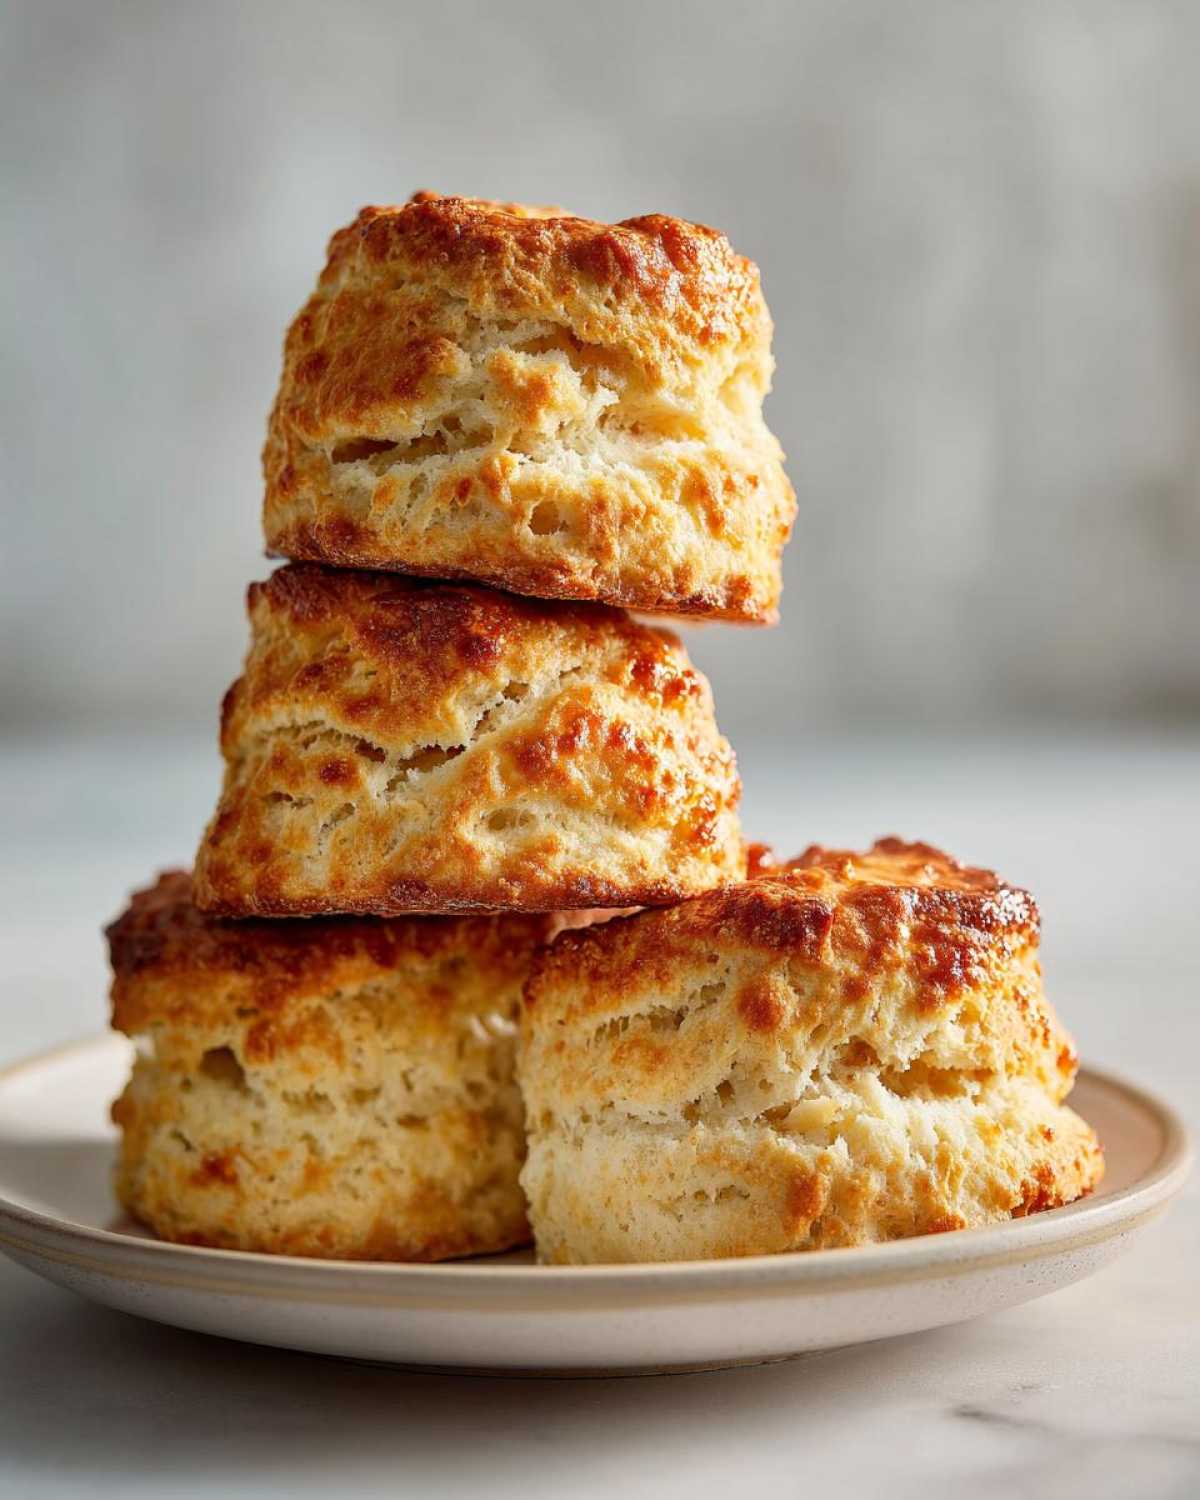
I remember the first time I ever tried to make proper scones. Oh, goodness. They were flat Frisbees! Liam, ever the patient teacher, just laughed and reminded me that baking is less about temperature—specifically, cold temperature! But trust me when I say, after a few practice runs, we cracked the code. This isn’t just a recipe; this is The Best Scone Recipe because it delivers that incredible, buttery, flaky texture you only ever get from your favorite fancy coffee shop, right here in your own kitchen. We’re aiming for height, moisture, and those lovely craggy edges. If you’re ready to learn the secrets Liam taught me, let’s get started!
Why This is The Best Scone Recipe for Fluffy Scones Tutorial
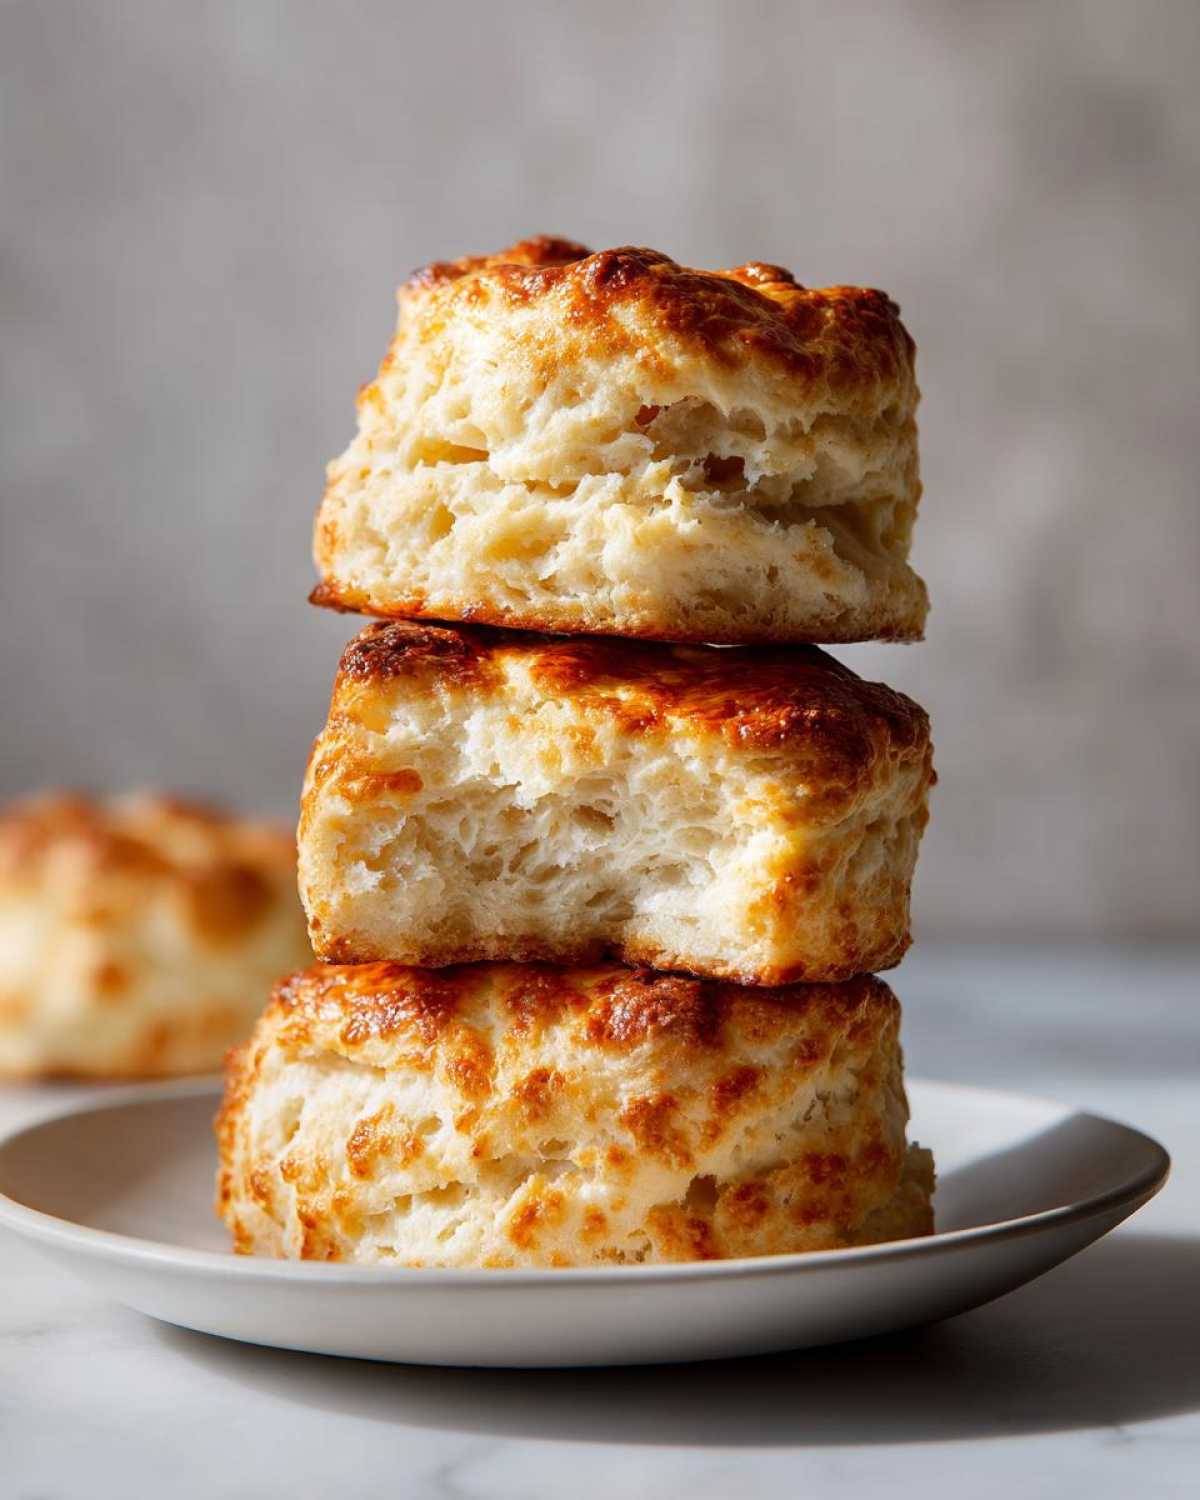
So, what makes these scones different from the sad, dense hockey pucks I used to bake? It boils down to two non-negotiables that Liam drilled into me: you must keep everything freezing cold, and you must handle the dough minimally. That’s the secret to a great Fluffy Scones Tutorial! Cold butter cutting into the flour creates those little pockets of steam when they bake. That steam is what forces the layers apart, giving you those gorgeous, airy heights and that satisfyingly Buttery Flaky Scones texture. Seriously, treat that butter like it’s ice cream until it’s in the oven! This method guarantees you a spectacular result for your next breakfast baking adventure.
Ingredients for Your Easy Homemade Scones
Here’s what you’ll need for these Easy Homemade Scones. Remember, precision matters here, especially with temperature! We use buttermilk because its acidity helps activate the baking powder for a better lift. Make sure your butter is straight from the freezer or fridge!
- 2 cups all-purpose flour
- 1/4 cup granulated sugar
- 1 tablespoon baking powder
- 1/2 teaspoon salt
- 1/2 cup (1 stick) cold unsalted butter, cut into small cubes
- 3/4 cup cold buttermilk
- 1 large egg, beaten (for egg wash)
- 1 tablespoon milk or cream (for egg wash)
- Optional Add-in: 1 cup fresh or frozen blueberries OR 1/4 cup cinnamon mixed with 2 tablespoons sugar for topping
Ingredient Notes and Substitution Tips for Perfect Scones
If you realize halfway through baking panic that you don’t have buttermilk, don’t sweat it! Just take your regular milk—I use the 2% or whole milk kind—and stir in 1 teaspoon of white vinegar or lemon juice. Let it sit for five minutes until it looks slightly curdled. That’s your buttermilk substitute!
Also, if you’re using frozen blueberries, don’t thaw them! Toss them in a tablespoon of flour before adding them to the mix, just like we do with the other add-ins, to stop them from bleeding color all over your dough. Check out my notes on buttermilk pancakes—the cold ingredient rule is the same for both!
How To Make Tall Scones: Step-by-Step Instructions
Okay, are you ready to see the magic happen? Before we start mingling the wet and dry stuff, make sure your oven is piping hot—we need 400°F (200°C) ready to go! Line up that baking sheet with parchment paper, too. Getting these scones into the heat fast is crucial for that tall rise. Follow these steps carefully, and you’ll have cloud-like results! If you struggle with shaping, remember some of the techniques I learned making English muffins; minimizing handling is key!
- First things first, we whisk the dry things—flour, sugar, baking powder, salt—in a big bowl.
- Next comes the star: the cold, cubed butter! Add it in.
- If you’re using blueberries, go ahead and toss them with a tablespoon of flour so they don’t sink to the bottom of your scones. Fold those in gently now.
- Time for the cold buttermilk! Make a little crater in the middle of your dry mix and dump it all in. Grab a fork and just stir until everything *barely* comes together. It’s supposed to look a little messy and shaggy—that’s a good sign!
- Gently plop that dough onto a lightly floured surface. We aren’t kneading dough here; we are just patting it into a thick circle or rectangle, maybe about 3/4-inch thick.
- Now you decide on your shape! Are you going traditional, cutting this circle into 8 lovely wedges? Or are you going for that beautiful cafe look? We’ll cover that shaping in detail below.
- Get those cut scones onto the baking sheet. Brush them with that simple egg wash—it gives that gorgeous golden sheen. If you went the cinnamon route, sprinkle that topping on now!
- Bake them for 14 to 18 minutes. You’ll know they are done when the tops are beautifully golden brown. They smell heavenly by this point! For more tips on bakery results, check out this great resource here.
Mastering the Butter Cut for Buttery Flaky Scones
Remember Step 3? That’s non-negotiable for Buttery Flaky Scones. You want to use your fingertips (or a pastry blender, if you’re being fancy) to rub that cold butter into the flour mix until it looks like coarse crumbs. Liam always told me, “If you can’t see distinct, pea-sized chunks of butter, start over, Clara.” Those chunks melt and steam, creating those flaky layers!
Shaping and Cutting Your Scones for Maximum Rise
If you want How To Make Tall Scones, this shaping part matters! For the ultimate height, use a 2-inch biscuit cutter and press it straight down—don’t wiggle or twist it! Twisting seals up the sides, and your beautiful dough won’t rise up; it rises out. If you are making the classic English wedges, just cut straight wedges, don’t saw through them. The straighter the cut, the taller your finished scones will be. We are channeling straight-up perpendicular action here!
Tips for Tender Scones: Achieving Moist Scone Recipe Secrets
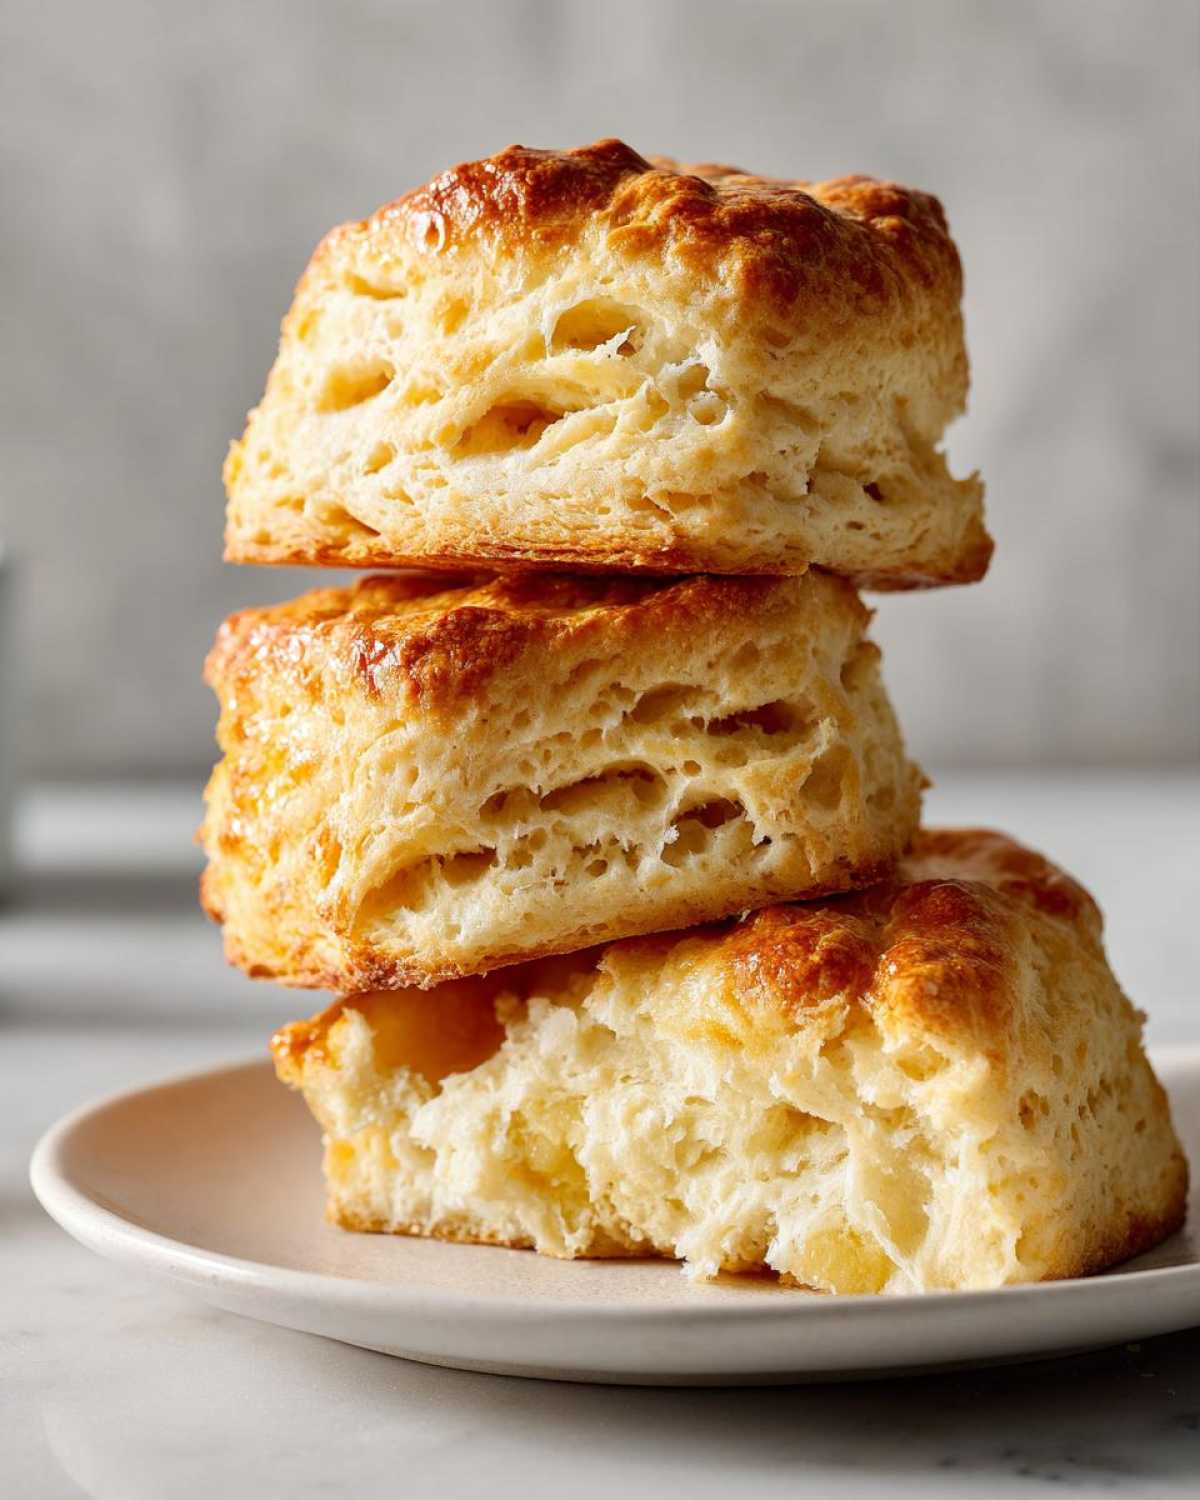
I cannot stress this enough: the absolute key to getting Moist Scone Recipe Secrets that rival bakery quality is keeping things cold. I learned this the hard way, trying to rush things on a hot summer day. Warm butter melts instantly into the flour, and guess what you get? Something dense that spreads out instead of rising tall! Seriously, Liam made me put my flour, my bowl, and even my buttermilk in the freezer for 15 minutes before starting the mix.
The second massive secret, which I mentioned briefly before, is avoiding any temptation to overmix. Once that cold buttermilk hits the flour, your job is over almost immediately. Mix only until you can’t see loose flour anymore. The dough will look rough and slightly ugly—a beautiful, shaggy mess! If you keep mixing until it looks smooth like cake batter, you’re developing gluten, and gluten equals tough, dry scones. I promise, trusting that rough look leads to the most tender crumb imaginable. This is a core pillar of our moist quick bread philosophy!
And one last thing: when you are cutting the dough, press down firm and straight. Don’t twist that cutter! Twisting seals those beautiful buttery edges we worked so hard to create, preventing them from separating into those essential flaky layers.
Serving Suggestions for Perfect Afternoon Tea Scones
You’ve baked what I honestly think are the greatest scones known to man! Now, what do we do with them? The absolute classic approach for that elegant vibe is setting them out for Perfect Afternoon Tea Scones with good quality strawberry jam and, if you can find it, proper clotted cream. Hearing Liam talk about the two-step process of spreading the cream before the jam makes me smile—it’s tradition!
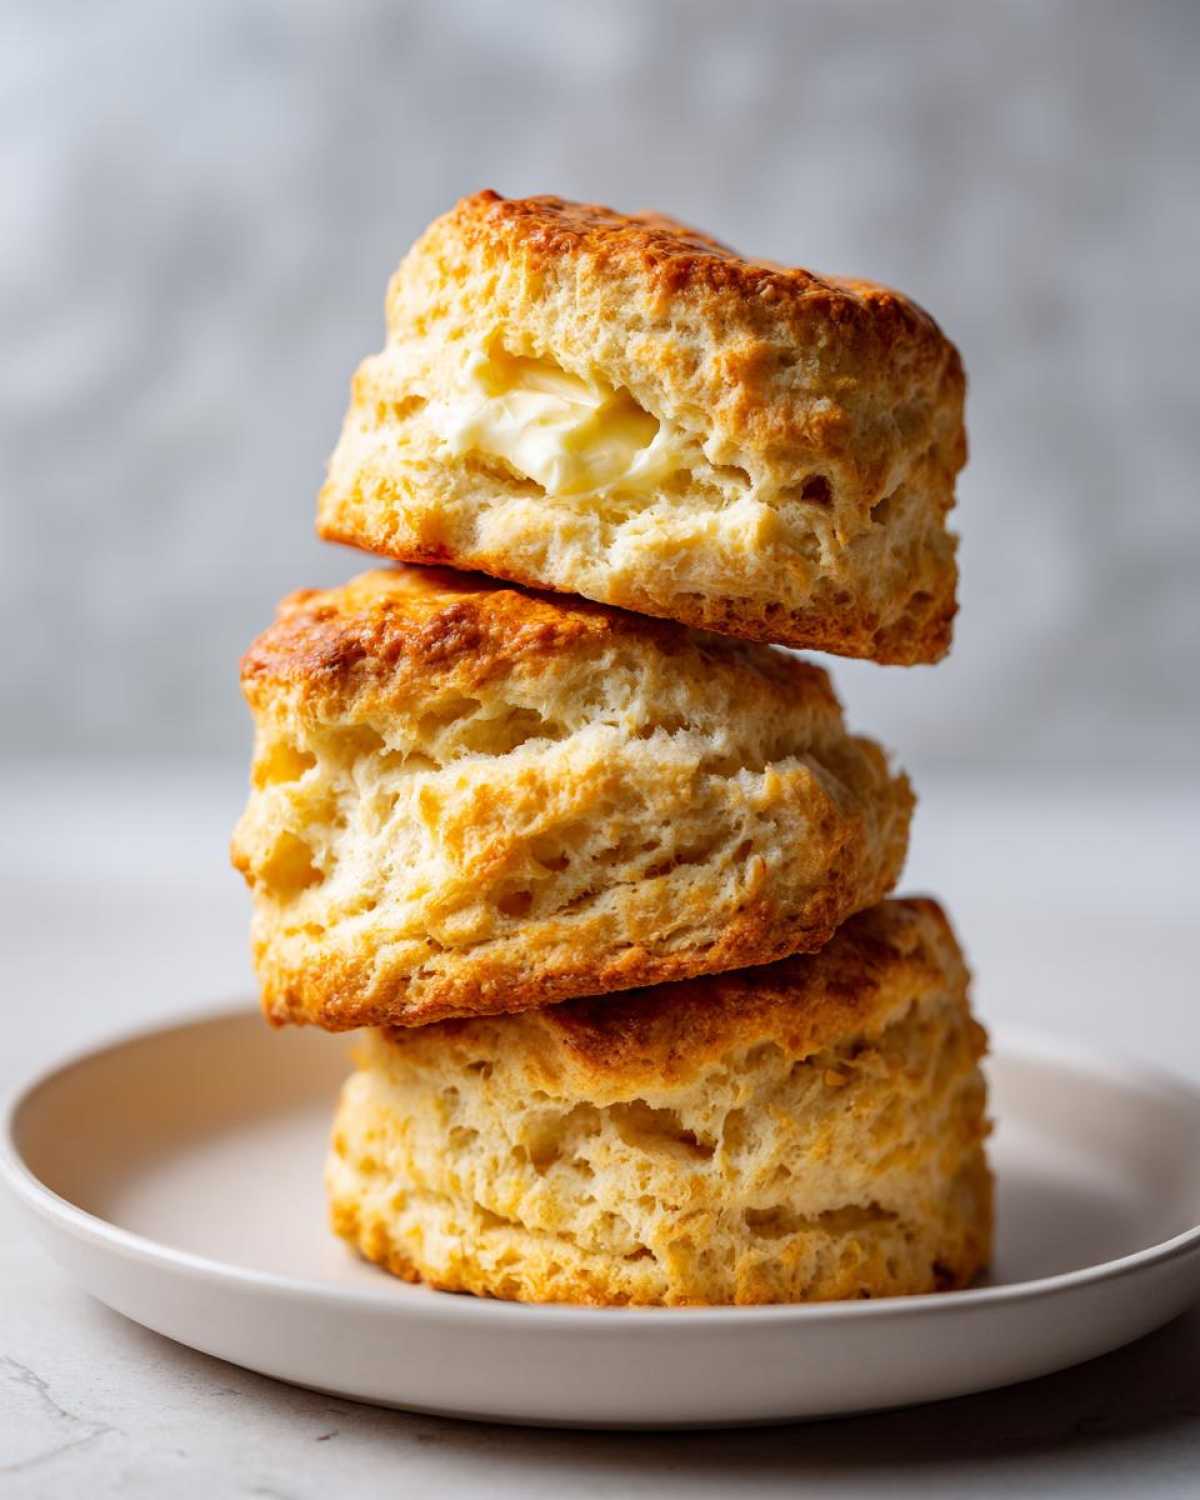
But you don’t have to be strictly traditional! If you’re having these for brunch, I love drizzling mine with a thin citrus glaze, or just topping them with fresh, lightly sugared raspberries. We made some with lemon curd last week, and oh my gosh, they vanished instantly. Speaking of fruit, you should check out my post on making homemade strawberry shortcake bases—the texture principle is very similar to what we achieved here!
If you went with the blueberry option we discussed, a little fresh whipped cream is all you need. If you used cinnamon sugar, honestly, they’re perfect all by themselves, maybe next to a strong cup of coffee. Find even more fun fruit ideas over at this external resource!
Storage & Reheating Instructions for Leftover Scones
Liam and I rarely have leftovers, but when we do, I have a strict routine to keep them tasting fresh. For short-term storage—say, the next day—keep these beautiful scones in a completely airtight container at room temperature. Don’t put them in the fridge! The fridge humidity is the enemy; it sucks the moisture right out and makes them crumbly and dry.
If you made an extra huge batch (which you totally should!), they freeze like a dream. Wrap each cooled scone tightly in plastic wrap first, then seal them all together in a freezer-safe bag. They last for about a month.
To revive them? Pop them straight from the freezer (unwrapped) into a 350°F oven for about 5 to 7 minutes. That blast of dry heat re-crisps the exterior beautifully, warming that tender center right back up. Instant satisfaction!
Variations: Customizing Your Basic Scone Recipe From Scratch
Once you master the foundational technique for these scones, you have a total winner on your hands! We already talked about popping in blueberries or treating them to a cinnamon sugar blanket, but this Basic Scone Recipe From Scratch is your launching pad. Think of it as a wonderful, buttery canvas waiting for your favorite mix-ins. Don’t be afraid to play around!
If you’re leaning savory, you can skip the sugar in the main dough entirely and fold in savory things instead. Liam insists on sharp cheddar cheese mixed with a bit of dried chive—classic cheese scones that are heaven with soup. Or, if you’re feeling decadent, swap those blueberries out for white chocolate chips and a little swirl of raspberry filling before you cut them. We also have a fantastic recipe for cheesecake swirl if you’re interested in pairing some of those flavors, though that one is definitely more dessert than breakfast breakfast! Check out our Snickerdoodle Cheesecake for inspiration on mixing rich flavors.
You can even find inspiration for cinnamon flavors over at this external resource, which reminds me of how great a cinnamon swirl looks in a scone. Point is, once you know the cold butter rule, you can make anything!
Frequently Asked Questions About Making Scones
I know you might still have a few questions bouncing around—that’s normal when you’re learning a new technique! Liam always says the best bakers ask the most questions. Addressing these little uncertainties is how we turn good results into truly phenomenal scones that rival any bakery. Here are the top things I used to worry about when I was learning to bake these beauties!
Why are my scones flat instead of tall and glorious? Nine times out of ten, it’s because your butter wasn’t cold enough, or you twisted your biscuit cutter when cutting the rounds. Remember, we want straight, clean cuts to encourage that upward spring! Also, if you ended up mixing the dough too much, that kills the lift, too. No one wants a flat scone, so keep that butter frozen and your touch light!
Can I prep some of this ahead of time? Yes, you totally can! You can cut the butter into the flour and keep that dry mixture sealed up in the fridge for a day or so. When you’re ready to bake, just add your cold buttermilk and mix fast. This saves time when you need those Breakfast Scones Ideas ready quickly!
What’s the one thing I shouldn’t skip if I want to nail that tender texture? It’s the final 10 seconds of mixing after the liquid is in. Stop immediately when you can’t see dry streaks. Seriously, fight the urge to smooth it out. That rough texture is your ticket to Tips for Tender Scones!
Can I make these Cafe Style Scones at Home without Buttermilk?
Absolutely! If you are out of buttermilk for your Cafe Style Scones at Home, don’t worry. Just take about 3/4 cup of regular milk (whole milk is best) and stir in 1 teaspoon of vinegar or lemon juice. Let it sit for five minutes—it’ll curdle a little. That slight acid is what we need to react with the baking powder for a great rise!
If you check out the main blog archives, you’ll see we often talk about these vital little chemistry tricks. Happy baking!
Nutrition Estimates for These Delicious Scones
I always feel a little nervous sharing this part, because baking is so personal, and what *I* put in my batch might be slightly different than what you use. But for those counting macros or just curious, here are the estimated values for one plain scone from this recipe. If you load yours up with extra cream or jam, those numbers are definitely going to jump!
Remember, these are just starting points. You can always review the full disclaimer page for more detailed information on how we calculate these estimates. We used our basic scone recipe here, without any heavy glaze or added fruit.
- Serving Size: 1 scone
- Calories: 280
- Sugar: 6g
- Sodium: 250mg
- Fat: 15g
- Saturated Fat: 9g
- Unsaturated Fat: 6g
- Trans Fat: 0g
- Carbohydrates: 32g
- Fiber: 1g
- Protein: 5g
- Cholesterol: 55mg
The Best Scone Recipe: Buttery, Flaky Scones Rivaling Your Favorite Cafe

Learn how to make tall, buttery, flaky scones with a moist center. This easy homemade scone recipe uses simple techniques to achieve cafe-style perfection every time. Perfect for breakfast or afternoon tea.
- Prep Time: 15 min
- Cook Time: 18 min
- Total Time: 33 min
- Yield: 8 servings
- Category: Breakfast
- Method: Baking
- Cuisine: American/British
- Diet: Vegetarian
Ingredients
- 2 cups all-purpose flour
- 1/4 cup granulated sugar
- 1 tablespoon baking powder
- 1/2 teaspoon salt
- 1/2 cup (1 stick) cold unsalted butter, cut into small cubes
- 3/4 cup cold buttermilk
- 1 large egg, beaten (for egg wash)
- 1 tablespoon milk or cream (for egg wash)
- Optional Add-in: 1 cup fresh or frozen blueberries OR 1/4 cup cinnamon mixed with 2 tablespoons sugar for topping
Instructions
- Preheat your oven to 400°F (200°C). Line a baking sheet with parchment paper.
- In a large bowl, whisk together the flour, sugar, baking powder, and salt.
- Add the cold, cubed butter to the dry ingredients. Use a pastry blender or your fingertips to cut the butter into the flour until the mixture resembles coarse crumbs with some pea-sized pieces of butter remaining. This step is key for flaky scones.
- If using blueberries, gently toss them with 1 tablespoon of flour before adding them to the mixture. Gently fold in the blueberries now.
- Make a well in the center of the dry ingredients and pour in the cold buttermilk. Use a fork to mix until just combined. Do not overmix; the dough will look shaggy.
- Turn the dough out onto a lightly floured surface. Gently pat the dough into a 3/4-inch thick circle or rectangle.
- If making wedges (traditional English style), cut the circle into 8 equal wedges. If making round scones (cafe style), use a 2-inch biscuit cutter to cut out rounds, pressing straight down without twisting the cutter. Re-pat scraps once if necessary.
- Place the scones onto the prepared baking sheet, ensuring they are close together for taller rise, or slightly apart for crispier edges.
- In a small bowl, whisk together the beaten egg and milk/cream for the egg wash. Brush the tops of the scones lightly with the wash. If using the cinnamon sugar topping, sprinkle it evenly over the tops now.
- Bake for 14 to 18 minutes, or until the tops are golden brown and a toothpick inserted into the center comes out clean.
- Let the scones cool on the baking sheet for 5 minutes before transferring them to a wire rack. Serve warm.
Notes
- Keep your butter and buttermilk very cold. Warm ingredients lead to dense scones.
- For the tallest scones, press the biscuit cutter straight down and do not twist. Twisting seals the edges and prevents a high rise.
- If you want a very tender scone, avoid overworking the dough once the liquid is added. Mix only until the flour disappears.
- For a glaze, whisk 1 cup powdered sugar with 2-3 tablespoons of milk or lemon juice until smooth, then drizzle over cooled scones.
Nutrition
- Serving Size: 1 scone
- Calories: 280
- Sugar: 6
- Sodium: 250
- Fat: 15
- Saturated Fat: 9
- Unsaturated Fat: 6
- Trans Fat: 0
- Carbohydrates: 32
- Fiber: 1
- Protein: 5
- Cholesterol: 55