

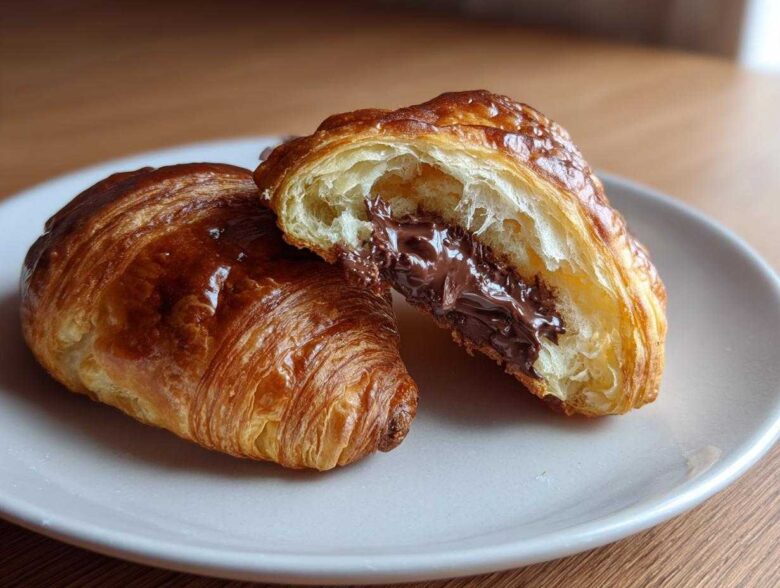
When I first started dating Liam, the word ‘croissant’ felt like something only highly trained French bakers said out loud. I was terrified of puff pastry! Thinking about laminating dough made my palms sweat, honestly. But Liam, bless his patient heart, showed me the ultimate kitchen secret for getting those gorgeous, flaky layers without any of the fuss. We are talking about utterly divine, bakery-quality **chocolate croissant** results using something you can grab right at the grocery store. This recipe captures the magic of Pain au Chocolat, making it perfect for us regular folks who want an indulgent breakfast without spending three days wrestling with butter. If I can master this, trust me, anyone can! You’ll find the whole story of how I went from kitchen-shy to pastry-confident over on our About Us page.
Why This Easy Chocolate Croissant Recipe Works So Well
I know what you’re thinking: “A real chocolate croissant takes hours and expert skill!” And honestly, you’re right for the scratch version. But this recipe is my favorite quick croissant hack because we are borrowing brilliance from the store shelf. This method is designed for maximum flavor payoff with minimal kitchen stress. It delivers those incredible, buttery chocolate pastry layers you crave, making it perfect for those busy mornings when you still want something special.
Achieving Bakery Style Croissants At Home
The real game-changer here is modern, all-butter puff pastry. Seriously, don’t worry about doing the folding yourself! The quality available now is fantastic. We save about 90% of the work by starting with the already-layered dough. This shortcut means you get that beautiful puff and flakiness without needing a chemistry degree or marathon dough session. It’s one of my top secrets for producing bakery style croissants at home.
The Importance of Quality Chocolate
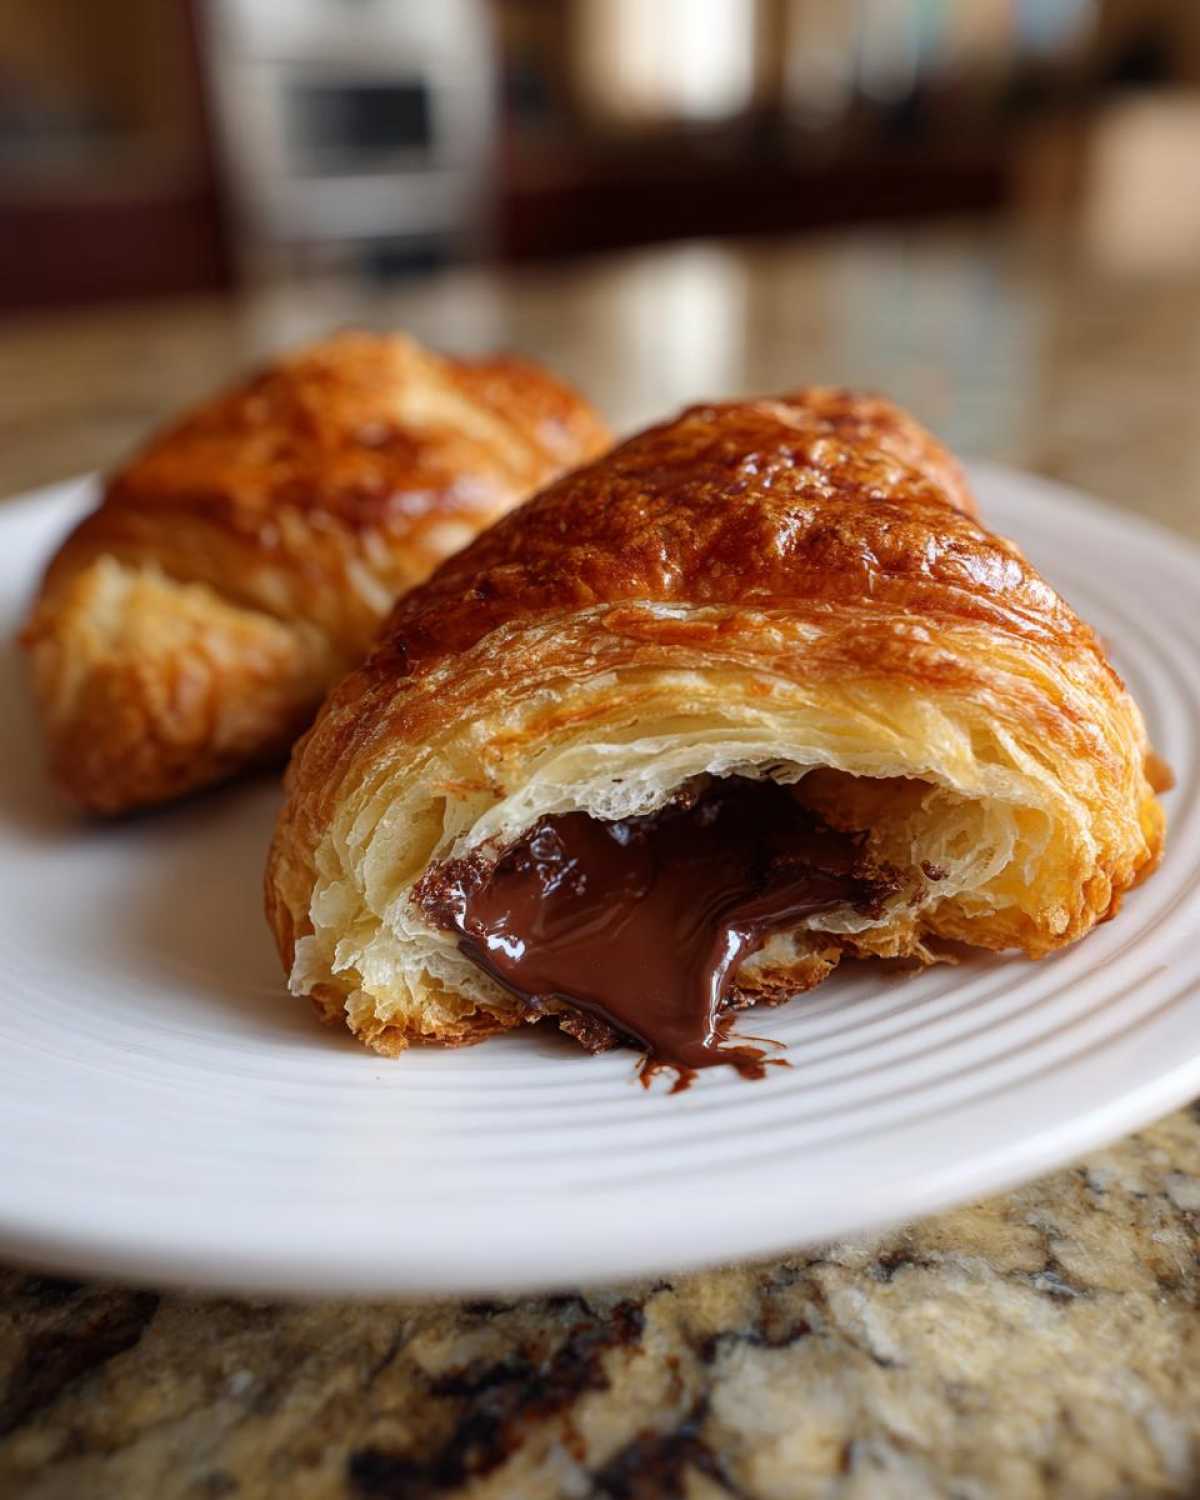
Now, here’s where we never cut corners, even with a shortcut recipe. Forget using standard chocolate chips for your filling. Chips have stabilizers that prevent them from melting beautifully—we want oozy, molten chocolate! You absolutely need good quality chocolate sticks or carefully cut batons from a bittersweet bar. This small upgrade makes all the difference in the final gooey texture of your finished chocolate croissant.
Ingredients for Your Chocolate Croissant
Okay, grabbing your ingredients is almost the best part because it’s so simple! This recipe is designed to be lightning fast, so you won’t need a whole pantry overhaul. We’re aiming for rich flavor right out of the package, remember? We get 6 incredible pastries from this setup. Prep time is only about 15 minutes—easy enough for a Tuesday morning, right? You can browse more of our brunch-friendly recipes for more ideas!
Here’s the master list for perfect homemade **chocolate croissant** joy:
- 1 package (14.1 ounces) all-butter puff pastry, thawed according to package directions
- 4 ounces bittersweet or semi-sweet chocolate, cut into 1/2-inch thick sticks (or use chocolate batons/fèves)
- 1 large egg
- 1 tablespoon water
- 1 tablespoon granulated sugar (optional, for sprinkling)
Ingredient Notes and Substitution Tips
Since we’re relying on store-bought dough, we have to choose the best version! Please, please try to find the puff pastry that specifies “all-butter.” It has a much richer flavor and flakes up better than the shortening substitutes. Trust me on this one; it makes a world of difference for your buttery chocolate pastry.
For the chocolate, as I mentioned before, stick to those sticks if you can find them! They fit perfectly. If all you have is a good quality bar, just chop it up into pieces that match the short width of your pastry rectangles. And for the egg wash? That’s just one egg whisked with one tablespoon of water. It gives us that gorgeous, shiny coat—my sister Clara used to skip this step, and her croissants looked a little dull. Don’t skip the wash!
How To Make Chocolate Croissants Step-by-Step
Alright, this is where the magic happens! Don’t let the thought of rolling dough scare you; we’re keeping this super manageable. We need gentle hands here, not muscle! If you struggle at any point, remember that time you were so nervous kneading bread dough, and Liam just stood by your side? That’s me now! We’ve got tons of great tips for folding and pastry work over in our apple strudel tutorial too, if you want more practice with a similar dough!
Preparing the Puff Pastry and Cutting Shapes
First things first, you need to gently unfold your thawed puff pastry onto a surface that’s just barely dusted with flour. If it comes in a block, roll it out softly into a rough rectangle, trying to keep the thickness around 1/8th of an inch, okay? Don’t press too hard! Once it’s flattened a bit, take a sharp knife or pizza cutter and slice each sheet into three equal rectangles. We’re aiming for six rectangles total, which will give us six amazing pastries.
Assembling and Rolling the Chocolate Croissant
Now for the filling! Take one of your chocolate sticks—remember, they need to be about the length of the short side of your pastry slice. Lay one piece of chocolate right near one short edge of your rectangle. Roll the pastry over that chocolate just once. Now, place the second chocolate stick right where the dough lands this time, and *then* you keep rolling until you get to the end of the rectangle. You should have a nice little log that has two chocolate pieces tucked inside. This is crucial for that perfect melt!
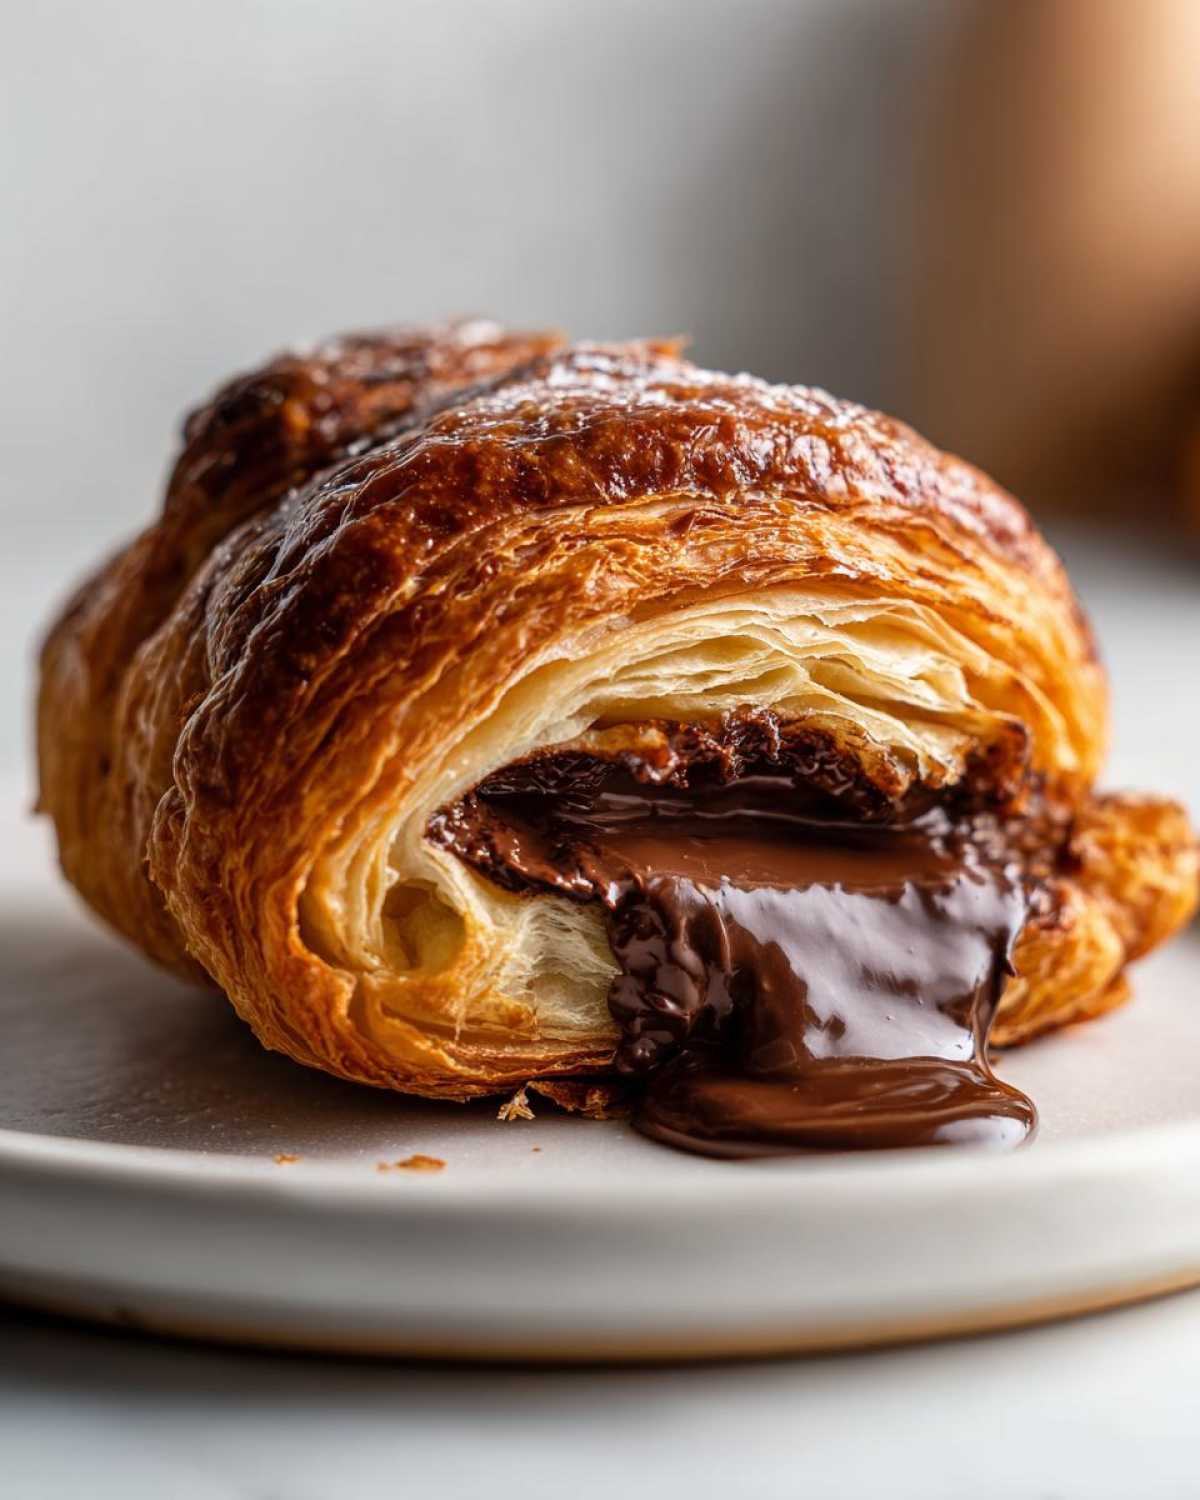
When you get to the end, pinch that final seam closed gently. We don’t want the chocolate making an escape during baking! Once seamed, take that little log and carefully curve it into a crescent shape. That’s your classic **chocolate croissant** look!
The Crucial Chilling Step for Flaky Results
This part is non-negotiable, Clara always wants to skip this part to eat it faster, but trust me—don’t rush the chill! Place all your curved pastries onto a baking sheet lined with parchment paper. Cover them loosely with plastic wrap. Pop them into the refrigerator for a minimum of 30 minutes. This chilling time is what lets those butter layers firm up again. If they go in warm, they just melt and spread out flat, turning into greasy little puddles. We want puff, not puddles!
Baking Your Buttery Chocolate Pastry
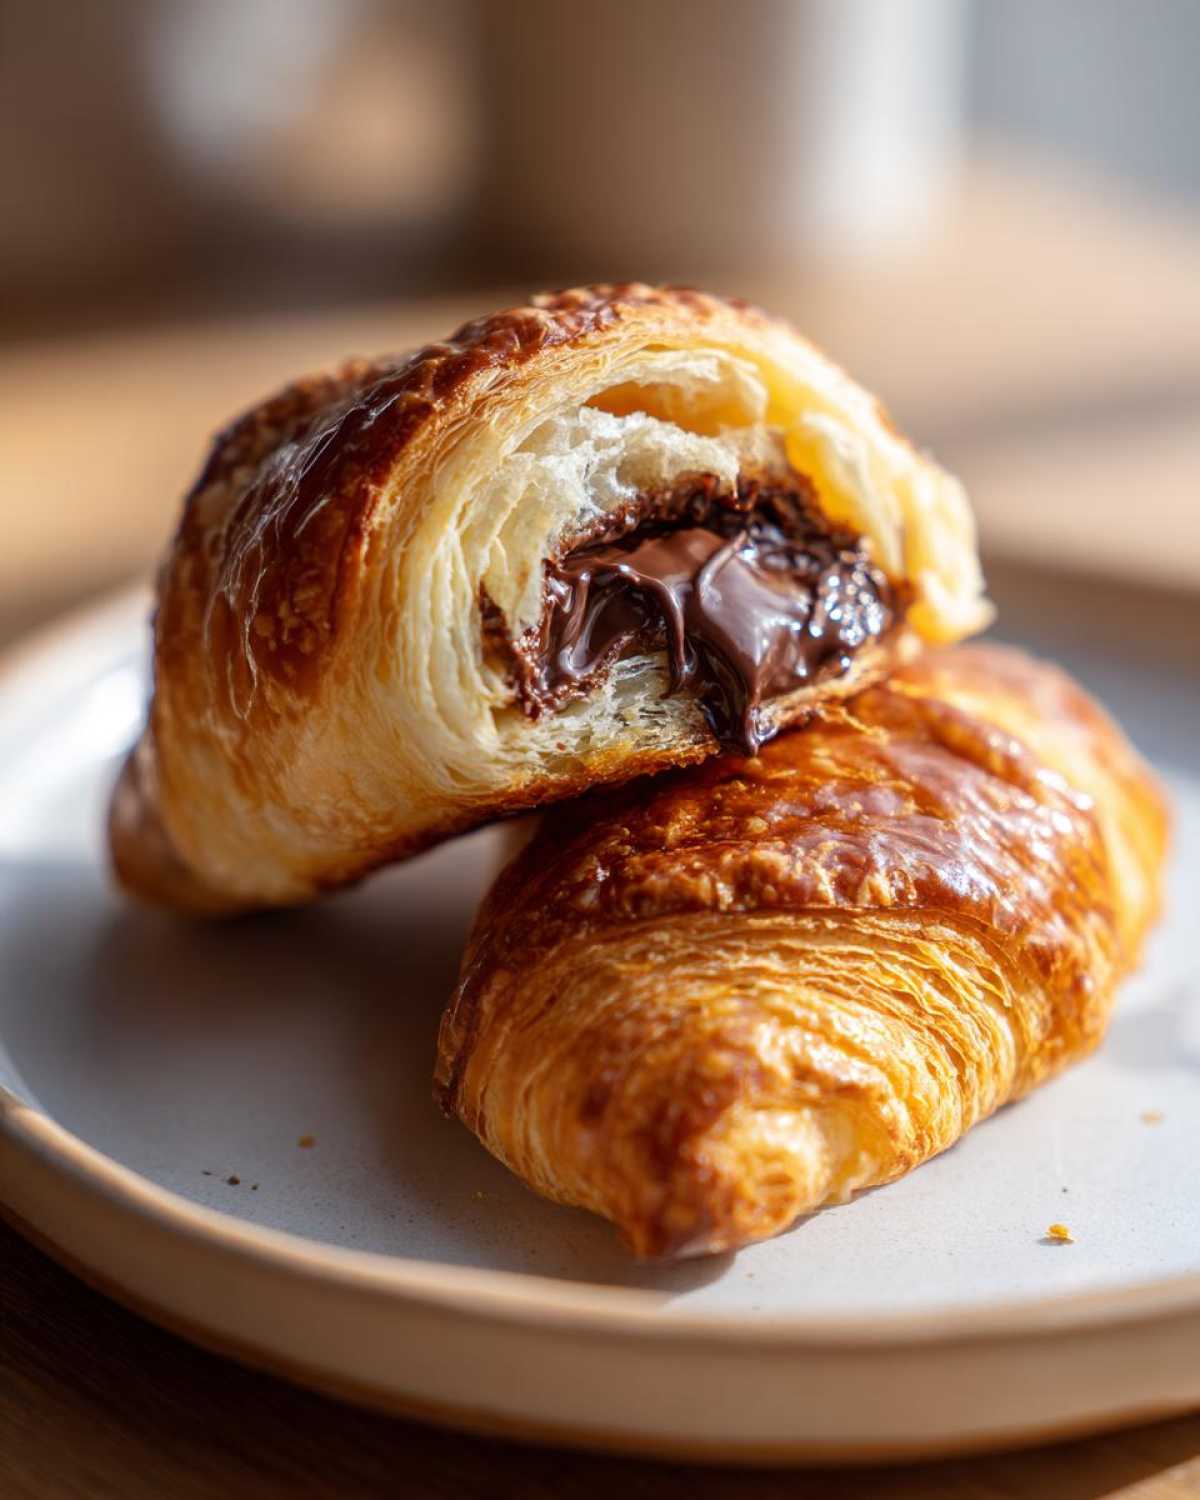
Right before the timer goes off on your chill session, get that oven heated up to 400 degrees Fahrenheit (that’s 200 degrees Celsius). While the oven is warming, whisk your egg and water together really well—that’s our golden-brown egg wash. Brush this wash generously over the tops and sides of your chilled pastries. If you want that perfect, shiny, slightly crunchy sugar crust that Parisian bakeries have, sprinkle just a tiny bit of granulated sugar over the wash now. Bake them for about 15 to 20 minutes. You’ll know they are done when they look puffed high and are deeply golden brown. If you want *extra* color, you can brush them once more around minute 10, but honestly, the first coat is usually plenty!
For more delicious, easy baking inspiration, check out this comparison link with another great guide!
Tips for a Perfect Chocolate Croissant Every Time
Even with the shortcut, there are a few little nudges you can give this recipe to ensure you get the absolute best homemade chocolate croissant possible. Liam always says that treating the puff pastry right makes all the difference between good and “Oh my gosh, where did you buy these?!”
First, stick with the all-butter puff pastry if you can find it. It really does give you that superior buttery lift compared to the shortening versions. That was one of the first lessons Liam taught me—the fat matters!
Second, double down on that chilling time I mentioned earlier. I know, I know, waiting is hard when chocolate is calling your name. But if the dough feels sticky at all when you go to brush it for baking, pop it back in for another 15 minutes. It’s the key to that ultra-flaky texture. If you want more tips on what other bakers recommend for that perfect texture, check out this external resource!
Finally, remember that second egg wash? If you want them dark and shiny—like, seriously professional looking—giving them that light second coat halfway through baking really seals the deal. Don’t forget to bookmark our best cookie recipe for another easy win later!
Storage and Reheating Your Chocolate Croissant
It’s a sad day when you finish the last perfectly flaky pastry, but if you’re lucky and you hid one or two away, you’ll need to know how to store them. If these are just day-old, keep them in an airtight container on the counter. They should stay fine at room temperature for a day or two. Trying to keep them in the fridge usually makes them go stale faster, which is the last thing we want when we’ve worked so hard for that buttery texture!
Now, when it comes to breakfast tomorrow? Forget the microwave. Microwaving anything flaky just turns it into sad, chewy bread. That’s a lesson I learned the hard way when I was trying to rush breakfast! For the best results, and to bring back some of that *fresh from the oven* magic, just reheat them in a toaster oven or a regular oven set to about 325 degrees Fahrenheit. Give them about 5 to 7 minutes. This low, slow heat warms the chocolate back up without burning the crust and helps crisp up those lovely layers again.
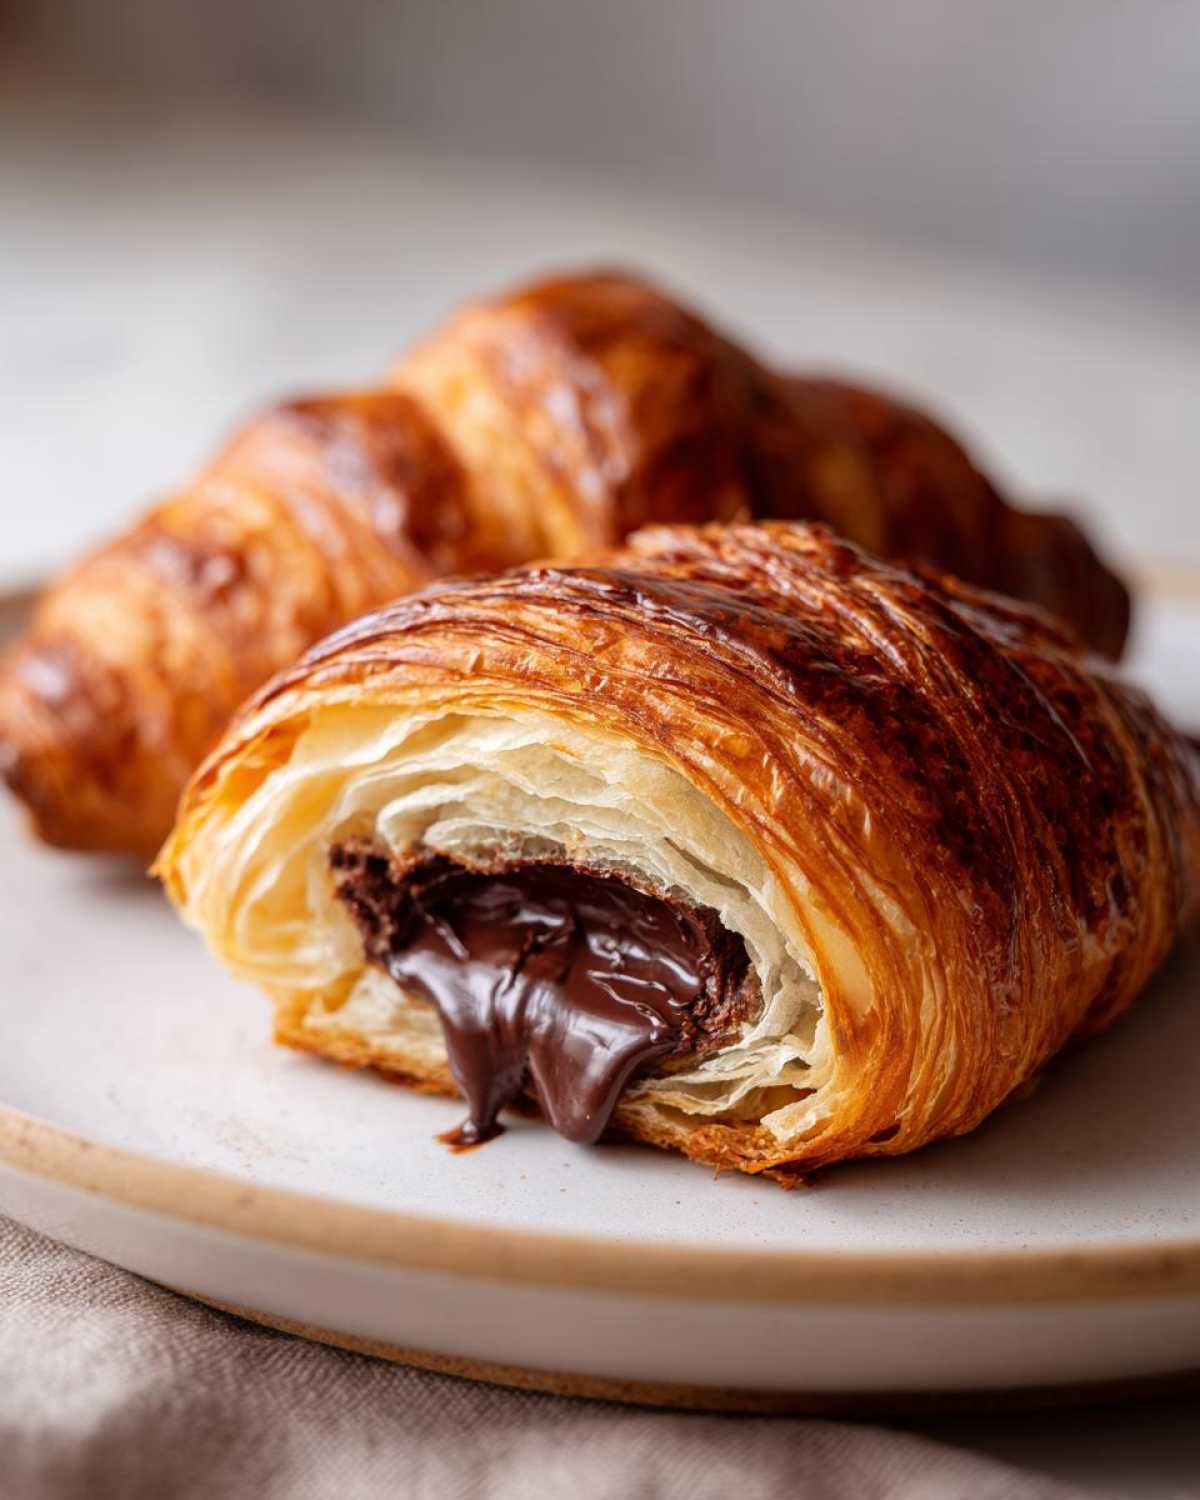
If you’ve made a huge batch using this amazing quick croissant hack and they are totally cold but you want to save them longer, you can freeze them! Make sure they are completely cooled first. Wrap each individual chocolate croissant tightly in plastic wrap, then slip them all into a freezer bag. They keep great for about a month this way. To reheat from frozen, just add about 5 to 8 minutes to the oven timing. Amazing, right? You get that bakery experience whenever you want it!
Serving Suggestions for Flaky Breakfast Pastries
These rich, buttery chocolate pastries are practically a dessert disguised as breakfast, so what you serve them with matters! Honestly, they are perfect all on their own, but they truly shine when paired with something simple. A strong, dark roast coffee cuts right through the richness of the chocolate beautifully.
If you’re putting together a big spread for your weekend brunch baking ideas, try offering a side of tart fruit. Fresh raspberries or sliced oranges provide a wonderful, bright contrast to the deep chocolate flavor. A tiny dusting of powdered sugar right before serving adds that final touch of romance. If you haven’t tried these yet, you should definitely check out our incredibly easy banana oatmeal pancakes for another great brunch addition!
Frequently Asked Questions About Pain au Chocolat Tutorial
I totally get it—when you try a recipe, especially one that promises bakery results in no time, you always have a few little questions bouncing around your head! Liam always says that the best thing we can do is answer all those potential hiccups right here. It’s all part of being TasteTaught, right? We want to make sure your experience making these easy homemade croissants is smooth sailing so you can focus on enjoying that buttery, chocolatey goodness.
Can I substitute crescent roll dough instead of puff pastry?
This is the most common question for quick croissant hacks! The short answer is: you *can*, but the results won’t be the same. Crescent roll dough is usually much thinner and less layered. It won’t give you that wonderful separation, the high rise, or the truly flaky texture we’re aiming for in this chocolate croissant recipe. Puff pastry is essential because of the high fat content folded in—that layered structure is what creates those signature flakes. Stick to the puff pastry for the best outcome!
Can I freeze the assembled croissants before baking?
Yes, absolutely! This is one of my favorite ways to prep for a special weekend brunch. Assemble the croissants exactly as written (roll them up, pinch those seams!), and before the *final* 30-minute chill, just wrap each one tightly in plastic wrap. Then, place them into a sealed freezer bag. When you want to bake them, take them out, place them on parchment paper, and let them thaw and rise on the counter for about an hour until they look puffy, then proceed with the egg wash and bake! You might need to add about 5 extra minutes to the baking time when using them straight from thawed. For more great tips on freezing pastries, take a peek at this handy guide online.
What if I only have chocolate chips? Can I use those?
Look, I know sometimes you just work with what you have in the chip bag! But if you want that *perfect* melt, you really need a solid chocolate stick or a chopped bar. Chocolate chips are designed to hold their shape, which means they often stay hard even when the pastry is perfectly golden. If you absolutely must use chips, use twice as many as the recipe calls for, and try placing them toward the ends of the roll rather than in the middle, hoping for better melt distribution!
Is there a way to get them sweeter without the messy glaze?
I love this question because sometimes dipping them in frosting later is just too much fuss! If you want a little extra sweetness right on the outside, make sure you use that optional granulated sugar sprinkling right after applying the egg wash but *before* baking. It crystallizes beautifully in the oven atop that golden crust, giving you a nice crunch and sweetness without needing a post-bake glaze. It keeps them neat for grab-and-go sweet morning treats!
If you want to see more of our handy baking guides and behind-the-scenes kitchen adventures, check out the main TasteTaught Blog!
Estimated Nutritional Data for One Chocolate Croissant
We are baking for flavor and joy here, not for strict calorie counting, but Liam insists on putting this information up so you know what you’re enjoying! Please remember that since we are using store-bought puff pastry, the exact values can shift based on the brand (especially if it’s shortening vs. all-butter). These figures are based on a standard serving using the ingredients listed above.
Here is the estimated breakdown for one chocolate croissant:
- Serving Size: 1 croissant
- Calories: 350
- Fat: 22g
- Saturated Fat: 13g
- Carbohydrates: 32g
- Protein: 5g
- Sugar: 12g
This is just an estimate, of course! We focused less on the science and more on the satisfaction when developing the method for these indulgent breakfast recipes.
Share Your Sweet Morning Treats
Okay, that’s the whole guide! I hope you feel totally ready to tackle these, because they are amazing. Once you pull those golden, buttery pillows out of the oven, I really want to see them! Please bake up a batch of these easy homemade croissants and snap a picture!
Head over to our Contact Page or tag us on social media—I always check! Knowing that I’ve helped someone else conquer pastry fears thrills me. If you run into any tricky spots or have ideas for other sweet morning treats we should try, definitely let us know! We love hearing from you, and we even feature reader photos sometimes! If you need more baking ideas, don’t forget to check out what others are making with this shortcut recipe link!
Estimated Nutritional Data for One Chocolate Croissant
We are baking for flavor and joy here, not for strict calorie counting, but Liam insists on putting this information up so you know what you’re enjoying! Please remember that since we are using store-bought puff pastry, the exact values can shift based on the brand (especially if it’s shortening vs. all-butter). These figures are based on a standard serving using the ingredients listed above.
Here is the estimated breakdown for one chocolate croissant:
- Serving Size: 1 croissant
- Calories: 350
- Fat: 22g
- Saturated Fat: 13g
- Carbohydrates: 32g
- Protein: 5g
- Sugar: 12g
This is just an estimate, of course! We focused less on the science and more on the satisfaction when developing the method for these indulgent breakfast recipes.
Share Your Sweet Morning Treats
Okay, that’s the whole guide! I hope you feel totally ready to tackle these, because they are amazing. Once you pull those golden, buttery pillows out of the oven, I really want to see them! Please bake up a batch of these easy homemade croissants and snap a picture!
Head over to our Contact Page or tag us on social media—I always check! Knowing that I’ve helped someone else conquer pastry fears thrills me. If you run into any tricky spots or have ideas for other sweet morning treats we should try, definitely let us know! We love hearing from you, and we even feature reader photos sometimes! If you need more baking ideas, don’t forget to check out what others are making with this shortcut recipe link!
PrintEasy Chocolate Croissants Using Store-Bought Puff Pastry

You can make bakery-style, flaky, and buttery chocolate croissants at home without the complicated lamination process. This recipe uses store-bought puff pastry for a quick and impressive Pain au Chocolat.
- Prep Time: 15 min
- Cook Time: 20 min
- Total Time: 65 min
- Yield: 6 servings
- Category: Breakfast
- Method: Baking
- Cuisine: French
- Diet: Vegetarian
Ingredients
- 1 package (14.1 ounces) all-butter puff pastry, thawed according to package directions
- 4 ounces bittersweet or semi-sweet chocolate, cut into 1/2-inch thick sticks (or use chocolate batons/fèves)
- 1 large egg
- 1 tablespoon water
- 1 tablespoon granulated sugar (optional, for sprinkling)
Instructions
- Prepare the Puff Pastry: Unfold the thawed puff pastry sheets onto a lightly floured surface. If using a block, roll it out gently into a rough rectangle about 1/8-inch thick. Cut each sheet into 3 equal rectangles, giving you 6 rectangles total.
- Cut the Chocolate: If using a bar, cut the chocolate into pieces roughly the length of the short side of your pastry rectangles.
- Assemble the Croissants: Place one piece of chocolate near one short edge of a pastry rectangle. Roll the pastry over the chocolate once. Place a second piece of chocolate near the new edge, and continue rolling until you reach the end of the rectangle. You should have a log with two pieces of chocolate inside. Pinch the seam closed gently. Repeat for all rectangles.
- Shape and Chill: Gently curve each rolled pastry into a crescent shape. Place the shaped croissants on a baking sheet lined with parchment paper. Cover loosely with plastic wrap and chill in the refrigerator for at least 30 minutes. This helps the pastry hold its shape while baking.
- Preheat and Egg Wash: Preheat your oven to 400 degrees Fahrenheit (200 degrees Celsius). In a small bowl, whisk the egg and water together to create an egg wash.
- Bake: Brush the tops and sides of the chilled croissants generously with the egg wash. If desired, sprinkle lightly with granulated sugar for extra shine and crunch.
- Bake for 15 to 20 minutes, or until the croissants are puffed, deeply golden brown, and flaky.
- Cool Slightly: Let the chocolate croissants cool on the baking sheet for 5 minutes before transferring them to a wire rack. Serve warm for the best melted chocolate experience.
Notes
- Using all-butter puff pastry makes a significant difference in flavor and flakiness compared to vegetable shortening versions.
- If you cannot find chocolate sticks, use two squares of a good quality chocolate bar for each croissant.
- For an extra rich color, you can brush the croissants with a second layer of egg wash halfway through baking, around the 10-minute mark.
Nutrition
- Serving Size: 1 croissant
- Calories: 350
- Sugar: 12
- Sodium: 250
- Fat: 22
- Saturated Fat: 13
- Unsaturated Fat: 9
- Trans Fat: 0.5
- Carbohydrates: 32
- Fiber: 1
- Protein: 5
- Cholesterol: 60