

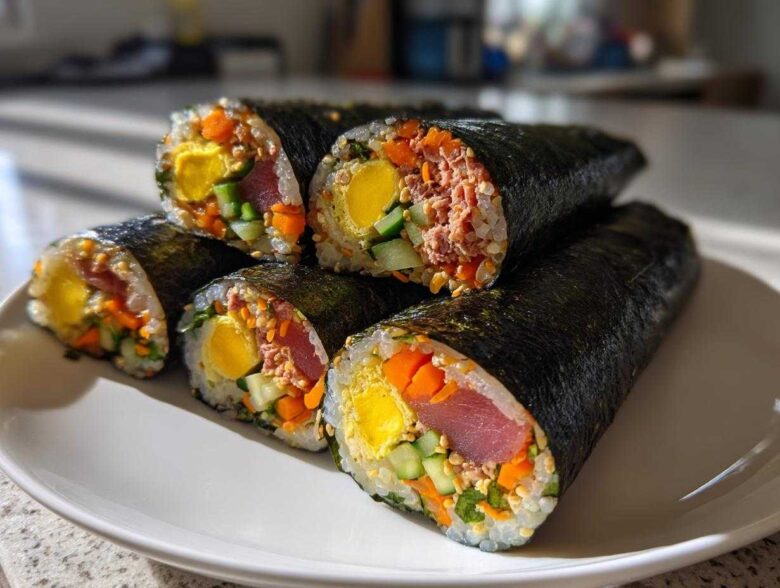
When I think about my favorite Korean dish that travels well—the one that Liam always asks for on road trips—it has to be Kimbap. It looks complicated, doesn’t it? All those perfect little rolls lined up! But trust me, when you break it down, making incredible homemade tuna kimbap is actually one of the fastest, most satisfying things you can whip up using pantry staples. This recipe for Easy & Authentic Korean Tuna Kimbap (Chamchi Kimbap) – With Spicy Option is exactly what Liam used to teach me when I was just starting out. It takes all the intimidation out of Korean food and gives you a perfect, portable roll that tastes way better than anything you can grab on the go. You’re going to love how simple this becomes, even if you’ve never rolled rice before! If you want to know more about our journey learning in the kitchen, check out our story over at TasteTaught.
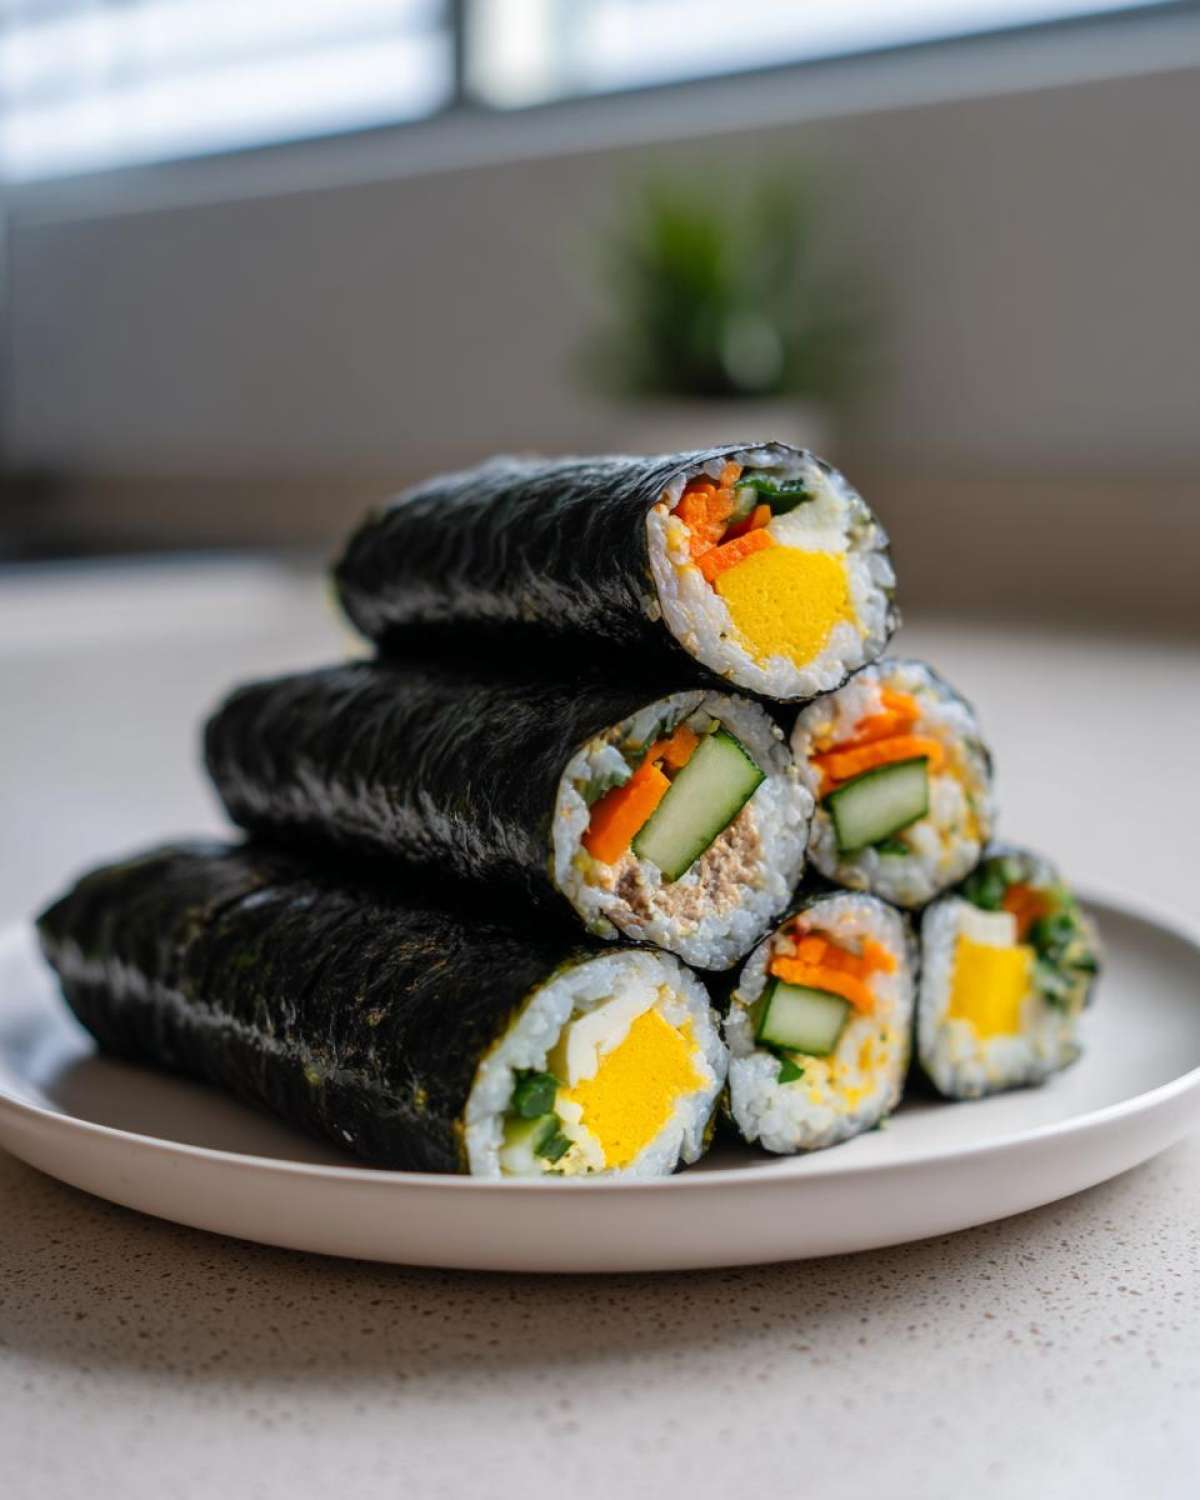
Why You Will Love This Easy Tuna Kimbap Recipe
I know what you’re thinking: Korean Seaweed Rolls look tough! But I promise, this recipe is built specifically for speed and flavor satisfaction. It’s genuinely one of the most reliable things I pull out when I need something fast. Here’s why this Tuna Kimbap Recipe is about to become your new favorite.
Perfect for Quick Korean Lunch and Meal Prep
- It genuinely comes together in about 25 minutes if your rice is ready! It’s the ultimate Quick Korean Lunch solution.
- These rolls pack down beautifully, making them ideal—and delicious—Picnic Food Rolls or the star of any bento box.
Includes Classic and Spicy Tuna Kimbap Variations
- You get two recipes in one! We cover the simple, comforting classic flavor, plus my favorite kick—the Spicy Tuna Kimbap filling.
- It’s so straightforward, it’s perfect for Kimbap for Beginners who want authentic flavor without the fuss.
Gathering Your Ingredients for Authentic Tuna Kimbap
Okay, the secret to amazing Tuna Kimbap isn’t complicated technique—it’s making sure your individual components are happy before you start rolling. We aren’t just throwing cold rice and wet tuna together! We season everything just right so that when you take that first bite, it’s perfectly balanced. Don’t worry about finding a million weird items; this recipe relies on simple things made better by a little love.
For the Seasoned Rice Base
First up is the rice. You absolutely must use short-grain rice; it’s the sticky kind that holds everything together so your rolls don’t fall apart! We need about 3 cups of cooked rice, and it should be slightly warm—not piping hot, but warm enough to easily absorb the seasoning blend. You’ll mix in rice vinegar, a tiny bit of sugar, salt, sesame oil, and sesame seeds. If you want a deep dive on getting the rice seasoning perfect, I poured all my notes into my guide on seasoning rice right here.
Vegetable and Egg Fillings for Your Tuna Kimbap
Prep is king here! For the vegetables, take your cucumber and slice it into matchsticks, then give it a good pinch of salt so it releases that extra water—we don’t want soggy rolls! Sauté the carrots just until they are tender-crisp; don’t cook them until they are mushy. We also need four strips of cooked egg omelet. Think of these as the colorful binders holding the flavors together.
Classic and Spicy Tuna Kimbap Filling Options
Now, the star! You have to drain your canned tuna really well; I mean really, really well. Soggy tuna is the enemy of a good roll. For the classic version, just mix the tuna with Japanese mayonnaise (Kewpie is amazing if you can find it!) and a bit of sesame oil. If you want that smoky, spicy kick, just add Sriracha to that mix, along with some freshly chopped green onion. Both fillings are ready in minutes!
Step-by-Step Instructions: How to Make Kimbap for Beginners
This is where the magic happens, and honestly, it’s easier than you think! Since we are aiming for Homemade Kimbap Rolls perfection on your first try, we need to be methodical but casual. Liam always reminds me that the goal right now is a roll that stays together when you pick it up, and this process guarantees that for your wonderful Tuna Kimbap.
Preparing the Vegetables and Rice
Remember that cucumber we salted? Give those strips a gentle squeeze—seriously, press all that water out! If you skip this, your roll gets sloppy quick. Next, make sure your seasoned rice is ready. You want it distributed evenly over the seaweed sheet, but here is the big tip: you have to leave about a 1-inch border clear at the top edge. This empty space is your glue! If you cover the whole sheet, you’ll never get it to seal correctly.
Assembling and Rolling Your Tuna Kimbap
Dip your fingers quickly in a little bowl of water before you touch the rice, or it will stick to you horribly. Spread that seasoned rice carefully over the seaweed up to your empty border line. Now, lay your ingredients—egg, carrot, cucumber, and your chosen tuna filling—in a tight line across the center. When you roll, lift the mat closest to you and fold that seaweed edge right over the filling. Tuck it tightly, pressing down gently along the way to make a firm cylinder. Use a little tap of water on that open edge to seal it up nice and neat.
Finishing and Slicing Homemade Kimbap Rolls
Once the roll is sealed, take a tiny bit of sesame oil on a pastry brush—just a light coat—and brush the entire outside, then dust it with a sprinkle of sesame seeds. This isn’t just for looks; it gives that amazing, savory scent that makes Authentic Korean Rolls so good. For slicing, this is important for Kimbap for Beginners: use the sharpest knife you have, and wipe the blade with a damp cloth between every single cut. That keeps the seaweed from dragging and tearing your beautiful work!
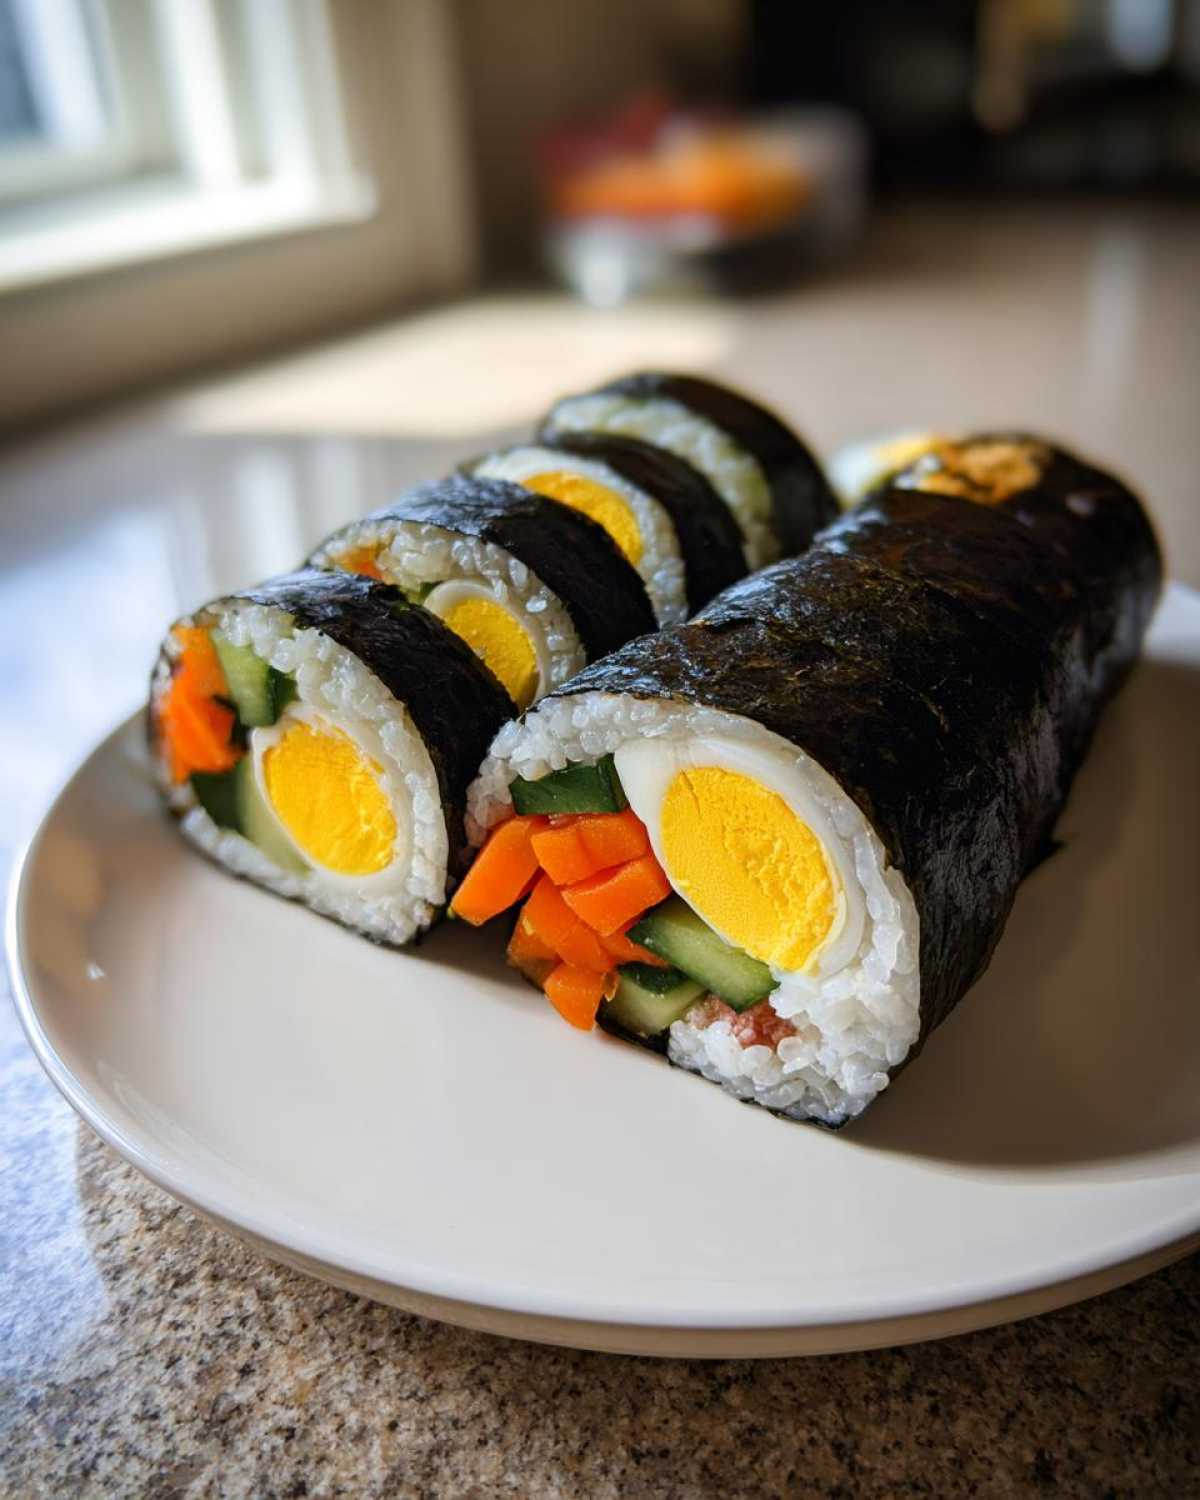
Expert Tips for Perfect Tuna Kimbap Rolls
Even though this Tuna Kimbap Recipe is simple, there are a few extra tricks I learned from Liam that take it from good to restaurant-quality. Honestly, these little details make succeeding at making Easy Kimbap almost guaranteed, even if you’re feeling nervous about rolling!
First up: the rolling mat. If you are worried about the mat sticking to the rice, just cover your bamboo mat completely in plastic wrap before you start. It makes cleanup zero minutes, and the roll slides right off when you’re done! Trust me on this one; it’s a game-changer for Homemade Kimbap Rolls.
Also, for that restaurant look, use fewer fillings than you think you need! It’s so tempting to load up the center, especially with that vibrant Spicy Tuna Kimbap mixture, but overfilling is the number one reason rolls get too big, can’t seal, and end up looking sort of sad and lumpy. Keep everything in thin, tidy layers right across the center about an inch from the bottom edge.
Liam mentioned that if you want a little extra something but don’t want to make a whole extra filling, try sticking a single, thin strip of avocado right alongside the egg. It gives a gorgeous creaminess that balances the savory tuna perfectly. These little adjustments are what turn a basic roll into something special. Check out more of our kitchen discoveries over on the main TasteTaught blog!
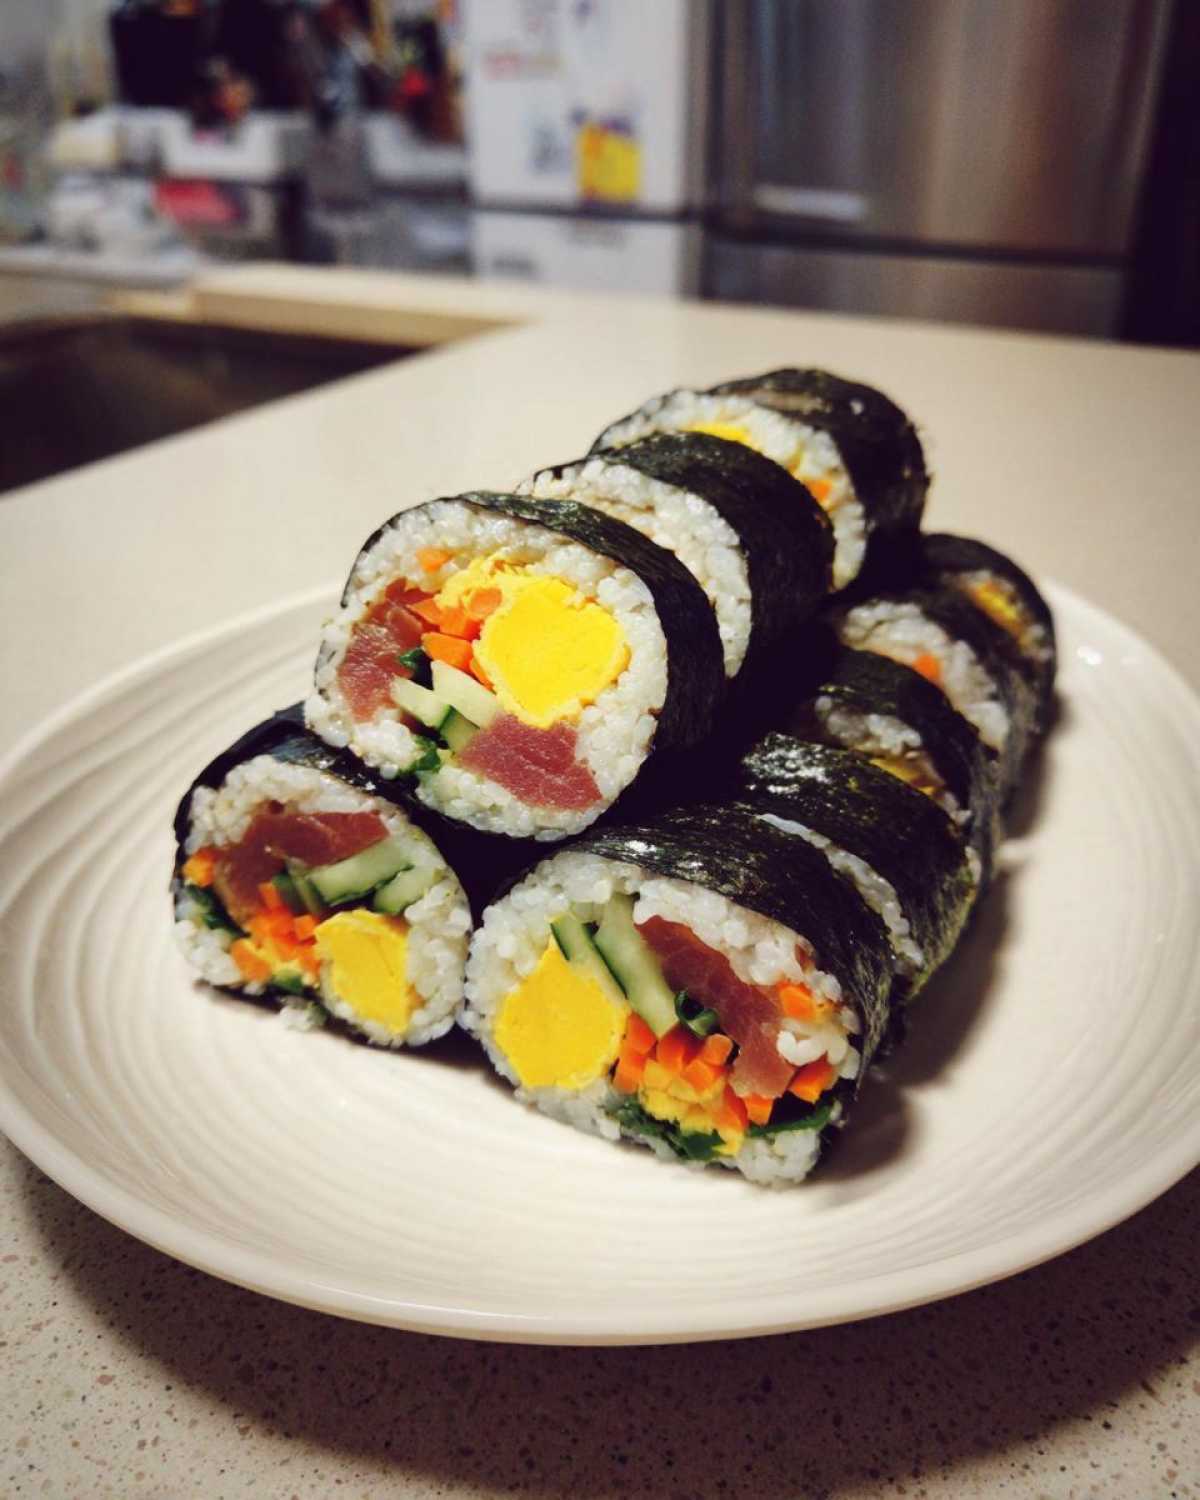
Ingredient Notes and Substitutions for Canned Tuna Recipe Korean Style
One thing I learned early on is that “close enough” just doesn’t cut it when you are aiming for that authentic taste in your Tuna Kimbap. Since this recipe relies heavily on the filling to carry so much flavor, we have to talk about a few key players, especially since we are using canned tuna—a true pantry staple for a Quick Dinner Rolls night!
Let’s talk mayonnaise first! The recipe calls for Japanese mayonnaise, usually Kewpie. If you’ve never tried it, the difference is immediate; it’s richer and has a subtle tang because it contains only egg yolks, unlike regular mayo which uses whole eggs. If you absolutely cannot locate Kewpie mayo, don’t panic! Just substitute it, but maybe add a tiny splash of white vinegar or pickle juice to your regular mayonnaise to mimic that slight sharpness. It helps cut through the richness of the tuna.
For total authenticity in your Canned Tuna Recipe Korean Style, you really should try to find danmuji. That’s the bright yellow, crunchy pickled radish strip. It adds this essential salty, slightly sweet, and vibrant crunch right in the middle of your roll. It pairs so beautifully with the creamy tuna. If you’re making this a last-minute affair and can’t run to the store, a thin strip of pickle or even a bit of crisp kimchi can stand in temporarily to give you that needed acidic pop, but danmuji is truly the goal for a classic experience.
Remember, no matter what mayonnaise you use, that draining step for the tuna is non-negotiable! We are aiming for savory, not soggy, when making these delicious Korean Food Recipes.
Storage and Make Ahead Meal Prep Rolls
I get asked all the time if you can make these Tuna Kimbap rolls ahead of time, especially because they are such perfect Picnic Food Rolls. The short answer is yes, you totally can! But because we are dealing with fresh vegetables and rice that’s seasoned with vinegar, we need to be smart about how we store them to keep them from getting soggy.
For the absolute best experience—when they are Refreshing Kimbap—try to roll and eat them the same day. That’s when the seaweed is beautifully crisp against the rice. However, if you are doing some serious Make Ahead Meal Prep Rolls, you can definitely prepare them the night before. The key to making this work for lunchboxes the next day is tight packing.
Once you’ve sliced your Homemade Kimbap Rolls, lay them flat on a platter or baking sheet and wrap the entire thing tightly in plastic wrap, making sure the surface that hits the air is minimized. Then, transfer them to an airtight container. I wouldn’t push it past one full day stored this way, because the vegetable moisture starts to travel into the rice. If you have to make them two days ahead, I’d recommend prepping all the fillings and storing the rice separately, then assembling the rolls the morning you plan to eat them!
And here’s a small tip for the spicy ones, which tend to be the most popular: the spice flavor actually deepens overnight, which is a bonus! Just remember to keep them cool until you’re ready to enjoy your super quick Korean staple.
Serving Suggestions for Your Authentic Korean Rolls
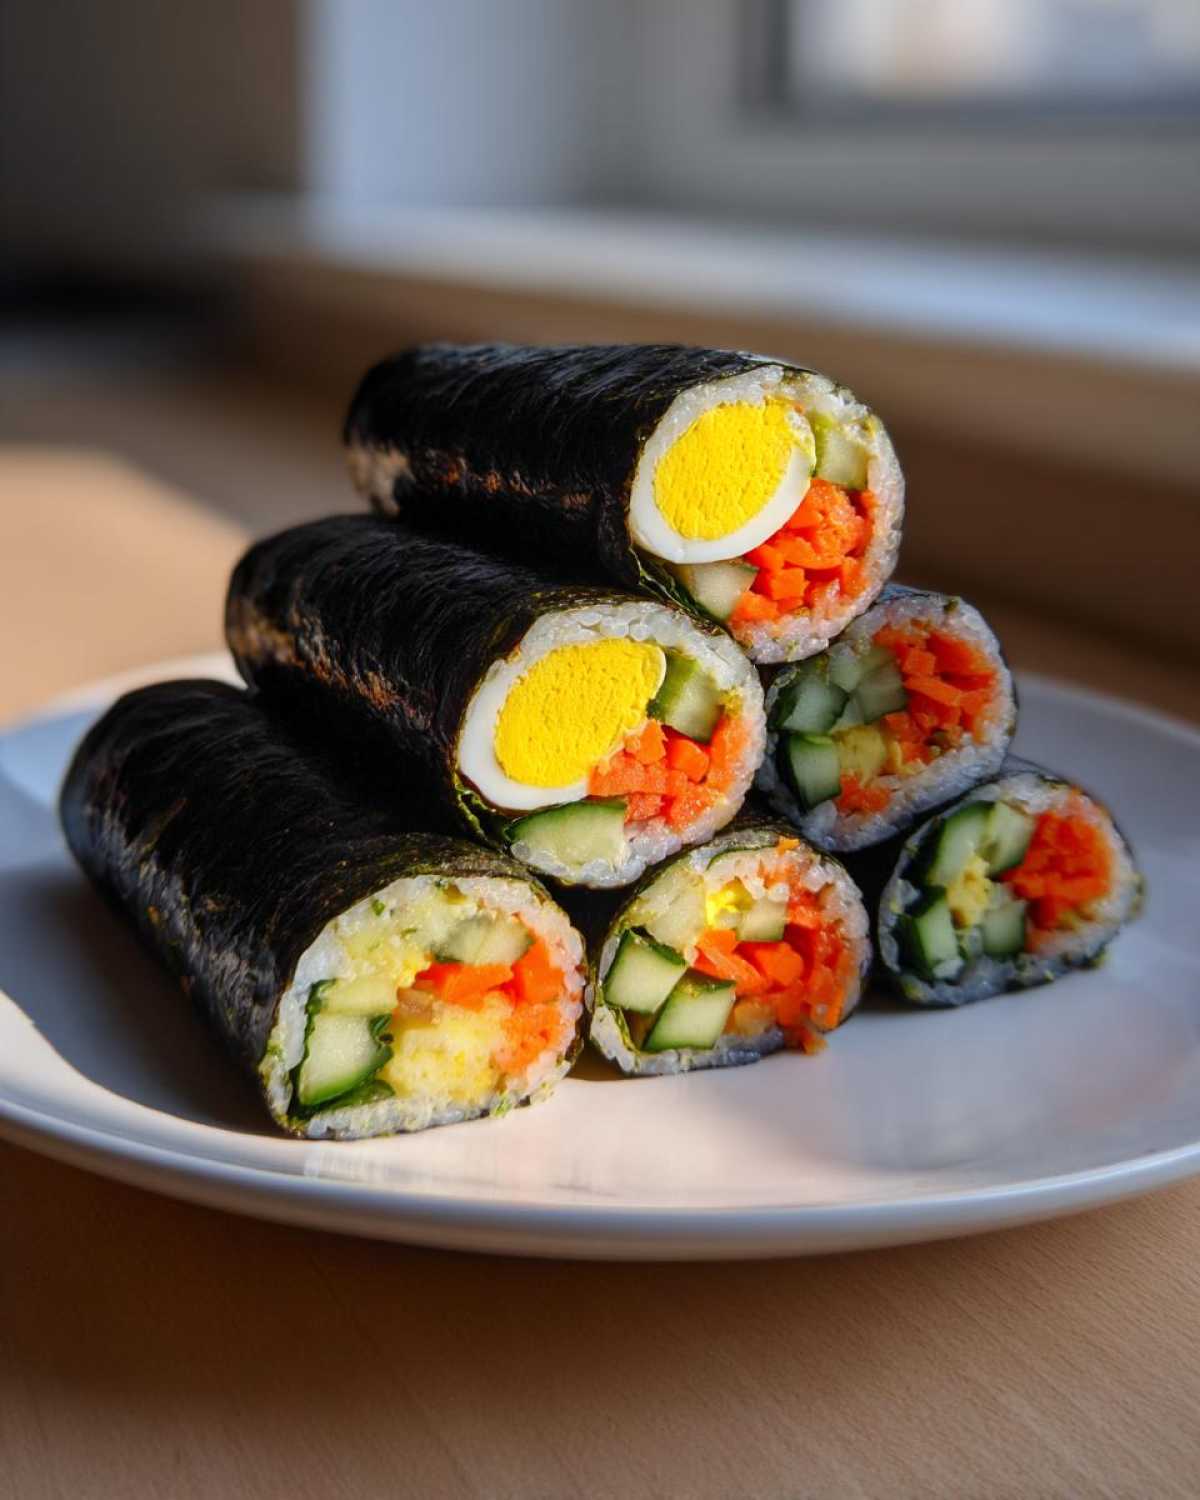
Now that you have created these gorgeous, satisfying rolls—whether you made the classic Tuna Kimbap or brought the heat with the spicy version—you need the perfect sidekick! These Authentic Korean Rolls stand beautifully on their own, but adding a little something extra on the side can turn your quick meal into a real spread. I always feel like a successful cook when I have a colourful little spread ready to go!
The easiest, most essential pairing for any Kimbap, hands down, is kimchi. I know, I know, it sounds obvious, but the sharp, fermented tang of good cabbage kimchi slices right through the richness of the tuna and mayonnaise filling. It wakes up your palate! If you don’t have homemade kimchi ready (and sometimes I don’t either!), just grab a jar of decent quality store-bought stuff and keep it cold.
If you want to go the dipping sauce route, you have so many fun options! A simple soy sauce dip is always fine, but why not jazz it up? You can mix soy sauce with a tiny splash of vinegar and a sprinkle of toasted sesame seeds. If you’re looking for something creamy that plays nicely with the tuna filling, you could also try making a tangy dipping sauce. I have a recipe for a wonderful, bright tartar sauce that works surprisingly well here, especially if you feel like the classic tuna filling is a little tame for your tastebuds. It’s mayo-based, so it fits right in, but the added lemon really brightens everything up.
Honestly, once you slice those rolls, lay them out on a nice platter, and maybe add a little side of pickled radish or kimchi, you’ll feel like you mastered Korean Food Recipes overnight. They look so impressive!
Frequently Asked Questions About Tuna Kimbap
Whenever I get obsessed with a new dish, I end up with a list of little questions that pop up right when I’m elbow-deep in rice and seaweed! Since you’re mastering this fabulous Tuna Kimbap Recipe, I figured I’d answer some of the things that used to trip me up when Liam first started teaching me the ropes of making great Chamchi Kimbap.
What is the difference between Kimbap and Sushi?
This is a super common question, and it’s an easy one to answer! They look similar, but they are best friends from different countries. The biggest difference is the rice seasoning. Sushi rice has rice vinegar, salt, and sugar mixed in, giving it that slightly sweet-and-sour zing. Kimbap rice, on the other hand, usually uses sesame oil and salt for seasoning—no vinegar required! Also, Kimbap fillings are always cooked or preserved, whereas traditional sushi often features raw fish. It’s less about formal precision and more about a hearty, flavorful roll!
Can I use rice other than short-grain for my tuna kimbap?
I would really, really advise against it if you want Easy Kimbap that doesn’t turn into a total disaster during slicing! You need that high starch content found in short-grain or medium-grain rice. Long-grain rice, like Basmati or Jasmine, doesn’t have the right stickiness factor. If you try to use it, your rice will be too separate and crumbly. You won’t get that perfect, tight cylinder needed for slicing; it just falls apart when you roll it up. Stick to the sticky kind!
How do I keep my kimbap rolls from falling apart?
Oh, that was my biggest heartbreak when I first tried! Twice, my rolls just exploded when I tried to slice them. The reason is usually simple: either you didn’t use enough rice, or you didn’t roll firmly enough. Remember that 1-inch empty border you leave at the top edge? That empty strip is your seal; make sure you wet your finger and press it firmly to seal that roll shut. Rolling it tightly—not squashing it, but keeping even pressure across the whole roll—is what makes sure everything stays compressed and perfect until you wipe your knife and slice it. You can check out the famous Maangchi for more tips on traditional rolling here: Maangchi’s site.
Recipe Facts and Estimated Nutritional Data
Because every home cook deserves to know what they are feeding their family, here are the general facts about this recipe. Please remember that because we are using canned tuna and fresh vegetables, this data is an estimate based on the core ingredients listed. Exact numbers will shift slightly depending on the brand of Japanese mayonnaise you choose or how much oil the carrots soaked up!
This recipe yields about 4 rolls, which equals 24 total bite-sized pieces. Per serving size (about 6 pieces), you’re looking at roughly 320 calories, 15 grams of protein, and 12 grams of fat. It’s a really satisfying and relatively balanced little meal!
Share Your Homemade Tuna Kimbap Creations
Wow, you did it! You’ve rolled your very first batch of Tuna Kimbap, and I bet they look incredible. Truly, seeing your beautiful, tidy rolls is the best part of running TasteTaught. Liam and I love knowing that we’ve helped you conquer another recipe successfully!
We built this space to be a conversation, so please don’t be shy! If you made the classic version or went bold with the spicy filling, I absolutely want to see it. Take a picture of your amazing platter of Korean Seaweed Rolls and tag us on social media. Seeing your handiwork really reminds me of the joy Liam brought to my kitchen when he first taught me how to handle the seaweed without tearing it!
And if you’ve got a moment, hitting that star rating at the top of the recipe really helps other folks who might be nervous about making Easy Kimbap feel confident enough to try it. Let us know how it went! Was it perfect for a road trip snack? Did the kids love it?
If you ever run into a hiccup later or have a brilliant variation you think we should try—maybe using cooked salmon instead of tuna?—don’t hesitate to reach out directly through our contact page. We are always learning alongside you!
Happy rolling, and thank you again for trusting us with your kitchen adventures!
PrintEasy & Authentic Korean Tuna Kimbap (Chamchi Kimbap) – With Spicy Option
Learn how to make classic Korean Tuna Kimbap, also known as Chamchi Kimbap. This recipe is quick, perfect for lunch boxes or picnics, and includes instructions for a popular spicy tuna variation. It is a satisfying, easy Korean seaweed roll for beginners.
- Prep Time: 20 min
- Cook Time: 5 min
- Total Time: 25 min
- Yield: 4 rolls (about 24 pieces)
- Category: Main Course
- Method: Rolling
- Cuisine: Korean
- Diet: Vegetarian
Ingredients
- 4 sheets roasted seaweed (nori or gim)
- 3 cups cooked short-grain rice, slightly warm
- 1 tablespoon rice vinegar
- 1 teaspoon sugar
- 1 teaspoon salt
- 1 teaspoon sesame oil (for seasoning rice)
- 1 teaspoon sesame seeds (for seasoning rice)
- 1 large carrot, julienned
- 1/2 English cucumber, julienned
- 4 strips cooked egg omelet (about 2 eggs total)
- For the Tuna Filling (Classic):
- 1 (5 ounce) can tuna in water or oil, drained well
- 2 tablespoons Japanese mayonnaise (Kewpie preferred)
- 1/2 teaspoon sesame oil
- For the Spicy Tuna Filling (Optional Variation):
- 1 (5 ounce) can tuna in water or oil, drained well
- 2 tablespoons Japanese mayonnaise (Kewpie preferred)
- 1 tablespoon Sriracha sauce (adjust to taste)
- 1/2 teaspoon sesame oil
- 1 tablespoon finely chopped green onion
Instructions
- Prepare the Vegetables: Lightly salt the cucumber strips and let them sit for 5 minutes to draw out excess water. Squeeze out the water gently. Lightly sauté the julienned carrots in a small pan with a drop of oil until slightly tender-crisp. Set aside.
- Season the Rice: In a large bowl, combine the warm cooked rice with rice vinegar, sugar, salt, 1 teaspoon sesame oil, and 1 teaspoon sesame seeds. Mix gently with a rice paddle or wooden spoon until everything is evenly distributed.
- Make the Tuna Fillings: For the classic filling, mix the drained tuna, 2 tablespoons mayonnaise, and 1/2 teaspoon sesame oil. For the spicy filling, mix the drained tuna, 2 tablespoons mayonnaise, Sriracha, 1/2 teaspoon sesame oil, and chopped green onion.
- Prepare the Rolling Station: Lay a bamboo rolling mat (kimbap mat) on your work surface. Place one sheet of seaweed, shiny side down, on the mat.
- Layer the Rice: Dip your fingers in water to prevent sticking. Spread about 3/4 cup of the seasoned rice evenly over the seaweed, leaving about a 1 inch border clear at the top edge.
- Add Fillings: Arrange thin lines of the prepared fillings horizontally across the center of the rice: egg strips, cucumber, carrot, and your choice of tuna filling (classic or spicy). Do not overfill.
- Roll the Kimbap: Lift the edge of the mat closest to you, folding the edge of the seaweed up and over the fillings. Tuck the edge tightly. Continue rolling forward, pressing gently but firmly to create a compact cylinder. Use a tiny bit of water on the exposed seaweed edge to seal the roll closed.
- Finish the Rolls: Brush the outside of the finished roll lightly with a mixture of 1 teaspoon sesame oil and a sprinkle of sesame seeds.
- Slice and Serve: Using a sharp, slightly dampened knife, slice the roll into bite-sized pieces (about 1 inch thick). Serve immediately or pack for a quick Korean lunch.
Notes
- If you want a more authentic flavor, you can add a thin strip of seasoned yellow pickled radish (danmuji) or imitation crab meat to the fillings.
- For easier rolling, place plastic wrap over your bamboo mat before starting.
- If you do not have cooked rice ready, factor in an extra 20 minutes for cooking and cooling the rice slightly before seasoning.
Nutrition
- Serving Size: 1 roll (6 pieces)
- Calories: 320
- Sugar: 3
- Sodium: 450
- Fat: 12
- Saturated Fat: 2
- Unsaturated Fat: 10
- Trans Fat: 0
- Carbohydrates: 40
- Fiber: 2
- Protein: 15
- Cholesterol: 45