

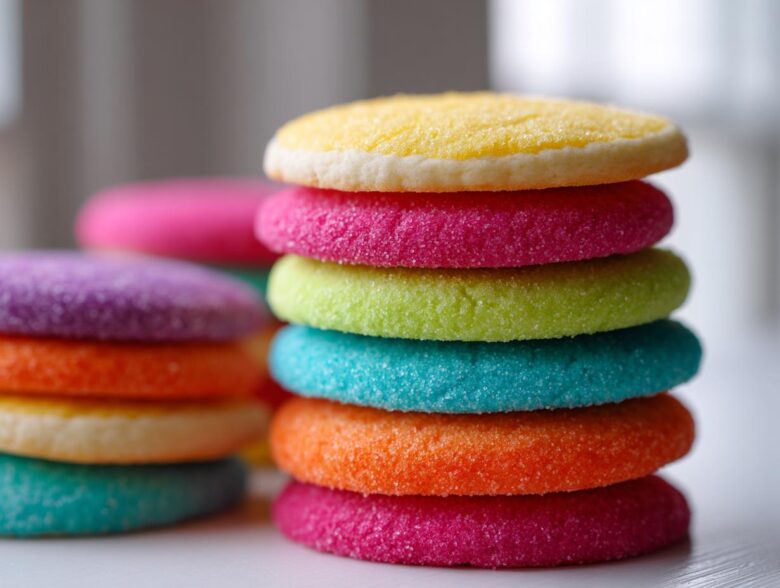
Oh, I know the frustration! You spend hours cutting out, baking, and cooling those beautiful sugar cookies, you carefully pipe on the frosting, and then… it stays sticky. You can’t stack them, you can’t gift them, and the whole beautiful design smears if you look at it wrong. Ugh! Well, I promise you, saying goodbye to tacky tops is easier than you think!
Liam and I spent way too many holiday seasons fighting with runny glazes before we cracked the code. Today, I’m sharing our absolute rock-solid secret for making the best sugar cookie icing that hardens completely until it’s smooth, glossy, and—most importantly—stackable. This is the bakery-style finish you’ve been searching for. We learned this technique together, moving from someone who barely knew how to safely boil water to bakers who can whip up professional-looking treats. Trust me, if I can master this, you definitely can!
Why This Is the Best Sugar Cookie Icing That Hardens Recipe
When I tell you this icing finally gave me results that looked professional, I mean it! Gone are the days of praying the decoration doesn’t melt. This recipe uses Royal Icing principles, which is exactly what you need when you want cookies you can stack up like little presents.

- It dries completely hard, so you don’t have to worry about fingerprints or smudges ever again.
- It settles into a beautifully smooth and glossy finish. Seriously, it looks like glass!
- The cookies are perfectly sturdy and stackable; these are the cookies you mail to friends!
This is the gold standard for any sugar cookie icing that hardens the right way.
Achieving That Perfect Hard Set Icing Finish
Most simple glazes made with just milk or water sadly stay a little tacky forever, which is frustrating! We use meringue powder here, and that’s the secret sauce. It’s essentially pasteurized, dried egg whites, and it creates the structure needed to dry firm and durable. The meringue powder bonds everything together so that once the surface moisture evaporates, you have a hard shell protecting your beautiful cookie art.
Prep Time and Yield for Your Sugar Cookie Icing That Hardens
The best part? The active work is super fast. You’re just mixing things for about 15 active minutes! We get about 2 dozen medium cookies covered with this batch, which is perfect for a small holiday bake. Now, the warning: you have to respect the drying time. Even though the prep is quick, you need patience for that full hard set—plan for 6 to 24 hours depending on what the weather is doing! If you want the perfect sugar cookie base for this icing, make sure you check out Liam’s best sugar cookie recipe!
Ingredients for Your Foolproof Cookie Icing
Gathering your ingredients is the easiest step, I promise! Since this is the foundation for icing that hardens, we need to be precise here so you trust the result. Don’t skip steps like sifting—it makes a huge difference in getting that silky smooth swirl. This recipe is perfectly balanced to give you a generous amount to decorate about two dozen medium cookies.
Ingredient Notes and Substitutions for Icing That Hardens
Okay, let’s talk specifics so your icing that hardens doesn’t turn into mud later. First, the powdered sugar absolutely must be sifted. If you don’t sift, you end up with little lumps that refuse to dissolve, ruining that beautiful, smooth flood layer we are aiming for.
Next up is the meringue powder. Liam insists on this over fresh egg whites because it offers incredible consistency control and it’s totally safe, which is fantastic for holiday baking! If you are aiming for that super bright white color—maybe you’re doing snowmen or white lace—skip the regular vanilla extract. It has a brown tint. Instead, use clear vanilla extract, which gives you that crisp white base!
- Powdered Sugar: 2 cups, must be sifted!
- Meringue Powder: 3 tablespoons. This is your magic hardening agent!
- Cream of Tartar: 1/4 teaspoon. Helps stabilize everything.
- Warm Water: 6 tablespoons. Use slightly warm water to help the powders dissolve quickly.
- Clear Vanilla Extract: 1 teaspoon (optional, only if you want pure white).
- Gel Food Coloring: Only use gel colors, never liquid drops!
How to Make Sugar Cookie Icing That Hardens Step-by-Step
Alright, the prep work is done, and now we get to the fun part: mixing this magic powder into a perfect icing! If you want that gorgeous, firm shell, you *have* to beat this mixture long enough. Liam always says this is where you earn your stripes when making sugar cookie icing that hardens because incorporating enough air is key to avoiding a sticky mess later. Keep your mixer going, watch the texture change—it turns almost cloud-like!

Once everything is mixed, you’ll divide your batch depending on how many colors you want. Remember, gel colors only! They won’t water down your icing like liquid coloring does. Now, let’s get that consistency just right, because smooth icing smooth cookies!
Mixing for the Right Cookie Decorating Glaze Consistency
This is where many people get stuck, but stick with me! You need two main textures if you are decorating detail work. For outlining the edges of your cookie, you want very stiff peaks—think toothpaste consistency. If you lift the beater, the icing should hold its shape firmly.
For filling in the middle (the flood part), you thin it down slightly. This is your cookie decorating glaze consistency. To test this, drizzle some icing over the bowl surface. If it smooths out and disappears within about 10 to 15 seconds, you’ve hit the perfect ribbon consistency. If it disappears instantly, add a tiny bit more powdered sugar. If it takes much longer than 15 seconds, add water one drop at a time. Don’t rush this part!
Techniques for Glossy Cookie Frosting Application
We decorate in two stages here, which is how we get that crisp, sharp line! First, use a piping bag with a small tip to outline the entire sugar cookie edge. This acts like a dam wall holding the thinner flooding icing in. Once that dam is piped, let it sit and dry. I usually give the outline about 15–30 minutes; it just needs to feel barely tacky.
After the outline sets, fill in the center with your flood consistency icing. Use a scribe tool or the back of a spoon to gently encourage the icing around. Gently tap or shake the cookie on the counter to help the glossy cookie frosting settle flat and bubble-free. Patience during the drying stage is what makes these cookies gift-ready!
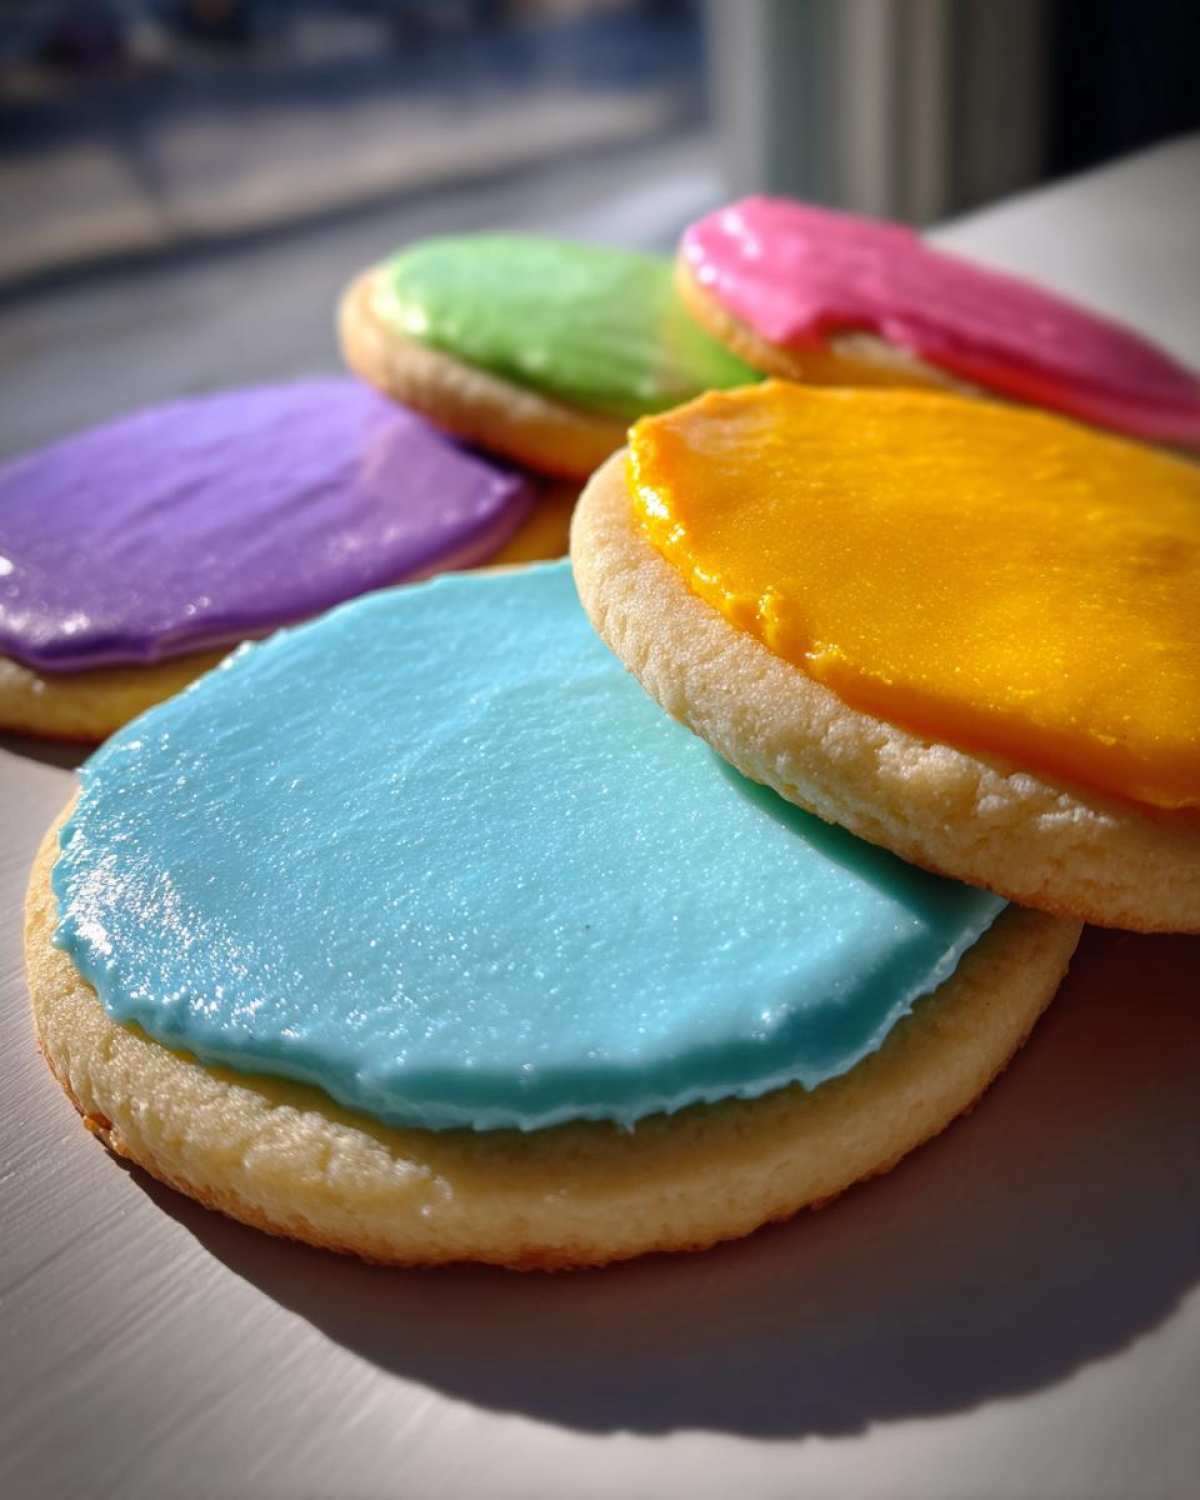
I learned this outline-and-flood trick from Liam when I kept flooding too early and my outlines melted right into the middle—it was a total disaster! See Liam’s lasagna recipe for another example of how a simple technique makes all the difference!
Pro Tips for Stackable Cookie Icing Success
Now that we have the perfect mixture for stackable cookie icing, we have to talk about the environment! This is where I always run into trouble, especially living near the coast in the summer. Humidity is the absolute worst enemy of any icing that needs to dry hard, but we have a few tricks to combat it. Remember, you want the finished cookie to feel solid, not squishy!
I used to just leave my cookies on the counter and hope for the best, but that only led to sad, tacky messes. Now, I plan my decorating sessions around the weather, or I bring the battle inside with some simple tools. Getting this right means all your hard work stays looking amazing until the very last bite!
Controlling Humidity for Hardening Icing
If it’s pouring rain outside, I try to postpone decorating if I can. But if I *have* to finish a batch for a last-minute event, I bring out the big guns. This royal icing really needs dry air to set properly. My biggest tip is to run a dehumidifier in the room where the cookies are drying. I set up a separate cooling rack area specifically for airflow.
If you don’t have a dehumidifier, even running a weak fan nearby helps move the air gently over the top surface. Please don’t blast the fan directly, or you’ll get cracks! I also make sure my cookies aren’t touching until they are absolutely bone-dry, which is why making sure this icing sets firm is so important. If you’re curious about other great hardening recipes, check out this icing recipe from Cincy Shopper, though I still stand by our meringue powder version!
For all my general baking experiments and thoughts, you can always check out our main blog page!
How to Store Your Decorated Sugar Cookie Icing That Hardens
Okay, you’ve done the hard part! You’ve mixed, piped, flooded, and waited, and now you have these gorgeous, rock-solid masterpieces! But how do you keep them looking that amazing until it’s time to serve them? This is where that hard-set quality really pays off.
The absolute key thing to remember about this sugar cookie icing that hardens is that it needs its full drying time before any serious stacking happens. I’m talking a minimum of 6 hours, but honestly, if you plan ahead, wait 24 hours. If you try to box them up too soon, you’ll end up with smudges, even if the top feels dry!
Once they are genuinely, totally hard—like, you can tap them and they sound solid—storage is surprisingly easy. Forget the fridge! Chilling royal icing can actually make it sweat when you bring it back to room temperature, turning your hard shell back into sticky goo.
We always keep our decorated cookies at room temperature. Find a sturdy cookie tin or an airtight container. If the cookies have intricate raised details, place a single sheet of parchment paper between layers. This slight barrier prevents any textured parts from catching on the layer below. They stay perfect and ready to go for days this way!
Troubleshooting Common Royal Icing for Cookies Issues
Even with the best recipe in hand, sometimes the consistency just isn’t cooperating right away! Don’t panic if your mixture looks a little off when you first finish mixing. Liam always reminds me that baking is fluid, and we usually only need a tiny tweak to fix things when making royal icing for cookies. It’s always easier to fix thickness issues right after mixing, before you separate the bowls for coloring.
Here are the three main issues I run into and the quick fixes I use to get back on track so my cookies look perfect.
What if My Icing Is Too Thin?
If your icing looks watery or won’t hold a defined line when you test it (it sinks back into itself instantly), it’s too thin. This usually happens if the warm water was a little too generous! Quick fix: Don’t add liquid; add structure! Just beat in powdered sugar one tablespoon at a time. Make sure you only add a little, then beat it for 30 seconds before deciding if you need more. You want to be gentle as you add dry ingredients back in, which is why this is a slow process.
Help! My Icing Is Way Too Thick!
This happens if your powdered sugar was very compact when you measured it, or if you didn’t add enough water initially. If the icing is stiff, won’t spread easily, or looks chunky when you try to flood the center of a cookie, it’s too thick. The fix here is just a touch of liquid! Add warm water, but do it one teaspoon at a time. Seriously, just a few drops makes a difference when you are working with icing!
This is important: If you are dyeing your icing, always add the color first before trying to thin it. Gel colors sometimes add a tiny bit of extra moisture! If you still need it smoother after coloring, then add those drops of water. If you’re new to this, I highly recommend practicing your consistency checks on a spare cookie scrap before tackling your main batch. It’s just like practicing your piping skills!
Why Isn’t My Icing Drying Hard?
If your icing looks dry on top but feels tacky underneath after waiting 24 hours, you have a humidity problem, or you didn’t beat in enough air initially. If you’ve checked for humidity (see my tips above!), the next step is trying to help it along. You can try baking the cookies at a very low temperature—like 175°F (80°C)—for about 10 minutes. This isn’t to cook the cookie; it’s just to gently bake out the last bit of moisture trapped in the icing shell.
If the icing still won’t set, sometimes it means the ratio of wet to dry was slightly off, and you might need to scrape off the sticky icing and re-mix it with a fresh tablespoon of meringue powder. It’s rare with this recipe, but I wanted to share the fix anyway, just like Liam taught me when I made that messy lemon meringue pie once where the meringue wouldn’t set!
Frequently Asked Questions About Quick Hardening Icing
I always have a million questions when I start a new baking technique, and icing is no exception! Since this recipe for quick hardening icing uses meringue powder, it behaves differently than a simple powdered sugar and water glaze. Here are some of the most common things I hear people asking about when they try to make icing that dries solid.
How long does this cookie icing actually take to dry hard?
This is the big one, right? The active mixing is only about 15 minutes! However, the drying time is totally dependent on the weather. In very dry weather, you might be able to carefully stack cookies after 6 hours. But if it’s humid, you absolutely must wait 24 hours. Remember, this is what makes it a durable cookie topping! If you feel any tackiness at all, don’t stack them!
Can I color the icing base ahead of time?
You can, but I prefer to color right before I use it. If you are making simple reds and greens for the holidays, separate the batch into bowls and color them immediately after mixing. If you let the colored icing sit too long, the gel color can sometimes start to pull moisture out of the already mixed base, making your hard set icing crack later. If you must color ahead, keep the bowls tightly wrapped in plastic wrap pressed right against the surface of the icing.
How long will leftover, uncolored icing base last?
The uncooked base, kept in a tightly sealed container, should be fine in the fridge for about a week. I usually only make what I need for one or two days, though! If you need to revitalize it after refrigeration, just beat it with the mixer for a minute or two until it relaxes. And don’t forget; sometimes the best way to learn is to try something new, so check out our guide to meringue cookies for more fun with egg whites!
Can I substitute corn syrup for the cream of tartar?
While some recipes for glossy cookie frosting call for corn syrup, we stick to cream of tartar here because it stabilizes the meringue powder so well and keeps things ultra-smooth. If you find yourself looking for another reliable recipe, you might want to look at this glossy recipe from Kitchen User, but I always come back to this one because of the meringue!
Estimated Nutritional Data for Durable Cookie Topping
I want to be totally honest with you guys: Liam always reminds me that while I’m great at testing for taste, he’s the one who dug up the specific nutrition data! Since this is pure sugar and meringue powder, the numbers aren’t exactly shocking, but it’s good to know what you’re working with, especially if you are making these for a big event or gathering.
Please keep in mind that since we use whole ingredients and brands vary so much, these numbers are just estimates based on the recipe components laid out in the guide. If you change the amount of water or substitute your vanilla, these numbers will shift a bit! Consider this a helpful snapshot of what’s in your durable cookie topping base.

- Serving Size: 1/4 cup icing
- Calories: 180
- Sugar: 45g
- Fat: 0g
- Protein: 2g
- Cholesterol: 0mg
Because this recipe is so straightforward—it’s basically powdered sugar and meringue powder—there’s very little fat or cholesterol, which is great. But yup, 45 grams of sugar in that serving size means we need to enjoy these beautiful cookies in moderation! They are designed for celebration, not everyday snacking, after all!
Share Your Sugar Cookie Icing That Hardens Creations
Seriously, I have poured my heart into getting this sugar cookie icing that hardens just right, and now it’s your turn! I always get such a thrill when I see everyone else’s beautifully decorated cookies popping up online. Knowing that something I taught you helped make your holiday baking look professional makes my day!
So, please, don’t be shy! Once you’ve let those cookies dry completely (remember: no peeking or stacking until they are solid!), snap a picture and tag us! We love seeing your colors and designs. If you’re struggling with a specific step or just want to tell me how surprisingly easy this was, please drop a comment below. Liam monitors the comments too, in case you have a science question about meringue powder!
If this recipe saved your holiday baking game and gave you the durable, glossy finish you craved, please take a second to leave us a star rating right here on the page. Your feedback helps other nervous bakers find the confidence to try this foolproof icing! If you need to reach us directly for anything recipes related, you can always send us a note through our Contact Page. Happy decorating!
PrintFoolproof Royal Icing That Hardens Perfectly for Stackable Sugar Cookies

Learn how to make sugar cookie icing that hardens completely, dries smooth, and achieves a professional, glossy finish. This easy recipe is perfect for decorating holiday cookies that you can stack and gift.
- Prep Time: 15 min
- Cook Time: 0 min
- Total Time: 15 min active time plus drying time
- Yield: Covers approximately 2 dozen medium cookies
- Category: Dessert Decoration
- Method: Mixing/Piping
- Cuisine: American
- Diet: Vegetarian
Ingredients
- 2 cups powdered sugar, sifted
- 3 tablespoons meringue powder
- 1/4 teaspoon cream of tartar
- 6 tablespoons warm water
- 1 teaspoon clear vanilla extract (optional, for whiter icing)
- Gel food coloring (optional)
Instructions
- In a medium bowl, whisk together the sifted powdered sugar, meringue powder, and cream of tartar until fully combined.
- Add the warm water and clear vanilla extract (if using) to the dry ingredients.
- Beat the mixture with an electric mixer on low speed until the ingredients are incorporated, then increase the speed to medium-high.
- Beat for 5 to 7 minutes until the icing is very smooth, bright white, and holds stiff peaks. This process incorporates air, which helps it dry hard.
- Check the consistency. For outlining, the icing should be thick. For flooding (filling in areas), add water one teaspoon at a time until the icing flows smoothly but still holds a line on the surface for a few seconds.
- Separate the icing into bowls if you plan to color it. Add gel food coloring sparingly and mix until the color is uniform.
- Use the icing immediately for outlining cookies. Let the outline dry for 15 to 30 minutes before flooding the center.
- To flood, use a spoon or a piping bag with a larger tip to fill the outlined area. Gently shake the cookie to settle the icing into a smooth layer.
- Allow the cookies to dry completely at room temperature, away from humidity. This can take 6 to 24 hours depending on the thickness and humidity. The icing is ready when it is hard to the touch and no longer tacky.
Notes
- For the whitest icing, use clear vanilla extract instead of standard brown vanilla extract.
- If your icing seems too thick after resting, stir in a few drops of water. If it is too thin, mix in a tablespoon of powdered sugar.
- Humidity is the enemy of royal icing. Decorate on dry days if possible, or use a dehumidifier in your decorating space.
- Once dry, store decorated cookies in an airtight container at room temperature. They are stackable once fully hardened.
Nutrition
- Serving Size: 1/4 cup icing
- Calories: 180
- Sugar: 45g
- Sodium: 5mg
- Fat: 0g
- Saturated Fat: 0g
- Unsaturated Fat: 0g
- Trans Fat: 0g
- Carbohydrates: 45g
- Fiber: 0g
- Protein: 2g
- Cholesterol: 0mg