

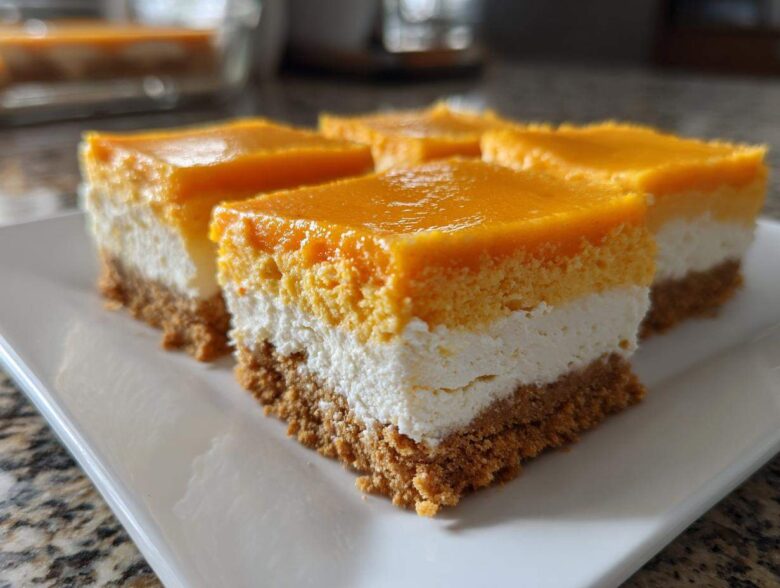
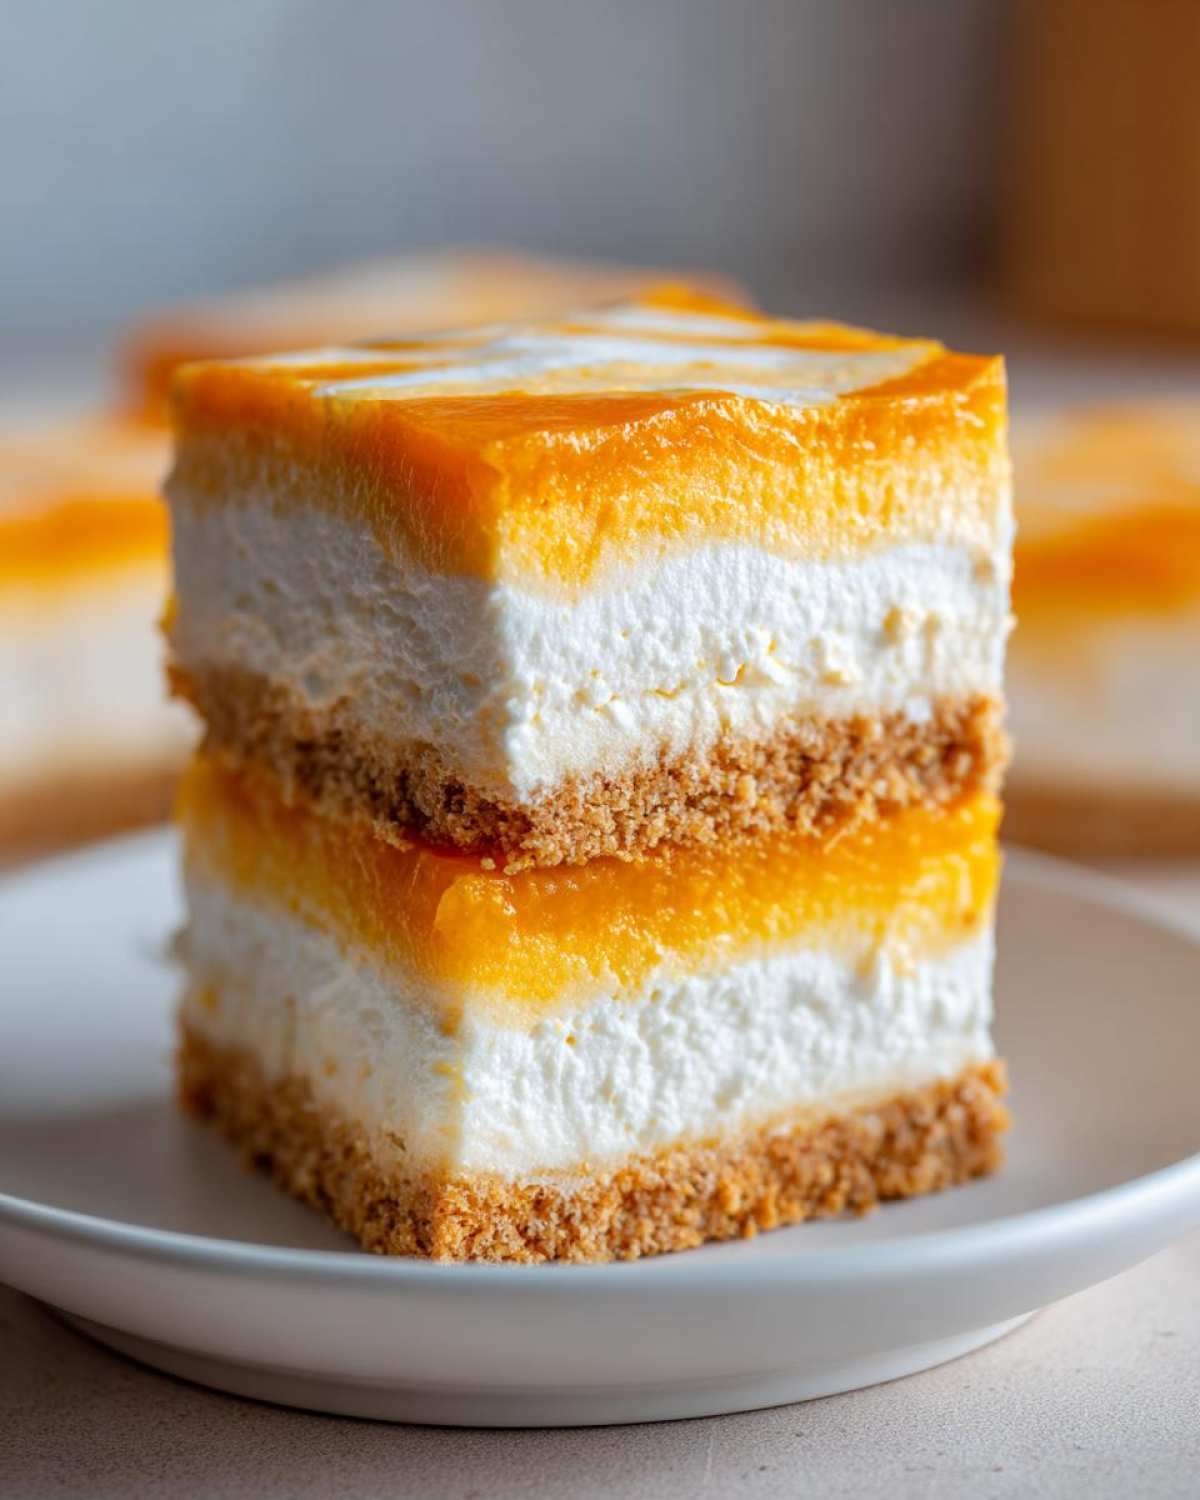
Oh my goodness, are you ready for a taste of pure, concentrated summer nostalgia? There’s nothing quite like that bright, sunny burst of orange mixed with creamy vanilla, right? I’ve spent ages trying to capture that magical Creamsicle feeling, and I finally cracked the code with these ridiculously easy No-Bake Orange Creamsicle Cheesecake Bars. Seriously, these are my go-to when the heat hits because the ONLY appliance I have to use is the freezer!
You get that perfect crunchy graham cracker base, that thick, tangy orange cream filling, and zero stress. Trust me, these layered dessert bars are what happy memories taste like. I developed this recipe over a few summers perfecting the balance so it doesn’t get too sweet. Ready to beat the heat with the best orange cream dessert recipe you’ll ever try? You can always check out more of my quick fixes over on the blog, but let’s get mixing for these bars!
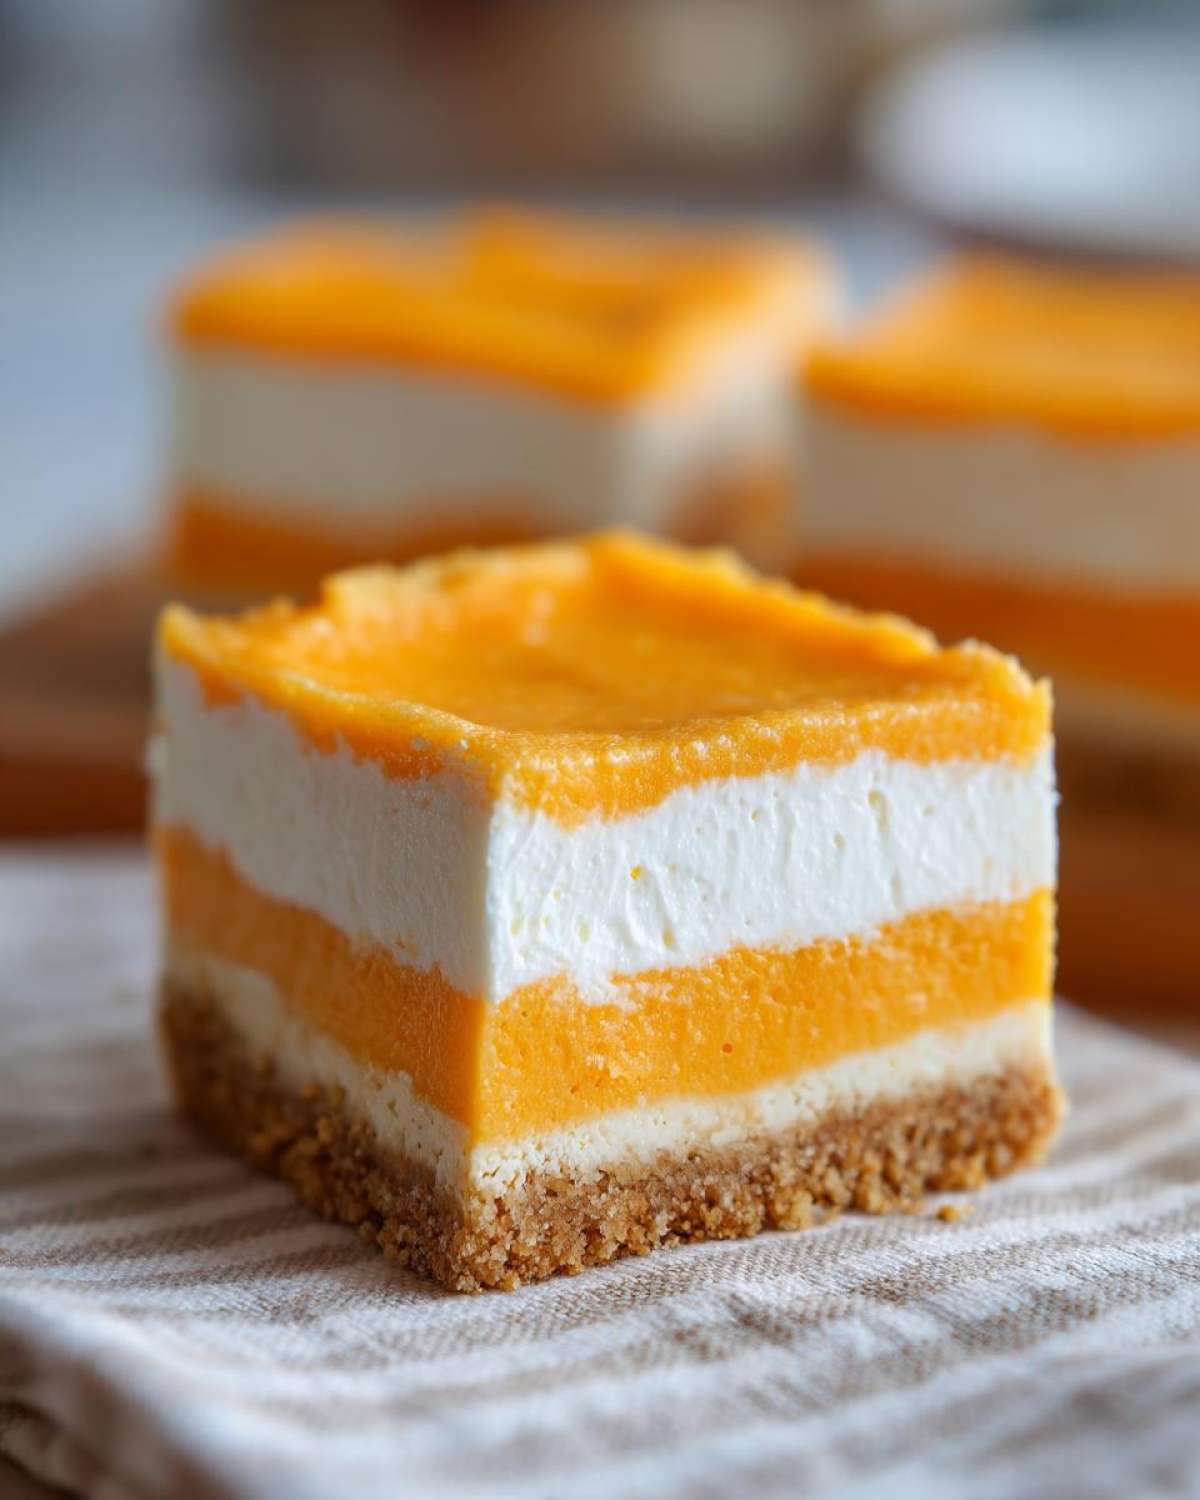
Why You Will Love These No-Bake Orange Creamsicle Cheesecake Bars
Okay, so these bars are a total showstopper without demanding any real effort from you. That’s why I keep making them all summer long! They are just so satisfying, and I know you’re going to be just as obsessed.
- The bright, tangy flavor is spot-on nostalgic—it tastes exactly like those orange push-pops we ate as kids.
- Cleanup is a breeze, which keeps me sane after a long day.
- They firm up beautifully in the fridge, making them perfect for picnics or potlucks.
Effortless Preparation: The No-Bake Advantage
This is truly an Easy No Bake Dessert! Since we skip the oven completely, it’s the best thing to make when you don’t want to heat up the kitchen. You just mix, press, and chill. It’s that simple, trust me!
Authentic Dreamsicle Flavor Profile
We nail that classic orange and vanilla vibe using fresh zest and a touch of good extract. That combination against the cool, tangy cream cheese is what makes this a fantastic Dreamsicle Flavor Recipe. It’s creamy, sweet, and tart all at once!
Essential Ingredients for No-Bake Orange Creamsicle Cheesecake Bars
Look, the beauty of a no-bake recipe is that the few ingredients you *do* use have to be top-notch. Since we aren’t using eggs or any fancy setting agents, the texture relies entirely on the cream cheese being perfectly soft and, this is crucial, the heavy cream being absolutely ice cold. Don’t skip those preparation steps; they make all the difference in achieving that perfect, smooth filling layer for these bars.
When you look at the list, you’ll notice we’re keeping things simple to let that orange flavor truly shine. If you need ideas on other simple desserts, check out my easy no-bake dirt cake; it uses similar layering principles!
For the Graham Cracker Crust
- 1 1/2 cups graham cracker crumbs (I just crush up the sleeve myself!)
- 1/4 cup granulated sugar (for just a bit of sweetness in the base)
- 6 tablespoons unsalted butter, melted
For the Orange Cream Filling
This is where the magic happens. Make sure you get real orange juice and zest for the best result!
- 8 ounces cream cheese, softened to room temperature (No cold chunks allowed!)
- 1 cup powdered sugar
- 1/2 cup heavy whipping cream, cold (Must be very cold for whipping!)
- 1/4 cup orange juice, fresh or bottled
- 1 teaspoon orange zest (Please don’t skip the zest!)
- 1 teaspoon vanilla extract
- Orange food coloring (optional, just a drop or two if you want that bright orange hue!)
Step-by-Step Instructions for No-Bake Orange Creamsicle Cheesecake Bars
Alright, this is where all that ingredient prep pays off! Don’t worry if you’ve never made a no-bake cheesecake layer before; it’s totally foolproof if you stick to the order I use. This recipe is all about layering technique to make sure that filling sets up firm enough to slice beautifully. You’ll be amazed at how quickly this comes together before it needs its serious chilling time.
Preparing the Crust Layer
First things first, you have to line that 8×8 inch pan with parchment paper. You want long sheets hanging over two opposite sides—think of them like little handles! These handles are our secret weapon for lifting the whole thing out later. Now, mix your graham cracker crumbs and the 1/4 cup of sugar in a bowl. Pour in that melted butter and squish it around until everything looks like wet sand. Press that mixture down *firmly* into the bottom of your prepared pan. Use the bottom of a measuring cup to really compact it. Then, pop that crust straight into the freezer while you whip up the filling—this helps it stay put when we pour the next layer on top!
Creating the Creamy Cheesecake Filling
Time to bring out the mixer! In a clean bowl, you have to beat that softened cream cheese alone until it’s completely silky smooth. We need zero lumps here, so take your time! Then, gradually add the powdered sugar and mix until it’s just combined. Now stop mixing the cream cheese and switch bowls. In a *separate*, chilled bowl, beat the cold heavy whipping cream until you get those beautiful stiff peaks—you know, when you pull the beaters out and the cream stands straight up. Gently, and I mean gently, fold that whipped cream into the cream cheese mixture so you don’t knock out all that lovely air we just whipped in. Finally, stir in your orange juice, that bright zest, vanilla extract, and just a tiny drop of food coloring if you want that classic orange glow for your No Bake Orange Dessert.
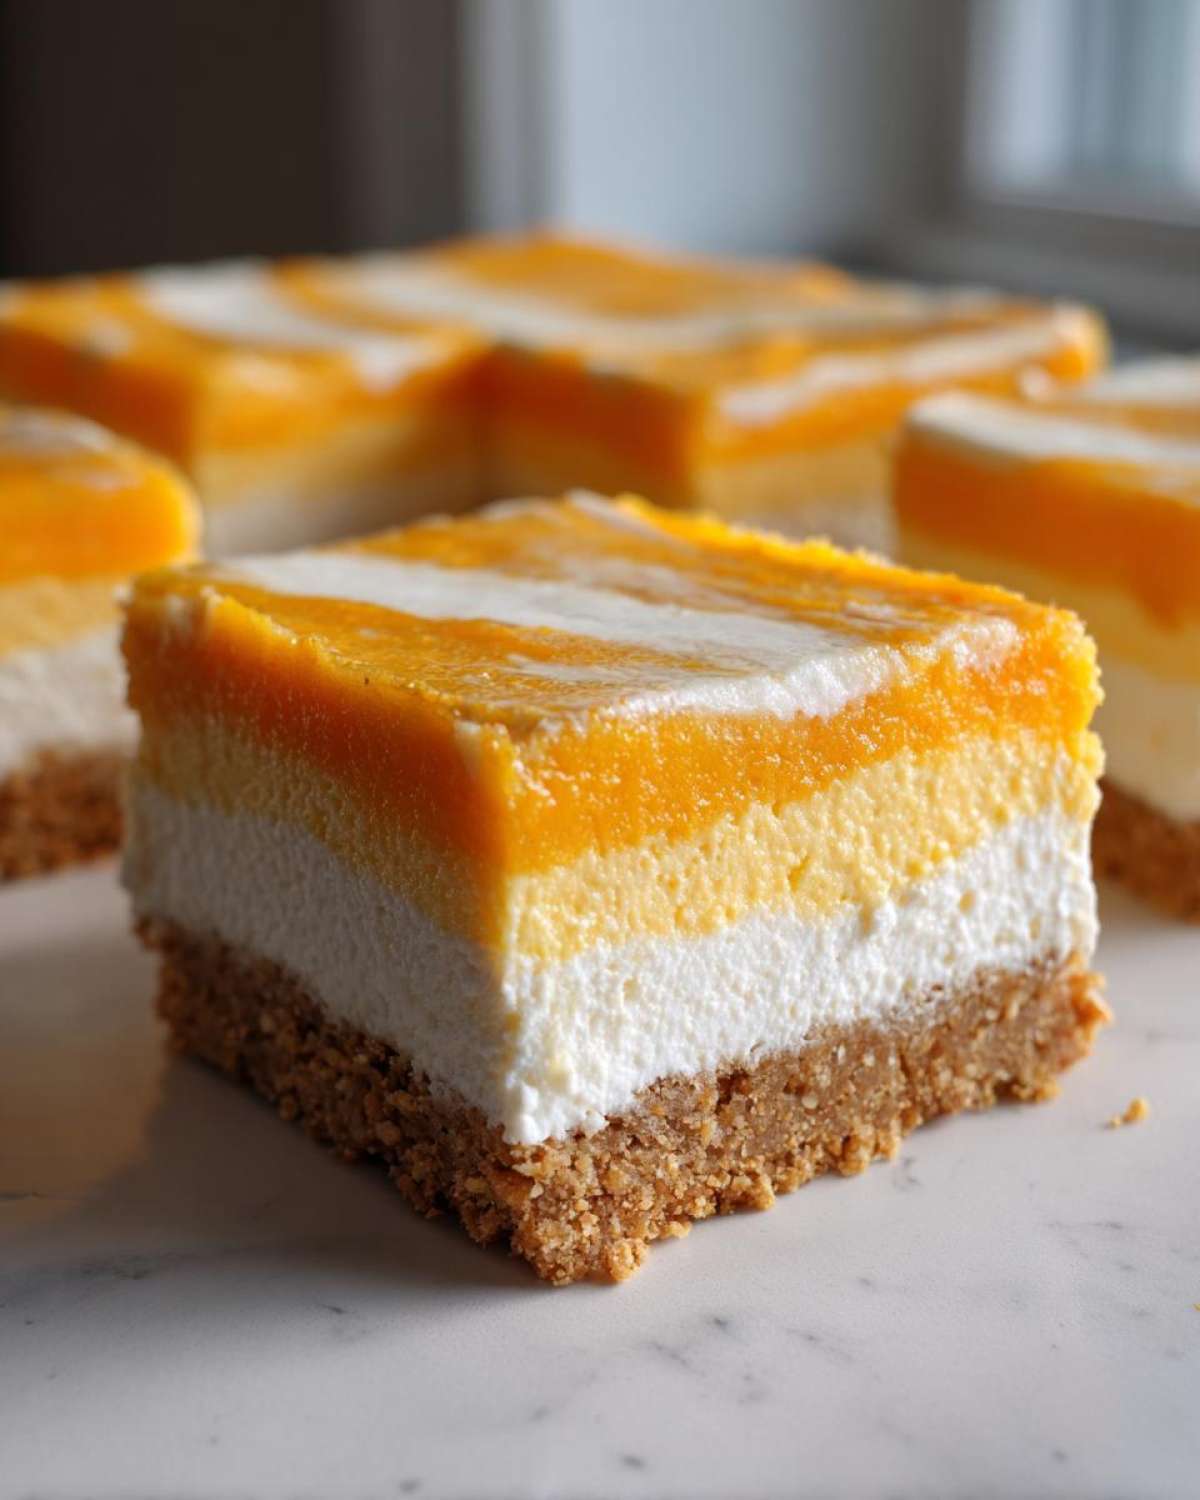
Assembling and Chilling the No Bake Orange Dessert
Next up, take your crust out of the freezer. Spread that gorgeous orange filling evenly over the chilled crust. Smooth out the top if you can! Cover it loosely with plastic wrap—don’t let the plastic touch the filling, or you’ll smudge your pretty top. Now comes the hardest part: waiting. You need to refrigerate these bars for a minimum of 6 hours, but honestly, overnight is the absolute best for setting up perfectly. Once it’s totally firm, use those parchment paper ‘handles’ to lift the whole slab out, and then slice it cleanly into 16 squares. Enjoy your Layered Dessert Bars!
Expert Tips for Perfect No-Bake Orange Creamsicle Cheesecake Bars
Even though these are no-bake, a few little tricks can elevate them from good to absolutely mind-blowing. I learned these little secrets over years of trial and error—mostly error involving lumpy filling, if I’m being honest! If you follow these, you won’t have any trouble getting the texture just right for your Dessert with Cream Cheese.
Achieving the Smoothest Filling Texture
Listen to me: room temperature cream cheese is non-negotiable! If you try to mix cold cream cheese, you’ll end up adding too much sugar trying to smooth out the lumps, which ruins the texture. Beat the cream cheese until it’s totally lump-free before you even think about folding in that glorious whipped cream. We want fluffy air, not dense clumps!
Boosting the Citrus Flavor
When it comes to orange flavor in a Citrus Dessert Bars recipe, zest is your best friend. Seriously, use a microplane and get that bright orange top layer off the fruit; that’s where all the intense oil and pure scent lives. Bottled orange extract can taste artificial, but fresh zest sings! You can even check out how I pump up the flavor in my snickerdoodle cheesecake—it’s all about layering the flavor notes!
Ingredient Substitutions for Your No-Bake Orange Creamsicle Cheesecake Bars
Sometimes you go to the pantry and realize you’re out of graham crackers. Don’t panic! These No-Bake Orange Creamsicle Cheesecake Bars are super adaptable, which is why I love them so much for impromptu parties or when I’m missing one little thing. Since this is a Quick Cheesecake Bars recipe, we want to keep the changes minimal so we don’t compromise that perfect set.
If you find yourself missing a key element, have no fear! We can swap out the crust easily, or even switch up the citrus if you’re feeling adventurous. It’s all about being resourceful in the kitchen!
Crust Variations for Layered Dessert Bars
Graham crackers are classic for a reason—they offer that perfect amount of spice and structure for our base. However, if you’re out? Vanilla wafers work brilliantly; they give a slightly sweeter, buttery base. If you have those shortbread cookies lying around, crush those babies up instead! They create such a delicate texture for these Layered Dessert Bars. Just remember, you’ll still use the exact same amount of sugar and melted butter, regardless of which cookiecrumb you choose!
Storage and Serving Suggestions for Creamsicle Bars
Once you finally get these beauties chilled and set, you have to know how to keep them tasting perfect! Since these are such a great Easy Summer Dessert and we didn’t bake them, their shelf and texture life are a little different than a traditional cheesecake. I usually make mine a day ahead when I know I’ll be busy the next evening.
To keep them fresh, treat them like you would any good Dessert with Cream Cheese: cover them tightly! An airtight container is your best bet to stop them from drying out or picking up any weird fridge smells. If you manage to have any leftovers past four days in the fridge, pop them in the freezer. They freeze like a dream and make for a fantastic impromptu snack straight from the freezer—seriously quick, handheld No Oven Desserts!
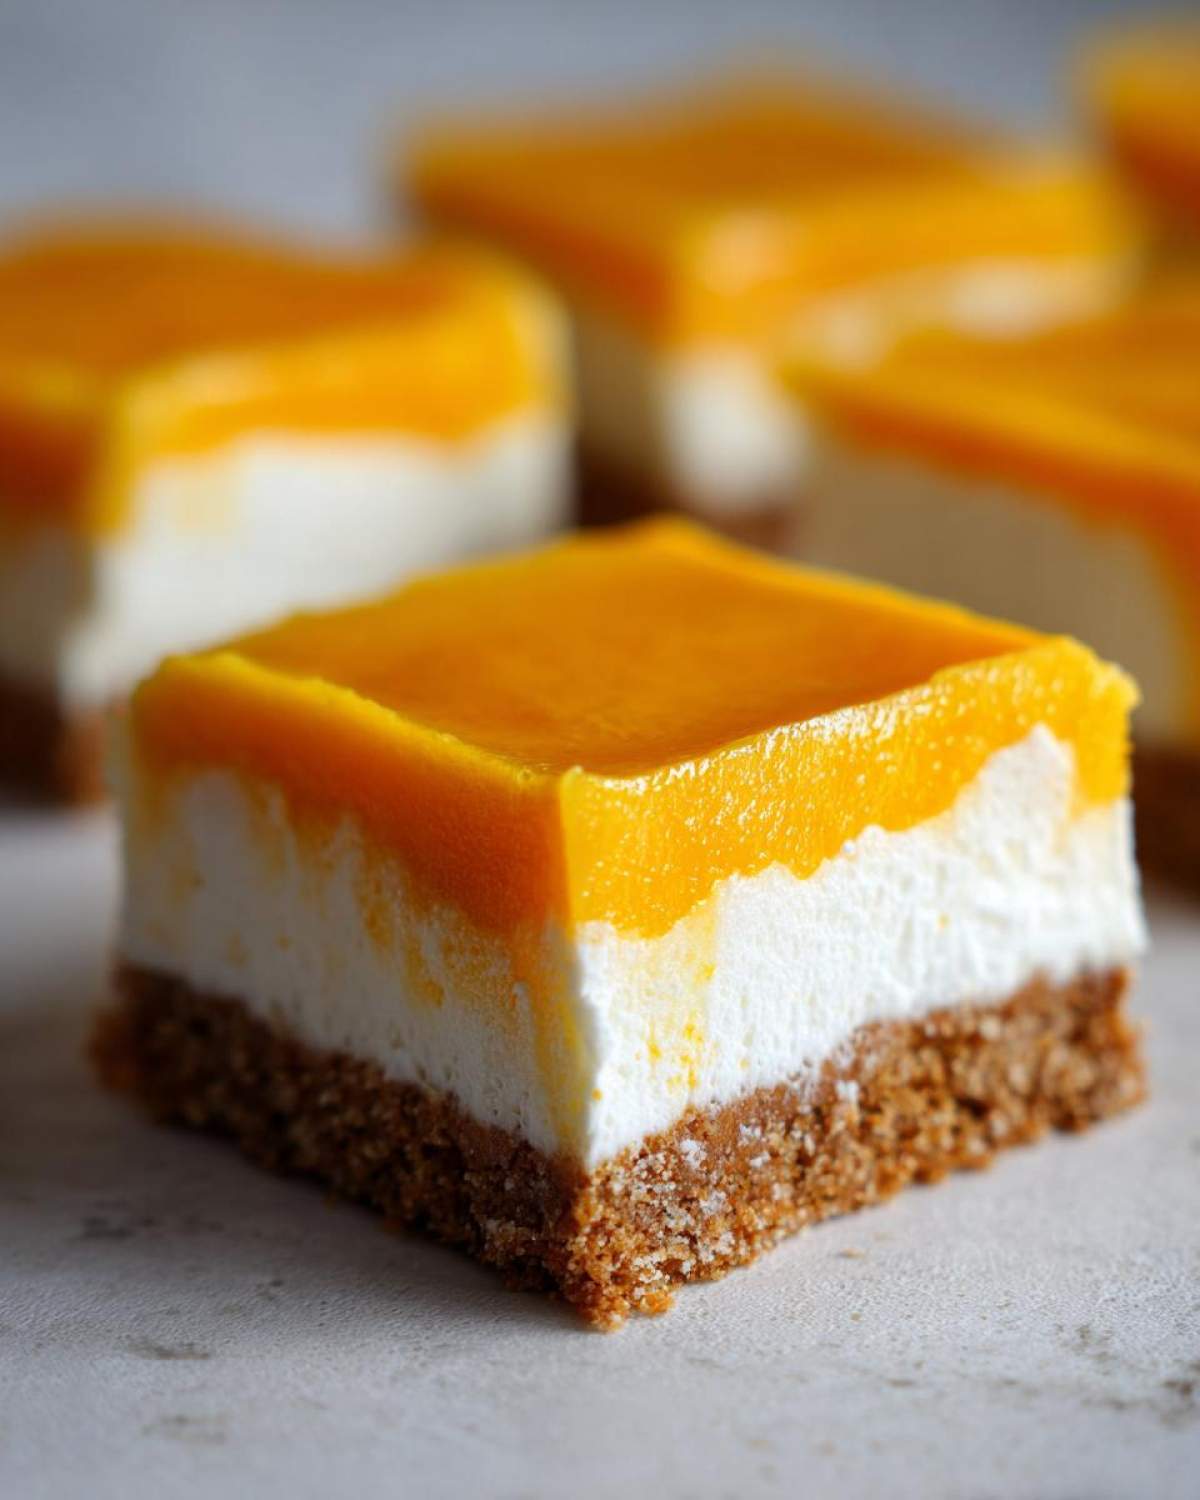
Keeping Your No Bake Cheesecake Recipe Fresh
I find these hold up wonderfully for about 3 to 4 days stored airtight in the refrigerator. The crust stays crisp enough, I promise! If you’re preparing these for a party that’s more than a day away, wrap the entire uncut slab tightly in plastic wrap and then foil before freezing. When you’re ready to serve, thaw them wrapped on the counter for about an hour, or just slice them straight from the freezer if you like them super firm. Check out some other fantastic make-ahead sweet treats on the easy summer dessert page!
Frequently Asked Questions About No-Bake Orange Creamsicle Cheesecake Bars
I always get so many questions when I post these because everyone wants to make sure their bars turn out perfectly set! Since the appeal here is the ease of these No Bake Cheesecake Bars, the few questions I get usually revolve around setting them up right or storage. Don’t stress; I’ve got you covered with my best advice!
Can I make these No Bake Orange Dessert bars ahead of time?
Oh, absolutely! That’s one of the best parts about this No Bake Orange Dessert! I actually prefer making them the day before. They need that solid 6-8 hours in the fridge to firm up properly, and chilling overnight ensures the crust has molded completely around the filling. They’re perfect for prepping Sunday night for a Monday party!
What is the best way to get a clean cut on the bars?
This is the absolute key to making them look gorgeous! Once they are fully chilled, use a very sharp, long knife—like an 8-inch chef’s knife. Before every single cut, dip that knife into a tall glass of hot water and then quickly wipe it completely dry with a towel. The heat melts the filling just slightly, letting the knife glide through cleanly without dragging or smearing the beautiful layers. You’ll get perfect squares!
Can I use mandarin oranges instead of juice/zest?
That’s a fun idea, but I would advise against it for this specific recipe. Remember, this is meant to capture that smooth, ultra-creamy Orange Cream Dessert Recipe taste. Canned mandarin segments hold way too much water, and they are chunkier than what we created with the zest and juice. If you added canned segments, you risk making the filling watery and preventing it from setting up into that nice, dense square. Stick to the juice and zest for that iconic texture!
If you want to browse through even more of my favorite recipes, you can always check out the snacks section for other ideas!
Estimated Nutritional Data for No-Bake Orange Creamsicle Cheesecake Bars
Now, let’s talk numbers for a second. Since we are using full-fat cream cheese and butter in the crust, these bars are definitely a treat, not a birdseed snack! This information is just an estimate based on the ingredients listed and using 16 even servings, so they might vary slightly in your kitchen depending on what brands you use. But hey, it’s a delicious treat, so we won’t worry too much about the totals!
- Serving Size: 1 bar
- Calories: 220
- Fat: 14g (It really needs that fat to set nicely!)
- Saturated Fat: 8g
- Carbohydrates: 21g
- Sugar: 18g (That happy sweetness!)
- Protein: 3g
- Cholesterol: 40mg
See? Totally worth it for that amazing pop of citrus freshness in a no-bake dessert! Enjoy every bite of these sunshine-yellow squares.
Share Your Experience Making This Orange Cream Dessert Recipe
I am so, so excited for you to try these bars! Honestly, what is the point of making something this delicious if you can’t brag about it a little? Once you’ve served these Creamsicle Bars to your family or friends, please come back here and let me know what you thought!
Did you use graham crackers or did you try the vanilla wafer crust variation? Did you add a little neon orange food coloring, or did you stick to a pale yellow? I want to hear all the details! Drop a rating below using the stars—it really helps other folks know this is a winner among Easy No Bake Desserts.
If you snapped a picture of your perfectly layered dessert bars looking all bright and creamy on a platter, tag me on social media! Seeing your creations honestly makes my day. And if you have any other questions that popped up while you were mixing, pop them in the comments section below, and I’ll jump in and help out. Need to get in touch directly for a recipe question? You can always reach out through my contact page!
PrintNo-Bake Orange Creamsicle Cheesecake Bars
Prepare simple, no-bake cheesecake bars featuring the classic orange and vanilla creamsicle flavor combination on a graham cracker crust.
- Prep Time: 20 min
- Cook Time: 0 min
- Total Time: 6 hr 20 min
- Yield: 16 bars
- Category: Dessert
- Method: No-Bake/Chilling
- Cuisine: American
- Diet: Vegetarian
Ingredients
- 1 1/2 cups graham cracker crumbs
- 1/4 cup granulated sugar (for crust)
- 6 tablespoons unsalted butter, melted
- 8 ounces cream cheese, softened
- 1 cup powdered sugar
- 1/2 cup heavy whipping cream, cold
- 1/4 cup orange juice, fresh or bottled
- 1 teaspoon orange zest
- 1 teaspoon vanilla extract
- Orange food coloring (optional, for color)
Instructions
- Line an 8×8 inch baking pan with parchment paper, leaving an overhang for easy removal.
- Combine graham cracker crumbs and 1/4 cup granulated sugar in a medium bowl. Pour in melted butter and mix until the crumbs are evenly moistened.
- Press the crumb mixture firmly and evenly into the bottom of the prepared pan. Place the crust in the freezer while you prepare the filling.
- In a large bowl, beat the softened cream cheese with an electric mixer until smooth. Gradually beat in the powdered sugar until fully combined.
- In a separate, chilled bowl, whip the cold heavy whipping cream until stiff peaks form.
- Gently fold the whipped cream into the cream cheese mixture.
- Add the orange juice, orange zest, and vanilla extract to the cream cheese mixture. Mix until just combined. Add a drop or two of orange food coloring if you desire a brighter orange color.
- Spread the orange cream cheese filling evenly over the chilled crust.
- Cover the pan loosely with plastic wrap and refrigerate for at least 6 hours, or preferably overnight, until the bars are firm.
- Use the parchment paper overhang to lift the cheesecake from the pan. Cut into 16 squares before serving.
Notes
- For the best texture, ensure your cream cheese is fully softened to room temperature before mixing.
- Use fresh orange zest for the strongest orange flavor in the filling.
- If you prefer a firmer bar, you can substitute 1/2 cup of the heavy cream with an equal amount of frozen whipped topping, folding it in at the end.
Nutrition
- Serving Size: 1 bar
- Calories: 220
- Sugar: 18
- Sodium: 110
- Fat: 14
- Saturated Fat: 8
- Unsaturated Fat: 6
- Trans Fat: 0
- Carbohydrates: 21
- Fiber: 0
- Protein: 3
- Cholesterol: 40