

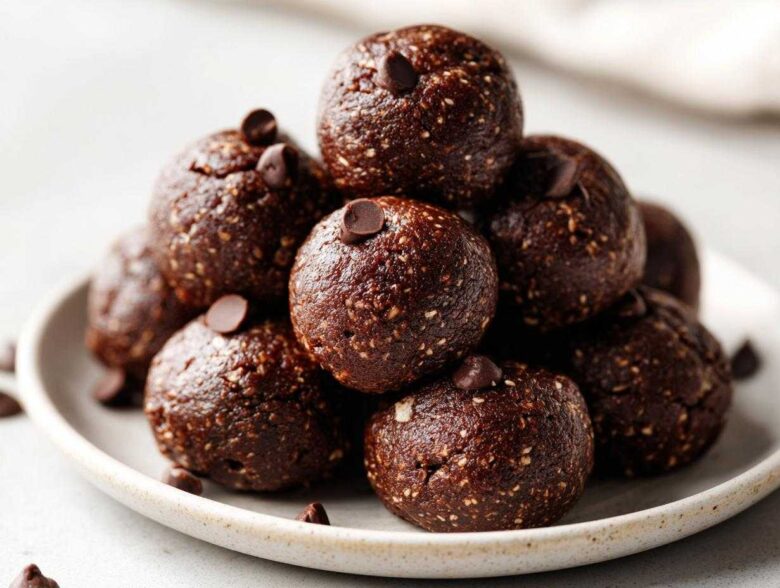
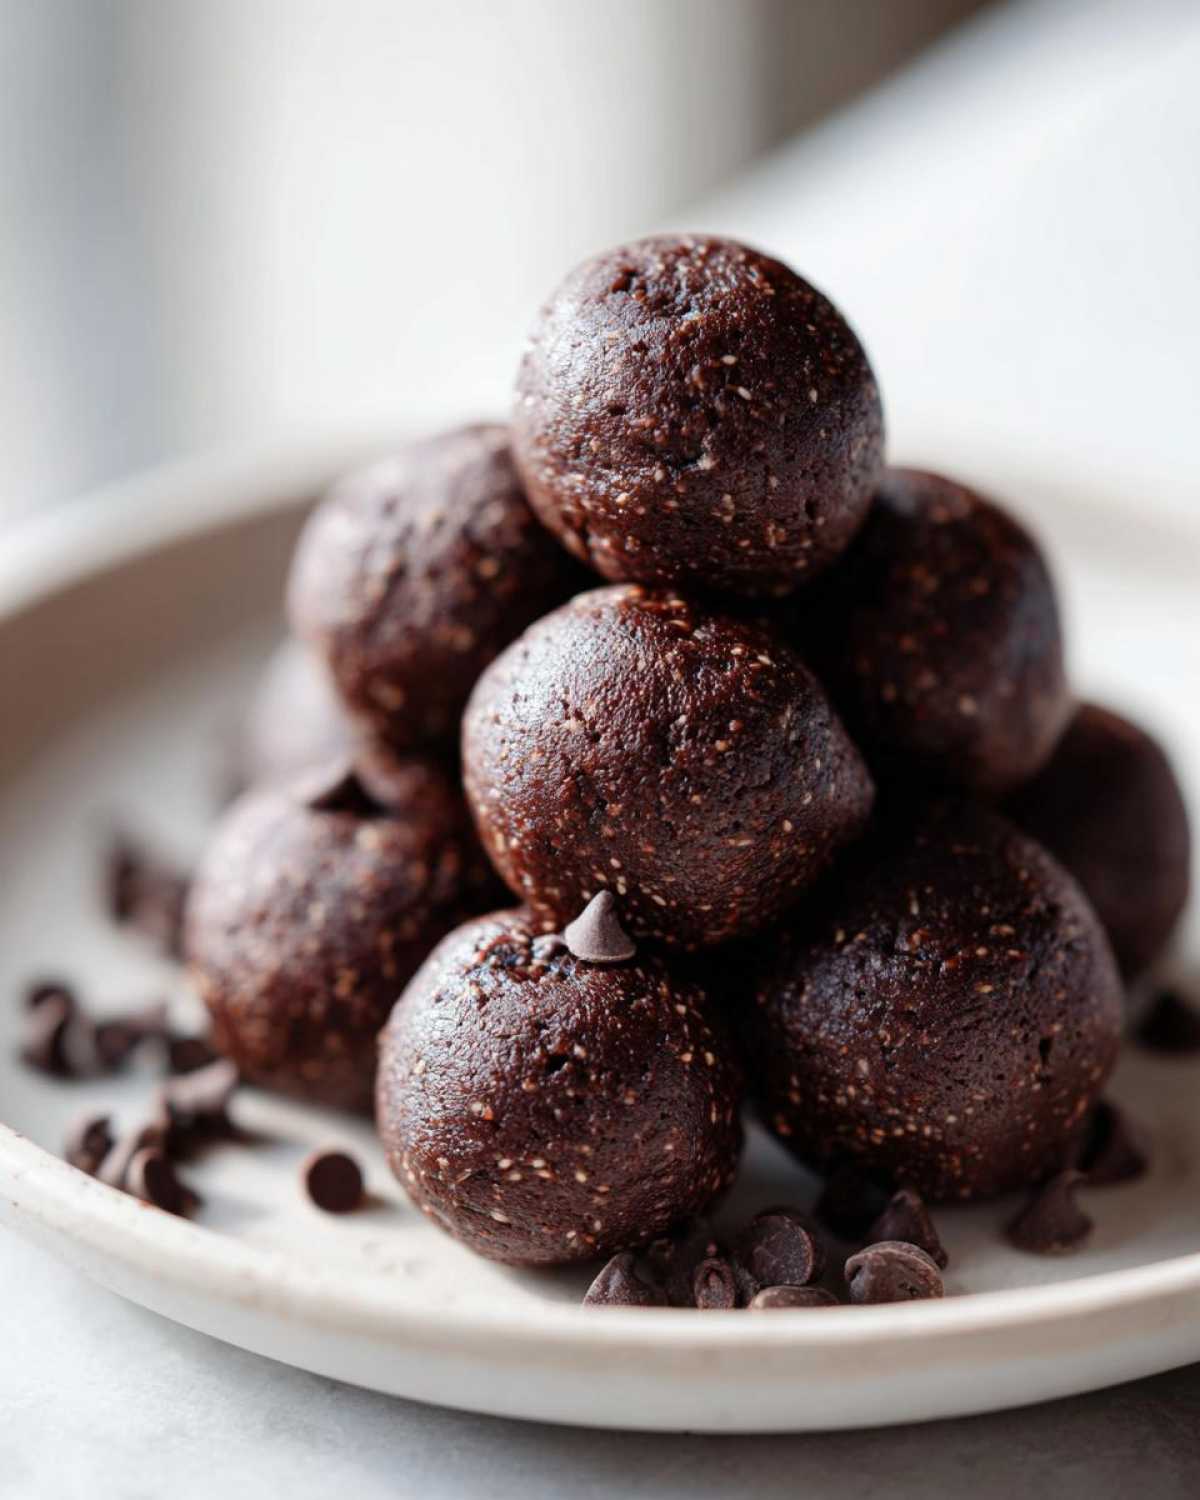
Oh my gosh, are you having one of those days where you desperately need a hit of chocolate, but the thought of even preheating the oven feels like too much work? Trust me, I get it! When that afternoon slump hits and my workout motivation is hanging on by a thread, I turn only to these No-Bake Brownie Batter Protein Balls. They are shockingly good—I mean, truly fudgy and rich, tasting exactly like sneaky spoonfuls of raw brownie mix, but packed with protein! I whip up a batch every Sunday, and honestly, they save my week. They are so simple, you literally just dump everything into a processor, roll, and chill. While you’re here, if you ever need some sturdy fuel, check out my recipe for no-bake protein bars, but these balls are faster! If you need a snack that tastes like dessert but works hard for your fitness goals, you have to try these right now!
Why You Will Love These No-Bake Brownie Batter Protein Balls
These little bites are the ultimate snack hack! Seriously, they check every box a busy person running on protein needs:
- They require absolutely no oven time—just 10 minutes of prep!
- They demolish that intense chocolate craving—hello, fudgy protein treats!
- Perfect for meal prepping; they are ideal make ahead protein balls.
- You get a big protein boost to help you satisfy chocolate cravings healthy style.
- Such a quick protein ball recipe; I promise you won’t believe how fast they come together.
Essential Ingredients for Fudgy No-Bake Brownie Batter Protein Balls
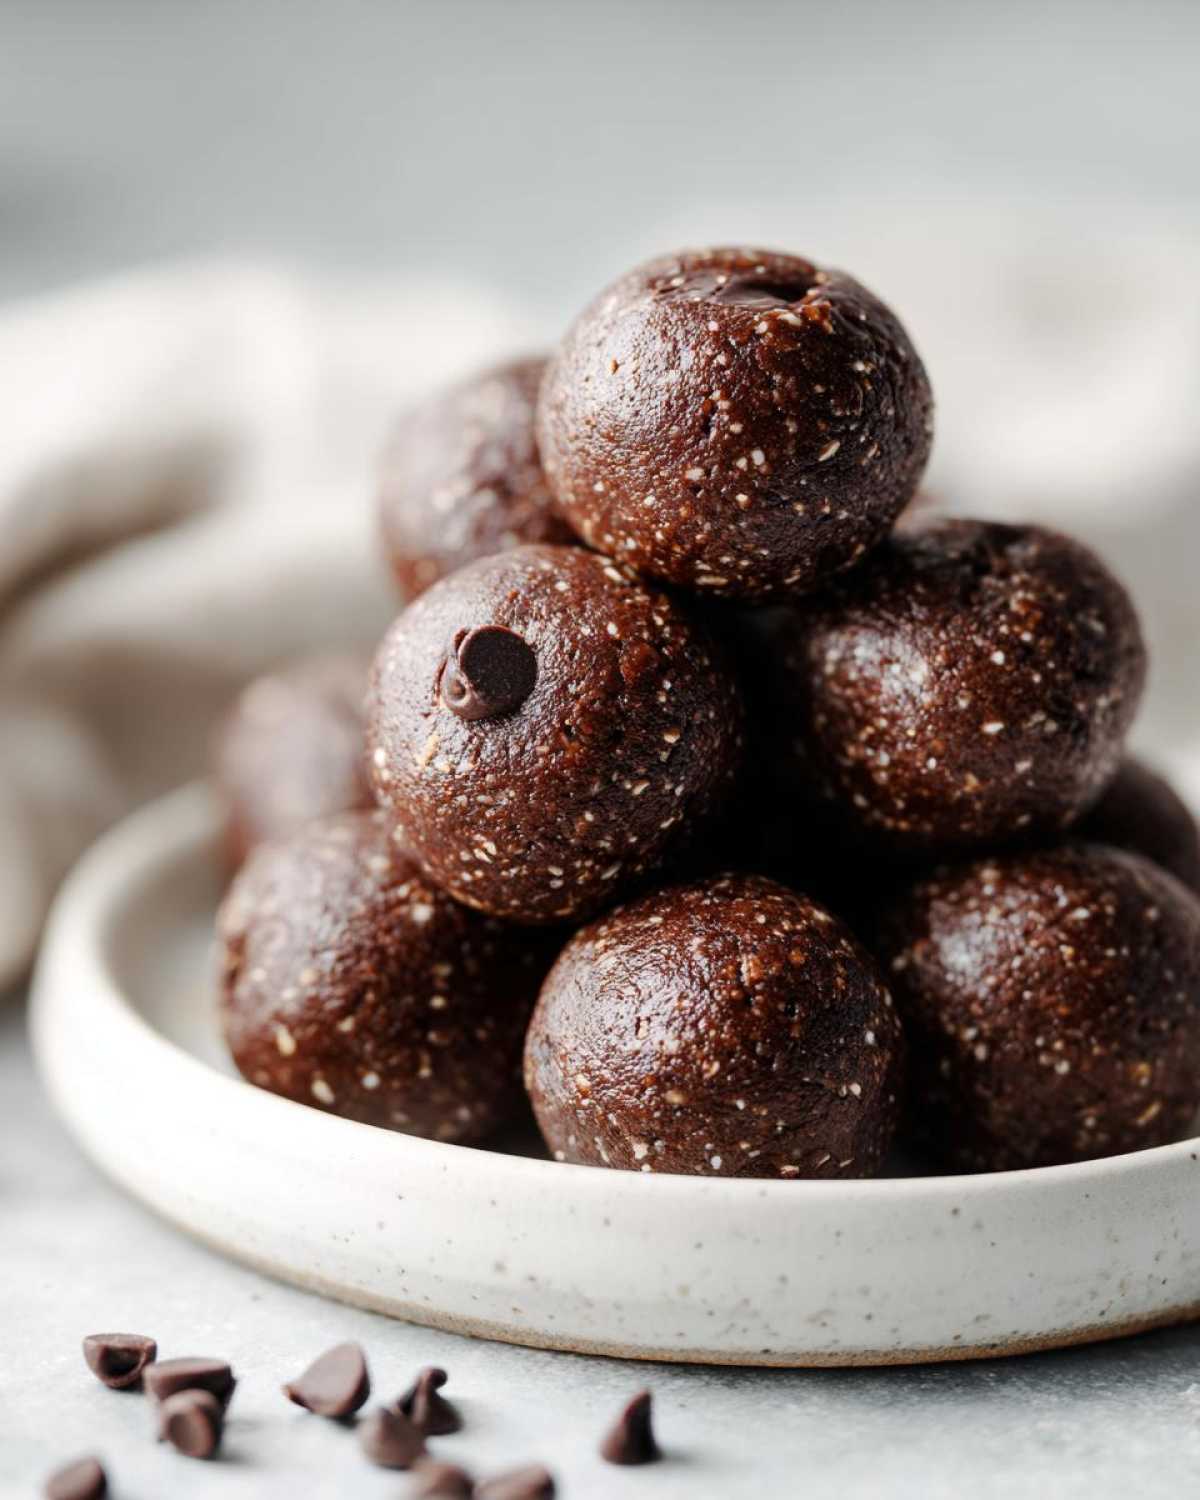
Okay, let’s lay out the absolute must-haves for this brownie batter magic. Because we aren’t baking, the quality and texture of these ingredients are super important for binding everything correctly. You need 1 cup of rolled oats, but here’s the crucial part: we grind those down first, so make sure your food processor is ready! We use 1/2 cup of chocolate protein powder—this is where most of that high-protein power comes from. Don’t skip the 1/2 cup of unsweetened cocoa powder; that gives us that deep, dark brownie color and flavor. We need healthy fats and stickiness, so grab 1/4 cup of your favorite nut butter, like creamy almond or peanut. A little bit of sweetness comes from 1/4 cup of maple syrup or honey, plus 1 teaspoon of vanilla extract. I always add a splash of 1/4 cup of cold unsweetened almond milk just to get the consistency right. I know, I know, it sounds like a lot, but you can find other decadent chocolate ideas over at my chocolate fondue recipe if you need more dessert inspiration! And listen, if you want that true brownie feel, toss in 1/4 cup of mini chocolate chips at the very end; trust me on that one!
How to Prepare Your Quick Protein Ball Recipe
This is the best part because it’s all hands-off—or hands-on, depending on how you look at it! Since we aren’t baking, all the flavor development happens right here in the bowl. If you usually struggle with energy after lunch, keep these protein balls on hand! We rely almost entirely on the food processor to do the heavy lifting here.
Processing the Dry Ingredients
First things first! You need to make sure your base is perfectly smooth so you don’t end up with chunky bites. Dump in your rolled oats, the chocolate protein powder, and the cocoa powder. Pulse this mixture until those oats break down completely. You’re aiming for something that looks really finely ground—almost like a coarse flour. This step is key for getting that authentic, smooth texture of the No-Bake Brownie Batter Protein Balls.
Mixing and Achieving the Dough Consistency
Now, time to make it sticky! Add your maple syrup (or honey), the nut butter, almond milk, and vanilla extract directly over the dry ingredients. Start processing again. Keep running the machine until everything mashes and clumps together into one big, thick ball of dough. This is vital: if it looks crumbly instead of coming together, add your almond milk one teaspoon at a time. Don’t just dump it in! A little moisture goes a long way, and too much liquid gives you sticky sludge instead of firm little treats.
Rolling and Chilling the Make Ahead Protein Balls
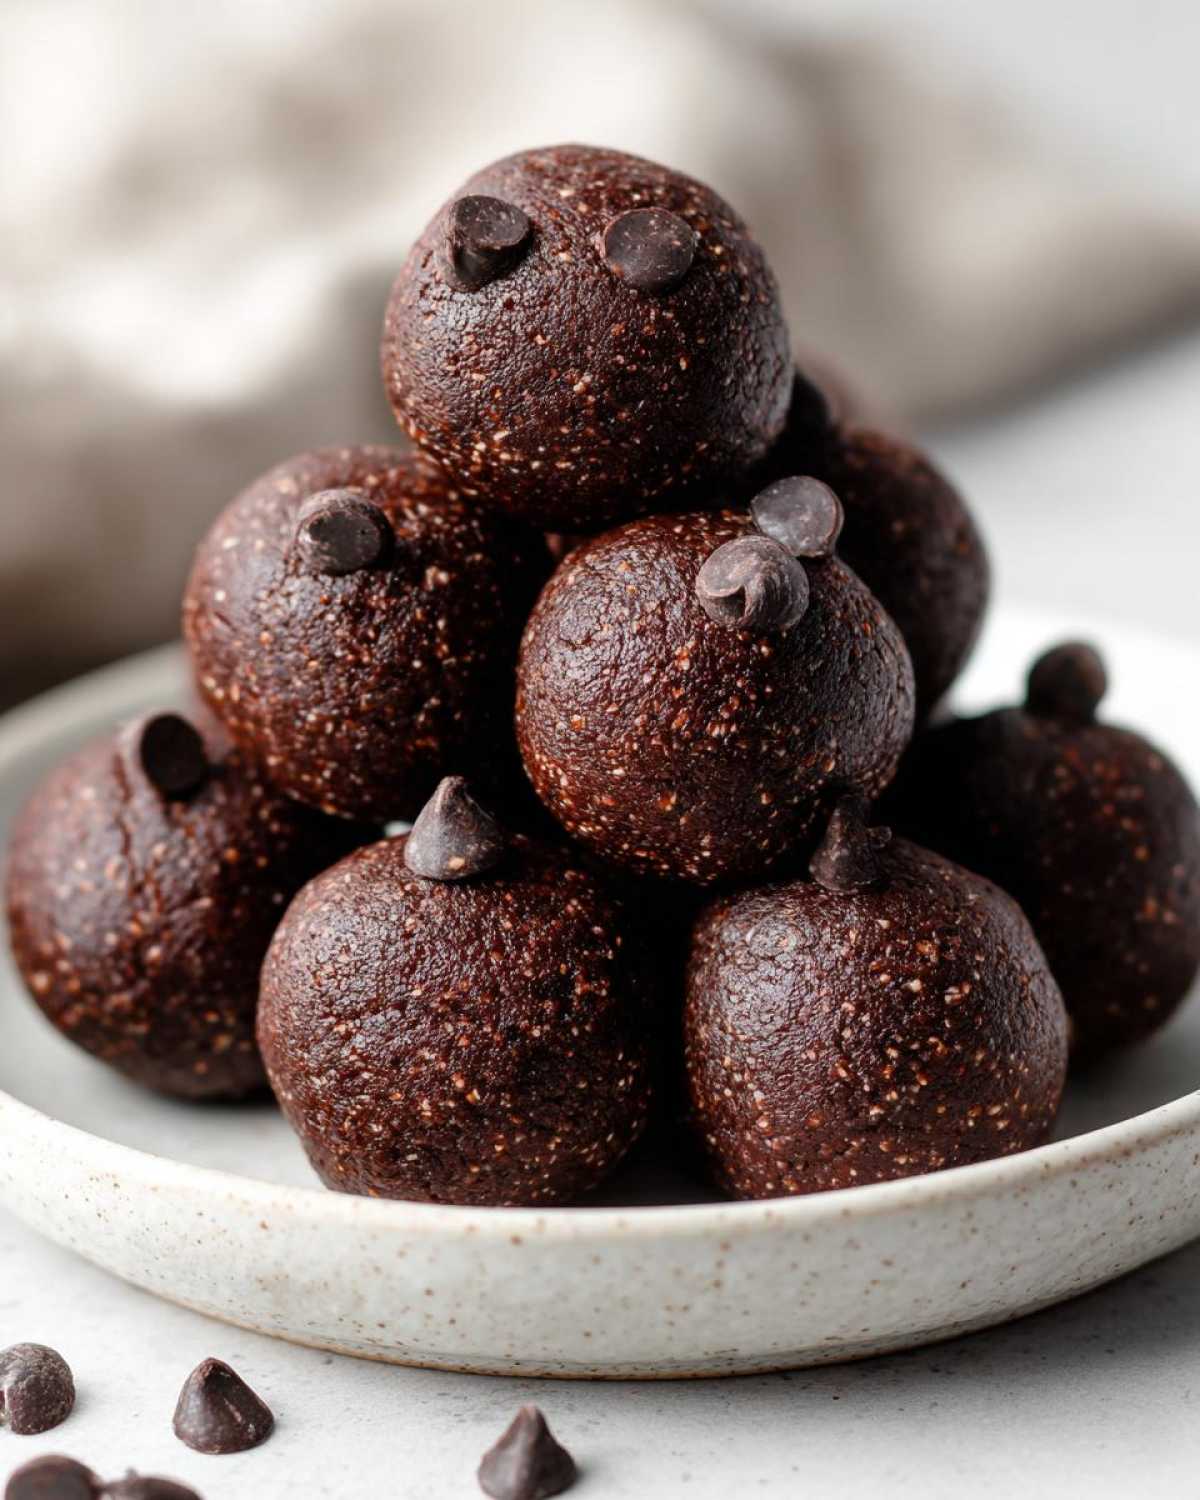
Once you have that perfect, fudgy dough, take it out and stir in those optional mini chocolate chips by hand—we don’t want those to get pulverized! Now, grab a small scoop or just use your hands and roll the dough into nice, neat 1-inch balls. You should get about 12 to 15 if you keep them consistent. Place them on a plate lined with parchment paper. They need a solid chill to firm up, so pop them into the fridge for at least 30 minutes before you try to grab one. This final rest makes them truly solid, perfect for grab-and-go snacking!
Ingredient Notes and Substitutions for No-Bake Brownie Batter Protein Balls
I always get asked about tweaking recipes, especially when we’re aiming for specific goals like keeping things vegan or just using what we have in the pantry! These No-Bake Brownie Batter Protein Balls are really flexible, but a few core components really dictate how well they hold together, since we skip the oven entirely. Mastering the binder is everything here. While I love experimenting, remember that changing the fat or liquid ratio is how you stop these from becoming a sticky mess! If you’re looking for other satisfying, non-baked ideas, my vegan chocolate chip cookies recipe has some great component swaps too.
Protein Powder Choices
This is a big one! If you’re using whey protein, the recipe usually comes together perfectly as written. But here’s the thing about plant-based protein powders, like pea or brown rice versions: they soak up liquid differently. If you switch to a plant-based powder, always be ready to add an extra teaspoon or two of almond milk. You just want that dough to come together firmly, not crumble apart!
Sweetener Swaps for Healthy Brownie Snacks
If you’re keeping them vegan, make sure you stick with maple syrup instead of honey. Both work great for sweetness and binding, but honey is an animal product, so maple syrup is the easy fix for that goal. You could even try using a different liquid sweetener like agave, but I find the maple syrup really enhances that deep, rich flavor we want in our healthy brownie snacks.
Tips for Perfect Fudgy Protein Treats
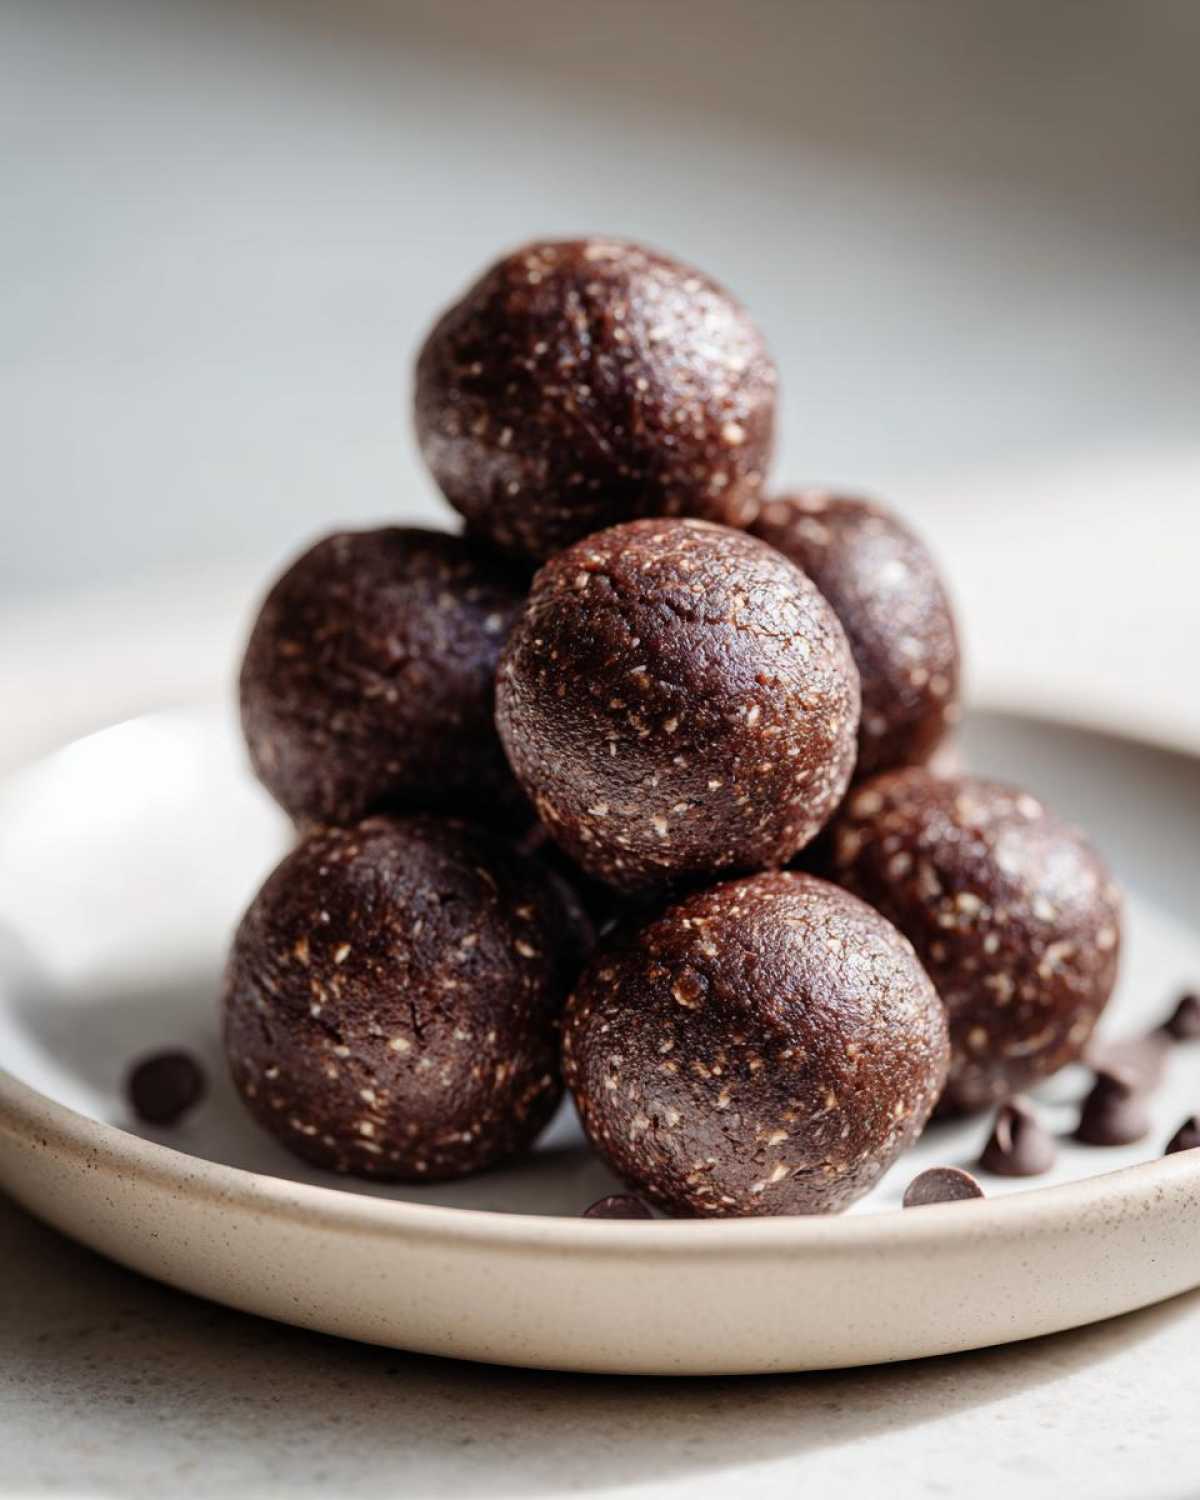
Getting these Fudgy Protein Treats just right comes down to a couple of little behind-the-scenes secrets I picked up! First, I mentioned it before, but seriously, use the best food processor you have! If your machine isn’t super strong, those oats won’t get fine enough, and you’ll end up with hard little bits instead of that melt-in-your-mouth texture. Second, don’t rush that chill time! I know waiting 30 minutes feels like forever when you have a craving, but those balls need to solidify properly in the cold. If you skip chilling, they are going to stick to everything and melt in your hands before you can enjoy them. For more easy, no-bake chocolate goodness, check out my silky chocolate mousse recipe!
Storage and Make Ahead Protein Balls Instructions
The beauty of these No-Bake Brownie Batter Protein Balls is that they are built for your busy week! Since they don’t have any eggs or baking to set them permanently, they need refrigeration. Store the finished balls in an airtight container—I use glass ones so I can see how many I have left! They stay perfectly fresh and firm for up to one whole week in the fridge. This makes them the perfect option if you’re planning easy meal prep snacks for the whole family.
Frequently Asked Questions About No Bake Protein Bites
I know when you’re first making these little powerhouse snacks, your brain has a million questions swirling around! It’s smart to ask! People are always curious about texture and swaps, which is completely normal when dealing with a recipe that’s meant to be so quick to assemble. I’ve gathered the ones I hear most often about these No Bake Protein Bites.
Can I use a blender instead of a food processor for these No Bake Protein Bites?
You absolutely *can* try it in a high-powered blender, but you might struggle to get the oats as finely processed as you need. A food processor is much better suited for this specific task because we need to turn those oats into a fine powder before adding the wet ingredients. If you use a blender, you’ll probably have to stop and scrape the sides down constantly, and you might end up with some larger, oatier chunks in your No Bake Protein Bites. I always prefer that smoother, almost fudgy texture that only a food processor seems to deliver.
How long do these Chocolate Energy Balls Recipe stay fresh?
This is the wonderful part about almost all no-bake protein creations! Because they are so dense and kept cold, these Chocolate Energy Balls Recipe treats last quite a while in the fridge. I try to make them on Sunday, and they are usually gone before the next weekend hits. You can safely store them in a really good airtight container in the refrigerator for up to one full week. If you manage to have any leftovers after that week, you can freeze them, but honestly, they taste the best within the first few days once they’ve really settled.
I always recommend checking out my general food tips page if you have other questions about storing homemade snacks or need general kitchen advice!
Estimated Nutritional Data for High Protein Chocolate Balls
Okay, let’s talk macros, because I know so many of you are tracking your intake while enjoying these incredibly decadent treats! Remember, since we’re mixing ingredients at home, these numbers are always an educated guess based on standard products, so think of them as a solid baseline. This data is based on one single ball serving.
- Calories: 135
- Protein: 8g
- Fat: 6g
- Carbohydrates: 16g
These figures really show how powerful these High Protein Chocolate Balls are for your midday fuel! For a complete breakdown and more information on how we calculate our estimates, please see the site disclaimer page.
Share Your No-Bake Brownie Batter Protein Balls Creations
I absolutely love hearing from you when you try one of my favorite quick fixes! Did these No-Bake Brownie Batter Protein Balls hit that chocolate craving just right for you? Don’t keep that success a secret! Please take a moment and drop a rating down below—even a quick five stars helps other busy people find this recipe when they need that immediate, fudgy energy fix.
I really want to see your gorgeous little balls of power! Snap a picture if you made them and tag me on social media! Tell me what nut butter you used or if you added anything extra—maybe some espresso powder to make them mocha flavored? I’m always building ideas for the next batch, and your comments and feedback are super helpful for me and for everyone else reading. If you have any trouble at all, or if you need to get in touch about ingredient substitutions, you can always reach out through the contact page. Happy rolling!
PrintNo-Bake Brownie Batter Protein Balls
Make rich, fudgy protein balls that taste like brownie batter without turning on your oven. These are quick to prepare and perfect for meal prepping.
- Prep Time: 10 min
- Cook Time: 0 min
- Total Time: 10 min
- Yield: 14 servings
- Category: Snack
- Method: No-Bake
- Cuisine: American
- Diet: Vegetarian
Ingredients
- 1 cup rolled oats
- 1/2 cup chocolate protein powder (whey or plant-based)
- 1/2 cup unsweetened cocoa powder
- 1/4 cup maple syrup or honey
- 1/4 cup nut butter (almond or peanut)
- 1/4 cup unsweetened almond milk (or milk of choice)
- 1 teaspoon vanilla extract
- 1/4 cup mini chocolate chips (optional)
Instructions
- Place the rolled oats, protein powder, and cocoa powder in a food processor. Pulse until the oats are finely ground.
- Add the maple syrup, nut butter, almond milk, and vanilla extract to the food processor.
- Process the mixture until it comes together into a thick, uniform dough. If the mixture seems too dry, add almond milk, one teaspoon at a time, until it holds together when pressed.
- Stir in the mini chocolate chips by hand, if using.
- Roll the dough into 1-inch balls. You should get about 12 to 15 balls.
- Place the balls on a parchment-lined plate or tray.
- Refrigerate for at least 30 minutes to firm up before serving.
Notes
- If you use plant-based protein powder, you may need slightly more liquid to bind the dough.
- Store the finished protein balls in an airtight container in the refrigerator for up to one week.
- For a vegan option, use maple syrup instead of honey.
Nutrition
- Serving Size: 1 ball
- Calories: 135
- Sugar: 8g
- Sodium: 45mg
- Fat: 6g
- Saturated Fat: 1.5g
- Unsaturated Fat: 4.5g
- Trans Fat: 0g
- Carbohydrates: 16g
- Fiber: 2g
- Protein: 8g
- Cholesterol: 5mg