

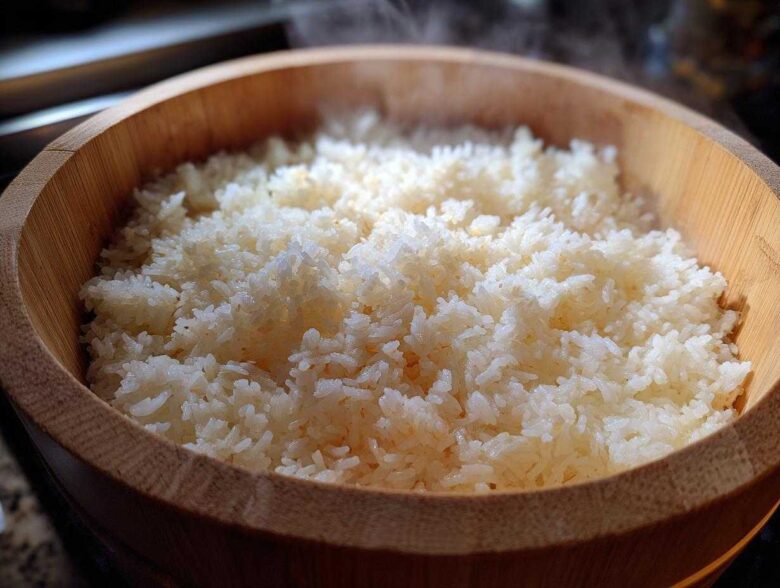
Okay, let’s be real for a second. Making sushi at home feels like this huge culinary hurdle, right? You buy all the fancy nori and fillings, roll it up, and then the whole thing falls apart. I’ve been there! Way more times than I care to admit before Liam, my patient professor, stepped in. The absolute non-negotiable secret, the foundation for every single perfect roll or bowl, is the **sushi rice**. If your rice isn’t right—sticky enough but still distinct, perfectly seasoned—you’ve just got fancy leftovers wrapped in seaweed. Liam showed me that mastering this one element changes everything. Seriously, once you nail this specific sticky, tangy rice, you’re practically a sushi chef. I even found a great resource detailing how to make sticky rice for sushi that really helped me understand the texture part!
Why Mastering Perfect Sushi Rice is Your Homemade Sushi Essential
Listen, you can have the freshest tuna and the crispest cucumber, but if the rice underneath is mushy or bland, the whole experience deflates! What Liam taught me early on is that texture and seasoning separate the soggy takeout from something that feels like real deal, restaurant quality sushi rice at home.
It’s all about that balance. We’re not aiming for mashed potatoes; we want individual grains that stick together just right when you squeeze them—that’s the fun part of mastering rice texture correctly. That slight tang from the vinegar, coupled with the sweetness? That’s the flavor profile that sings with the salty seaweed and rich fish. Trust me, spending a little extra time here is the biggest confidence boost you’ll get when rolling your first California roll!
Selecting the Right Grains for Perfect Sushi Rice
This is where so many people go wrong right at the start. You absolutely cannot use Uncle Ben’s or any long-grain basmati here—save that for Indian night! For that iconic sticky structure you need for your homemade sushi essential, you must use Japanese short-grain rice or what’s often called Calrose rice here in the States. These grains are plump and hold just the right amount of moisture and starch. That starch is golden, Clara! It releases during cooking, which is what makes the rice cling together beautifully during the japanese short grain rice cooking process.
The Importance of Rinsing and Soaking Your Sushi Rice
Now that you have the right stuff, we need to clean it up. Liam always makes a big production of this part, but it’s crucial! Put your rice in a fine-mesh sieve and run it under cold water. Keep rinsing and swirling it around until the water that drains out is completely clear. We’re washing off the extra surface starch so the rice doesn’t turn into glue later.
Once it’s clean, dump it into a bowl, cover it with fresh cold water, and leave it alone for 30 minutes. That soak time lets the water penetrate the grain fully, which helps everything cook evenly. After 30 minutes, drain it really well. That’s serious prep work, but it pays off!
The Sushi Rice Vinegar Mixture: Achieving the Perfect Seasoning Ratio
This part is where you stop making plain rice and start making *sushi rice*. It’s all about the seasoning, friends! This is the secret to that fantastic tang that cuts through the richness of avocado or mayo in your rolls. Getting your sushi rice vinegar mixture right is critical for the color and structure, too. Liam stressed that the sushi rice seasoning ratio must be exact, so don’t eyeball this part! We need to gently warm the liquids to dissolve everything perfectly without cooking the vinegar off; boiling it ruins the brightness.
Ingredient Clarity for Your Sushi Rice Vinegar Mixture
Precision is our buzzword here! Get yourself a tiny saucepan for this, because we need to dissolve everything completely before it meets the rice. You will need a half cup of rice vinegar, three tablespoons of granulated sugar, and exactly one teaspoon of table salt. It’s such a small amount of seasoning for two cups of dry rice, but it goes a surprisingly long way!
Heat this mixture over low heat, stirring constantly until you can no longer feel any grittiness at the bottom of the pan—that means the sugar and salt are totally dissolved. That’s it! You take it off the heat immediately. We want it warm when it hits the rice, but definitely not hot enough to actually cook the grains further. Easy peasy, right?
How to Cook Perfect Sushi Rice: Stovetop and Instant Pot Methods
Alright, now that we have our perfectly rinsed, soaked, and seasoned rice ingredients ready, it’s time for the actual cooking! Making phenomenal **sushi rice** doesn’t require a dedicated Japanese rice cooker anymore, though if you have one, that’s great! We’re covering both the trusty stovetop and how to tackle this in your pressure cooker for a fantastic instant pot sushi rice tutorial.
For the stovetop, grab a heavy pot with a tight lid. Combine your drained rice and 2 cups of cold water. Bring that right up to a boil over medium-high heat. The second it hits a rolling boil, you need to act fast! Turn that heat down to the absolute lowest setting—we mean barely a flicker—and cover it. And here is Liam’s biggest rule: Do not lift that lid! Seriously, no peeking for 15 minutes. I know it’s torturous, but steam management is everything here.
If you’re jamming on the Instant Pot, the process is just as straightforward. Dump the drained rice and 2 cups of water inside, seal it up, and set it to High Pressure for 10 minutes. After the timer goes off, let it sit for 10 minutes for a natural release before you flip the valve. Whether stove or pot, you’ve done the hard part! If you want to check out my full breakdown, I have all the measurements here.
Crucial Resting Time After Cooking Sushi Rice
This step is non-negotiable, whether you used the stovetop or the Instant Pot. Once the cooking time is done for either method, the rice needs to sit, untouched and covered, for exactly 10 more minutes. This allows the steam that’s trapped inside to redistribute evenly through every single grain. Think of it like letting meat rest after you take it off the grill—it keeps the juices (or in this case, the moisture) right where they belong. If you skip this resting period, you risk having rice that’s cooked unevenly, which messes up that beautiful texture we’re aiming for!
Seasoning and Cooling: Achieving Restaurant Quality Sushi Rice at Home
This moment, transferring the hot rice and pouring on that beautiful vinegar mixture, feels like the real magic happening! Remember, since we are dealing with vinegar, Liam insisted we use a large, non-metallic bowl—wood or glass is perfect. Never metal! The acid can react, and trust me, we don’t want funky flavors when we are chasing that perfect flavor profile for our sushi rice.
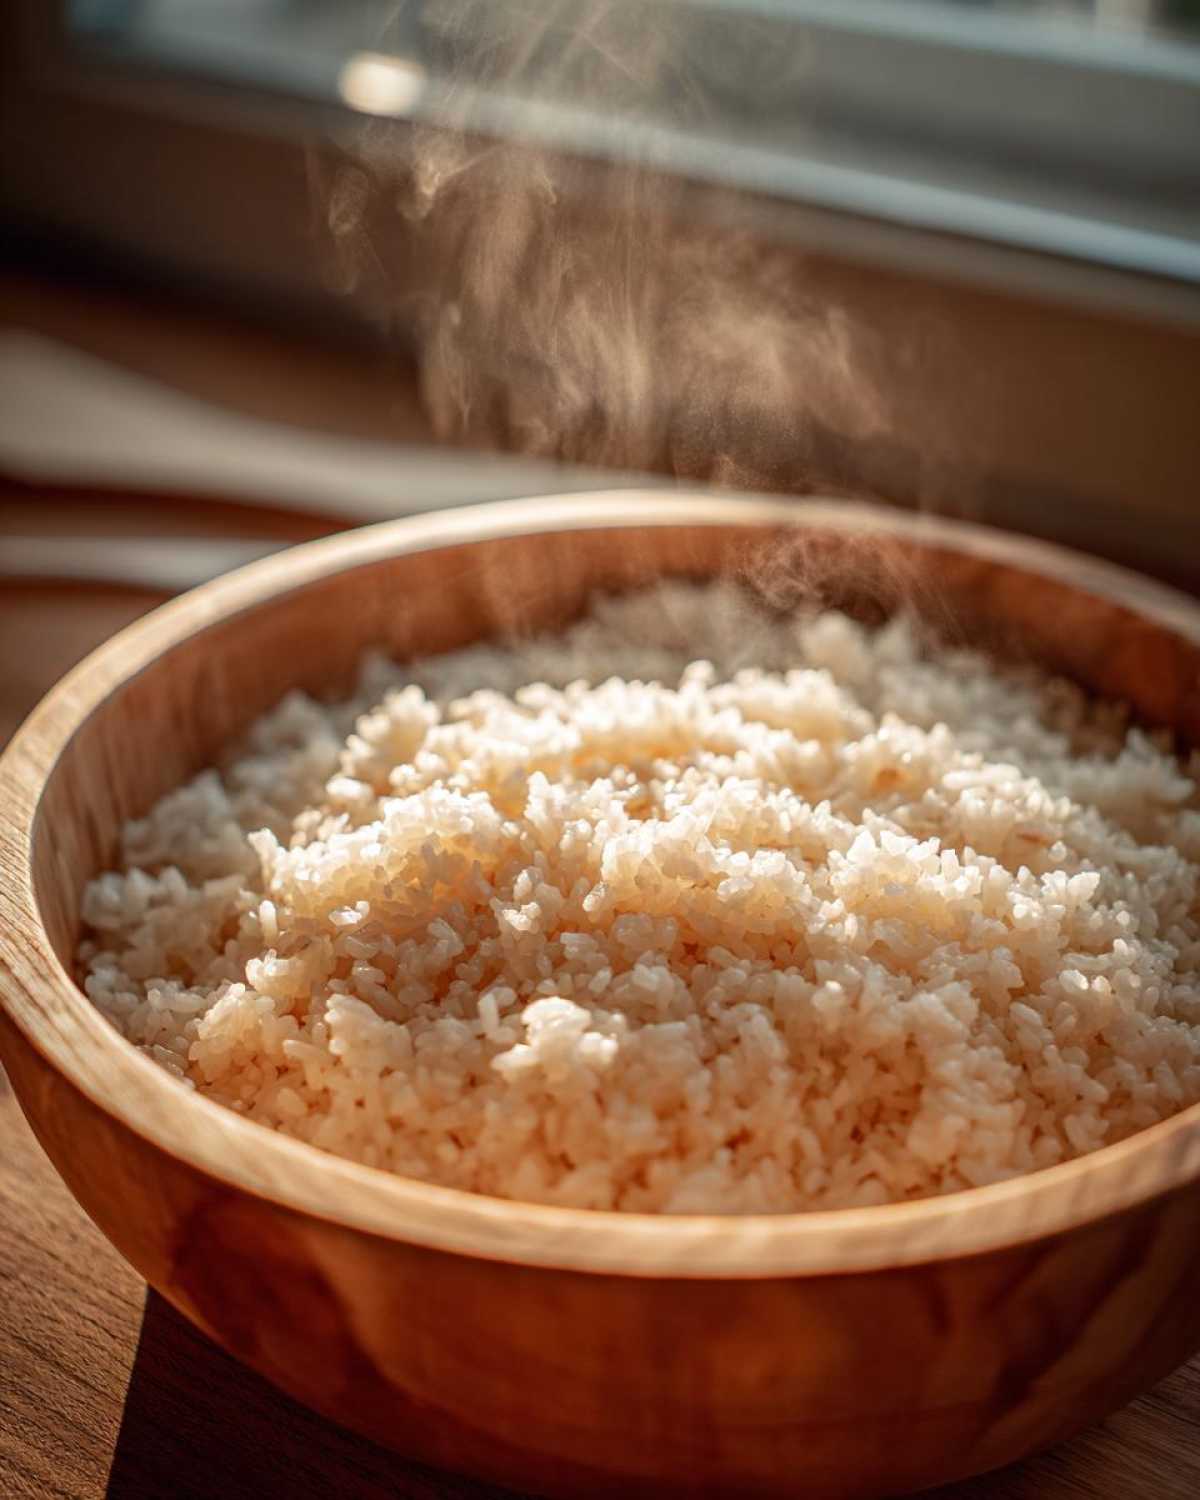
Pour that slightly cooled liquid evenly over the rice. Now for the technique: you must fold, not stir. Stirring will smash those delicate grains and ruin the structure needed for mastering rice texture. Use a rice paddle or a wooden spoon and use quick, slicing or cutting motions to gently separate the grains while folding the seasoning in. Don’t press down!
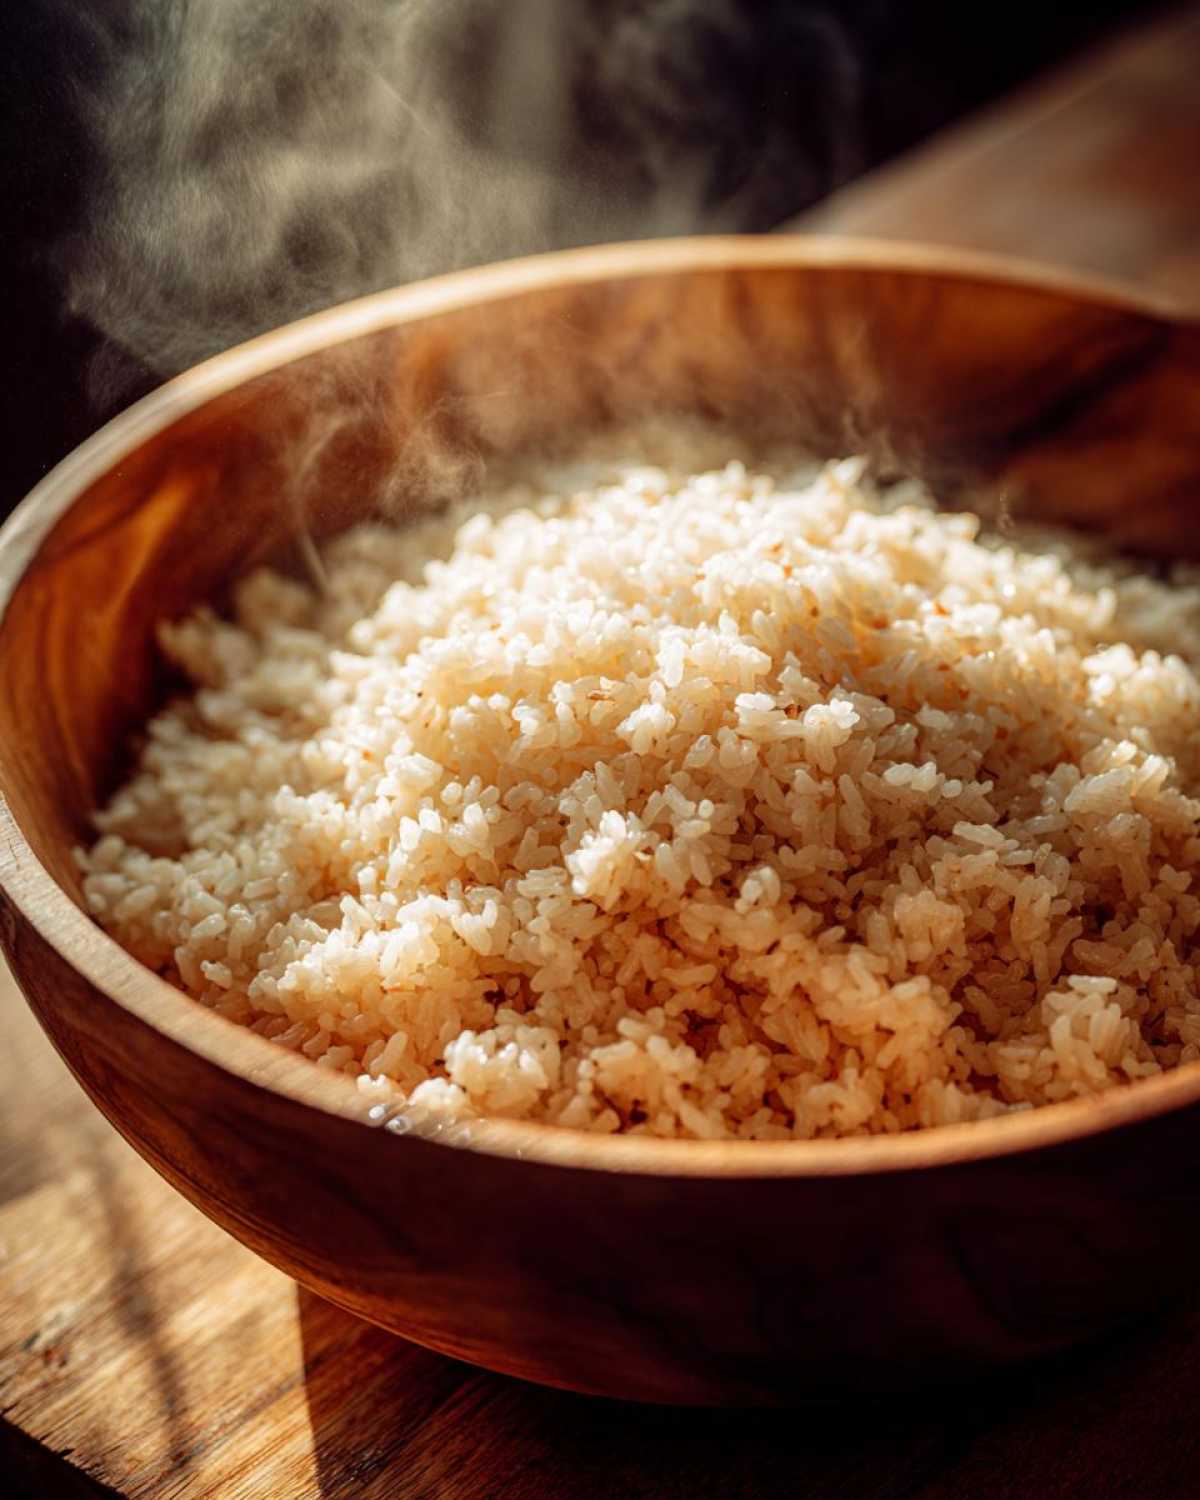
This is the step that gets you that restaurant quality sushi rice at home look. As you fold, you need to fan the rice vigorously. Seriously, grab a hand towel or an electric fan if you have one! Fanning cools the rice quickly, which stops the cooking process and gives the grains that glossy, separated finish we’re looking for. Keep folding and fanning until the rice cools down close to body temperature. It’s a workout, but wow, the results are worth it!
Tips for Success When Making Sushi Rice
I know we just went through a ton of steps, but honestly, getting these last few details right makes this an easy sushi rice guide instead of a total disaster! The biggest tip Liam gave me for any beginner sushi rice recipe is to use the rice right away. Seriously, once it hits body temperature, you should be rolling or topping it. That perfect sticky texture only lasts so long at room temperature because the vinegar starts to change how the starch sets up.
If you absolutely have leftover rice, don’t toss it! That’s Liam’s rule—waste nothing. You can store it loosely covered in the fridge for a day, but you must refresh it before using it again. I never put sealed sushi rice in the microwave; it just gets hot and sad. Instead, dump the cold rice into a steamer basket with a few drops of water sprinkled over it and steam it gently until it’s soft again. That usually does the trick for a quick sushi bowl base the next day!
Storage and Reheating Instructions for Leftover Sushi Rice
So, you made an epic batch, and now you have rice staring back at you the next day. What do you do? The tricky thing about seasoned **sushi rice** is that once it cools too much and gets refrigerated, that beautiful texture starts to harden up. If you used it correctly, you should have used most of it immediately because it’s best when used fresh!
If you must store it, never seal it tightly in plastic right away. The steam needs to escape initially. For short-term storage—say, waiting for dinner later that evening—leave it loosely covered with a damp cloth at room temperature. I wouldn’t push keeping it out for more than four hours total, just to be safe, darling. For actual overnight storage, transfer it to an airtight container and put it in the fridge. You can check out some great tips on keeping things fresh over at this site, too!
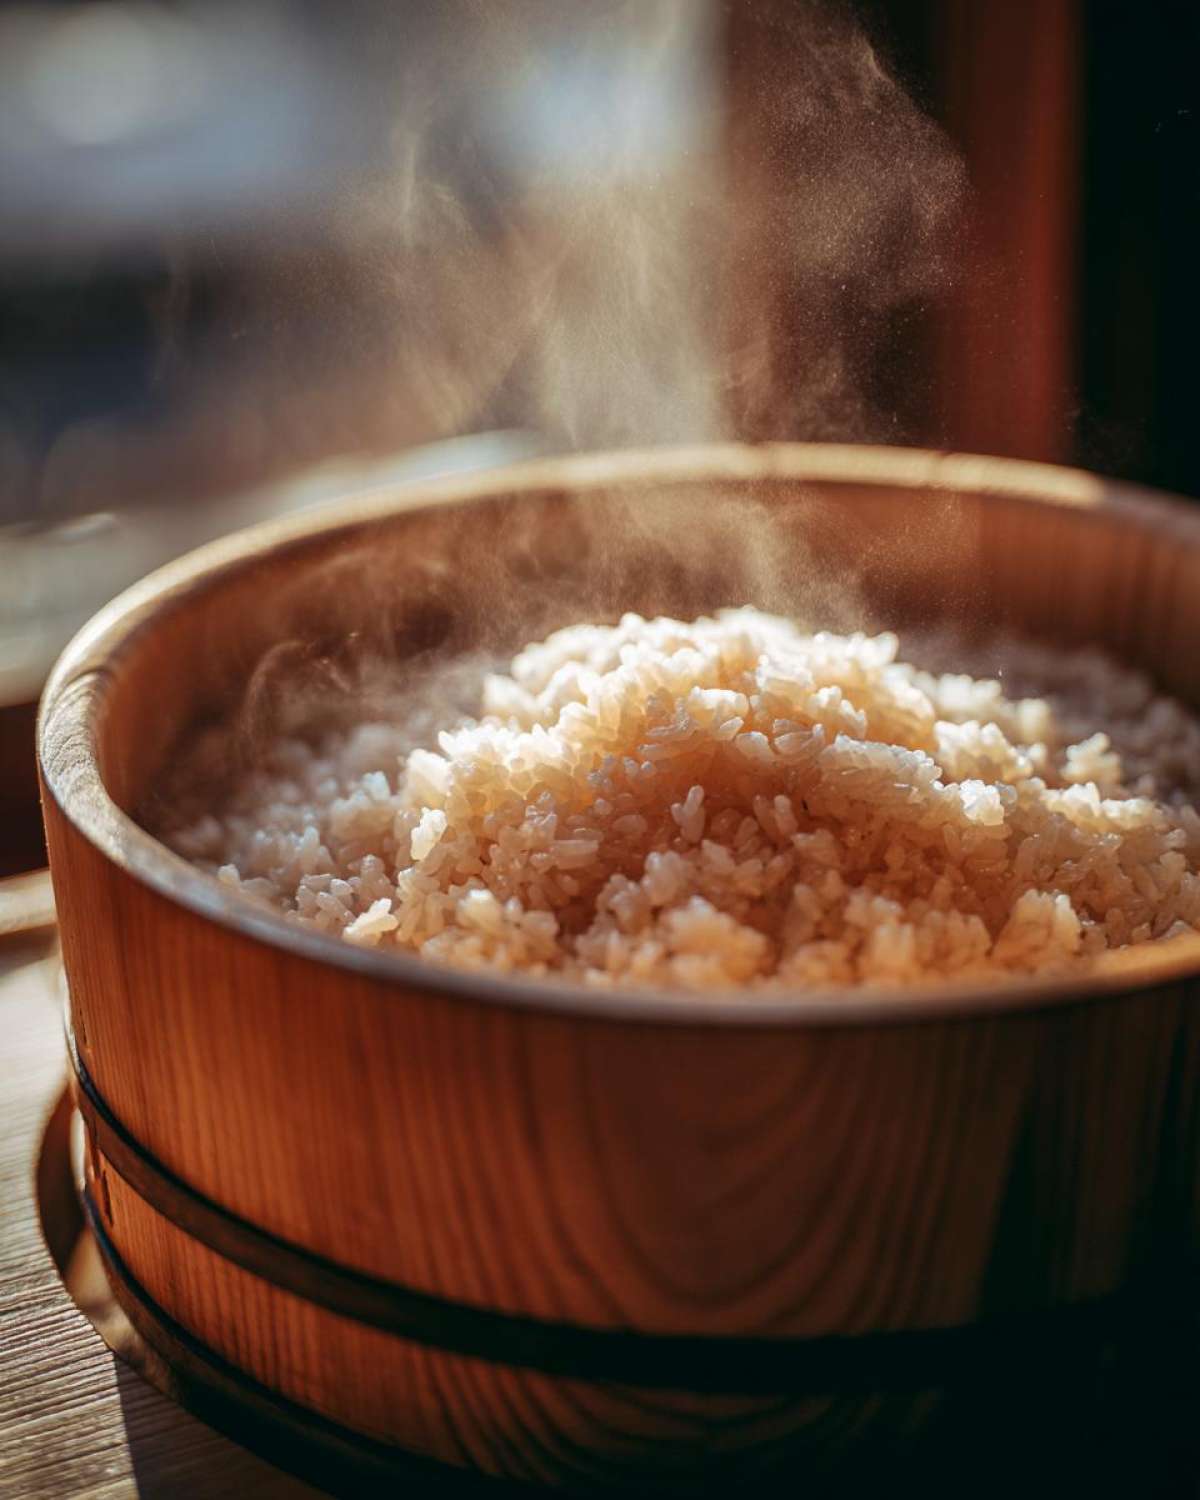
Now, when it comes to reheating for your lunch tomorrow? Put that microwave away! Microwaving sushi rice turns it into little hard pebbles that just won’t stick anymore. Liam taught me the secret: put the leftover rice in a steamer basket over simmering water. Sprinkle just a few drops of plain water over the rice before you cover it. Give it about 5 to 8 minutes, and the steam works miracles, reviving that moisture without making it soupy. It won’t be *quite* as perfect as the fresh batch, but it’s totally usable again for bowls or even fried rice!
Frequently Asked Questions About Perfect Sushi Rice
I know when I was learning, I had about a million little questions buzzing around my head, especially when it came to the safety and application of this amazing **sushi rice**. Liam always made time to answer every single one, because he knew that being scared to ask is what stops people from trying the best sushi rice recipe! Here are the ones I hear most often, so you can feel super confident trying this out at home.
Can I use regular long-grain white rice instead of Japanese short-grain rice for sushi rice?
Oh, honey, please don’t try to substitute! That’s like trying to make a pound cake with oil instead of butter, you’ll end up with something completely different. Regular long-grain rice, like Basmati or Jasmine, doesn’t have the high starch content needed. When you cook it, it stays fluffy and individual—it won’t stick together! Our whole goal here is that beautiful, manageable clumpiness, and only proper **sushi rice** grains can give you that.
How long can I keep the finished sushi rice at room temperature?
This is super important, and it’s a food safety thing Liam hammered home. Because we’ve introduced moisture and room-temperature cooling, we need to respect the clock here. For the best flavor and texture—and to keep things safe—you should use your perfectly seasoned rice within about two to four hours of mixing and cooling it down. After about four hours sitting out, that stickiness starts to degrade, and you just open the door to problems. If you need to keep it longer, it goes in the fridge, but remember what I said about reheating!
What is the best way to use this perfectly seasoned rice?
Honestly, you can just eat it plain—it’s *that* good! But if you’re making sushi, this rice is what makes your creation shine. It’s the perfect anchor for an authentic California roll base; the right stickiness helps you roll it tight without tearing the nori.
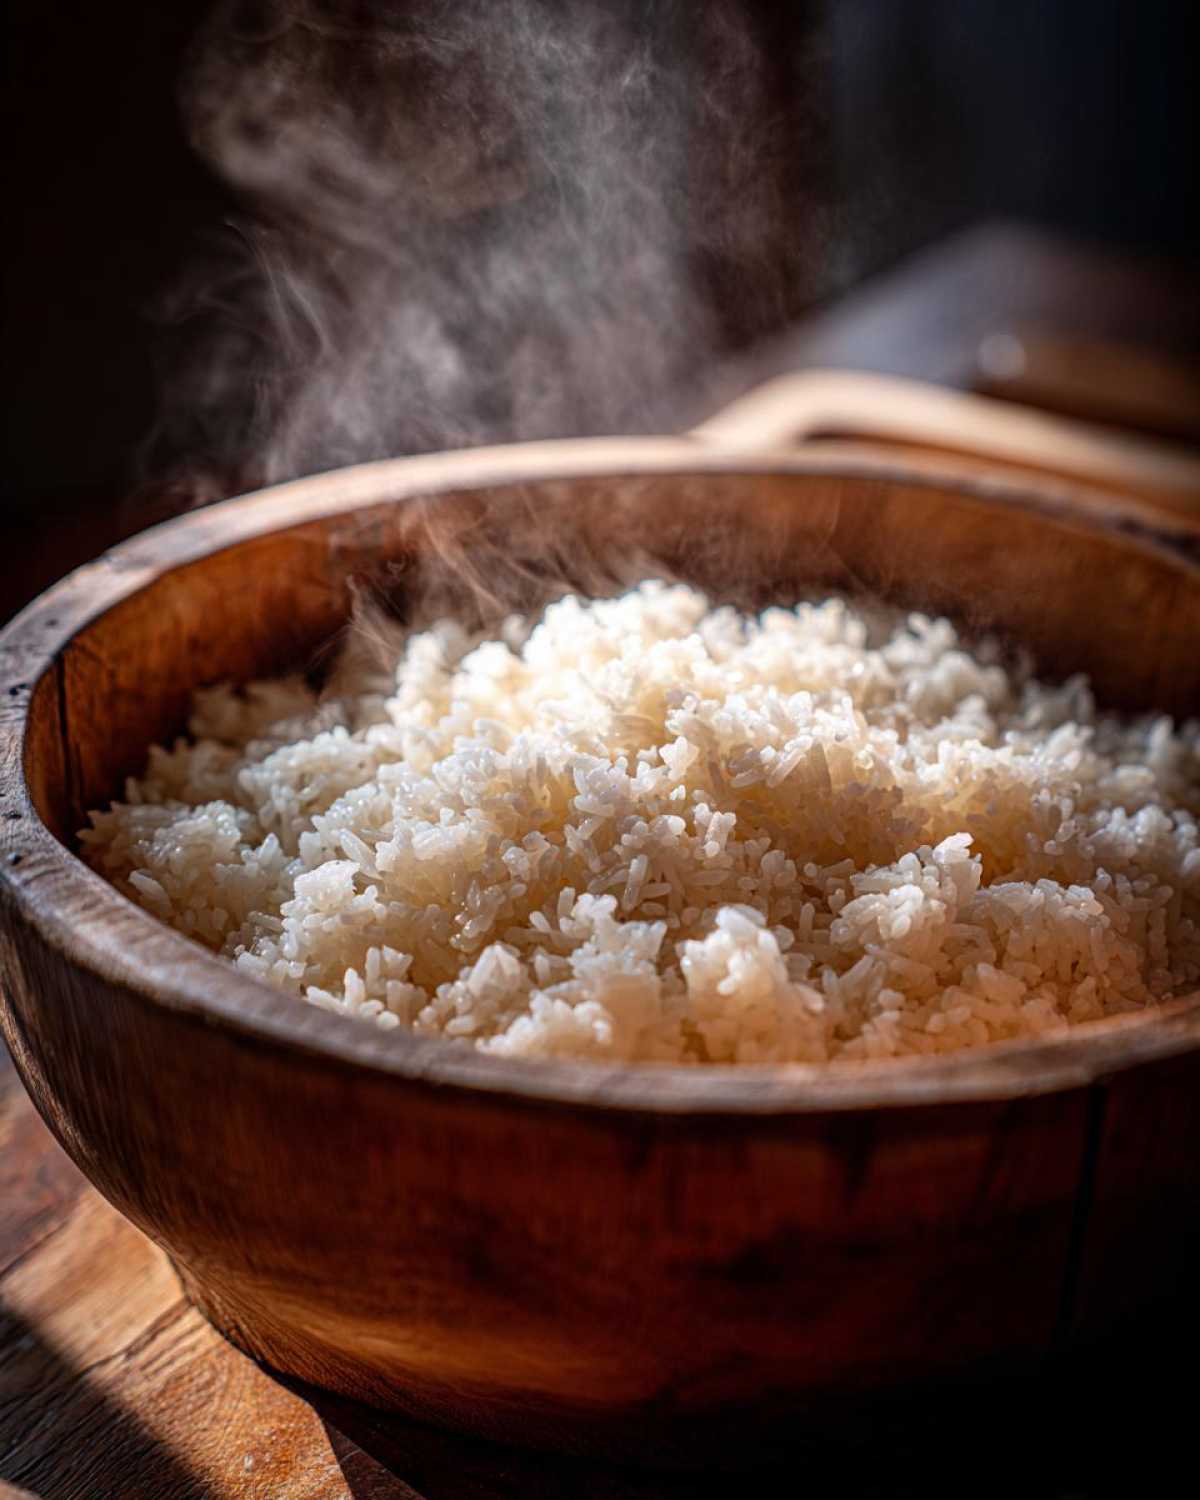
It’s also incredible for bowls! Use it as the base for one of those gorgeous layered seafood bowls or even just a spicy salmon rice bowl. I also love spreading a thin layer of this flavor bomb in a pan, brushing it with a little sesame oil, and pan-frying it until the bottom gets super crispy—that’s a game-changer for texture!
Nutritional Estimates for Your Homemade Sushi Rice
I know some of you are tracking macros or just curious about what exactly you’re eating, even when it’s something as simple and perfect as this basic **sushi rice**! Liam always says that understanding your ingredients is part of loving the cooking process. So, I pulled the general estimates from the breakdown we used in our recipe card for you.
Remember, these are very general estimates based on the amount of rice, vinegar, salt, and sugar we use for the whole batch. If you use a different brand of rice or maybe sneak in a little extra sugar because you just couldn’t help yourself (it happens to the best of us!), the numbers will shift slightly. This is just a good guideline so you know what you’re working with!
- Serving Size: 1/2 cup cooked
- Calories: About 180 a serving
- Sugar: Roughly 6 grams
- Sodium: Around 150 mg
- Fat: It’s blessedly low in fat, around 0.3 grams total!
- Protein: You’ll get about 3.5 grams of protein in that half cup serving.
It’s crazy low in fat because, realistically, this recipe is primarily rice, which is going to give you your carbohydrates for energy, especially useful if you’re loading up on veggies and leaner fish for your sushi bowls!
Share Your Perfect Sushi Rice Journey
Well, that’s it! You’ve made it through the rinsing, the cooking dance—be it stovetop or Instant Pot—and you have mastered the folding and fanning technique to get that gorgeous, glossy **sushi rice**!
Now it’s your turn to shine. Liam and I built TasteTaught to be a conversation, not a lecture, so I really want to know how it went for you! Did the stovetop method win, or are you totally sold on the hands-off magic of the pressure cooker? Did you feel like a total pro while you were fanning it?
Please take a moment and drop the details in the comments below! Ratings really, really help us know which recipes we should keep sharing, and I promise Liam checks every single one. And seriously, if you manage to get a photo of your perfectly seasoned rice—maybe sitting beside your first successful roll—tag us! We absolutely love seeing your kitchen victories. If you want to explore more of our adventures and see what else we’re teaching each other in the kitchen, come over and check out our main blog page!
PrintMastering Perfect Sushi Rice: Stovetop and Instant Pot Methods Included
Learn how to make restaurant-quality sushi rice at home. This guide provides step-by-step instructions for achieving the ideal sticky texture and authentic tangy flavor using Japanese short-grain rice.
- Prep Time: 30 min (includes soaking)
- Cook Time: 25 min
- Total Time: 55 min
- Yield: About 4 cups cooked rice
- Category: Side Dish
- Method: Stovetop or Pressure Cooking
- Cuisine: Japanese
- Diet: Vegetarian
Ingredients
- 2 cups Japanese short-grain rice (or Calrose rice)
- 2 cups cold water (for cooking)
- 1/2 cup rice vinegar
- 3 tablespoons granulated sugar
- 1 teaspoon salt
Instructions
- Rinse the rice: Place the rice in a fine-mesh sieve and rinse under cold running water until the water runs clear. This removes excess starch.
- Soak the rice: Transfer the rinsed rice to a bowl, cover with fresh cold water, and let it soak for 30 minutes. Drain well.
- Cook the rice (Stovetop Method): Combine the drained rice and 2 cups of cold water in a heavy-bottomed pot with a tight-fitting lid. Bring to a boil over medium-high heat. Once boiling, immediately reduce the heat to the lowest setting, cover, and simmer for 15 minutes. Do not lift the lid.
- Cook the rice (Instant Pot Method): Combine the drained rice and 2 cups of cold water in the Instant Pot inner liner. Secure the lid and set the vent to sealing. Cook on High Pressure for 10 minutes. Allow the pressure to naturally release for 10 minutes, then manually release any remaining pressure.
- Rest the rice: Whether using the stovetop or Instant Pot, let the rice sit, covered, for 10 minutes after cooking is complete. Do not remove the lid during this time.
- Prepare the seasoning mixture: While the rice rests, combine the rice vinegar, sugar, and salt in a small saucepan. Heat gently over low heat, stirring until the sugar and salt completely dissolve. Do not boil. Remove from heat and let cool slightly.
- Season the rice: Transfer the hot cooked rice to a large, non-metallic bowl (wood or glass is best). Pour the seasoning mixture evenly over the rice.
- Mix and cool: Using a cutting motion with a rice paddle or wooden spoon, gently fold the seasoning into the rice. Do not stir or mash the grains. Fan the rice as you mix to help it cool quickly and give it a glossy finish.
- Serve: Continue fanning and folding until the rice reaches body temperature. Use immediately for sushi rolls or bowls.
Notes
- Use Japanese short-grain rice or Calrose rice for the best sticky texture needed for homemade sushi essential.
- Do not use metal utensils when mixing the seasoned rice, as the vinegar can react with the metal.
- For restaurant quality sushi rice at home, cooling the rice quickly while fanning is key to achieving the correct texture.
Nutrition
- Serving Size: 1/2 cup cooked
- Calories: 180
- Sugar: 6
- Sodium: 150
- Fat: 0.3
- Saturated Fat: 0
- Unsaturated Fat: 0.3
- Trans Fat: 0
- Carbohydrates: 39
- Fiber: 0.5
- Protein: 3.5
- Cholesterol: 0