

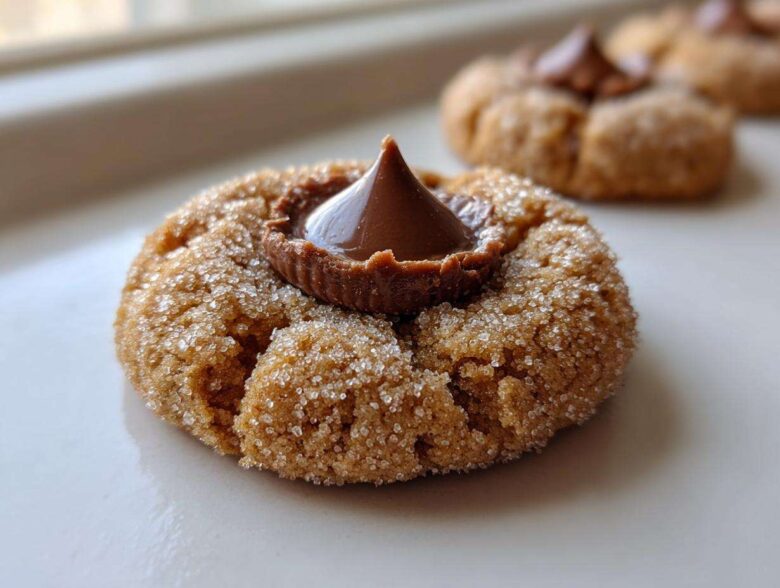
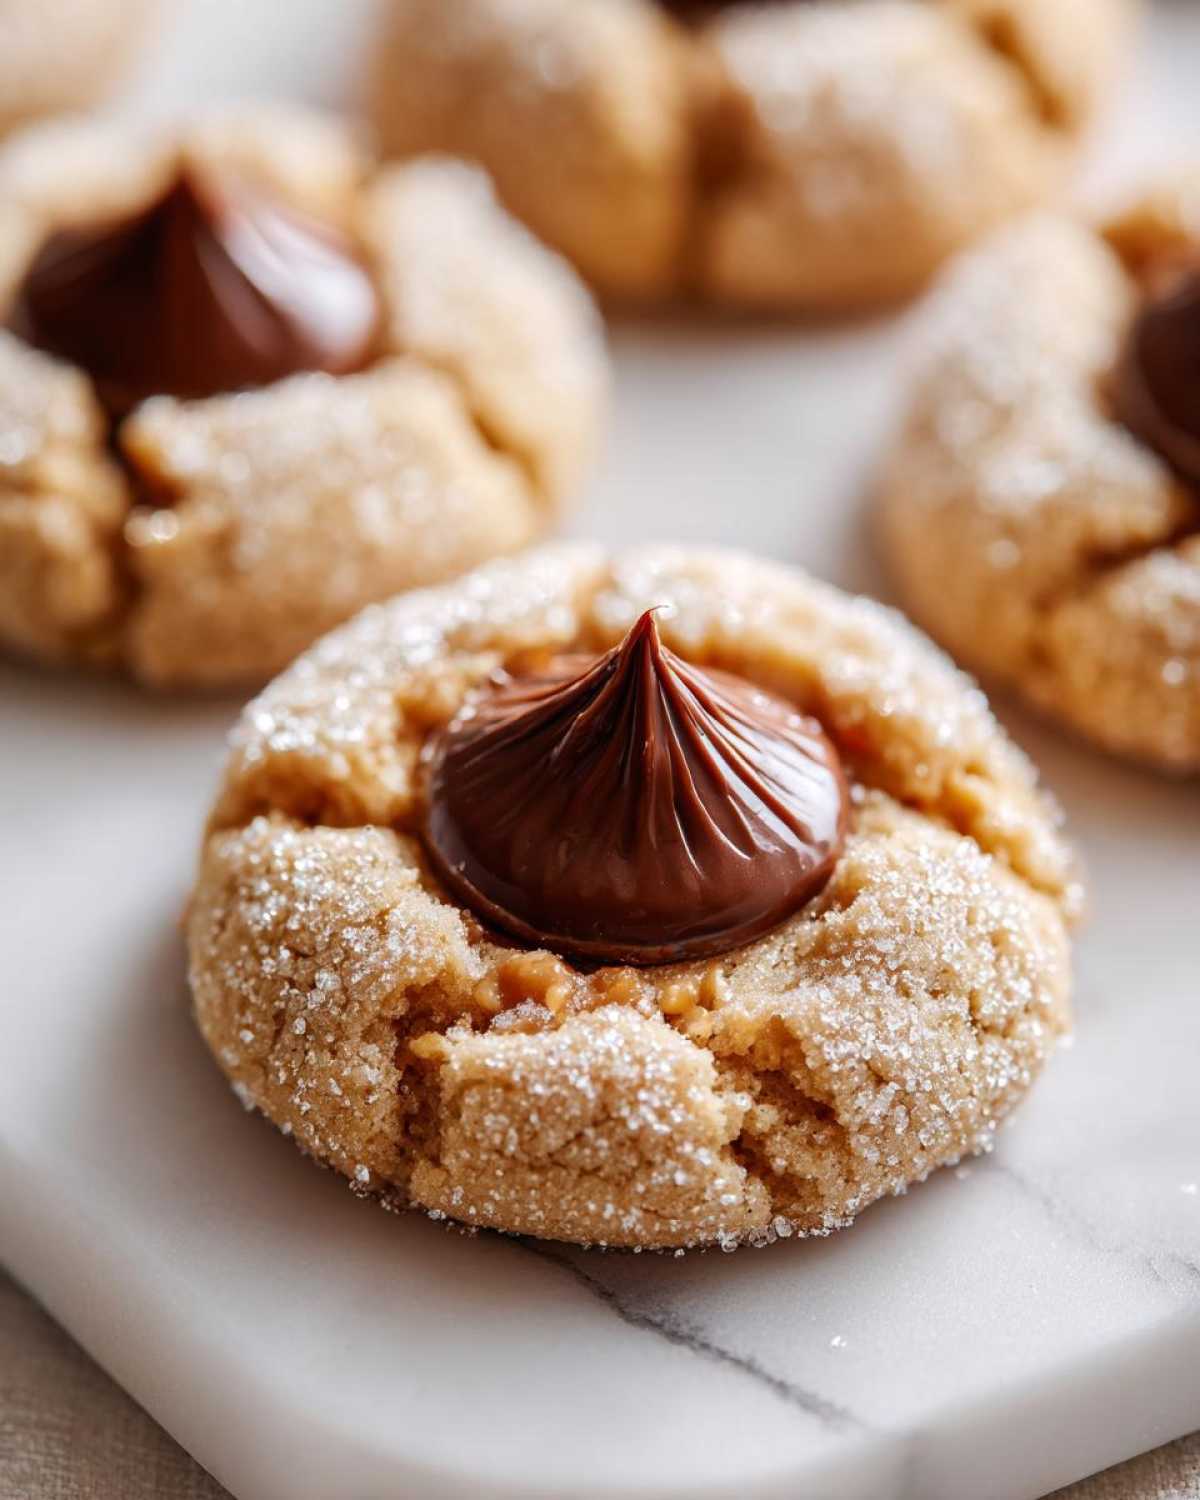
When the air gets crisp and the scent of pine starts drifting around, my heart (and stomach!) immediately turns toward holiday baking. I remember being so nervous when Liam first tried teaching me the classics. But honestly, the most iconic cookie he ever showed me—the one that screams Christmas—is the Kiss Cookie. Forget complicated layers; this recipe is all about taking a perfectly soft, peanut butter dough and topping it with that famous Hershey’s Kiss right out of the oven.
Trust me when I say that this Easy Kiss Cookie Recipe, the classic Peanut Butter Blossoms, is pure magic. You don’t need to be an expert baker to nail this one. Liam says the secret is just paying attention for about ten minutes, and I can personally attest that even my clumsy hands can manage it! If you want the ultimate crowd-pleaser, this is it. If you want to know more about why we started baking together, you can always check out our story.
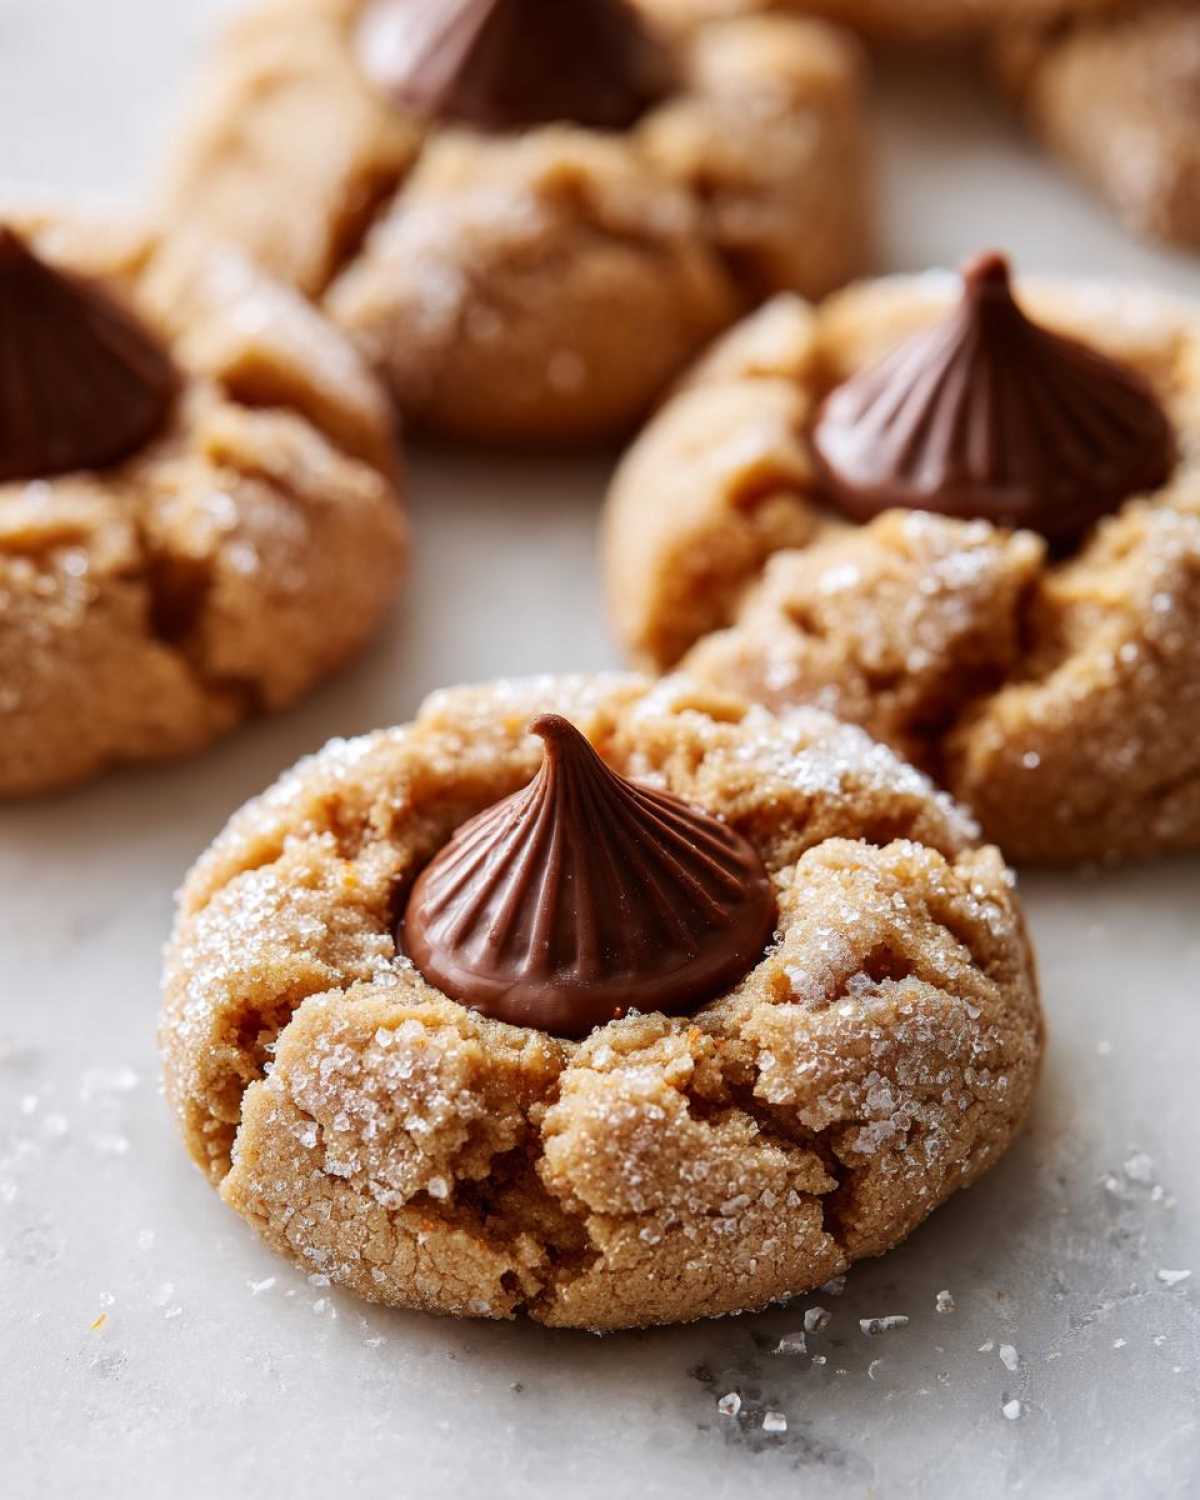
Why You Will Love These Classic Kiss Cookies
- They bake up soft and chewy every single time for the perfect Soft Peanut Butter Cookies base.
- These are the ultimate Classic Christmas Cookies!
- The coating of sugar makes them look so festive and fun.
- Super fast prep time means less stress during Festive Holiday Baking.
- They are undeniable Bake Sale Favorites.
Honestly, what’s not to love about these? They check every box for simple, delicious Holiday Cookie Recipes.
Essential Ingredients for Perfect Peanut Butter Kiss Cookies
Okay, let’s talk about what goes into these beauties. Liam is super picky about which brands we use for certain bits, and honestly, I get it now, especially for a recipe as classic as these Kiss Cookies. Ingredients matter here! You absolutely need two things prepped before you even think about turning on the mixer: your butter and your egg. They must be at room temperature. That’s how we get that fluffy creamed base that makes these cookies soft.
For this recipe to truly shine as one of the Best Peanut Butter Blossoms, gather these ingredients:
- 1 ½ cups all-purpose flour
- ¾ teaspoon baking soda
- ½ teaspoon salt
- ¾ cup creamy peanut butter (JIF brand recommended—don’t skip this specific cue!)
- ½ cup unsalted butter, very soft room temperature
- ⅓ cup granulated sugar (this is for the dough itself)
- ½ cup granulated sugar (this is for coating later)
- ⅓ cup light brown sugar, packed
- 1 large egg, room temperature
- 2 teaspoons vanilla extract
- 28 Hershey’s Kisses, unwrapped and slightly chilled or frozen
See? It’s mostly stuff you already have, which is why this is such a fantastic Easy Kiss Cookie Recipe!
Expert Tips for Making the Best Kiss Cookies
When we’re making these Hershey Kiss Cookies, there are a few little secrets Liam drilled into me that turn them from good to absolutely incredible. If you want that perfect crater without cracking the cookie, you have to follow these rules. This is how we guarantee you get that wonderfully Soft Peanut Butter Cookies texture every time, Clara says I get too technical, but trust me, these details matter!
Ingredient Temperature Matters for Soft Kiss Cookies
This is where Liam really gets serious! You must use room temperature butter and eggs. When the cold butter hits the sugar, it doesn’t cream properly. Creaming is how we whip tiny air pockets into the dough matrix. If the butter is too cold, you won’t trap enough air, and the cookie loses its softness potential before it even sees the oven. Room temperature everything equals a fluffy, well-structured base!
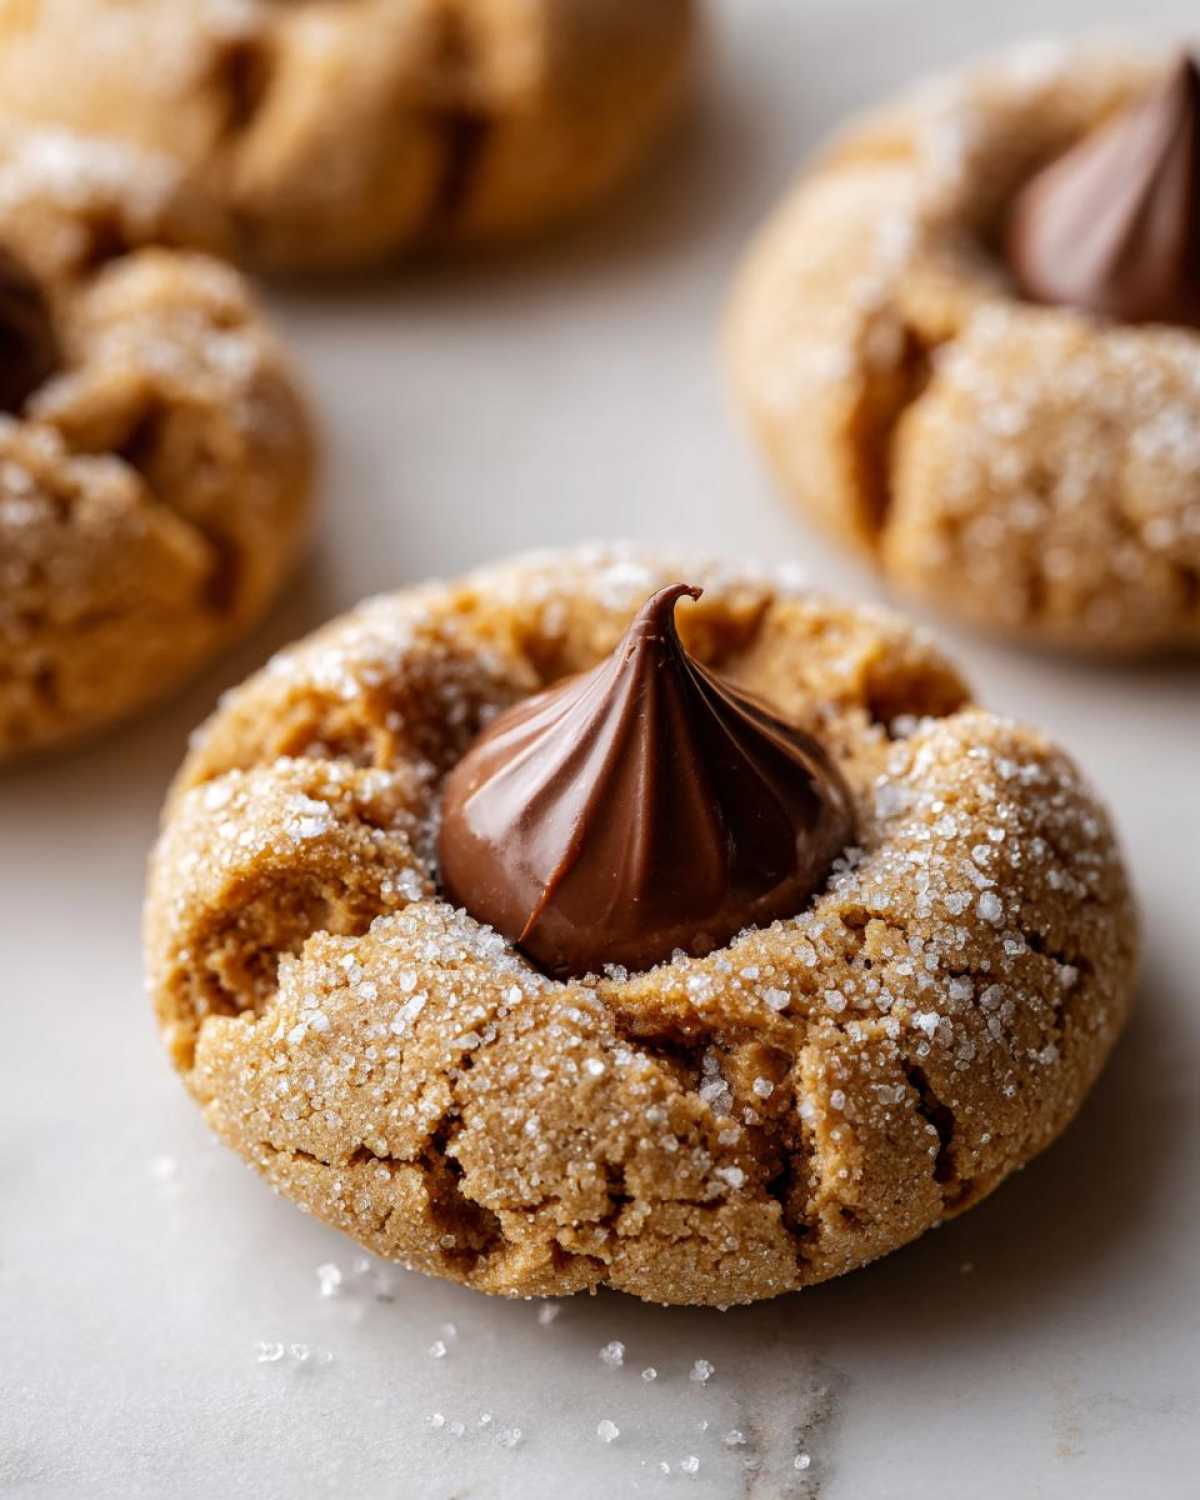
The Crucial Moment: Pressing in the Hershey Kiss
This is the moment of truth! Do not wait for the cookies to cool down on the pan. As soon as those golden edges appear after 8 to 10 minutes, pull them out. You need that residual heat from the cookie to gently melt the bottom of the Kiss Cookies tip just enough so it sinks in beautifully. If you wait even five minutes too long and the cookie sets completely, you’ll press down, and *crack*—the cookie breaks right under the pressure. It’s a race against time!
Also, remember my little trick: toss those unwrapped Kisses in the freezer for about 15 minutes beforehand. It keeps them firm enough not to melt completely when they hit that hot cookie when you use the lasagna baking technique of layering heat!
Step-by-Step Instructions for Your Kiss Cookies
Alright, Clara, time to put those technical tips into action! Making these cookies is really just three main phases: mixing the dough, rolling and baking, and then the quick finish with the chocolate. Don’t worry if your first batch isn’t perfect; Liam always says practice makes the dough happy. We preheat the oven first—always first! You want that 375°F (190°C) heat ready to go, and make sure you’ve lined those baking sheets. Parchment paper saves cleanup time later, and we all need that!
Next, we tackle the dough using the creaming method we just talked about. Cream your butter, peanut butter, the first portion of sugar (that ⅓ cup!), and the brown sugar until it’s fluffy. Then, beat in your room temperature egg and vanilla until everything looks happy and combined. Next, add the dry stuff—flour, baking soda, and salt—but add it slowly, like you’re adding ingredients to a slow-cooker lasagna, just a little at a time so it doesn’t go flying everywhere. We don’t want explosions! Mix until *just* combined; stop stirring as soon as you don’t see white flour streaks anymore.
Now for the fun, slightly messy part: the sugar coat! Put that remaining ½ cup of granulated sugar into a shallow dish. Roll your dough into little balls, about one inch across, and then completely roll them around in the sugar. They need to be totally coated! Pop them onto your baking sheet, spaced about 2 inches apart.
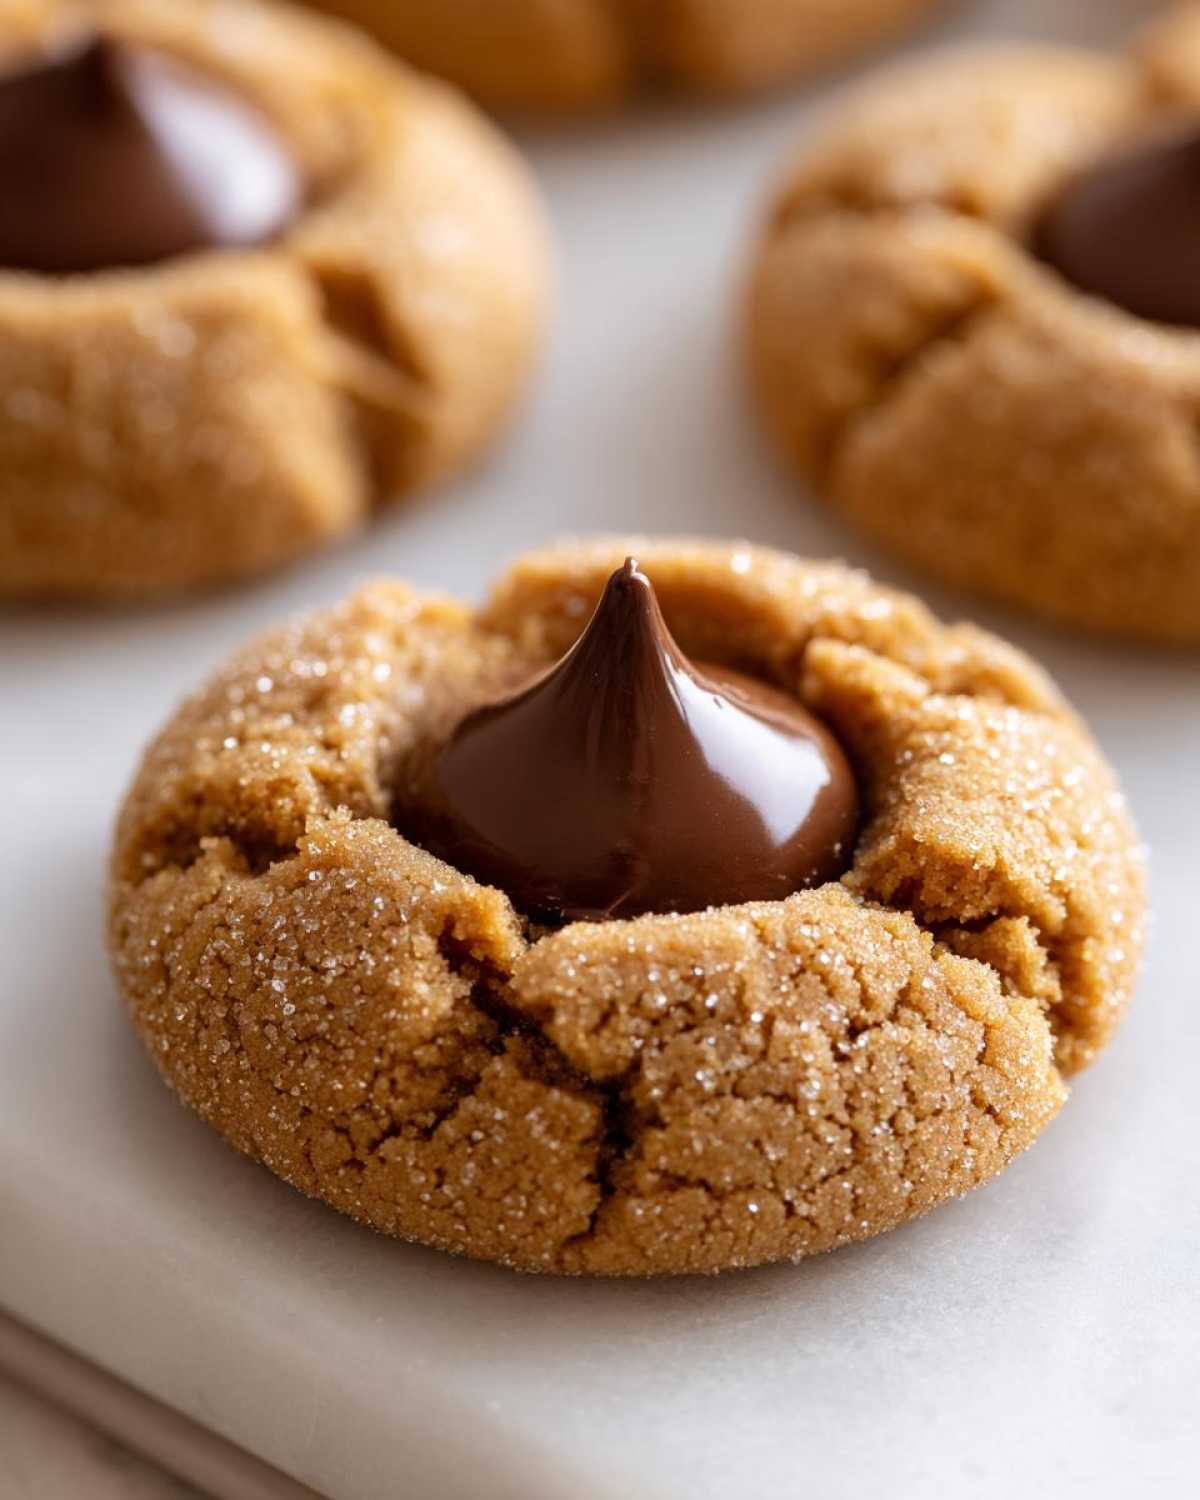
Bake them for 8 to 10 minutes. They should look set on the edges but still look a little soft in the very middle. Remember what I said? Take them out immediately and gently press one chilled Hershey’s Kiss right into the center of that warm dough. Let them hang out on the hot pan for just five minutes before carefully moving them to a wire rack to finish setting up. That little chocolate hat needs time to solidify on top!
Variations on Classic Kiss Cookies
You know, while the Peanut Butter Blossoms are the undisputed king of the frosted chocolate coin cookies, sometimes you just need to mix things up, especially if you’re getting ready for some serious Festive Holiday Baking all season long. It’s fun to experiment! We’ve seen recipes where the base cookie is totally different, and they all work great as Candy Topped Cookies.
This just shows our expertise in cookie science—the structure of the base dough is the real trick here, not just the peanut butter!
Trying Different Flavors of Kiss Cookies
If you’re ready to ditch the PB for a minute, think about swapping out the base dough entirely. Imagine a rich, chocolate-flavored base instead of peanut butter—that’s what you get with Chocolate Kiss Center Cookies. Or, for a total showstopper, try a deep red velvet dough base; those turn out absolutely stunning, especially using those pretty pink or red Kisses!
I saw someone try gingerbread bases once, and wow, the spice level works so well with milk chocolate! If you want to look at something totally different but still use that same chocolate cap, you could check out Liam’s recipe for rich chocolate inspiration—maybe for a drizzle instead of a full press!
Storage and Make-Ahead Tips for Kiss Cookies
One of the best things about these amazing Kiss Cookies is that they hold up so well! If you bake these early for your holiday trays, you’re golden. Store any completely cooled cookies—Kisses already pressed in—in a single layer in an airtight container at room temperature. They stay soft for days. Seriously, they are perfect Bake Sale Favorites because they never dry out fast.
If you want to get ahead even further, you can definitely freeze the baked peanut butter part *before* you press in the chocolate. Once they are totally cool, pop them into a freezer bag. When you’re ready, take them out, let them thaw for about 20 minutes, and then gently press in your chilled Kisses. You can even find some great tips on keeping things fresh over in our guide to no-bake desserts that might help with storage logic!
Frequently Asked Questions About Kiss Cookies
I know sometimes even with the best instructions, you just have quick little questions pop up while you are baking! Don’t worry, that’s totally normal. Liam and I answer these all the time over on the blog comments, but here are a few of the most common things people ask about making these perfect Kiss Cookies.
Can I substitute the peanut butter in these Kiss Cookies?
You totally can, but I have to warn you, the texture and flavor *will* be different since the classic of all Peanut Butter Blossoms relies so heavily on that specific taste. If you have allergies, sunflower seed butter is a popular stand-in, but the richness changes quite a bit without the peanut oil.
Are these the best ‘Holiday Cookie Recipes’?
Oh, without a doubt! I’d put them right up there with sugar cookies and gingerbread men for must-make Holiday Cookie Recipes. They look so festive, they taste incredible, and they are quick enough that you can whip up a batch even when you’re busy with other Festive Holiday Baking projects!
Why do my Kisses keep cracking the cookie surface?
This is the number one cry for help we get! It almost always means your cookies cooled just a little too long before you pressed the chocolate in. You need that residual heat. Try chilling your Kisses in the freezer for 15 minutes beforehand; that firmness helps prevent too much melting and cracking when you press them into that hot cookie center.
Estimated Nutritional Data for Homemade Kiss Cookies
Okay, so Liam always begs me to put in the fine print because, let’s be real, we eat these entire platters of Kiss Cookies without thinking about the numbers. But since we’re trying to be responsible bakers here, I pulled the estimates from our recipe breakdown. Remember, these values are rough estimates based on using the exact ingredients listed above—like JIF peanut butter and standard granulated sugars. They aren’t scientifically calculated, so don’t plan your diet around them, okay?
For one single, glorious, peanut-buttery, chocolate-topped cookie, here is what we are generally looking at:
- Serving Size: 1 cookie
- Calories: About 150
- Fat: Around 8g (with 4g of that being saturated, thanks, butter!)
- Carbohydrates: Roughly 18g
- Sugar: 12g (That’s where all the deliciousness comes from!)
- Protein: 3g
- Cholesterol: 15mg
- Sodium: 85mg
This is why they are ‘Best Eaten in Moderation’ treats! We’re making these for joy, not health food, but it’s smart to know what’s in your delicious Peanut Butter Blossoms!
Share Your Kiss Cookies Creations
Okay, now it’s your turn! We’ve shared all our secrets for getting those perfect peaks and gentle chocolate kisses, and I am so excited for you to try them out! Once you’ve pulled that tray out of the oven, please, please let me know how it went. Did you manage to stick the Kiss in right on time? Did you use traditional Hershey’s or try a different flavor Kiss?
We love hearing from you because it helps us know these recipes are working in real kitchens everywhere. Drop a rating below the recipe card—five stars if they were soft, chewy perfection! If something wasn’t quite right, tell us what happened so Liam can help troubleshoot. We really think every home baker should have success with these iconic Kiss Cookies.
Don’t forget to snap a picture! Tag us on social media so we can see your beautiful holiday trays. Nothing makes me happier than seeing a flurry of perfectly finished Blossom Cookies. You can always reach out directly through our contact page if you need anything at all. Happy baking, everyone!
PrintClassic Peanut Butter Blossoms: The Best Kiss Cookies Recipe
Learn how to make soft, chewy Peanut Butter Blossoms, the classic Hershey Kiss Cookies. This easy recipe is perfect for holiday baking or any time you need a delicious treat.
- Prep Time: 15 min
- Cook Time: 10 min
- Total Time: 25 min
- Yield: 28 cookies
- Category: Dessert
- Method: Baking
- Cuisine: American
- Diet: Vegetarian
Ingredients
- 1 ½ cups all-purpose flour
- ¾ teaspoon baking soda
- ½ teaspoon salt
- ¾ cup creamy peanut butter (JIF brand recommended)
- ½ cup unsalted butter, very soft room temperature
- ⅓ cup granulated sugar (for dough)
- ½ cup granulated sugar (for rolling)
- ⅓ cup light brown sugar, packed
- 1 large egg, room temperature
- 2 teaspoons vanilla extract
- 28 Hershey’s Kisses, unwrapped and slightly chilled or frozen
Instructions
- Preheat your oven to 375°F (190°C). Line baking sheets with parchment paper.
- In a medium bowl, whisk together the flour, baking soda, and salt. Set this aside.
- In a large bowl, cream together the softened butter, peanut butter, ⅓ cup granulated sugar, and brown sugar until the mixture is light and fluffy.
- Beat in the egg and vanilla extract until just combined.
- Gradually add the dry ingredients to the wet ingredients, mixing on low speed until a soft dough forms. Do not overmix.
- Place the remaining ½ cup of granulated sugar into a shallow dish.
- Roll the cookie dough into small balls, about 1 inch in diameter. Roll each ball completely in the reserved granulated sugar until fully coated.
- Place the sugared dough balls about 2 inches apart on the prepared baking sheets.
- Bake for 8 to 10 minutes, or until the edges are set but the centers still look slightly soft.
- Immediately upon removing the cookies from the oven, gently press one unwrapped Hershey’s Kiss candy into the center of each warm cookie. The heat will soften the chocolate slightly.
- Let the cookies cool on the baking sheet for 5 minutes before transferring them to a wire rack to cool completely. The Kiss will set as the cookie cools.
Notes
- For the best results and the classic look, press the Kiss into the cookie right after it comes out of the oven. If the cookie has cooled too much, the Kiss might crack the cookie when you press it in.
- Chilling or briefly freezing the Hershey Kisses before pressing them into the hot cookies helps them hold their shape better.
- This recipe makes about 28 cookies, perfect for sharing or freezing for later.
- If you want a slightly chewier cookie, reduce the baking time by one minute.
Nutrition
- Serving Size: 1 cookie
- Calories: 150
- Sugar: 12g
- Sodium: 85mg
- Fat: 8g
- Saturated Fat: 4g
- Unsaturated Fat: 4g
- Trans Fat: 0g
- Carbohydrates: 18g
- Fiber: 1g
- Protein: 3g
- Cholesterol: 15mg