

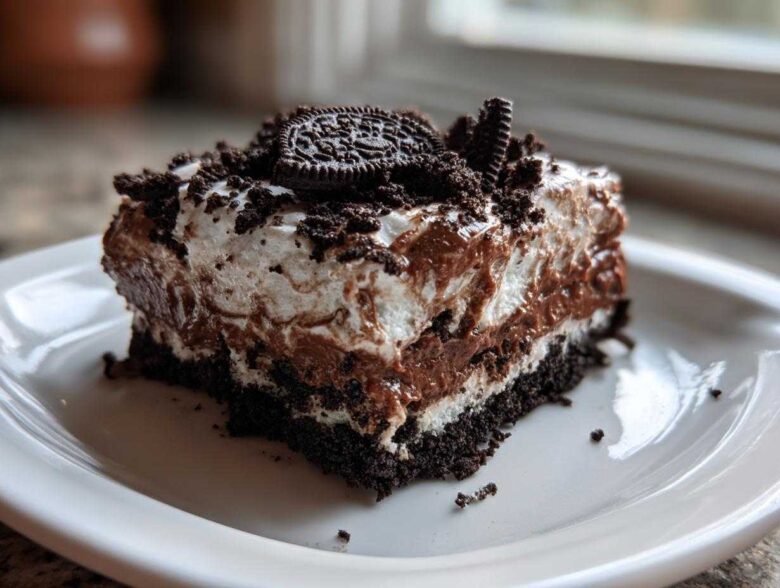
Remember those desserts we used to get at school parties or maybe even for a fun birthday? The ones that looked completely messy but tasted like pure magic? Usually, those involved something chocolate and something crushed. Well, my friends, today we are taking that childhood joy and making it even better with the **Easy No-Bake Oreo Dirt Cake** recipe. Trust me, this layered dessert is ridiculously simple!
Liam actually taught me this version because, coming from a baking background that was mostly just microwaving things, the whole ‘no-bake’ concept sounded like cheating—but it’s not! He made sure every step was foolproof so even I, the original Eager Student, couldn’t mess it up. This is truly the easiest, creamiest, no-bake Oreo Dirt Cake you’ll ever see, making it perfect for any upcoming party or last-minute gathering. You’re going to dig this one!
Why This Classic Dirt Cake Recipe is a Must-Make Party Dessert
There’s a reason this recipe keeps popping up everywhere, especially when people are planning major events. It truly is the champion of simple sweets! Honestly, if you need a dessert that people rave about without you spending half the day hovering over the oven, this is your answer. And don’t even get me started on how amazing it looks in a trifle bowl! Liam says this is the go-to for Party Desserts because it always disappears first.
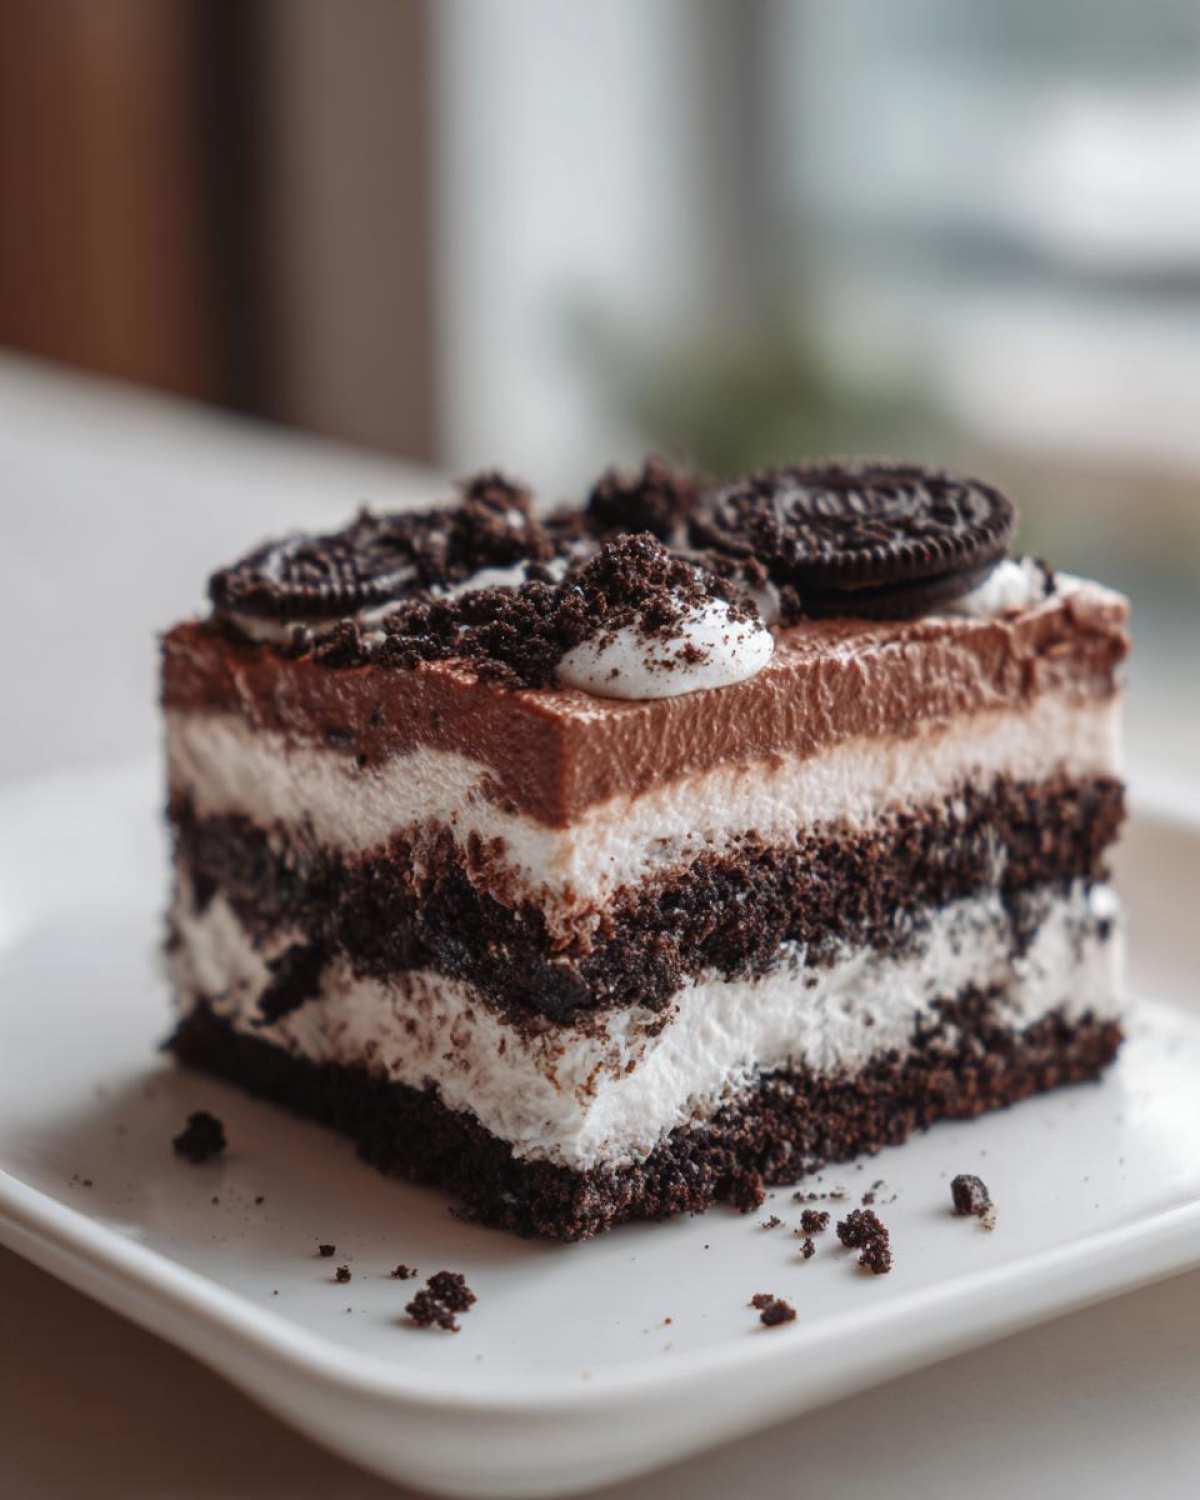
- The Ultimate No Bake Dirt Cake Experience: This recipe is hands-down one of the best Potluck Dessert Ideas out there because your active prep time is practically nothing. You mix, you layer, you chill. That’s it. It’s the dream when you’re busy hosting. Check out more of our easy recipes over on the main blog!
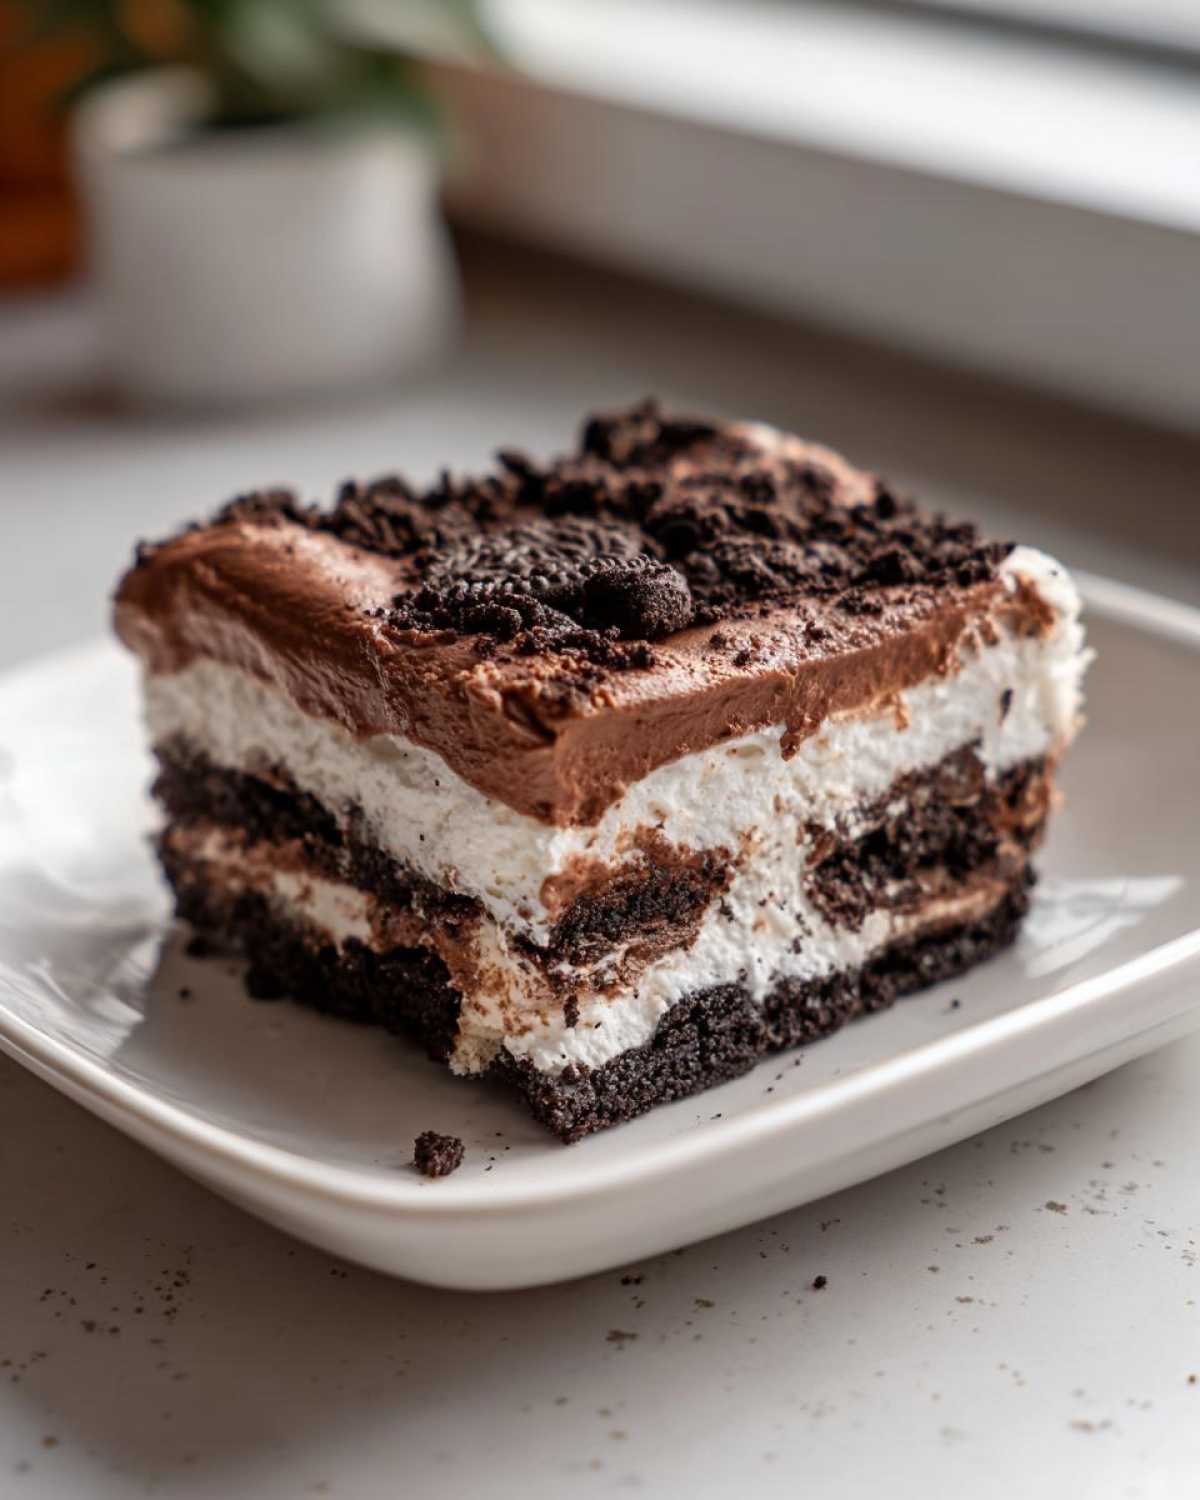
- Creamy No Bake Dessert Texture You Will Love: The contrast between the chocolatey, slightly soft ‘dirt’ and the unbelievably smooth pudding layer is what makes this dirt cake so addictive. It’s a rich, decadent bite every single time, giving you that perfect Creamy No Bake Dessert sensation.
Essential Ingredients for the Perfect Oreo Dirt Cake Recipe
Okay, let’s talk ingredients for this amazing Oreo Dirt Cake recipe. The beauty here is that you probably have most of this stuff sitting in your pantry or fridge already! Because it’s a no-bake dessert, the quality of the few things we do use really shines through. We need that perfect balance for the filling to set up right and the cookies to taste perfectly rich.
We are using classic chocolate pudding, but you absolutely have to make sure your cream cheese and butter are softened—and I mean truly softened, not just slightly less cold from sitting on the counter for five minutes! Liam always checks them with a light press; they should yield easily without feeling greasy or melty.
- 8 ounces cream cheese (softened!)
- 1 cup unsalted butter (also softened!)
- 1 cup powdered sugar
- 1 (12 ounce) container frozen whipped topping, thawed
- 2 (3.9 ounce) packages instant chocolate pudding mix
- 3 cups cold milk (this activates the pudding!)
- 1 (14.3 ounce) package Oreo cookies (don’t skimp here!)
- Gummy worms (just for the fun factor!)
I’ve linked my favorite recipe for Oreo Balls if you find yourself with extra cookies!
Ingredient Notes and Substitutions for Your Dirt Cake
Listen, the butter and cream cheese MUST be soft. If they aren’t, you’ll end up with little butter lumps in your filling, and that won’t give you that wonderful creamy no bake dessert texture we are aiming for. Beat them well with the powdered sugar until they look light and airy.
When it comes to the whipped topping, the recipe calls for thawed frozen whipped topping because it’s light and stable. If you wanted to swap that out, you could use homemade whipped cream, but you’d have to whip it up until stiff peaks formed, and then you’d need to chill the whole dessert longer to ensure it sets up correctly.
And seriously, don’t forget the gummy worms! The best part about making this dirt cake is decorating it. Pressing those little guys in makes it look like authentic Dirt Cake with Gummy Worms. It’s pure nostalgia!
How to Prepare the Easiest Dirt Cake Step-by-Step
This is where the magic truly happens, and it’s honestly so straightforward that I felt silly the first time Liam showed me! Since this is a no-bake dessert, you don’t worry about oven temps or baking times, which immediately takes the pressure off, right? You’re essentially making two main components: that rich, luscious filling and the ‘dirt’ crust. Don’t stress about perfection here; we’re building layers, so a little messiness just adds character to your layered dirt cake!
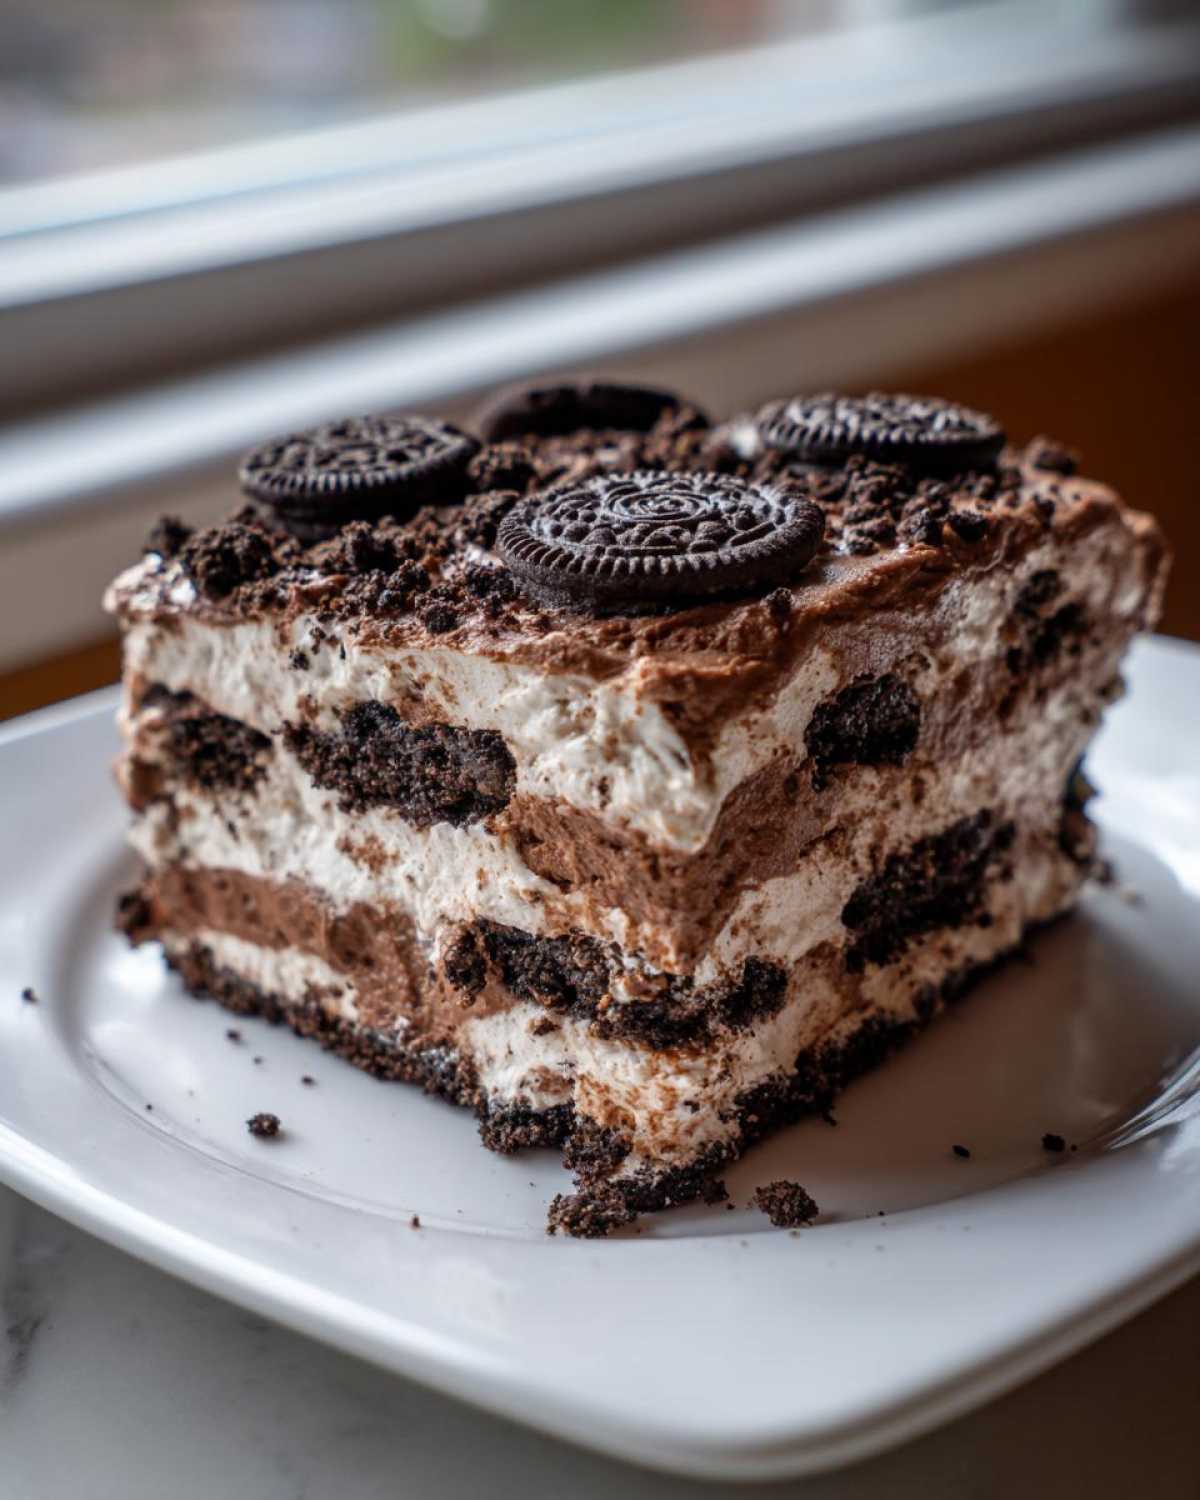
Before you even start mixing ingredient number one, make sure your cookies are crushed—get that food processor humming or grab a rolling pin and a sturdy bag. Having those crushed Oreos ready is step zero for making this dirt cake assembly smooth.
Creating the Creamy Chocolate Pudding Filling
This filling is seriously decadent. First up, take your softened cream cheese, softened butter, and powdered sugar. Using your hand mixer, beat these three together until they are completely smooth and fluffy. Liam stresses that this step is crucial for texture; if you leave lumps here, they’ll be lumps in your final dessert!
Once that base is perfect, gently fold in the thawed whipped topping. Liam calls this “lightening the mixture.” Then, mix your instant chocolate pudding with the cold milk in a separate bowl until it starts to firm up—about two minutes of whisking should do it. Let that pudding sit for just five minutes to get thick. Finally, gently fold that thickened pudding into your cream cheese mixture. Take your time here! You want everything combined beautifully into one cohesive, rich filling.
Assembling Your Layered Dirt Cake
Now for the fun part: building. Grab your trifle dish or 9×13 pan—I love using clear glass so you can see those distinct layers. Start by spreading about a third of your crushed Oreos across the bottom. Press it down just a little bit.
Next, lovingly spread half of your creamy pudding filling over that first cookie layer. Then, pour on another third of the crushed Oreos right on top of the cream. Spread the remaining cream over that second cookie layer, and then, the grand finale: sprinkle the rest of your ‘dirt’ cocoa crumbs over the very top. Give that final top layer a very light press to make it look nice and even. If you’re adding worms, now is the time to stick them in so they look like they’re crawling out! Don’t forget the chilling time after assembly; you can check out some great slow cooker ideas to keep you busy while you wait over at this post, though I promise this no-bake recipe is worth the wait. You can find more quick-assembly inspiration over at this site too!
Tips for Success When Making Dirt Cake
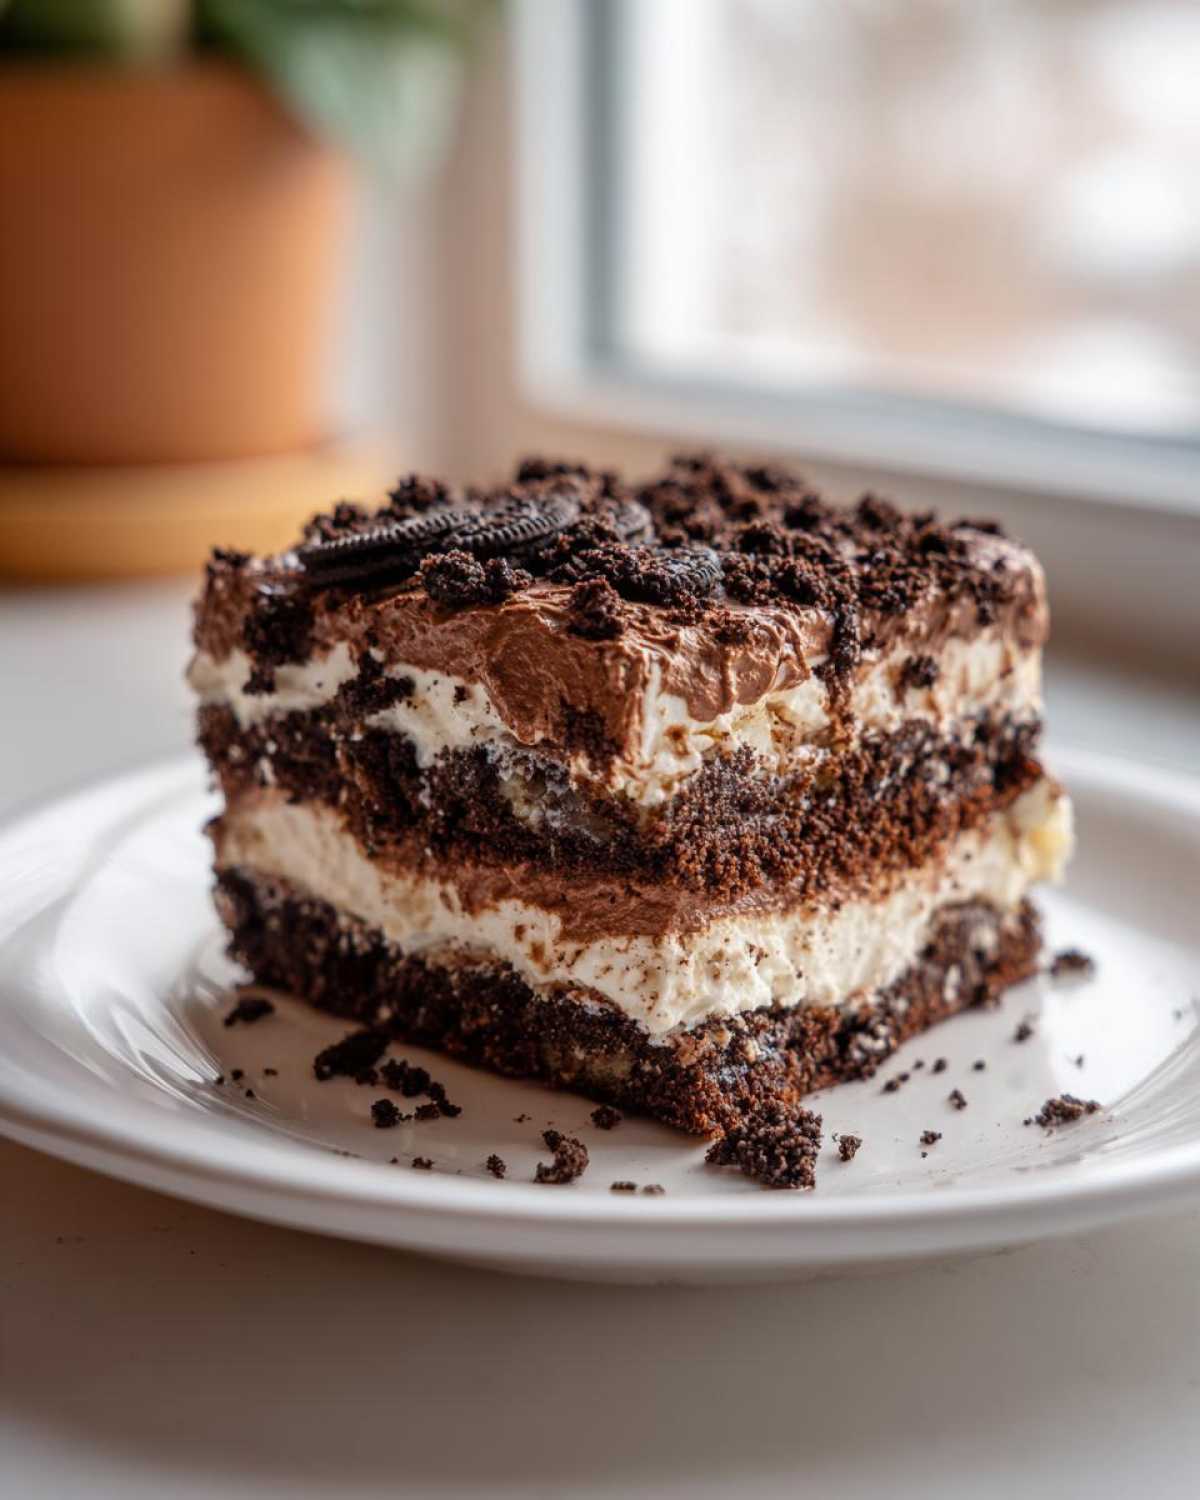
Even though this is called an easy dirt cake, a couple of little insider tips from Liam (and my own trial-and-error phase) really make the difference between good and absolutely fantastic. First off, when you crush your Oreos, don’t panic if they’re not uniform! A mix of fine crumbs and slightly chunkier bits gives you a better texture for the dirt itself. Keep the cream filling in each layer separate until you are ready to spread it onto the cookies.
My main piece of advice when building this No Bake Dirt Cake is patience during the chilling phase. If you cut into it too quickly, that lovely creamy filling will run everywhere—and nobody wants soupy dirt! Cover it tightly; I use plastic wrap right over the surface so the top layer of crumbs doesn’t dry out while it sets up nicely in the fridge. You can read about some other great make-ahead treats on this side, but honestly, this one is worth the wait. For more encouragement on keeping your desserts perfect, I always look at tips from The First Year Blog!
Make Ahead Dessert and Storage for Dirt Cake
This is where the dirt cake truly shines as a make ahead dessert hero! You absolutely must resist the temptation to eat this right away. The minimum chilling time is four hours, but honestly, if you can give it a good overnight chill, that’s when this dessert hits its peak. When it chills, the pudding firms up, the cream cheese mixture stabilizes, and the cookies start to soften just enough to meld with the cream—it’s incredible.
Keep it covered tightly in the refrigerator. Because this dessert has so much dairy, you never want to leave it out at room temperature for more than two hours, especially if you’re taking it to a party. Since it’s totally no-bake, there’s no reheating needed! You serve this creamy treat straight from the cold fridge. Speaking of make-ahead wonders, if you are looking for other dishes you can prep early, check out my post on easy crescent roll apple dumplings; they travel well too!
Serving Suggestions for This Easy Dirt Cake
While putting this whole glorious mess into a big trifle dish is super traditional, you have so many other fun ways to serve this! For birthdays or when you’re serving a crowd of little ones, definitely try making individual portions. We often call these “Dirt Cups,” and they are totally a kid friendly dessert winner.
Just grab some clear plastic cups or mason jars and layer everything exactly like you would in the big pan. Pop a gummy worm hiding half-in, half-out of the top layer of cookie crumbs, and honestly, that presentation is half the fun! If you’re looking for more easy appetizers for your party spread, check out my favorite Bisquick Sausage Balls recipe.
Frequently Asked Questions About Oreo Dirt Cake
Since this dirt cake is so popular, I get asked the same few things all the time! Liam usually sighs dramatically and pulls out the recipe card, but I don’t mind answering at all. That’s why we have this FAQ section—to clear up any last-minute confusion before you dig in!
Can I use vanilla instant pudding instead of chocolate? Absolutely! If you’re making a vanilla base, you can swap the chocolate pudding mix for vanilla, and Liam suggests adding just a tiny splash of vanilla extract to the cream cheese layer to boost that flavor. This gives you a lighter version, though it won’t be a traditional no bake chocolate dessert.
How far in advance can I make this? Since this is a wonderful make ahead dessert, I recommend assembling it the day before you serve it, aiming for that overnight chill. It lasts perfectly well in the fridge for about four days covered.
What if I don’t have an Oreo package? You need the crunch! If you run out of Oreos, you can certainly use similar chocolate sandwich cookies, but the classic flavor comes from the real deal. If you need another quick cheese sauce idea while you’re waiting for your cake to set, check out my recipe for quick, creamy homemade nacho cheese!
Is this recipe similar to the Martha Stewart version? I haven’t compared every tiny detail, but most classic recipes lean on this basic structure. If you see other versions out there, like the one at Martha Stewart’s site, they usually follow the same principles of crushed cookies and creamy filling!
Nutritional Estimates for Classic Dirt Cake
Okay, before we wrap up this delicious deep dive into dirt cake, let’s talk a little bit about the numbers. I know, I know, we’re usually focused on taste and texture over calorie counting when a dessert this fun is involved, but Liam insisted we include this information so you know exactly what you’re diving into!
Please remember, these figures are just estimates we calculated based on the ingredients list we used in the recipe above. If you use different brands of pudding mix, a different amount of sugar, or maybe skip the whole gummy worm situation, these numbers will shift a bit. It depends on your specific batch!
Here is the breakdown we found for one serving:
- Serving Size: 1 serving
- Calories: 450
- Sugar: 45g
- Sodium: 350mg
- Fat: 25g
- Saturated Fat: 14g
- Unsaturated Fat: 11g
- Trans Fat: 0.5g
- Carbohydrates: 55g
- Fiber: 2g
- Protein: 5g
- Cholesterol: 55mg
It’s definitely rich, which is why we usually treat big portions of this as a special occasion dessert! But hey, it’s worth every single glorious, chocolatey bite, especially when you realize how easy it was to make this no bake dirt cake!
Share Your Dirt Cake Creations With Us
Now that you’ve made your own masterpiece, I would absolutely love to see it! Did you go traditional, or did you try the individual dirt cups? Drop a comment below and let Clara and Liam know how it turned out for you. Rating the recipe helps us trust that it works perfectly for everyone! If you have pictures, please send them over through our Contact Page. Happy baking (or, you know, happy chilling)!
PrintEasy No-Bake Oreo Dirt Cake Recipe

Learn how to make the classic, creamy Oreo Dirt Cake. This no-bake dessert layers crushed Oreos with a rich cream cheese and chocolate pudding mixture, making it the perfect, easy party dessert.
- Prep Time: 20 min
- Cook Time: 0 min
- Total Time: 4 hr 20 min
- Yield: 12 servings
- Category: Dessert
- Method: No-Bake
- Cuisine: American
- Diet: Vegetarian
Ingredients
- 1 (8 ounce) package cream cheese, softened
- 1 cup unsalted butter, softened
- 1 cup powdered sugar
- 1 (12 ounce) container frozen whipped topping, thawed
- 2 (3.9 ounce) packages instant chocolate pudding mix
- 3 cups cold milk
- 1 (14.3 ounce) package Oreo cookies, crushed (about 36 cookies)
- 1 package gummy worms (optional, for decoration)
Instructions
- In a large bowl, beat the softened cream cheese, softened butter, and powdered sugar together until the mixture is smooth and creamy. This forms your rich base.
- Gently fold in the thawed whipped topping until just combined. Set this mixture aside.
- In a separate medium bowl, whisk together the instant chocolate pudding mix and cold milk for about two minutes, or until the pudding begins to thicken. Let it stand for five minutes.
- Gently fold the thickened chocolate pudding into the cream cheese mixture until fully incorporated. You now have your creamy filling.
- Crush the Oreo cookies until they resemble fine dirt. You can do this in a food processor or by placing them in a zip-top bag and crushing them with a rolling pin.
- To assemble your layered dirt cake, use a large trifle dish or a 9×13 inch pan. Spread one-third of the crushed Oreos across the bottom of your dish.
- Spread half of the creamy pudding mixture evenly over the layer of crushed cookies.
- Add another layer of one-third of the crushed Oreos over the pudding layer.
- Spread the remaining half of the creamy pudding mixture over the second cookie layer.
- Top the entire dessert with the remaining crushed Oreos. Press down lightly to create a smooth ‘dirt’ top.
- If you are using them, press gummy worms into the top layer to look like they are crawling out of the dirt.
- Cover the dish and chill the Oreo Dirt Cake in the refrigerator for at least four hours, or preferably overnight, to allow it to set completely. This make-ahead dessert is best served cold.
Notes
- For the best texture, use the entire Oreo cookie, including the cream filling, when crushing them.
- If you want individual servings, assemble this recipe in small clear cups for fun ‘Dirt Cups’.
- If you prefer a vanilla base instead of chocolate pudding, use vanilla instant pudding mix and add 1 teaspoon of vanilla extract to the cream cheese mixture.
Nutrition
- Serving Size: 1 serving
- Calories: 450
- Sugar: 45
- Sodium: 350
- Fat: 25
- Saturated Fat: 14
- Unsaturated Fat: 11
- Trans Fat: 0.5
- Carbohydrates: 55
- Fiber: 2
- Protein: 5
- Cholesterol: 55