

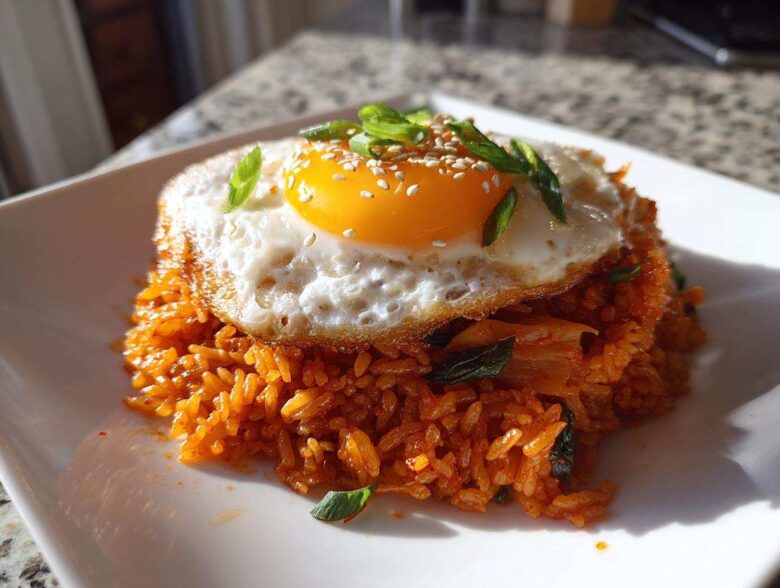
Oh my goodness, how many times have you stared into the fridge at 6 PM, completely out of ideas, totally dreading making dinner? I know I have! When Liam first started teaching me to cook, I thought every delicious meal took hours. But discovering how to make the best **Kimchi Fried Rice** completely changed my weeknight game. Seriously, this Ultimate 15-Minute Easy Kimchi Fried Rice is the secret weapon for those nights when you need something bold, savory, and satisfying, and you need it yesterday.
This recipe, or Bokkeumbap as we call it now, became one of my biggest breakthroughs! It taught me that fast food doesn’t have to mean sad food. The absolute game-changer, the thing that makes this recipe so much better than any pan-fried rice I’ve had before, is that you must use cold, day-old cooked rice. Trust me on this one; it gives the final product that perfect, slightly chewy, non-gummy texture. It’s the dish that finally made me feel like I actually knew what I was doing in the kitchen! You can read a little more about my journey from cooking zero to hero on our About Us page.
Why This Easy Kimchi Fried Rice Recipe Works So Well
I love this recipe because it delivers huge flavor without demanding much time—we’re talking 15 minutes max! It’s savory, it’s got that spicy kick, and that tang from the kimchi just brightens everything up. If you’re looking for that perfect weeknight rescue meal, this **Kimchi Fried Rice** is it. We have a whole series on quick meals, including one where we use bacon, if you want more inspiration for busy nights! Check out our 15-Minute Dinner Ideas here.
Achieving Perfect Texture with Leftover Rice Recipes
This is the secret Liam hammered into me: you absolutely cannot use fresh rice here. Fresh rice is too moist and steamy, and when you toss it in the pan, you end up with sticky mush—not actual fried rice! Cold, day-old cooked rice develops tiny, stronger grains that separate beautifully when they hit the hot pan. This texture is essential to a good *Bokkeumbap* and why we keep a bag of leftover rice in the fridge specifically for this purpose.
The Flavor Base: Gochujang Fried Rice Secrets
The true magic in an Authentic Kimchi Rice comes from not just the solids, but the liquid. Don’t throw out the juice that settles at the bottom of your kimchi jar! That tangy, salty liquid is crucial; it wakes everything up. We also lightly toast the Gochujang chili paste in the hot pan before mixing everything in. Toasting it deepens that fermented, spicy flavor profile, making this a proper Gochujang Fried Rice!
Gathering Ingredients for Your Kimchi Fried Rice
Alright, let’s talk supplies! Since this is one of those amazing Easy Korean Fried Rice dishes that flies together, having everything measured and ready (what chefs call *mise en place*) is so important. You don’t want to be scrambling when the pan gets hot! Getting these key components organized is the first step toward your wonderful Kimchi Fried Rice.
Essential Components for Flavorful Rice Bowls
For the bedrock of this dish, you absolutely need two cups of that cold, day-old cooked white rice. Then, chop up about one cup of well-fermented kimchi—we want that tang! Don’t forget to reserve 1/4 cup of the actual kimchi juice. You’ll also need diced yellow onion, minced garlic, one tablespoon of Gochujang (that amazing Korean chili paste!), a teaspoon of soy sauce, and just a tiny drizzle of sesame oil right at the end.
Optional Add-ins for Savory Korean Comfort Food
Now for the fun extras! If you’re making this a full meal, about 4 ounces of diced pork belly or bacon gives you the most incredible flavor from rendering the fat. If you’re keeping it vegetarian, mushrooms work beautifully instead! But honestly, the final touch that makes any serving look gourmet are the toppings: two large eggs fried sunny-side up, a sprinkle of sliced green onion, and some toasted sesame seeds.
How to Make Kimchi Fried Rice Step-by-Step
Okay, this is where the speed comes in! Since we’re focused on making this Kimchi Fried Rice quickly, organization is everything. Liam always insists on getting everything prepped before the stove even gets warm. Make sure your rice is cold, your kimchi is chopped, your garlic is minced up nice and fine, and your optional pork belly is diced. When you follow these steps clearly, you nail that perfect texture every single time. For more guidance on getting the foundational steps right, check out our dedicated rice cooking guide.
Prep Work and Rendering Fat for the Best Kimchi Fried Rice
We start heating up your big skillet or wok over medium heat. If you are using pork belly or bacon, toss it in first! You want to cook it until it gets nice and crisp—that’s where the incredible flavor comes from. Once it’s done, scoop the meat out but leave about a tablespoon of that gorgeous rendered fat behind. If you are skipping the meat, just add your 2 tablespoons of neutral oil now. We want hot fat, but we don’t want to smoke anything out!
Building the Flavor Base: Sautéing Aromatics and Kimchi
Toss your diced onion into the hot pan and let it soften for about two minutes. Then, add your minced garlic—be careful here, garlic burns fast! Just 30 seconds until you can smell it, then bring in the chopped kimchi. Stir that around for about 3 or 4 minutes until it darkens a little; that’s how you know the fermentation flavors are really waking up. Now for the trick: push everything to one side of the pan. Add your Gochujang and soy sauce right onto that hot, empty spot and cook the pastes for just 30 seconds before stirring it all through the kimchi mixture.
Frying the Rice and Finishing the Quick Kimchi Bokkeumbap
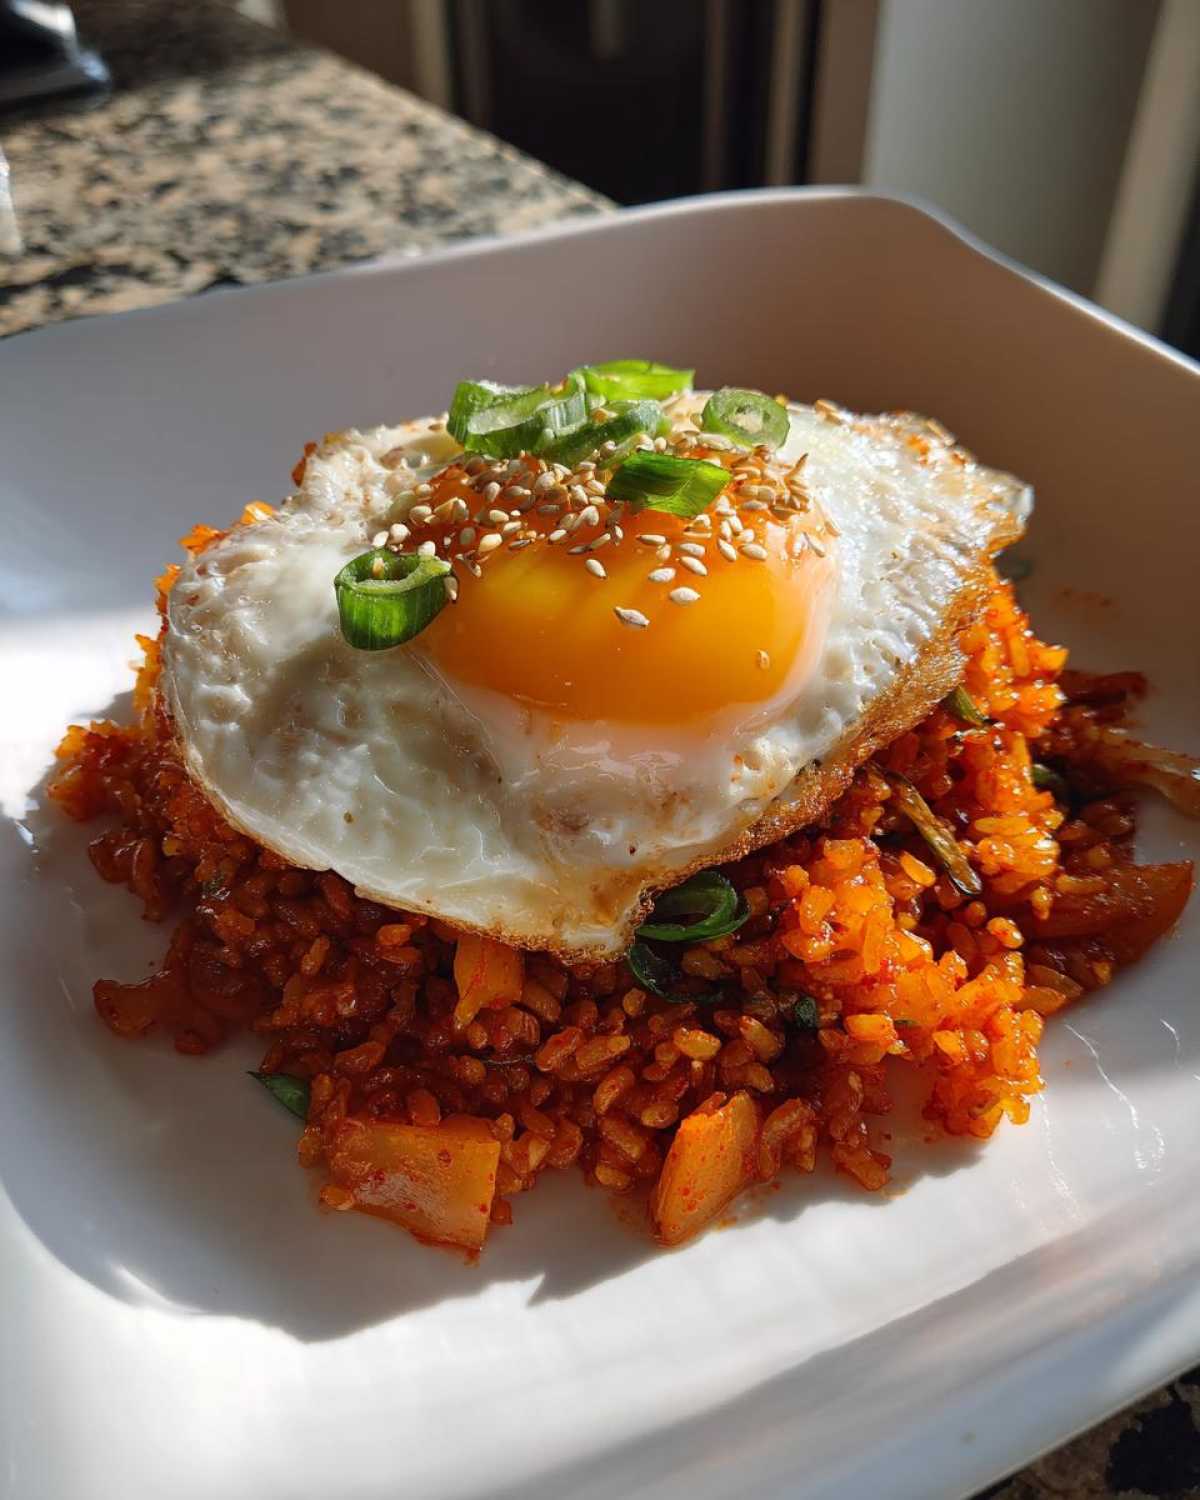
Now introduce the cold rice! Dump it right in and use your spatula to break up any clumps—remember, we want separate grains! Mix everything thoroughly so the rice gets coated in that spicy red goodness. Cook this for 3 to 5 minutes, and here’s another little secret from Liam: press the rice down onto the hot surface of the pan occasionally. This helps get those tiny, delicious crispy edges. Once the rice is heated through, stir in your cooked pork belly (if using) and that reserved kimchi juice. Finish by taking it off the heat and giving it that final drizzle of sesame oil. We want a beautiful presentation, so you need to cook your eggs sunny-side up in a separate little pan—the runny yolk is non-negotiable for the best experience! You can find inspiration for great yolks over here too.
Tips for Success Making Authentic Kimchi Rice
Okay, so you’ve got your super-quick Kimchi Fried Rice cooking, but I have a couple of little secrets that Liam taught me that really elevate this dish from good to completely addictive. First, don’t rush the kimchi cooking step! You need those fermented flavors to deepen and almost caramelize slightly; that’s where the real depth comes from. If you see the kimchi starts sticking a bit to the bottom of the pan, that’s perfect—just scrape it up quickly when you mix in that kimchi juice.
Also, make sure your oil is shimmering hot before the rice goes in. That instant heat is what helps the rice grains dry out and get those lovely little crispy bits around the edges. If you want to see how we manage simple techniques like this in our everyday cooking, check out our thoughts on Simple Korean Cooking.
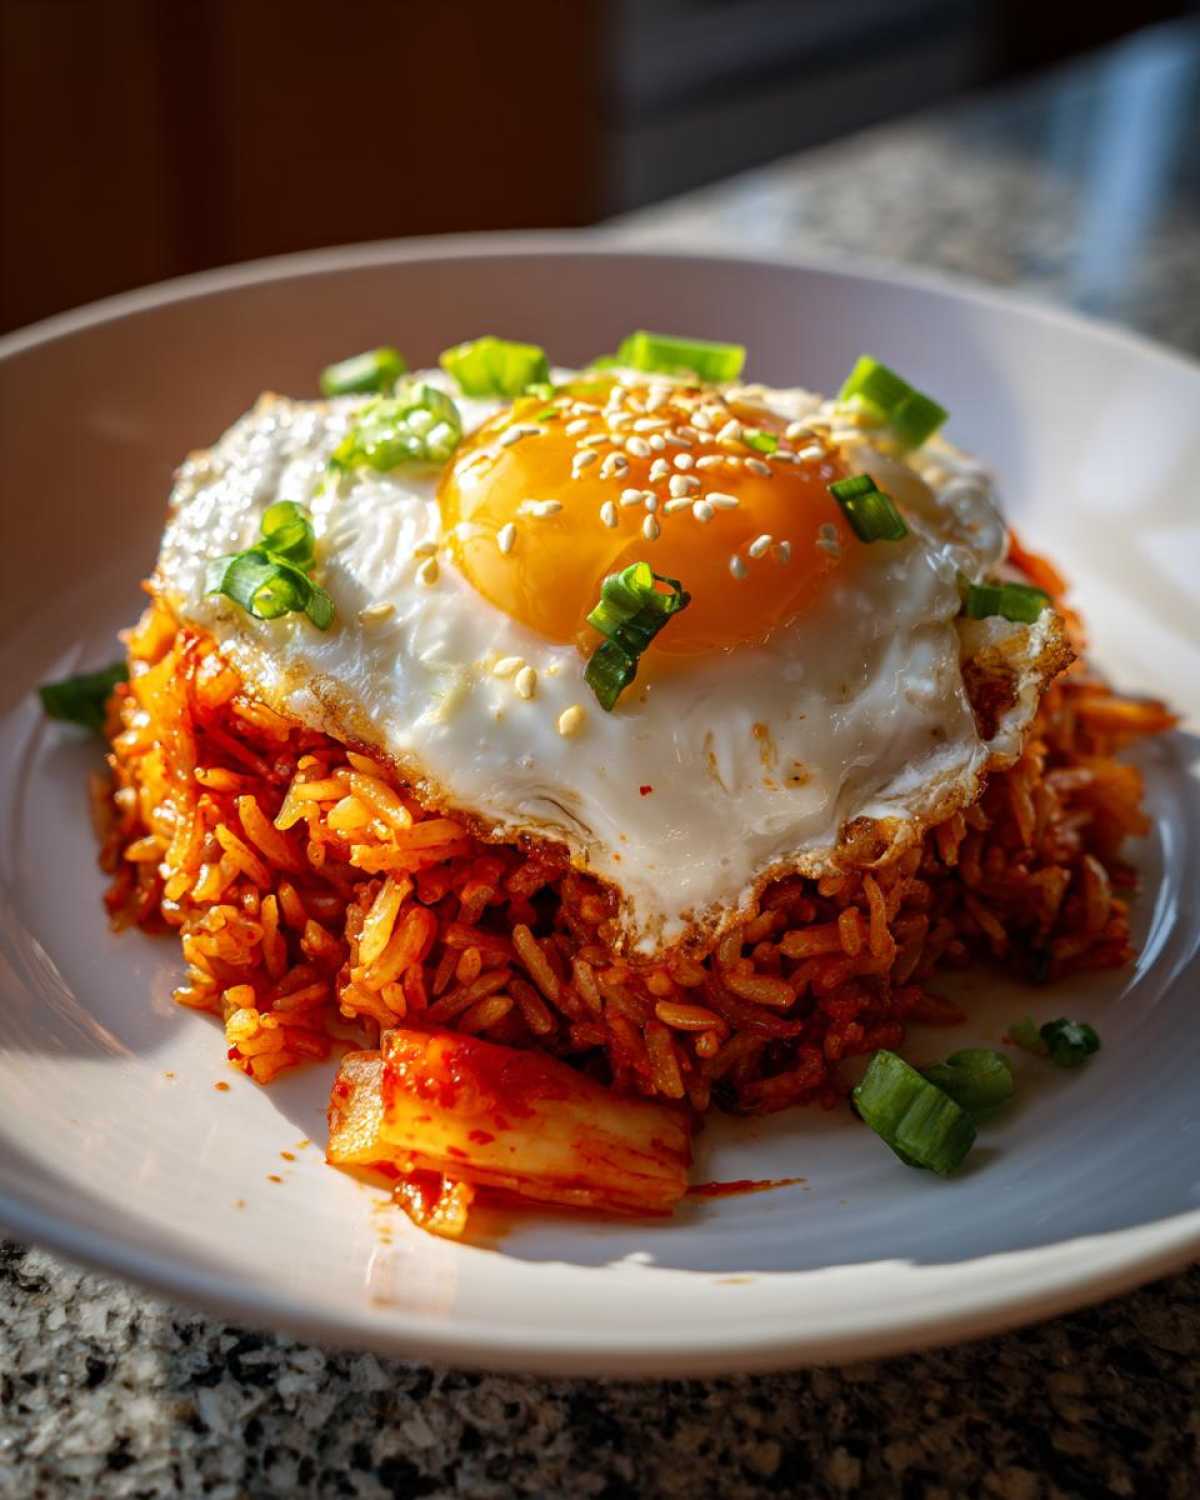
And finally, when you are getting your inspiration from other places, like this great recipe for a speedy version you can find here, remember to look for how they handle the heat components—that’s key for that authentic savory kick!
Variations: Customizing Your Spicy Fried Rice Dinner
You know I love that we can make this dish exactly how we need it depending on the day! If you’re skipping the pork belly or bacon, there are so many great swaps. For a fantastic Vegetarian Kimchi Fried Rice, mushrooms are amazing, or you could even use some firm, crumbled tofu tossed in soy sauce first. Liam also loves making this with cubed chicken breast tossed in some sesame oil before the onions go in; it makes for such a satisfying meal. You can see how a few simple tweaks turn our base **Kimchi Fried Rice** into exactly what your dinner needs!
If you want to explore a chicken version specifically, I found a wonderful recipe with great instructions for adding poultry right here, and we have our own take on keeping it meatless and fresh over on our site if you want to stick with us! Check out our meat-free options.
Serving Suggestions for Kimchi Fried Rice
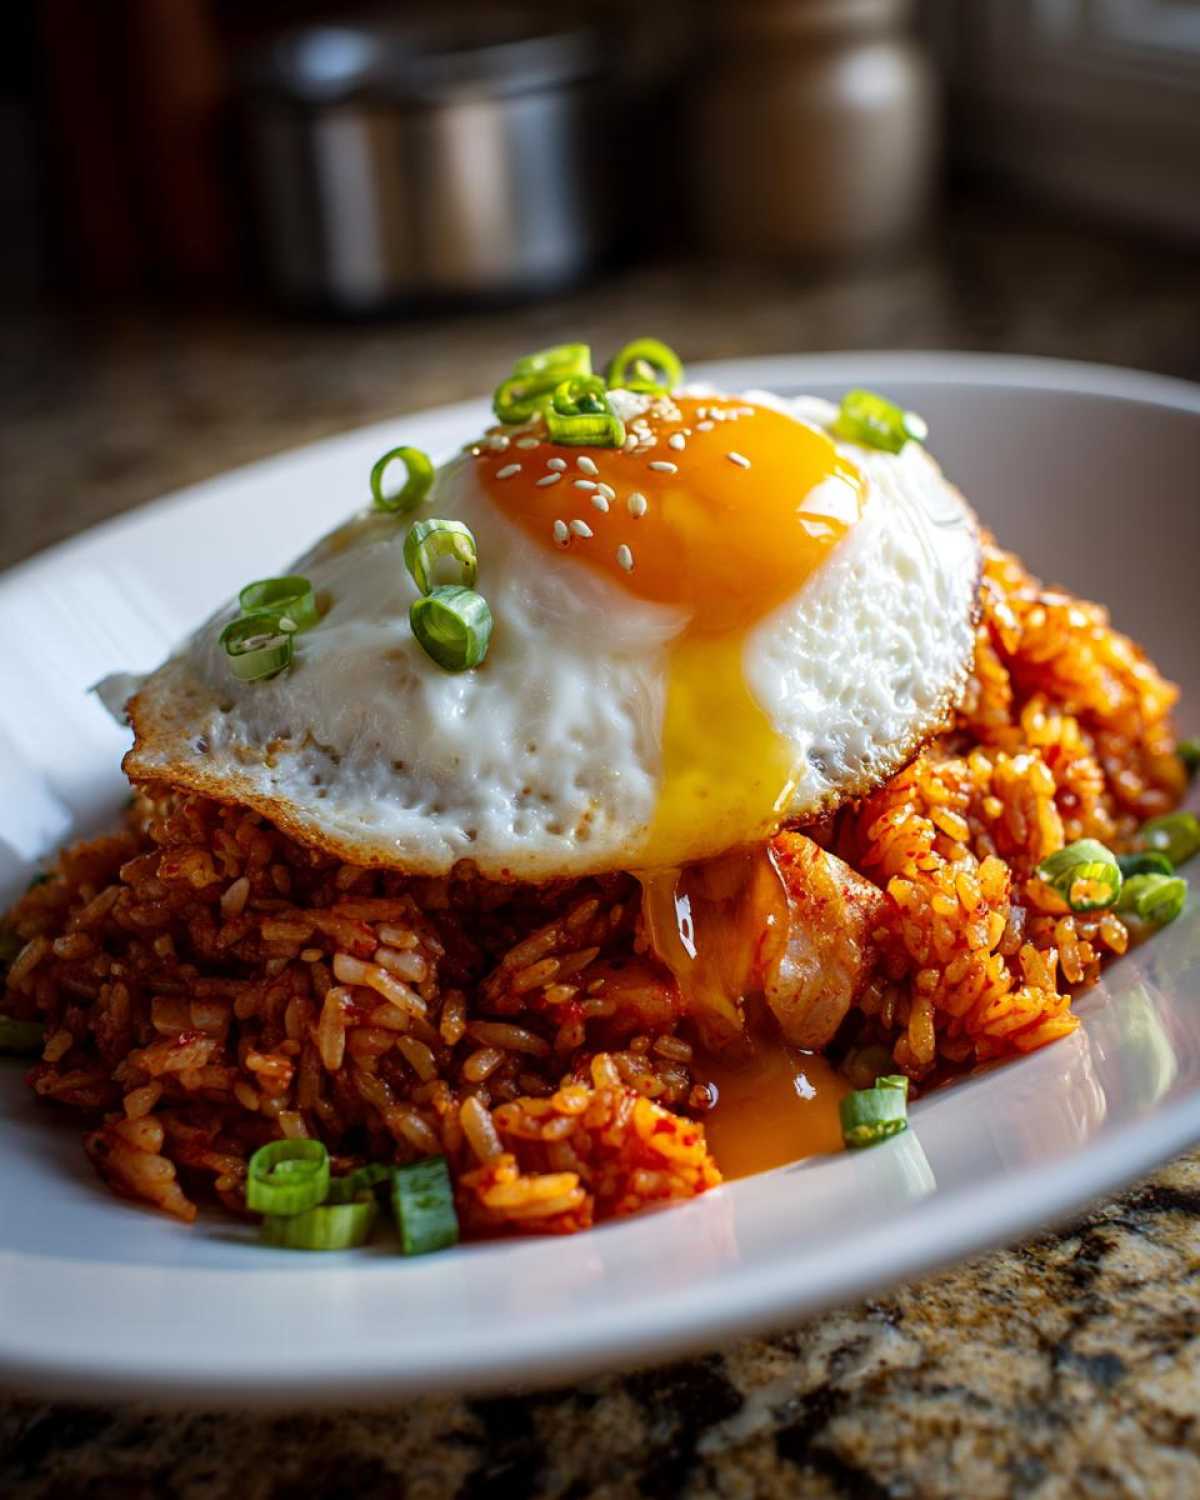
Okay, let’s talk presentation, because how you finish this dish makes all the difference. For me, the absolute mandatory element is that runny yolk! We always aim for that perfect sunny-side-up egg on top of every bowl. That rich yolk mixing into the spicy grains creates such an amazing sauce—it’s the classic finishing move for this kind of Taiwanese and Korean comfort food.
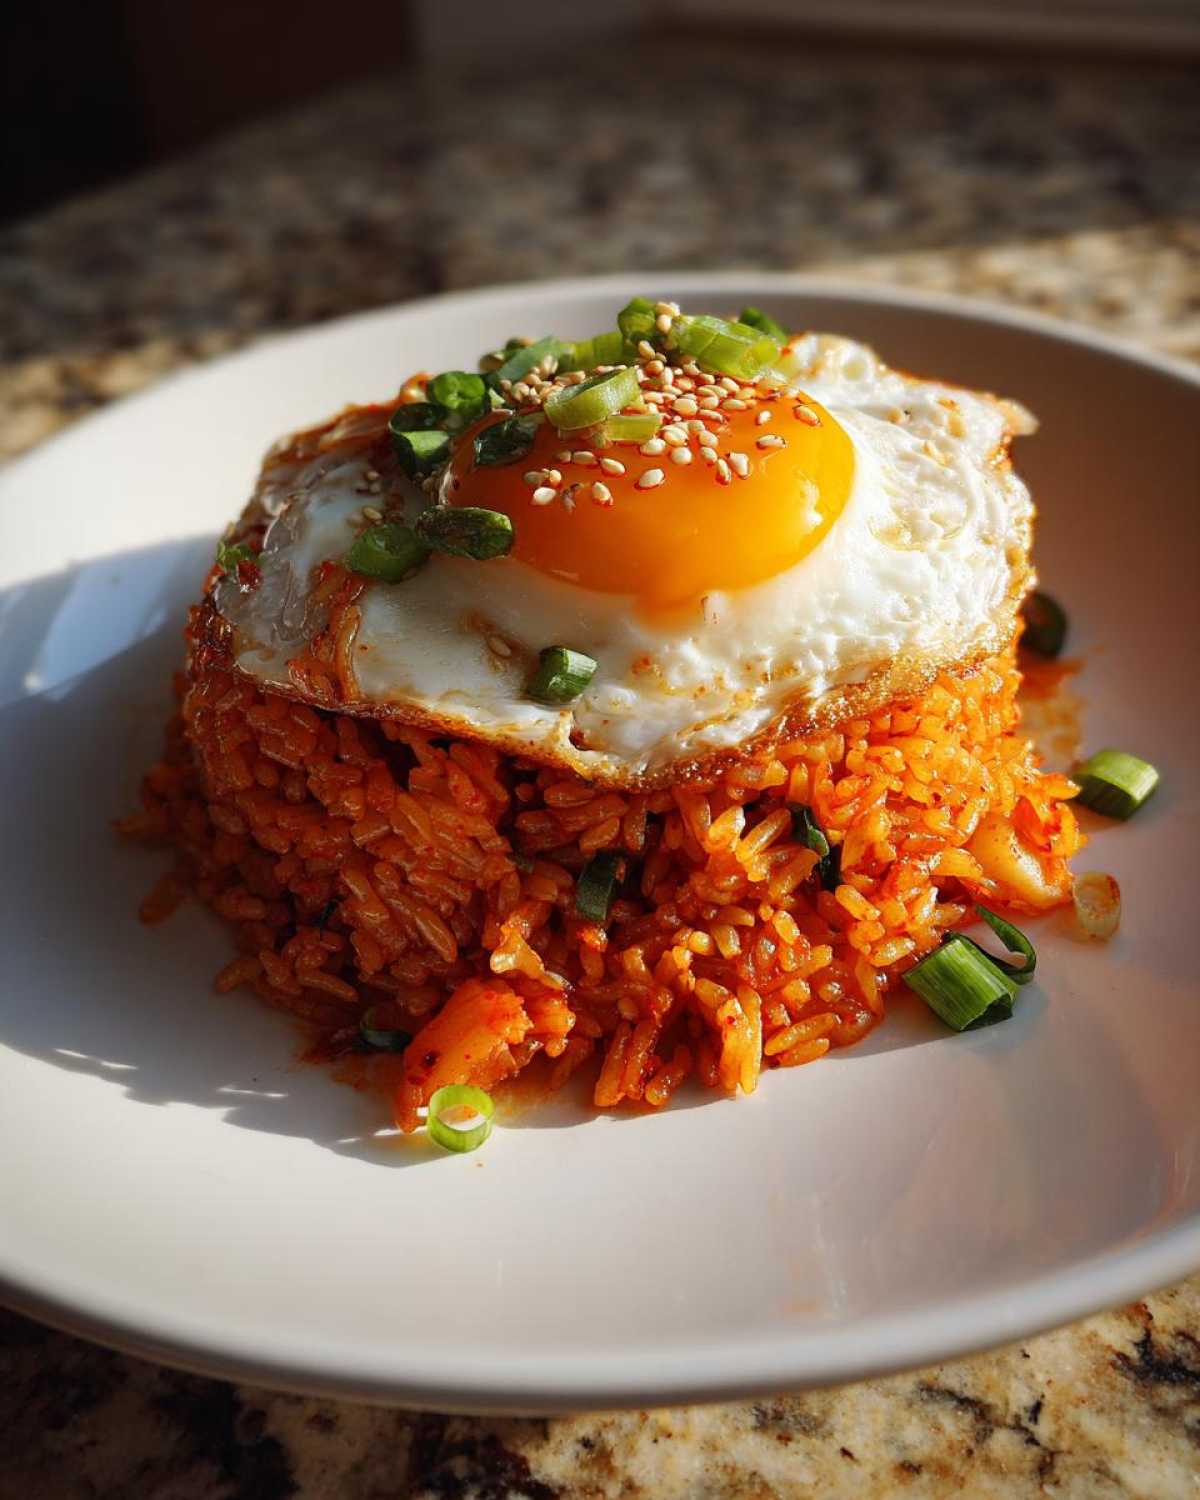
If you’re looking to round out the meal, it pairs beautifully with simple, crisp sides, like some quick pickled cucumbers or maybe some lightly seasoned seaweed snacks. If you are needing some inspiration beyond the standard fried egg presentation, I actually have a detailed guide on perfecting poached eggs that you might like since the texture challenge is similar! Check out my guide to perfect eggs.
Storage and Reheating Instructions for Leftover Kimchi Fried Rice
Making a big batch of **Kimchi Fried Rice** is smart because it tastes even better the next day! You definitely want to store any extras in an airtight container in the fridge. Don’t just leave it sitting out—we need to keep those flavors fresh.
When you reheat it, please skip the microwave if you can! The microwave tends to warm it unevenly and makes the rice mushy again. Instead, use a hot skillet with just a tiny splash of oil or water. Toss it quickly over medium-high heat, pressing it against the pan like we did the first time. This brings back that wonderful texture!
Frequently Asked Questions About Kimchi Fried Rice Recipe
Even after going through all those steps for our Easy Korean Fried Rice, sometimes little questions pop up, right? That used to happen to me constantly when I was learning! Liam always had answers for everything, and I wanted to make sure you have them too, especially if you’re trying out some *Simple Korean Cooking* for the first time. Here are a few things that always came up when we were first perfecting our Quick Kimchi Bokkeumbap.
Can I use freshly made kimchi instead of fermented kimchi?
You totally can, but you need to know the trade-off! Fresh kimchi is usually crisp and bright but hasn’t developed that deep, sour tang we really rely on for Authentic Kimchi Rice. If that’s all you have, just absolutely make sure you use every drop of that jar juice! That liquid is where most of the required acidity comes from.
What is the best rice to use for this dish?
This is critical for great Leftover Rice Recipes! You need short or medium-grain white rice that has been cooked, cooled completely, and preferably chilled overnight. This makes the grains separate better and helps them absorb the flavor instead of getting slimy. Reheated, fresh rice equals sad, mushy fried rice, so stick to the cold stuff!
If you’ve got other questions burning in your mind about making these Flavorful Rice Bowls, feel free to jump over to the main blog page and search around! We’ve covered a lot of ground.
Estimated Nutritional Data for Kimchi Fried Rice
Now, I want to be super clear about this part—just like when Liam taught me about measuring yeast, precision matters! The nutritional information below is just an estimate based on using pork belly and averages for the other ingredients. Your final numbers might look a little different depending on how much oil you use or if you swap out the pork for something else. If you want the exact science behind how we track things, you can read our full Nutritional Disclaimer here.
But generally, for one generous serving of this hearty meal, here’s what you’re looking at:
- Serving Size: 1 serving
- Calories: 550
- Fat: 25g (8g saturated)
- Carbohydrates: 65g
- Protein: 20g
- Sodium: 1100mg (That’s the kimchi and soy sauce talking, so be mindful if you’re watching salt!)
It’s a wonderfully balanced meal—lots of flavor, a good hit of protein, and enough energy to get you through the evening!
PrintThe Ultimate 15-Minute Easy Kimchi Fried Rice (Perfect for Leftover Rice)
You can make this quick and savory Kimchi Fried Rice, or Bokkeumbap, in just 15 minutes. It is the perfect weeknight dinner, especially when you use cold, leftover rice for the best texture.
- Prep Time: 10 min
- Cook Time: 15 min
- Total Time: 25 min
- Yield: 2 servings
- Category: Dinner
- Method: Stir-Frying
- Cuisine: Korean
- Diet: Vegetarian
Ingredients
- 2 cups cold, day-old cooked white rice
- 1 cup chopped, well-fermented kimchi
- 1/4 cup kimchi juice (from the jar)
- 2 tablespoons neutral cooking oil (like canola or vegetable)
- 4 ounces pork belly or bacon, diced (optional, substitute with mushrooms for vegetarian)
- 1/2 medium yellow onion, diced
- 2 cloves garlic, minced
- 1 tablespoon Gochujang (Korean chili paste)
- 1 teaspoon soy sauce
- 1/2 teaspoon sesame oil
- 2 large eggs (for topping)
- 1 green onion, sliced (for garnish)
- 1 teaspoon toasted sesame seeds (for garnish)
Instructions
- Prepare your ingredients: Dice the pork belly or bacon (if using), chop the kimchi, dice the onion, and mince the garlic. Have your cold rice ready.
- If using pork belly or bacon, heat the cooking oil in a large skillet or wok over medium heat. Add the meat and cook until crisp. Remove the meat with a slotted spoon and set aside, leaving about 1 tablespoon of rendered fat in the pan. If not using meat, add the 2 tablespoons of neutral oil now.
- Add the diced onion to the skillet and cook for 2 minutes until softened. Add the minced garlic and cook for 30 seconds until fragrant.
- Add the chopped kimchi to the skillet. Stir and cook for 3 to 4 minutes until the kimchi softens and darkens slightly. This step builds deep flavor.
- Push the kimchi mixture to one side of the skillet. Add the Gochujang and soy sauce to the empty space and cook for 30 seconds to toast the paste slightly. Stir the paste into the kimchi mixture.
- Add the cold rice to the skillet. Break up the rice clumps with your spatula. Stir everything together well, mixing the rice with the kimchi and seasonings. Cook for 3 to 5 minutes, pressing the rice against the hot pan occasionally to get some crispy edges.
- Stir in the reserved pork belly/bacon (if using) and the kimchi juice. Cook for 1 more minute until heated through. Remove the skillet from the heat and stir in the sesame oil.
- While the rice cooks, fry two eggs sunny-side up in a separate small pan. You want the yolks runny for the best flavor.
- Divide the Kimchi Fried Rice into serving bowls. Top each serving with a fried egg. Garnish with sliced green onions and toasted sesame seeds.
Notes
- Using day-old, cold rice is key for achieving that slightly dry, separated texture that makes great fried rice. Do not use freshly cooked rice.
- If you prefer a vegetarian or vegan meal, skip the pork belly/bacon and use vegetable oil. Make sure your Gochujang is vegan, as some brands contain fish products.
- For extra richness, you can stir in 1/4 cup of shredded cheese (like mozzarella) right before serving.
Nutrition
- Serving Size: 1 serving
- Calories: 550
- Sugar: 8
- Sodium: 1100
- Fat: 25
- Saturated Fat: 8
- Unsaturated Fat: 17
- Trans Fat: 0
- Carbohydrates: 65
- Fiber: 4
- Protein: 20
- Cholesterol: 250