

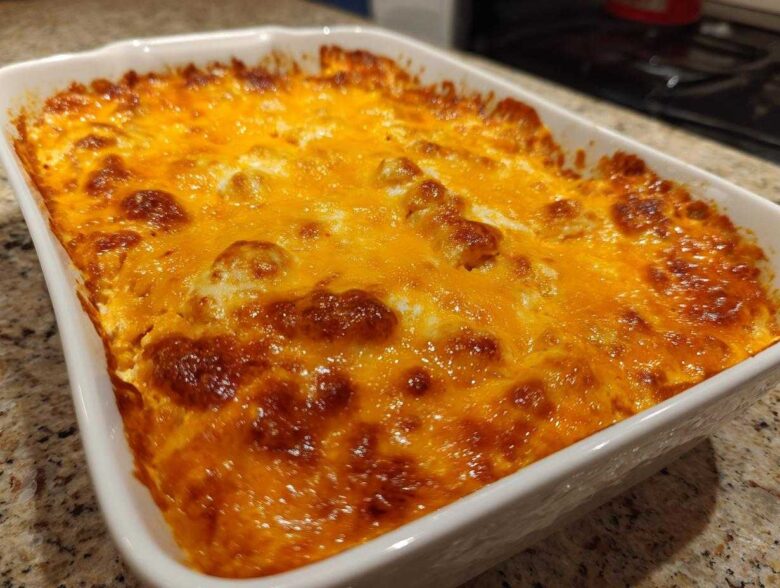
If you’re like me—and you used to panic when company suddenly showed up or when the Super Bowl started without a decent snack on the table—then this recipe is going to change your life! Forget spending hours simmering things on the stove. We’re talking about the chili cheese dip that comes together so fast, you’ll wonder if it’s legal. Seriously, this is the Super Easy 3-Ingredient Chili Cheese Dip, and it’s ready to go from oven to table in under 20 minutes. When I first started learning in the kitchen, Liam always emphasized that great food doesn’t need tons of steps. You can read more about our journey over at our story! This recipe embodies that simplicity he taught me. It’s perfectly creamy, insanely cheesy, and utterly satisfying.
Why This 3-Ingredient chili cheese dip is Your New Go-To Party Appetizer
If you are hosting someone suddenly, or if you realize the big game starts in thirty minutes and there’s nothing out, this is the dip you turn to. It hits every single requirement for top-tier party appetizers: it’s hot, it’s cheesy, and it shows up fast. Honestly, when I was first learning from Liam, I always thought a dip this impressive had to involve Velveeta or an hour of slow cooking. Nope!
He made this for me one Friday night when I felt overwhelmed by grocery shopping. He just pulled three things from the pantry and told me, “Clara, watch this. This is how you put out incredible game day snacks without stressing.” It truly proved that delicious doesn’t have to mean complicated. It gave me so much confidence when I was looking for quick appetizer ideas.
The Minimal Ingredient Recipes Advantage
This recipe is the definition of victory with minimal effort. We aren’t messing around with fancy spices or complicated layering here. Using only three main components means less shopping, less measuring, and way less kitchen cleanup. For anyone who feels nervous about hosting, following this simple outline means you can concentrate on pouring drinks instead of scrambling for ingredients. Other dips might require more time, but this one lets you relax!
It’s proof that you can make something that tastes unbelievably decadent using just a handful of items. Trust me, this dip disappears long before the fancy stuff does. You can check out some other recipes that follow this simple approach, like our sausage balls, for more easy entertaining ideas!
Gathering Ingredients for Your Perfect chili cheese dip
Okay, this is the easy part because there are only three things you absolutely need to grab! This is why it falls into the Cream Cheese Dips family—that cream cheese is doing some heavy lifting to make this so smooth. When I first looked at Liam’s ingredient list, I thought he was messing with me. It’s just this simple, but wow, does it cook up beautifully. Getting these separated and ready takes maybe five minutes.
Ingredient Clarity and Preparation
Here’s the short list. Make sure you pay attention to the state they need to be in before you mix them:
- One 8-ounce package of cream cheese. And listen up, it MUST be softened! Don’t try to rush this in the microwave unless you want clumps. Leave it out on the counter for an hour.
- One 15-ounce can of chili. This is where you can make your choice! Liam likes the kind with beans sometimes, but if you’re worried about texture, go for the beanless kind. Whatever chili you pick, using a good quality one really helps make this the Best Chili Dip.
- One cup of shredded cheese. I usually go for a bag of the Monterey Jack and Cheddar blend, but straight sharp Cheddar is amazing too. Make sure it’s pre-shredded or shred it yourself, but it needs to be ready to melt!
Step-by-Step Instructions for the Quick chili cheese dip
This is where you see the magic happen without breaking a sweat. Because we’re only baking this for about 15 to 20 minutes, that prep time has to be quick! Have your chips and dippers ready to go because once this comes out of the oven, you’ll want to serve it right away. Don’t worry about making this work in a slow cooker today; we are keeping it fast and hot for the oven method. It’s so satisfying to watch that cheese bubble up!
Prepping and Mixing the chili cheese dip Base
First things first, get your oven heating up to 350 degrees F. Then, grab a small baking dish—we don’t want this to spread too thin! Give it a quick grease so nothing sticks, which is super important for cleanup later. Now for the combining part. Take that softened cream cheese you remembered to leave out and drop it into a mixing bowl. Dump in the entire can of chili right on top. Mix these two together really well. I mean it, mix until it’s completely smooth and you can’t see any white spots of cream cheese peeking through. This is the base for our ultimate comfort food! You want one uniform, smooth mixture of chili and cheese base before anything else happens.
Baking and Achieving that Melted Cheese Appetizer Finish
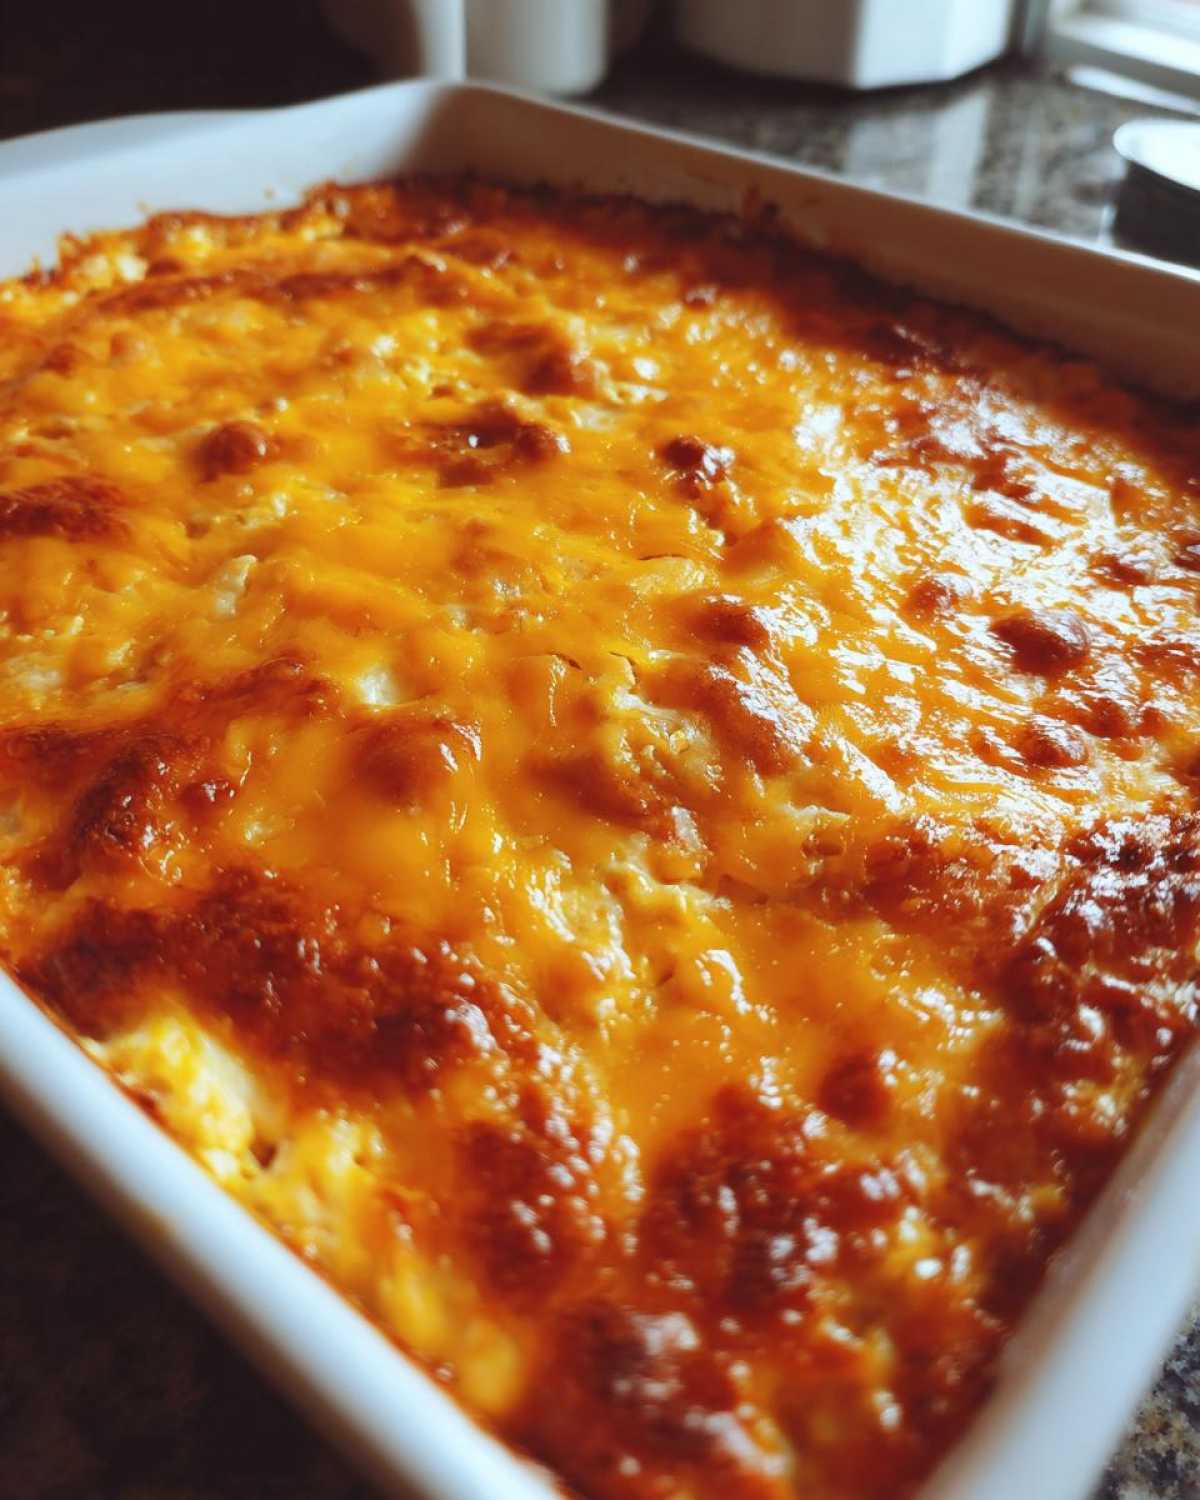
Once your base is looking beautiful and completely blended, scrape that entire creamy mixture into your prepared dish. Smooth the top out with the back of a spoon so it’s even. Next up: the glorious cheese topping! Sprinkle your cup of shredded cheddar evenly over the spread. Pop the whole thing into that hot oven. You are looking for it to bake for about 15 to 20 minutes. Keep an eye on it! You know it’s done when the whole dip is heated through and that top layer of cheddar is totally melted and bubbly—that glistening, bubbly cheese is the sign of a successful hot dip.
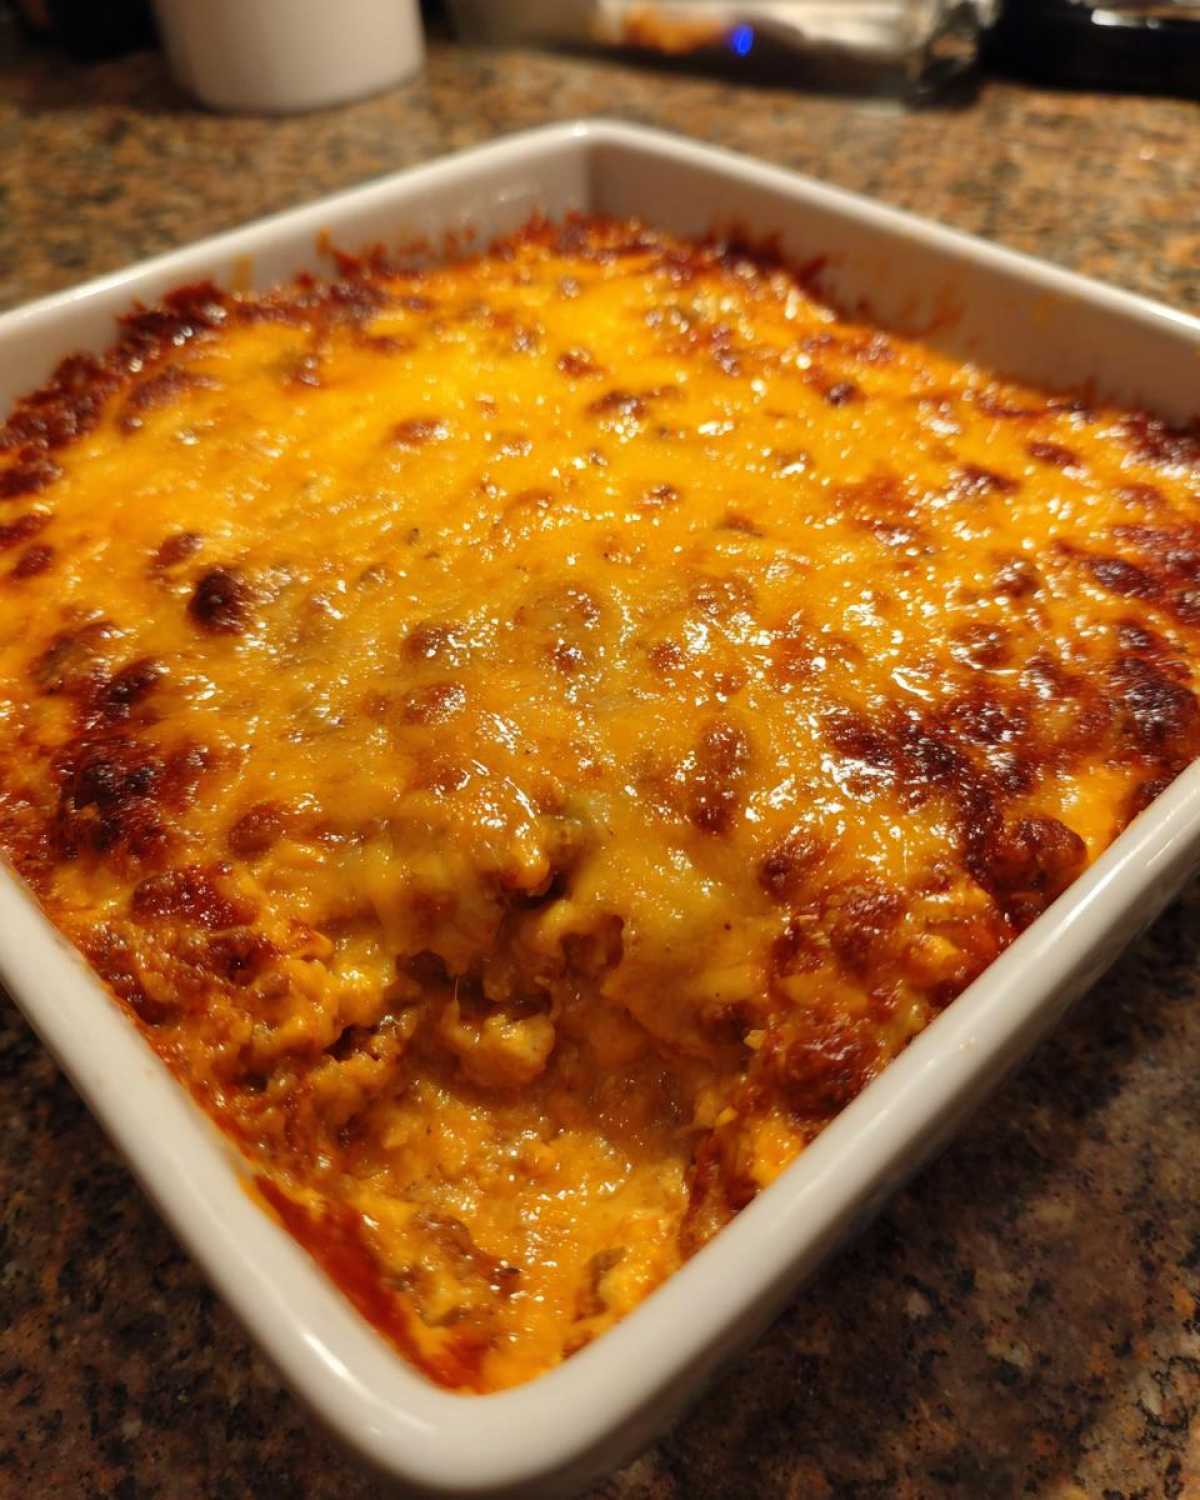
Pull it out carefully, let it sit for just one minute so you don’t burn your tongue, and get those dippers ready! Seriously, the time between the oven and your guests’ mouths should be as short as possible for the best experience.
Tips for Success: Mastering Your chili cheese dip
Even though this recipe is wonderfully simple, Liam taught me that a few small tricks can elevate any dish—even this glorious pile of cheesy goodness! Knowing these little secrets is what turns a good appetizer into a truly memorable one, cementing its place as one of your favorite Comfort Food Recipes.
Alternative Preparation for a Smoother chili cheese dip
Generally, we bake this one, but if you are desperate for the absolute smoothest texture and you don’t mind using a saucepan, here’s the expert move. Instead of mixing in a bowl, heat the softened cream cheese and the chili together in a saucepan over low heat. You just stir until those two become one shiny, velvety dream. Then, you gently stir in the shredded cheese until it’s just melted. Don’t let it boil! This stovetop method is fantastic if you end up making a batch for homemade Simple Cheese Spreads that need to be extra silky smooth.
Make-Ahead Strategy for Entertaining Dips
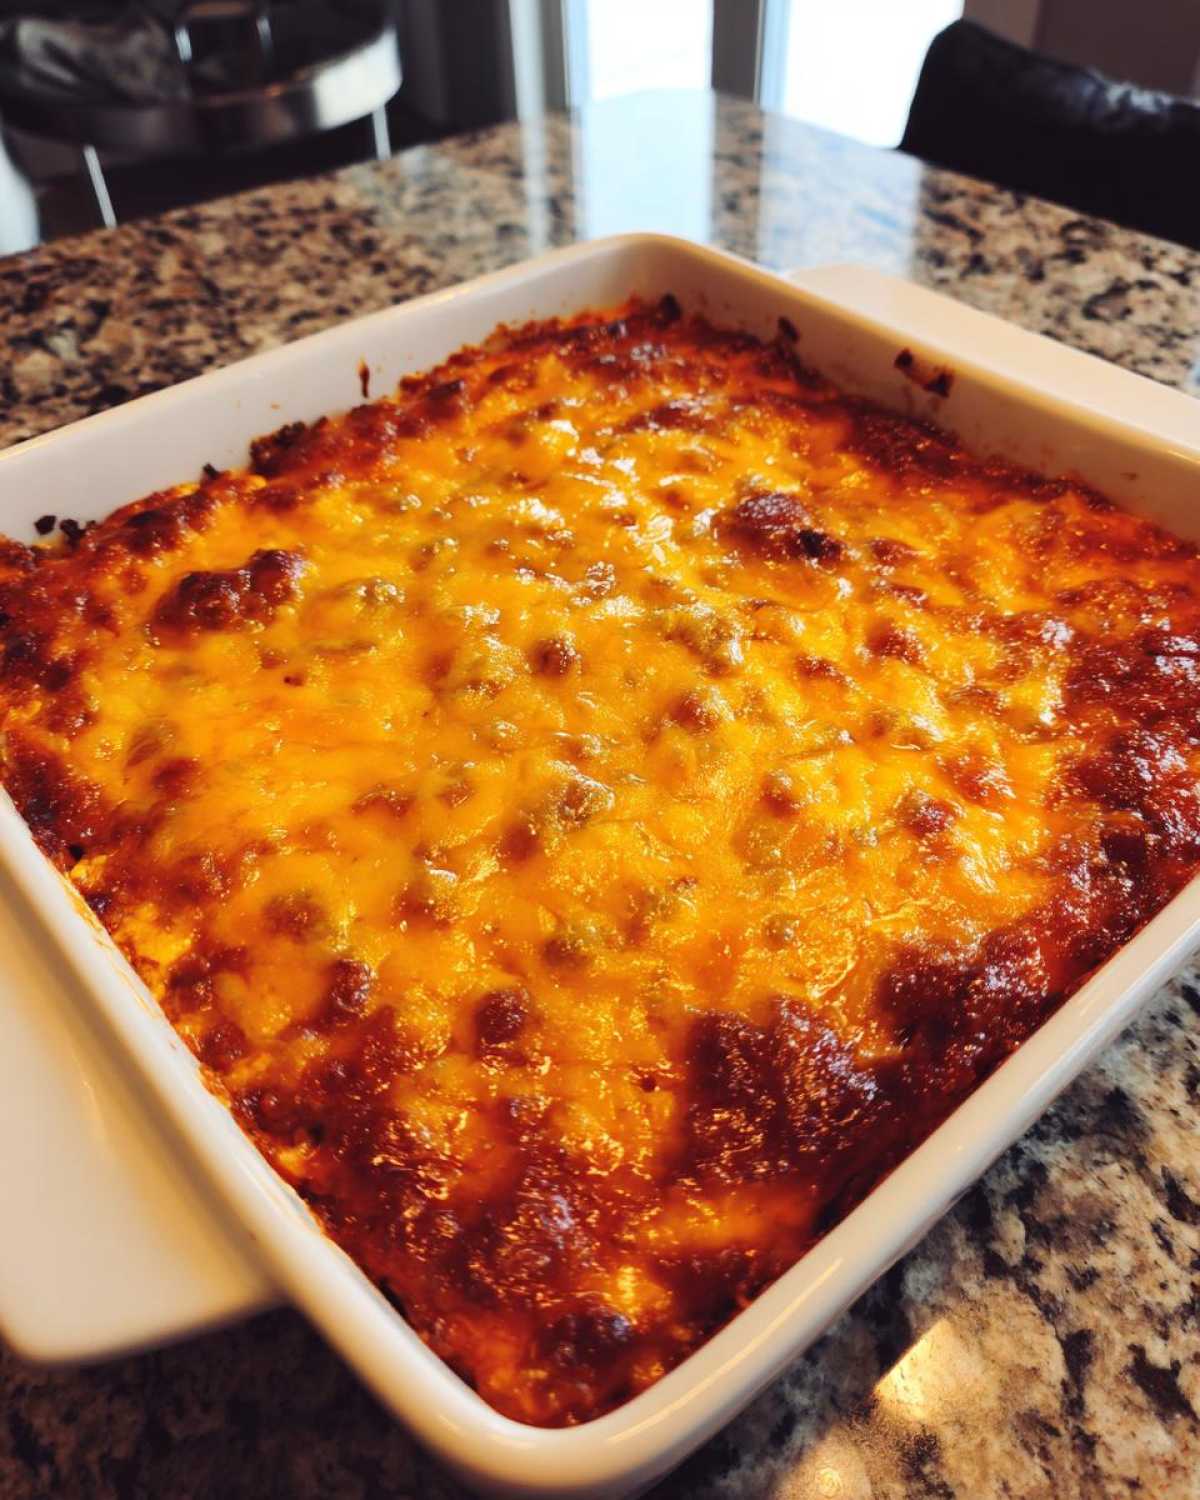
If you know your party is coming up next week, don’t stress! This is one of the best benefits of using cream cheese in your base—it holds up beautifully for make-ahead prep. You can absolutely assemble this dip in your baking dish, using the chili and cream cheese base, and top it with the shredded cheddar. Cover it tightly and stick it right in the fridge. When your guests arrive, just slide it into the oven. You might need to add about five extra minutes to the baking time since it’s starting cold, but it saves you from last-minute scrambling. It’s a lifesaver when planning Entertaining Dips!
If you want another super smooth cheesy option, you have to check out my recipe for homemade nacho cheese next!
Serving Suggestions for Your Crowd Pleaser Dips
So, you’ve got this molten, cheesy wonder hot out of the oven. What are you going to serve it with? Tortilla chips are the classic choice, and they never let me down, but if you want this to truly be a legendary appetizer at your next big event, you gotta mix up the dippers!
When we plan our Appetizers for Football Season, I like to offer something for everyone. Beyond the sturdy corn chips, grab some sturdy pretzels—the hard ones, not the soft ones—they scoop up this dip perfectly. Cucumber slices are surprisingly wonderful if you need a lighter, fresher option against all that rich cheese.

Also, don’t forget sturdy crackers or even just thick slices of a baguette, lightly toasted. The variety makes this Crowd Pleaser Dips recipe shine even more! If you want another easy handheld appetizer idea to put out alongside this, check out my recipe for pizza sliders while you’re waiting for that dip to bake!
Storage and Reheating Instructions for Leftover chili cheese dip
Now, let’s talk about the reality of hosting: sometimes there are leftovers! It’s rare with this chili cheese dip, but it happens. The good news is, because we used that sturdy cream cheese base, this dip actually keeps pretty well, ensuring you still have a fantastic comfort food recipe waiting for you tomorrow.
If you have any left, you want to make sure you store it correctly right away so it doesn’t get weird or dry overnight. Let the dip cool down just enough so it’s not piping hot—you don’t want to steam up your container in the fridge! Once it’s just warm to the touch, cover your baking dish tightly with plastic wrap or foil. If you used a serving bowl, transfer the leftovers into an airtight container for the best results.
It’s great stored in the fridge for about three to four days. When you’re ready for round two, reheating is simple. I prefer the oven because it brings back that nice bubbly top layer. Pop the container (if oven-safe) back into a 350-degree oven for about 10 to 15 minutes, just until everything is heated through and creamy again. If you’re in a massive rush, the microwave works! Just heat it in short 30-second bursts, stirring really well between each one to break up that cheese and keep the texture smooth and appealing.
Frequently Asked Questions About This Easy Dip Recipes
I know when you’re trying out a new Easy Dip Recipes, especially one that sounds too simple to be true, you’re going to have questions! That’s totally normal. Liam always tells me that asking questions is the first step in learning anything new in the kitchen. So, let’s clear up any little things you might be wondering about making this incredible, creamy heap of deliciousness.
Can I substitute the cream cheese in this chili cheese dip?
This is a frequent question! Since the cream cheese is what gives us that signature tang and thick, luxurious texture that makes this one of our favorite Hot Dips, I really, really advise against swapping it for anything else if you want the recipe as written. Now, I know some people love Velveeta—and trust me, it melts beautifully—but it will change the flavor profile entirely. Velveeta will make it much slicker and perhaps slightly less tangy. If you absolutely must swap it, try a block of smooth processed cheese, but know you’re moving away from the creamy base Liam perfected here.
How do I make this chili cheese dip spicier?
If you like some heat, this is the easiest recipe to customize! You have a couple of great options. First, when you choose your canned chili, look for the “Hot” version if your store carries it—that’s the quickest fix. If you want to ramp it up even more, I usually add a dash or two of my favorite Louisiana-style hot sauce right into the cream cheese and chili mixture before baking. If you have fresh peppers on hand, finely dicing up a couple of jalapeños (seeds removed if you’re nervous!) and mixing them in gives you a great fresh kick. It’s totally up to how much fire you want in your bowl!
Don’t forget to browse our full recipe index for more great ideas over at TasteTaught!
Estimated Nutritional Data for This Melted Cheese Appetizer
Now, I know some of you are watching what you eat, and honestly, I admire that dedication! When we talk about a big, bubbly portion of warm, cheesy goodness, it’s definitely landing in the indulgent category. But hey, it’s a party dip, right? It’s supposed to be comforting! Liam always insists that transparency builds trust, so even though this is just a rough guide, I want to lay out what we are generally looking at for one serving size of this amazing melted cheese appetizer.
Remember, this recipe calculates nutrition based on the standard ingredients listed—so if you use an extra-lean chili or use low-fat shredded cheese, things might change! These numbers are estimates, but they give you a good starting point:
- Serving Size: 1/6 of dip
- Calories: Approximately 280
- Total Fat: Around 22 grams (Watch that saturated fat, folks!)
- Carbohydrates: About 10 grams
- Protein: A solid 12 grams to keep you going through the game!
Because we’re using canned chili and commercial cheese blends, the sodium content tends to be a bit higher, which is something to keep in mind. But honestly, when everyone is gathered around the TV and this is bubbling hot, nobody is counting macros—they are just reaching for another chip! That’s the beauty of a great comfort food recipe; sometimes you just have to enjoy the moment.
Share Your Game Day Snack Success
Okay, now that you’ve tried this Super Easy 3-Ingredient Chili Cheese Dip, I am dying to know how it went! Did it come out bubbly? Did the chips survive the scooping onslaught? Liam and I put so much care into making sure these recipes work perfectly for you, and hearing your success stories really keeps us going.
This is where you get to be part of the TasteTaught family! Don’t just leave the kitchen secrets at the table—come back here and let us know what you thought. It really helps other beginners who might be nervous about making their first hot dip!
I always love seeing photos of what you make. If you post a picture of your fantastic spread on social media, tag us! Seeing that incredible, cheesy appetizer on your table makes me feel like I’m right there with you, celebrating a win, whether it’s a football game or just surviving a busy week.
If you need anything at all—maybe you want to share a tweak you tried or you just have a quick question about leftovers—please don’t hesitate to reach out! You can send us a message directly through our Contact Page. We read every single note, and helping you connect with your food journey is why we started all this in the first place. Happy dipping, everyone!
PrintSuper Easy 3-Ingredient Chili Cheese Dip for Game Day

You need a quick, crowd-pleasing appetizer for your next party or game day? This simple chili cheese dip uses only three ingredients and comes together in under 20 minutes. It is rich, creamy, and guaranteed to disappear fast.
- Prep Time: 5 min
- Cook Time: 20 min
- Total Time: 25 min
- Yield: 6 servings
- Category: Appetizer
- Method: Baking
- Cuisine: American
- Diet: Vegetarian
Ingredients
- 1 (8 ounce) package cream cheese, softened
- 1 (15 ounce) can chili (with or without beans, your choice)
- 1 cup shredded cheddar cheese (or Monterey Jack blend)
Instructions
- Preheat your oven to 350 degrees F. Lightly grease a small oven-safe baking dish.
- In a medium bowl, combine the softened cream cheese and the canned chili. Mix them together until they are fully combined and smooth.
- Spread the chili-cream cheese mixture evenly into your prepared baking dish.
- Sprinkle the shredded cheddar cheese evenly over the top of the mixture.
- Bake for 15 to 20 minutes, or until the dip is heated through and the cheese on top is melted and bubbly.
- Serve immediately with tortilla chips, crackers, or vegetable sticks.
Notes
- If you want a smoother dip, you can melt the cream cheese and chili together in a saucepan over low heat until smooth, then stir in the shredded cheese just until melted before transferring to a serving dish.
- For an extra layer of flavor, use a chili that contains meat. This recipe is great for using up leftover chili too.
- This dip is excellent made ahead of time. Assemble the dip in the baking dish (without the top layer of cheese), cover, and refrigerate. Add the cheese and bake when ready to serve, adding a few extra minutes to the baking time.
Nutrition
- Serving Size: 1/6 of dip
- Calories: 280
- Sugar: 5
- Sodium: 650
- Fat: 22
- Saturated Fat: 12
- Unsaturated Fat: 10
- Trans Fat: 0.5
- Carbohydrates: 10
- Fiber: 2
- Protein: 12
- Cholesterol: 55