

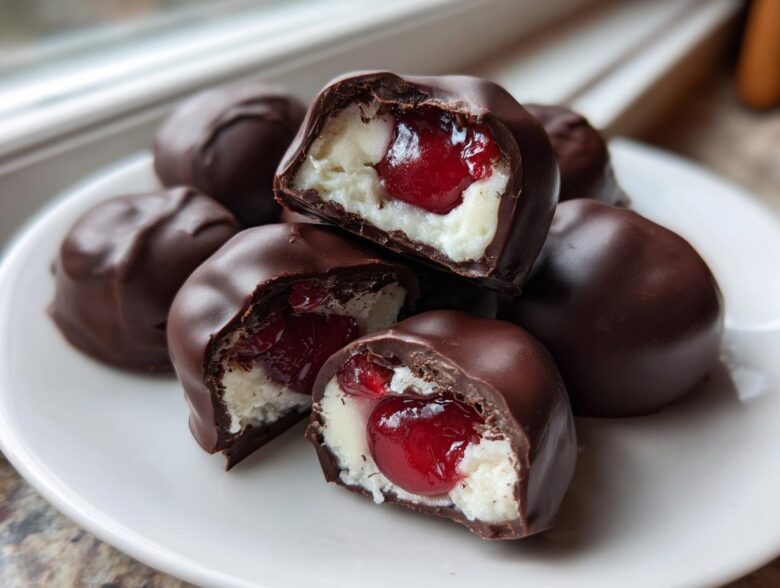
Oh my goodness, if there is one candy that takes me right back to childhood treats and holiday baskets, it’s the classic chocolate covered cherries! I remember tasting those store-bought ones and always thinking, “Why aren’t they just a little bit better?” Well, friends, Liam taught me that making your own gourmet chocolate gifts is absolutely doable, even for someone like me who used to live off microwave dinners. This recipe is all about achieving that *true* cordial style—that creamy filling that eventually turns into a little burst of syrupy goodness. Learning to make these felt like getting the secret handshake to proper holiday candy making!
Why You Will Love Making Homemade Chocolate Covered Cherries
If you’ve ever been disappointed by a store-bought candy that was all chocolate and no love, trust me, you need these in your life! Making your own chocolate covered cherries guarantees an incredible flavor upgrade. Plus, you get that satisfying texture everyone is looking for.
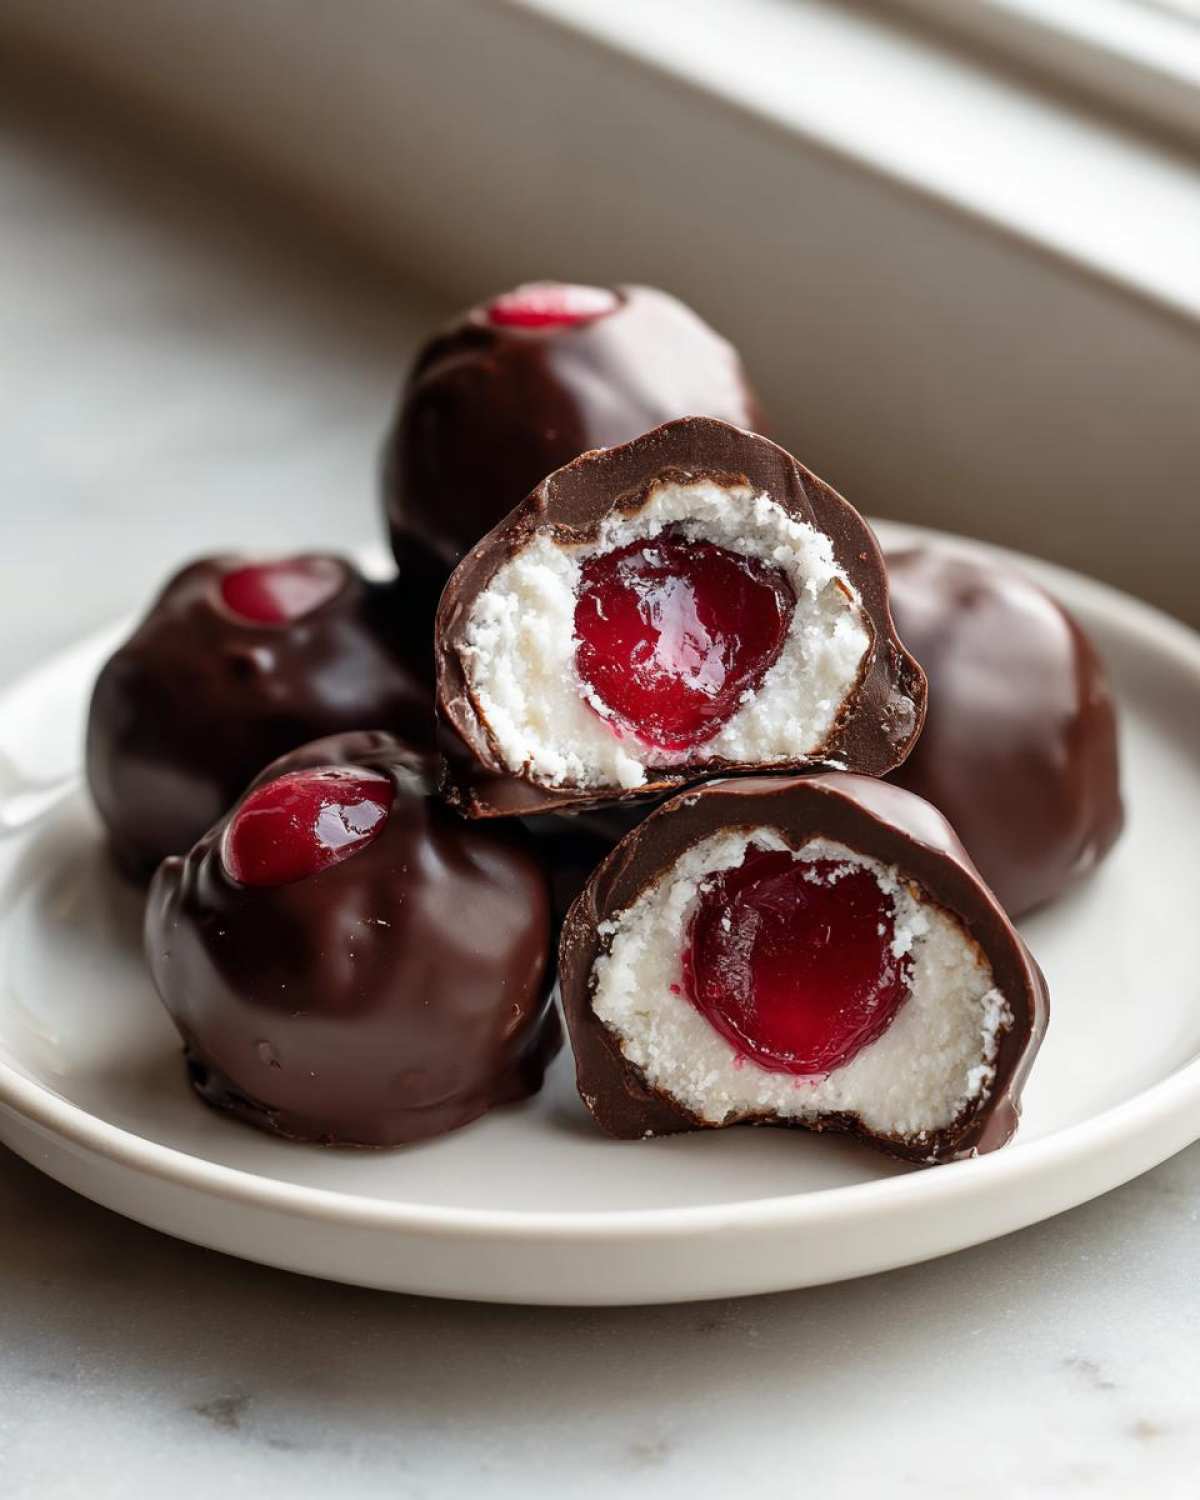
- The taste is just worlds better than anything pre-packaged.
- They look incredibly fancy—perfect for serving at parties or as Gourmet Chocolate Gifts.
- You have total control over the richness of your chocolate shell.
Achieving the Signature Cordial Texture
This is the magic! If you follow the curing instruction at the end, you create the liquid center that makes these candy cordials so famous. When I first tried this, I ate them immediately and was confused by the solid fondant. Liam laughed and told me, “Clara, good things aren’t rushed!” Waiting a few days for that juicy burst is what turns these into real chocolate covered cherries.
Perfect for Holiday Candy Making and Gifting
These candies are just stunning when they are done. They look like something you’d buy from a fancy chocolatier, but they are actually part of our beloved collection of Classic Candy Recipes. If you are looking for simple, impressive DIY Chocolate Gifts for neighbors or friends, wrap these up! They always look beautiful tied with a simple bow.
Gathering Ingredients for Your Chocolate Covered Cherries
Okay, ready to see how surprisingly few things you actually need for these incredible chocolate covered cherries? Unlike some elaborate confections, the ingredient list here keeps things wonderfully simple. Remember, the magic is in the wrapping, not in hoarding exotic things!
Before we even start mixing, there’s one huge warning I have to give you: you must, must, must dry those maraschino cherries until they are perfectly bare-skinned. If they are even a little damp, the fondant wrapper will just slide right off, and honestly, it makes a huge mess! I ruined my first batch that way, so don’t let it happen to you!
Fondant Components for the Center
This mixture is what encases the cherry and eventually turns into that luscious syrup. Don’t skimp on sifting that sugar—it makes things so much smoother!
- 1 tablespoon butter, softened
- 2 cups powdered sugar, sifted
- 1 teaspoon vanilla extract
- 1/4 cup water, plus more if needed
Chocolate Dipping Essentials for Rich Chocolate Covered Cherries
For the coating, we want something that sets up nicely and tastes decadent. If you use high-quality chocolate bars, you’ll get the results for the “Best Chocolate Covered Cherries at Home” for sure. This is where you can really connect with a great chocolate recipe!
- 12 ounces dark or milk chocolate, chopped (your preference here!)
- 1 teaspoon coconut oil or shortening (optional, this just helps keep it super smooth for dipping)
Step-by-Step Instructions for Making Chocolate Covered Cherries
Alright, let’s roll up our sleeves! Making your own chocolate covered cherries feels like such an accomplishment, and honestly, it’s surprisingly straightforward once you break it down. The main thing to remember is that this is a two-part candy: the center needs time to set up before it ever sees that gorgeous melted chocolate. Don’t rush the chilling; that’s where the confidence comes from!
Preparing the Maraschino Cherries: The Crucial Drying Step
This is step number one, and it is literally the most important thing you can do to save yourself a headache later. You need to take those drained cherries and pat them down—I mean really pat them—with tons of paper towels. You want them almost powdery dry. Why? Because if there is any moisture left, the fondant wrapping will get sticky, slide off, or even start to dissolve. I learned this the hard way! My first attempt made a sticky, pink goo instead of professional little balls. Trust me, getting these chocolate covered cherries dry ensures your fondant sticks perfectly.
Creating the Creamy Fondant Filled Chocolates Center
Now we make the sweet shell for our cherry! Start by creaming that soft butter with your vanilla until it looks nice and smooth. Next, you slowly add in the sifted powdered sugar. It will look crumbly at first, but don’t panic! The key to perfect Fondant Filled Chocolates is the water. You add it just one teaspoon at a time. Mix until it starts to pull together into a solid, workable dough. You want it firm—if it’s too soft, you won’t be able to wrap the cherries neatly.
Chilling and Melting Chocolate for Dipping
Once you’ve wrapped that little fondant ball neatly around each dried cherry, place them all on parchment paper and send them into the fridge. At least two hours, please! They have to be super firm before they hit the warm chocolate. While they chill, melt your chocolate. I always toss in that tiny bit of coconut oil if I remember; it thins the chocolate out just enough so you get those gorgeous, thin shells instead of thick clumps. If you need tips on melting chocolate smoothly, check out my notes over on the chocolate fondue post for general dipping advice!
Dipping, Setting, and Curing Your Chocolate Covered Cherries
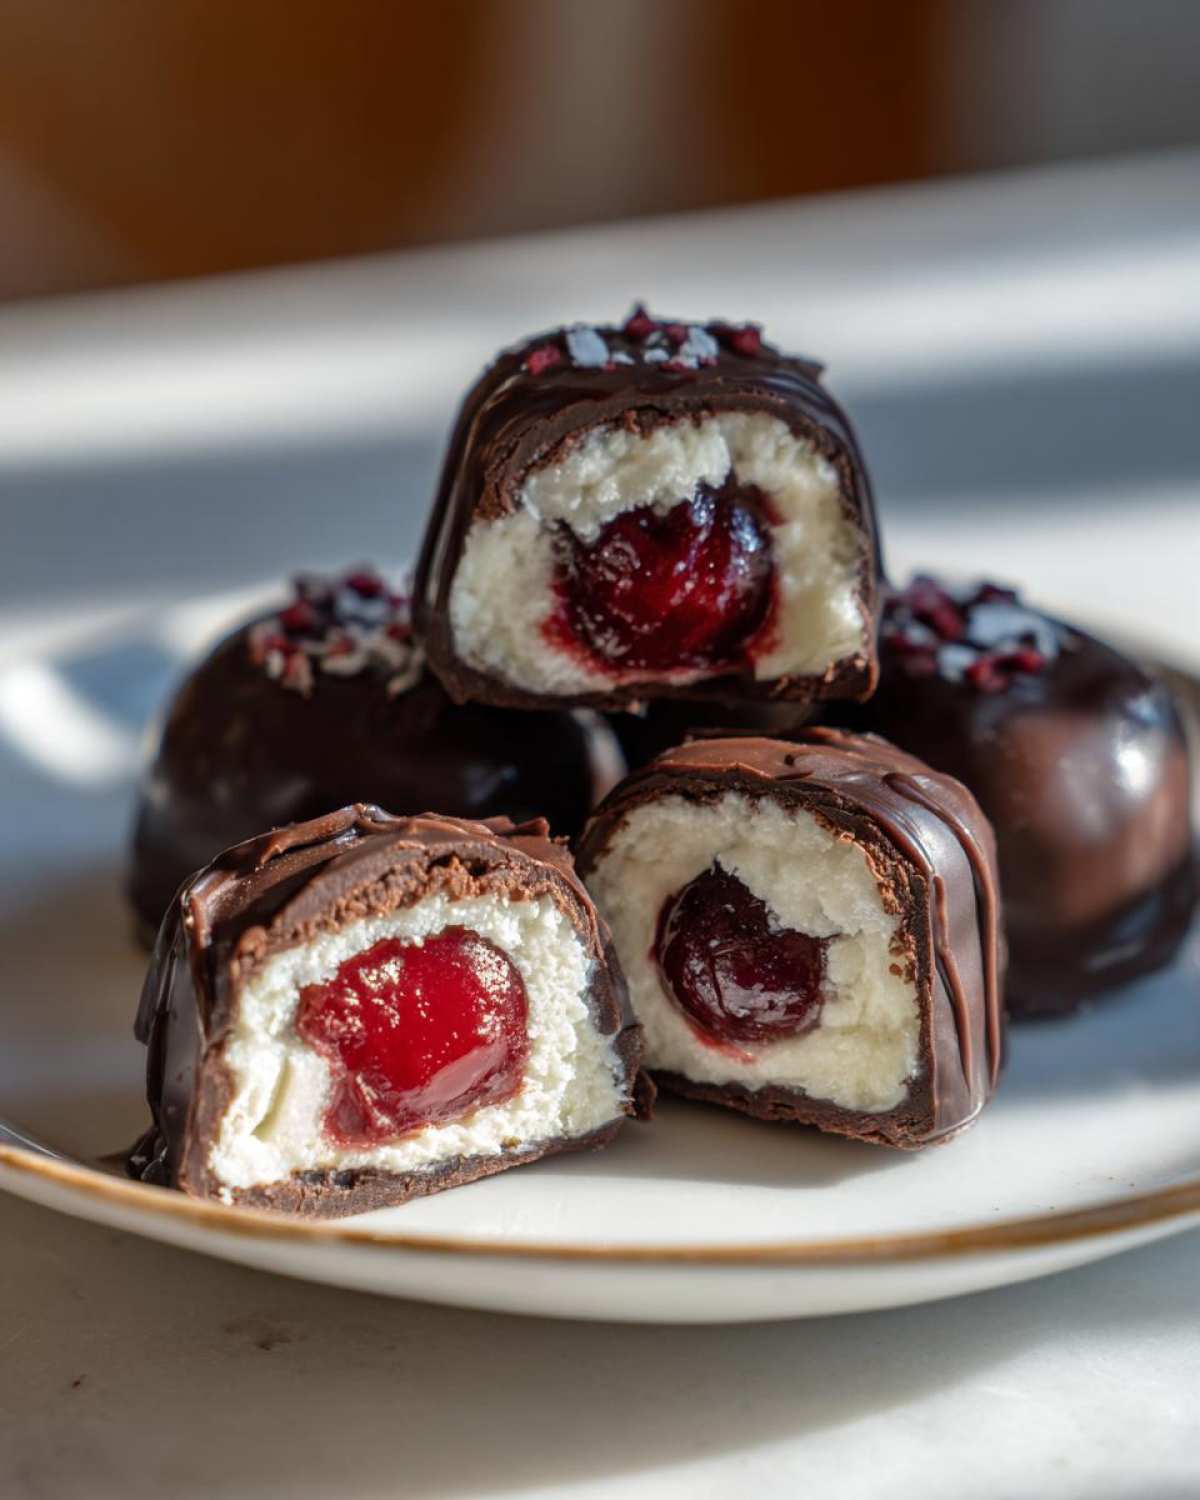
Time for the fun part! Pop those chilled balls in the chocolate bath, letting the excess drip off by tapping the fork gently. Then set them back on the parchment. If you want an extra thick shell (which I totally recommend!), let that first layer cool completely, and then dip them a second time. Now, listen closely: to get that beloved cordial effect, you can’t eat them right away. You have to transfer the finished candies into a container and let them sit in a cool pantry for 3 to 5 days. That’s how the magic happens, transforming them from simple dipped treats into true chocolate covered cherries.
Tips for Success with Homemade Candy Recipes
Even with the perfect recipe, the difference between a good batch of chocolate covered cherries and a *stunning* one is all in the tiny details. I’ve learned a few tricks along the way that really help level up the look of these candies so they truly resemble those fancy ones you see in the display case! If you want the prettiest dip on the block, my tips found when perfecting things like shiny apple coatings really help here. Check out the secrets from that candy apple recipe!
Mastering the Chocolate Coating
If you want that super professional, shiny coat that doesn’t streak, you could look into tempering your chocolate. Honestly, tempering used to scare me half to death—it felt too technical! But for easy dipping, I find using high-quality melting wafers designed specifically for coating (sometimes called candy melts) gives you that glossy, firm shell without the fuss of tempering every time. Just make sure your chocolate is perfectly smooth before you start dipping!
Troubleshooting Sticky Fondant
Remember that fondant is all about balance, and humidity can totally mess with it! If you find your fondant wrapping is too soft and mushy to handle, it means you added just a hair too much water, or your kitchen is super humid. Don’t panic! Just stir in a tablespoon or two more of that sifted powdered sugar until it firms up again to a nice, workable dough. If it feels stiff and cracks when you wrap the cherry, add just half a teaspoon of water and knead it in gently. Liam always reminds me that candy making is all about feeling the dough, not just following the clock!
Storage & Reheating Instructions for Your Cherry Cordial Recipe
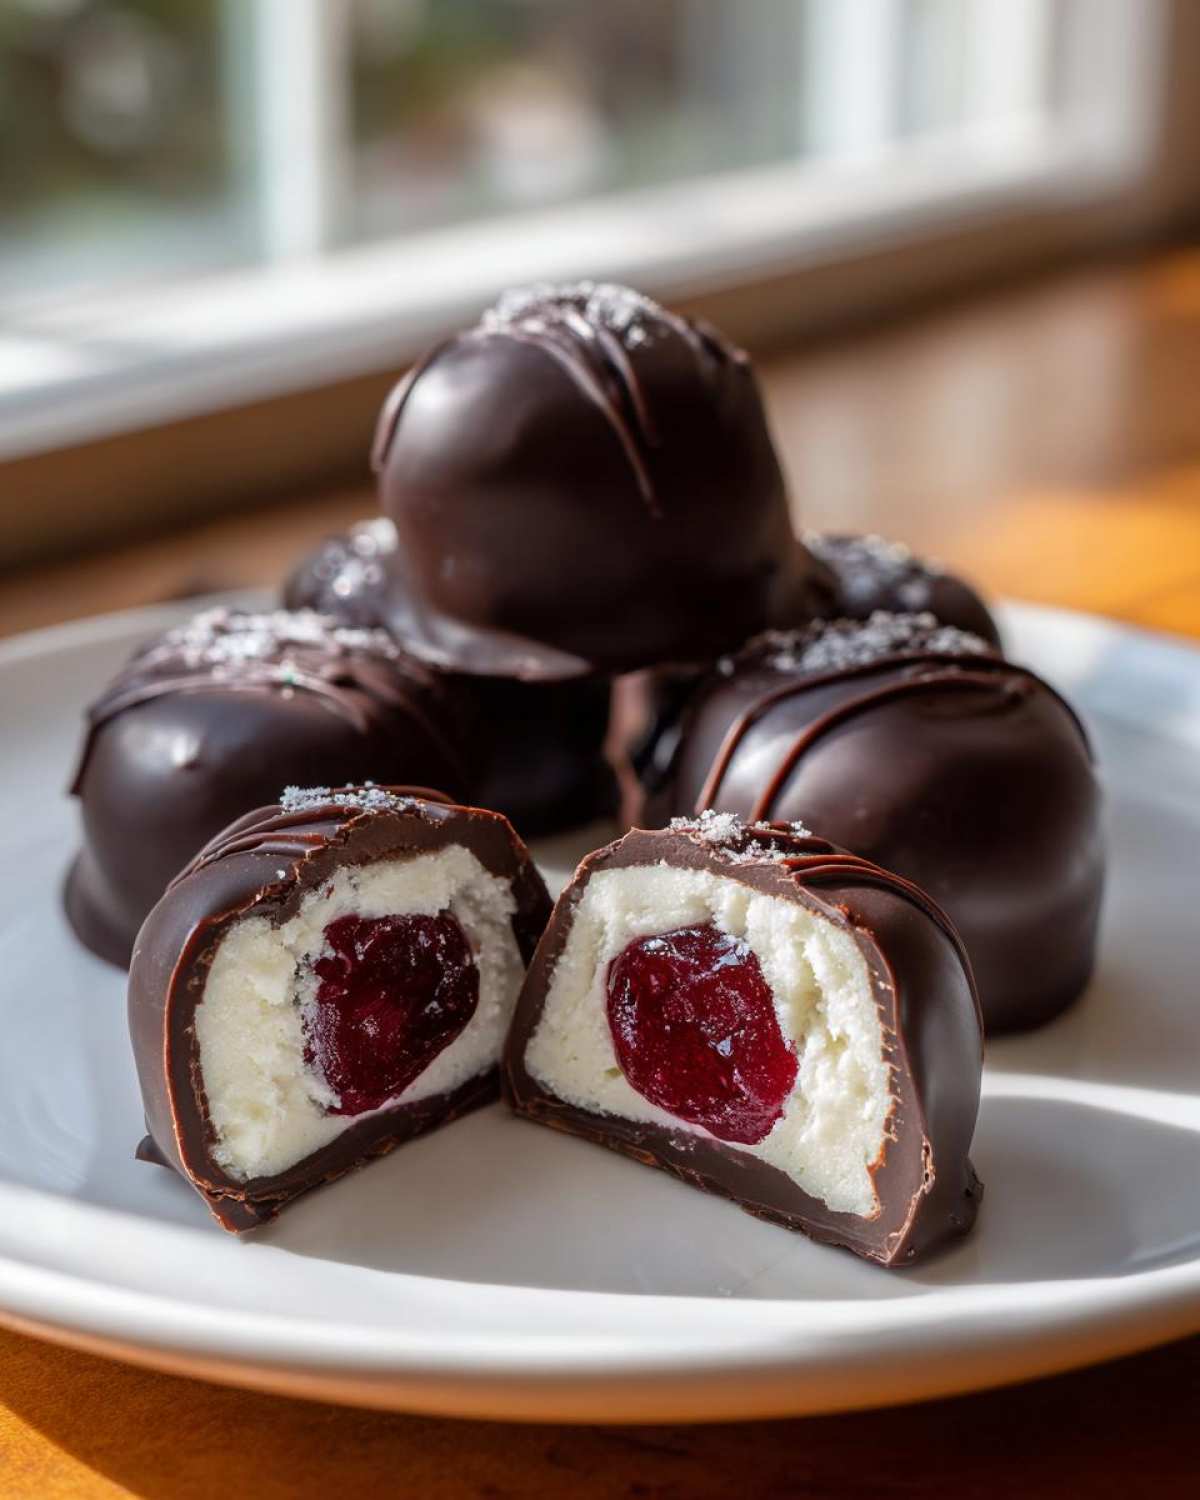
Okay, once you’ve successfully made these decadent chocolate covered cherries, you might be tempted to shove them all in the fridge, right? Hold on a second! For the absolute best results—that famous liquid center in your Cherry Cordial Recipe—you actually want to store them differently.
Keep them in an airtight container in a cool, dry spot, like your pantry. Refrigerating them can cause condensation, which makes the chocolate bloom or get dull. If you let them cure properly for those 3 to 5 days, they will last beautifully for several weeks, just waiting patiently for the perfect moment when you need a sweet treat!
Frequently Asked Questions About From Scratch Chocolate Cherries
Whenever Liam and I teach a new recipe, we always end up with a mountain of questions! It’s totally normal, especially with candies like these where texture is so important. People always want to know if they can cheat the process, but with these chocolate covered cherries, a little patience pays off huge dividends!
Can I use fresh cherries instead of maraschino cherries for chocolate covered cherries?
That’s a great question! You absolutely *can* use fresh cherries, but then it stops being this specific, easy cordial recipe and becomes much more advanced. Fresh cherries hold a lot more water, and if you don’t thoroughly candy them first, that water will just cook out into your fondant shell when you wrap them, making everything soggy. Maraschino cherries are pre-soaked in syrup, which gives them that slightly firmer shape we need for wrapping. For this recipe, stick to the jarred, well-drained ones!
How long do I really need to wait to get the liquid center?
Ah, the infamous waiting game! If you bite into one of these beauties the very next day, you’ll find a nice, firm, sweet fondant surrounding the cherry. That’s delicious too, by the way! But for that classic, melt-in-your-mouth syrupy liquid center, you have to let them cure for a minimum of 3 to 5 days in a cool pantry. It’s the waiting time that allows the cherry’s moisture to interact with the fondant, creating that cordial magic. Don’t skip this if you want the ultimate experience!
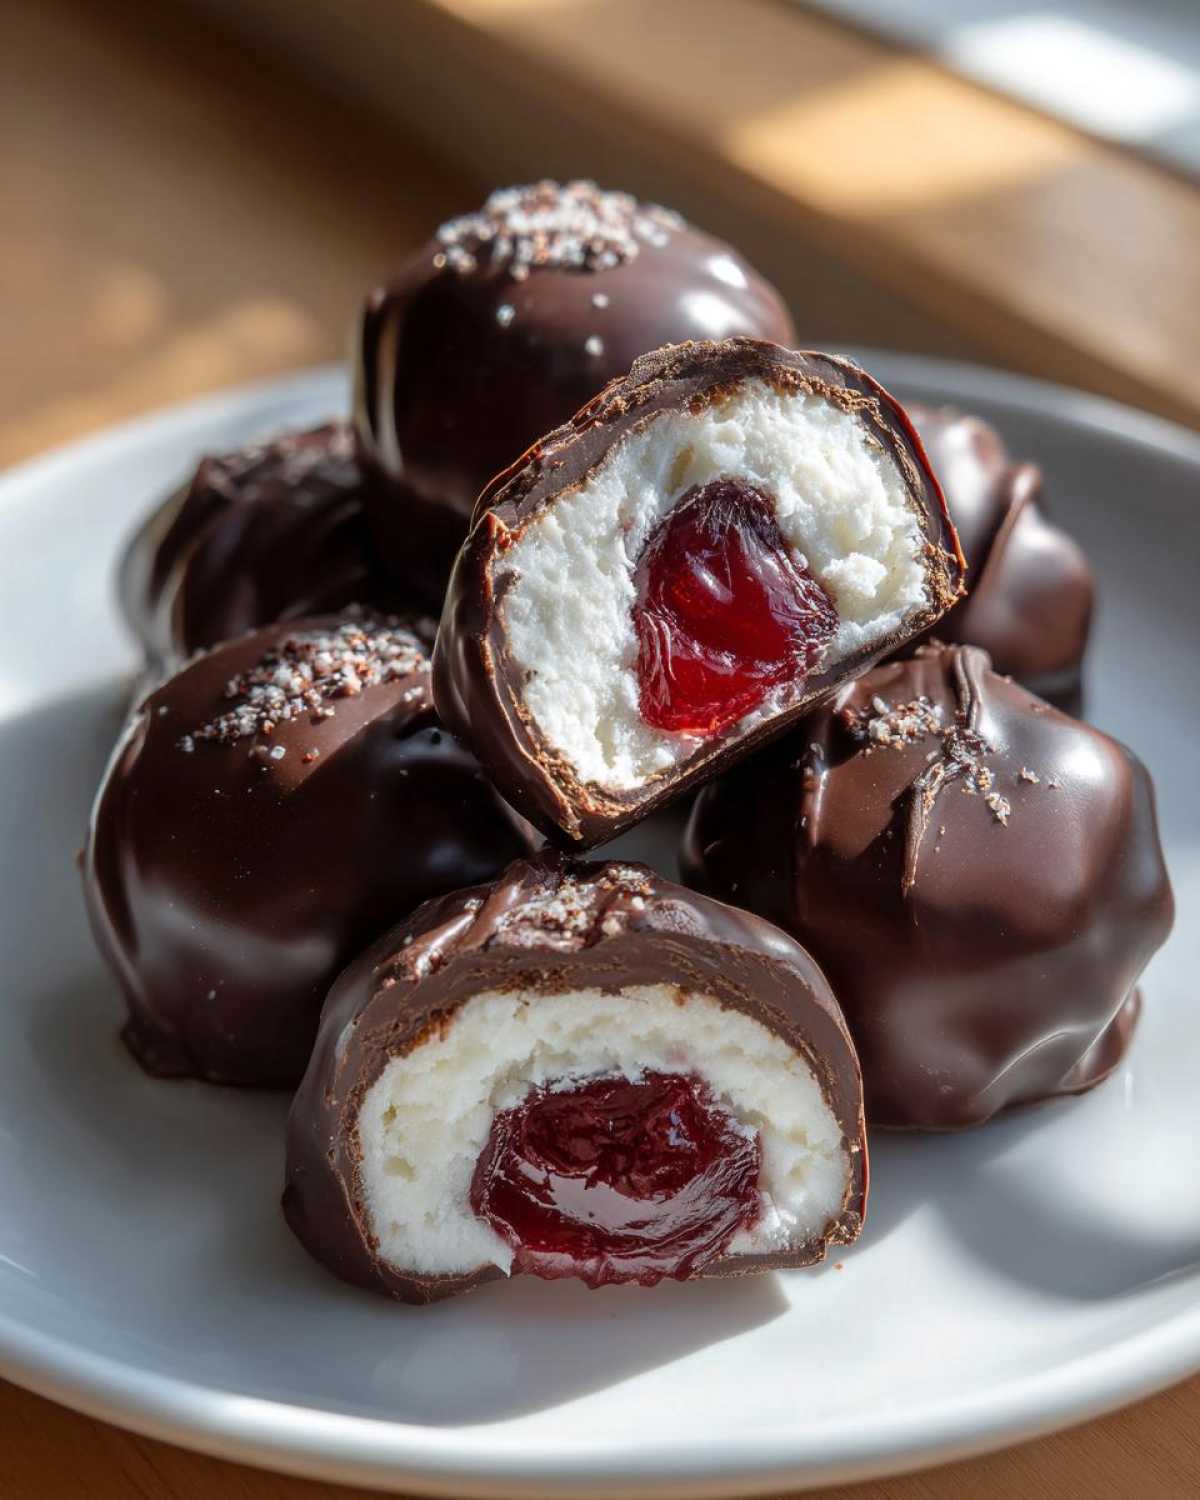
What is the best chocolate to use for these Maraschino Cherry Confections?
For these Maraschino Cherry Confections, the chocolate choice is really about balancing the sweetness of the cherry and fondant. I personally love using a good quality dark or semi-sweet chocolate because the slight bitterness cuts through the sugar perfectly. It makes the final result feel much more decadent! If you have a major sweet tooth, milk chocolate works too, but just be aware it makes the whole candy system sweeter overall. Whatever you choose, make sure it melts really smoothly for the best dipping!
Estimated Nutritional Data for Chocolate Covered Cherries
You know I’m no nutritionist, but Liam always insists on keeping this handy for when we make our holiday batches! Since these are made completely from scratch, the numbers can shift depending on whether you use dark chocolate or milk chocolate.
Please remember these are just estimates for one piece based on the recipe list. They are definitely a treat, not an everyday snack!
- Calories: 150
- Total Fat: 8g
- Carbohydrates: 20g
- Protein: 2g
It’s important to note that the fat and sugar content can change wildly based on the brand of chocolate you use for dipping, so take these numbers with a grain of salt—or maybe a grain of sugar!
Share Your Sweet Cherry Delights
Wow, we made it! Whether you dipped these in dark, milk, or even white chocolate, I sincerely hope you’re enjoying the process of making these incredible chocolate covered cherries! Honestly, seeing my own results always makes me feel like I’ve won a little baking award. They look so professional, and the secret cordial flavor? Pure nostalgia!
Now that you’ve tried this recipe, I really, truly want to see what you created! Did you manage to get that perfect, smooth chocolate coat? Did everyone behave and wait the 5 days for the liquid center to form? Tell me everything!
Please jump down to leave a rating for this recipe—a five-star rating means the world to us and helps other home cooks like me feel confident trying something new. If you had any hiccups or brilliant tricks you discovered along the way, please share those too! It helps Liam and me build up our confidence and helps everyone else who reads this. You can always reach out directly through our contact page if you have specific questions!
Happy making, and thank you for sharing this sugary journey with me!
Warmly,
Clara
PrintThe Ultimate Homemade Chocolate Covered Cherries with Self-Forming Liquid Center

Learn how to make classic cherry cordials at home. This simple recipe wraps juicy maraschino cherries in a creamy fondant layer and dips them in rich chocolate for a decadent, gift-worthy treat.
- Prep Time: 45 min
- Cook Time: 15 min
- Total Time: 60 min
- Yield: About 24 cherries
- Category: Candy
- Method: No-Bake/Dipping
- Cuisine: American
- Diet: Vegetarian
Ingredients
- 1 (10 ounce) jar maraschino cherries, drained well
- 1 tablespoon butter, softened
- 2 cups powdered sugar, sifted
- 1 teaspoon vanilla extract
- 1/4 cup water, plus more if needed
- 12 ounces dark or milk chocolate, chopped (for dipping)
- 1 teaspoon coconut oil or shortening (optional, for smoother dipping)
Instructions
- Prepare the cherries: Remove the maraschino cherries from the jar and pat them completely dry using paper towels. This step is crucial for the fondant to stick. Set aside.
- Make the fondant center: In a medium bowl, cream together the softened butter and vanilla extract until smooth.
- Gradually add the sifted powdered sugar, mixing until a crumbly mixture forms.
- Add the water, one teaspoon at a time, mixing until a thick, smooth dough forms. The dough should be firm enough to handle but not dry. Add a tiny bit more water if it is too stiff.
- Wrap the cherries: Take a small piece of fondant (about 1 teaspoon) and flatten it into a small disc in your palm. Place one dried cherry in the center and carefully wrap the fondant around it, sealing it completely. Roll it gently into a smooth ball shape.
- Place the fondant-wrapped cherries on a baking sheet lined with parchment paper.
- Chill: Place the baking sheet in the refrigerator for at least 2 hours, or until the fondant is very firm. This prevents the cherry from breaking through the chocolate shell.
- Melt the chocolate: Place the chopped chocolate and coconut oil (if using) in a microwave-safe bowl. Microwave in 30-second intervals, stirring well after each interval, until the chocolate is completely smooth. Do not overheat.
- Dip the cherries: Remove the chilled cherries from the refrigerator. Using a dipping tool or two forks, dip each cherry completely into the melted chocolate. Lift it out and gently tap the fork against the side of the bowl to let excess chocolate drip off.
- Place the dipped cherries back onto the parchment-lined baking sheet.
- Set the chocolate: Allow the chocolate to set completely at room temperature, or place the tray in the refrigerator for 15 minutes to speed up the process. For a professional look, you can dip them a second time once the first layer is fully set.
- Cure for cordial effect: Transfer the finished chocolate covered cherries to an airtight container. Store them in a cool, dry place (not the refrigerator) for 3 to 5 days. During this time, the moisture from the cherry will interact with the fondant, creating the signature liquid center.
Notes
- Drying the cherries thoroughly prevents the fondant from becoming sticky or dissolving.
- If you want a true liquid center (cordial effect), you must let the finished candies cure for several days before eating.
- For a glossy finish, temper your chocolate, or use high-quality melting wafers designed for dipping.
Nutrition
- Serving Size: 1 piece
- Calories: 150
- Sugar: 20
- Sodium: 15
- Fat: 8
- Saturated Fat: 5
- Unsaturated Fat: 3
- Trans Fat: 0
- Carbohydrates: 20
- Fiber: 1
- Protein: 2
- Cholesterol: 5