

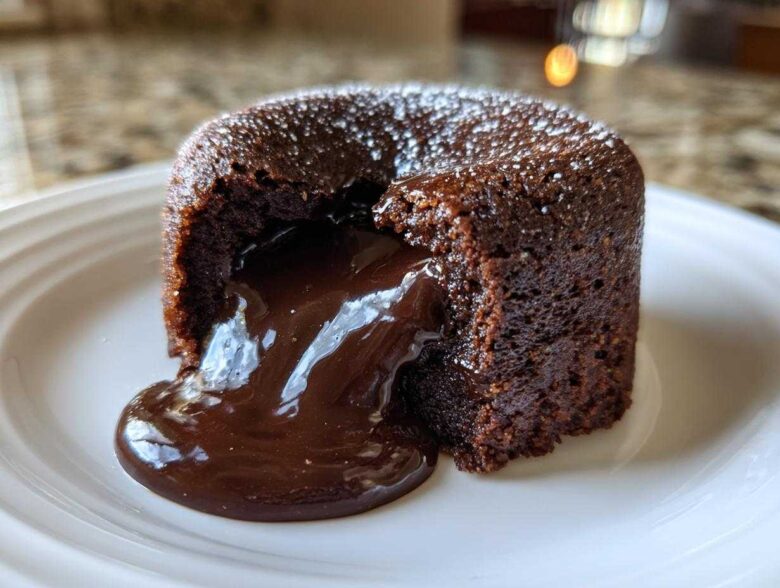
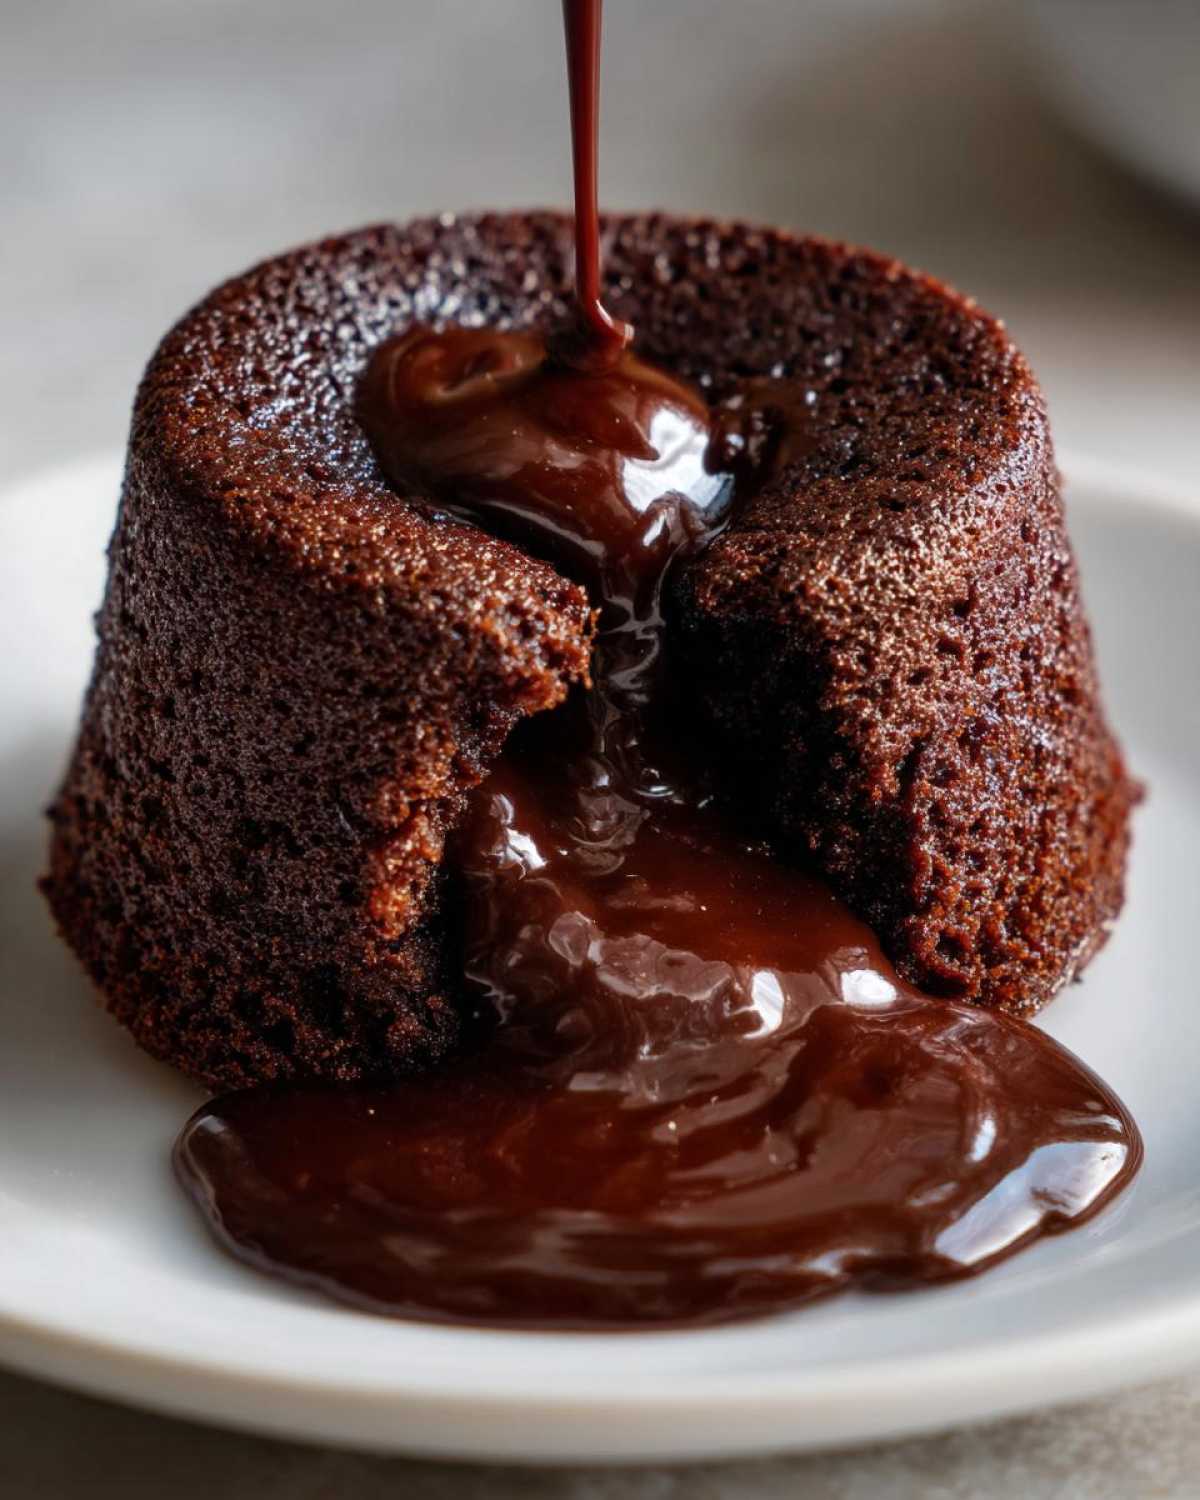
Oh, you are in for such a treat today! Haven’t we all dreamed of cutting into a cake, watching that decadent, hot chocolate center just ooze right out onto the plate? It looks impossible, like something only a fancy bakery could pull off, but trust me when I say that achieving the **best lava cake** at home is actually totally foolproof with the right method. That hot, liquid core against the slightly set cake edge? That contrast is pure magic.
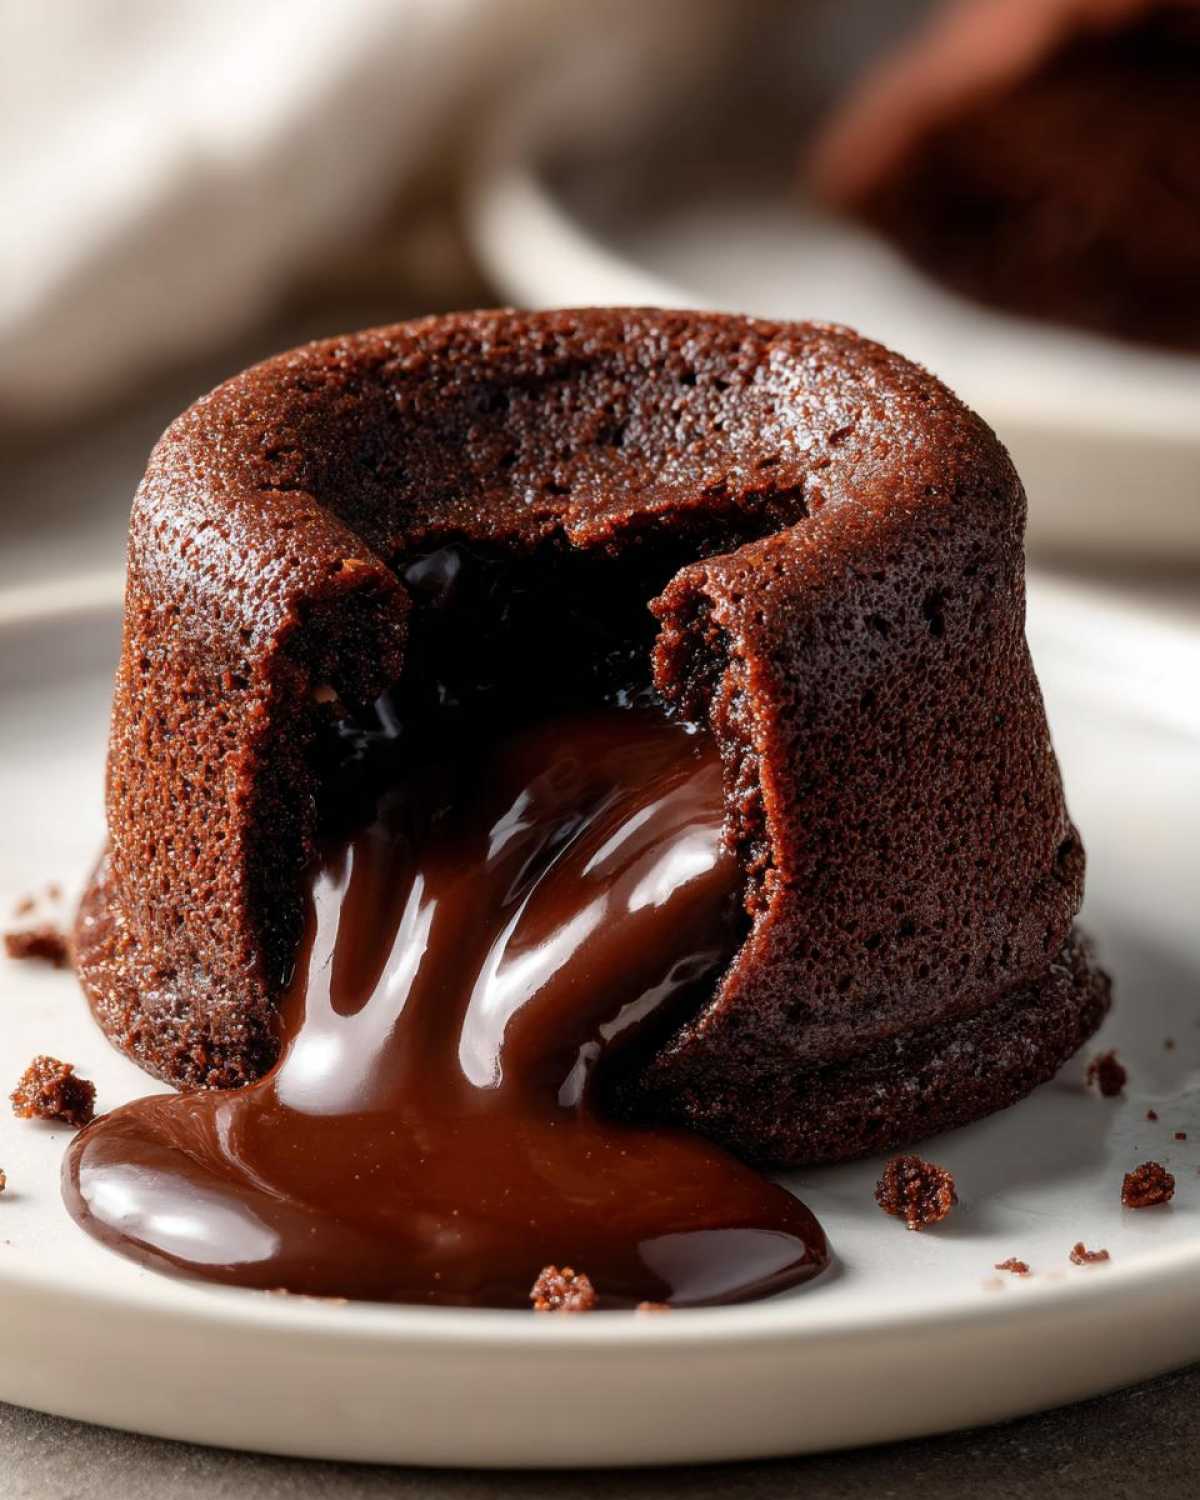
When Liam and I started TasteTaught, my biggest fear was desserts like this. I saw complex steps, but Liam, with his teaching patience, showed me it’s all about timing and quality ingredients. It’s amazing how fast we can pull this off—it’s one of my favorite **quick decadent desserts** because we’re looking at less than 30 minutes total time. You can read more about our story on the About Us page!
This recipe is the one that finally clicked for me, the one that keeps that beautiful molten surprise intact every single time. If you’ve ever felt intimidated by making a perfectly baked **lava cake** for a date night or to impress someone, take a deep breath. Liam taught me, and now I’m teaching you. We can do this!
Why This Classic Chocolate Lava Cake Recipe Works Every Time
Look, a great **lava cake** is all about that dramatic moment when you cut into it. It’s not just a cake; it’s an experience! Liam always stressed that the success comes from understanding the structure we’re building. We’re aiming for a perfect dichotomy: the edges must be firm enough to hold the shape but the center needs to remain totally liquid and hot. This technique guarantees that result.
Here’s the simple master plan:
- We use high-quality chocolate; it melts smoother and sets beautifully.
- We utilize extra egg yolks to enrich the center, making sure it stays molten.
- The bake time is incredibly short because we want to stop the cooking process right as the outside sets.
Quick Decadent Desserts Ready in Under 30 Minutes
Seriously, this is my favorite part about this recipe for a weeknight indulgence. If I get a sudden craving after dinner, I know I can start mixing and be eating chocolate goodness in about 24 minutes total! I remember the first time I told Liam we could make this after work, and he just laughed at how skeptical I was. I whipped up four of these solo the other night when he was running late—it really is that fast!
Achieving the Gooey Center Chocolate Dessert Contrast
This is where the precision comes in, and I promise, it’s easy once you get the feel for it. We crank the oven up to 425°F. That high heat sets the outside structure of your **lava cake** super quickly. Then, because we carefully balanced the flour, we only bake it for 12 to 14 minutes. Don’t guess! If you overbake it by even two minutes, congratulations, you just made a nice chocolate cupcake instead of a **gooey center chocolate dessert**. We want those edges firm and the middle still wobbling slightly when you gently shake the pan.
Ingredients for Your Foolproof Lava Cake
Okay, gathering your ingredients is step one, and Liam always made sure I used the exact measurements listed here. Because this is such a fast bake, quality really shines through. We aren’t using a ton of ingredients, so make sure they are good quality! You’ll need:
- 4 ounces bittersweet chocolate, chopped
- 1/2 cup (1 stick) unsalted butter, plus extra for greasing
- 2 large eggs
- 2 large egg yolks
- 1/4 cup granulated sugar
- 1 teaspoon vanilla extract
- 2 tablespoons all-purpose flour
- Pinch of salt
- Cocoa powder, for dusting ramekins
Ingredient Notes and Substitutions for the Best Lava Cake
A couple of things I learned the hard way that will make your **lava cake** perfect. First, bittersweet chocolate is essential here. If you use milk chocolate, it gets too sweet, and honestly, the center won’t set correctly the way we want it to. Liam insists on bittersweet for that deep, rich flavor.
Secondly, see the difference between the two eggs and two egg yolks? Don’t skip those extra yolks! That extra richness is part of what keeps the center gooey and luxurious instead of just runny. If you’re feeling adventurous and want a little twist on this **rich chocolate indulgence**, you can swap out about 2 tablespoons of that melted bittersweet chocolate for 2 tablespoons of Nutella. Fold it in right at the end with the chocolate mixture—it’s amazing!
How to Prepare Your Easy Individual Chocolate Cakes
Now for the fun part! I’m going to walk you through the instructions Liam gave me, step by step. Remember, we’re making four wonderful, **easy individual chocolate cakes**, so grab four 6-ounce ramekins. Following these official steps is what separates it from just being a regular chocolate cake. You can check out more of our tested recipes over on the main blog page!
First things first: preheat your oven to 425°F! That high heat is non-negotiable for this style of cake. Now, grease those four ramekins really well with butter—and I mean really well—then dust them generously with cocoa powder and tap out the excess. I cannot stress this enough: this step is your insurance policy against sticking! Don’t skip that coating.
Next, you’re going to whisk those whole eggs, yolks, and sugar together until they look pale and kind of fluffy—that took me a good two minutes of serious whisking at first until Liam showed me how to use my whole arm! Then we move to the chocolate part.
Melting Chocolate and Butter for the Lava Cake Base
This is where we use the double boiler method, which just means setting your bowl of chopped bittersweet chocolate and butter over simmering water—not boiling water! You just want it gentle. Stir it until everything is totally smooth and glossy. Once it’s melted, Liam always insisted I pull it off the heat right away and let it cool down for about five minutes. If it’s too hot when you add it to those eggs you just whisked, you’ll end up with scrambled eggs masquerading as a **Molten Chocolate Cake Recipe**, and we absolutely don’t want that!
Baking the Lava Cake: Timing is Everything
Once everything is folded together (remembering not to overmix!), divide that beautiful batter evenly between your prepped ramekins. Pop them on a baking sheet—it just makes moving them easier—and slide them into that hot 425°F oven. Set a timer for 12 minutes.
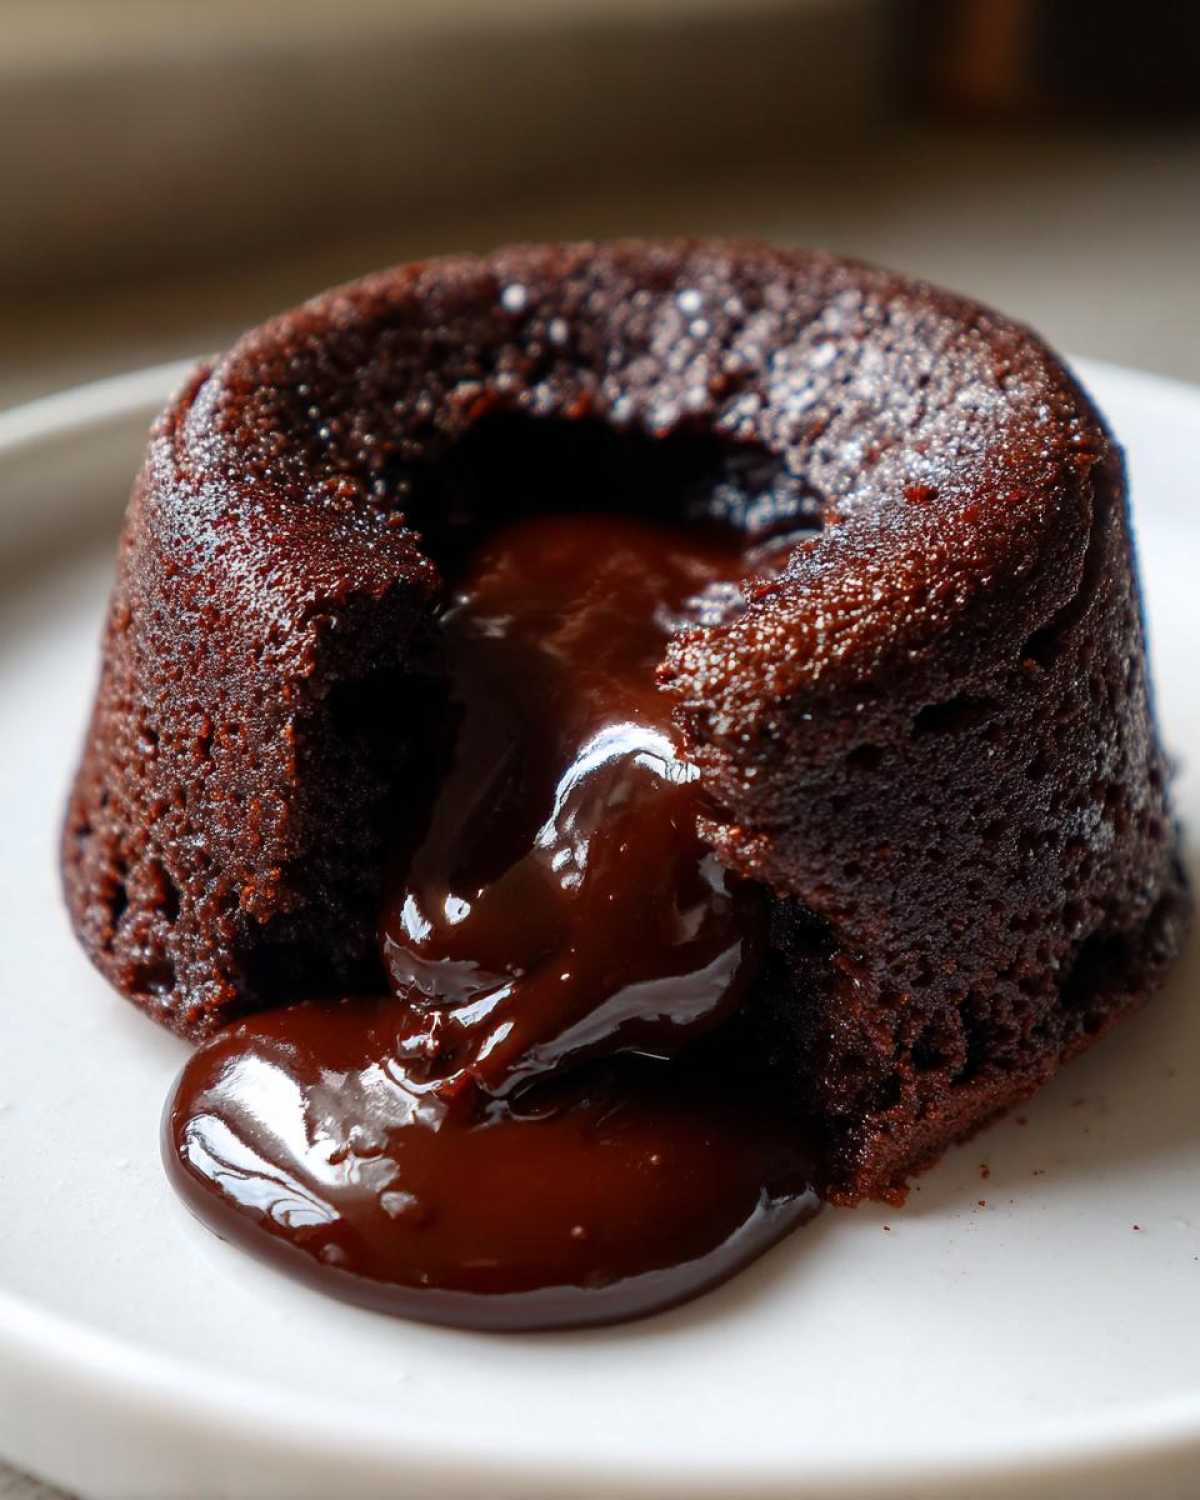
When that timer goes off, you look! The edges of your **lava cake** should be firm, but the center should still look soft, maybe even a little jiggly when you gently shake the pan. That jiggle is the molten center saying hello! If you’re using a standard muffin tin instead of ramekins, start checking earlier, maybe around 9 to 11 minutes. After baking, they only rest for exactly one minute before you flip them out. That minute is crucial!
Tips for Success When Making a Molten Chocolate Fondant Lava Cake
Even though this is a foolproof recipe, Liam always taught me that a few small details separate a good **lava cake** from a show-stopping one. When you’re making something this delicate, the release from the mold is honestly half the battle. If you don’t get it out cleanly, that perfect molten spill gets messy!
Since we aren’t using any crazy stabilizers here, we have to rely on technique to make sure this **Molten Chocolate Fondant** doesn’t glue itself to the sides of the dish. If you’re serving these for a date night or expecting guests, taking an extra minute on prep work will save you heartbreak later when you try to flip them onto the plate.
The Essential Ramekin Prep for Flawless Release
I was tempted to skip this step the first few times I made this recipe, thinking, “Surely buttering is enough, right?” Wrong! Buttering alone is a risk for a high-sugar dessert like this. You need to treat your ramekins like you’re preparing a non-stick cake pan for life!
You need to smother them in butter—use a pastry brush if you have one to make sure you get into every little crevice. Then, use cocoa powder, not flour, to dust them. If you use flour, you get those sad white streaks on your dark chocolate cake, and nobody wants that. Cocoa powder blends right in. Turn the ramekin upside down over the sink and tap until all that extra powder falls out. Trust me, taking this extra time here guarantees a perfect flip when the minute timer goes off!
Serving Suggestions for Your Rich Chocolate Indulgence
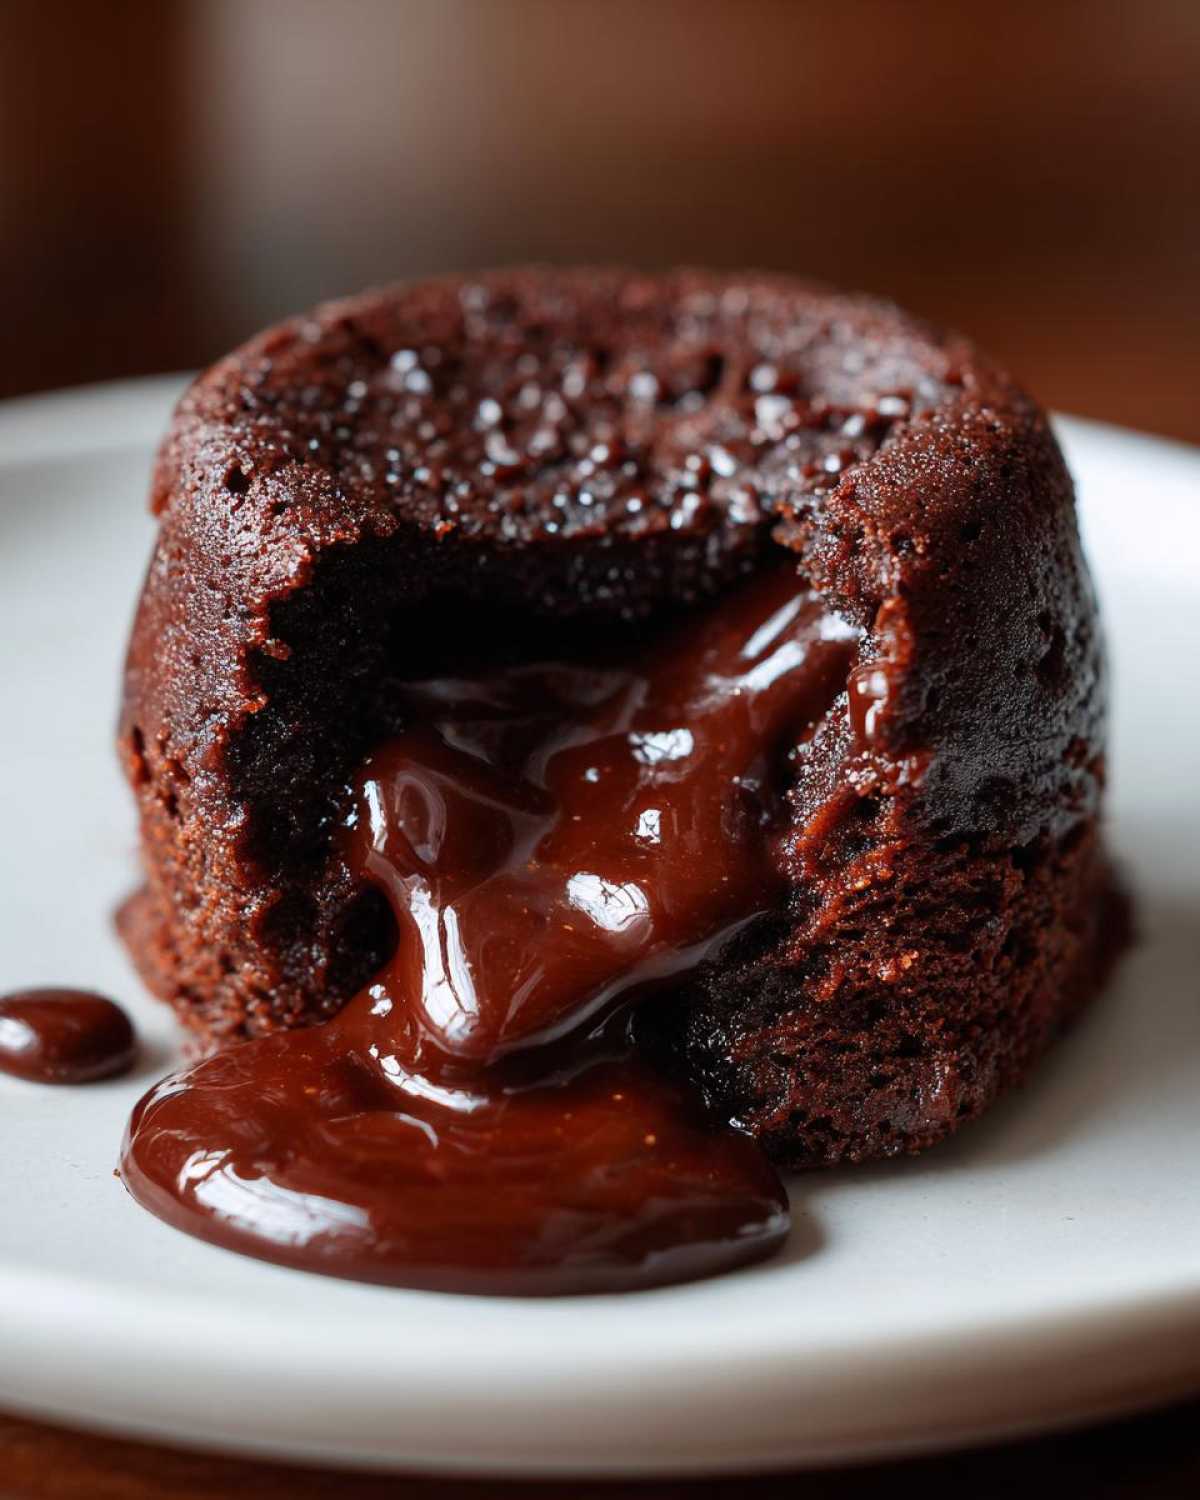
When that perfect **lava cake** turns out—all set edges and that gorgeous, warm chocolate pooling onto the plate—you absolutely need the right supporting cast! This dessert is so incredibly rich, so it loves things that offer a textural or temperature contrast. It’s the ultimate **Date Night Chocolate Recipe**, but dressing it up properly makes it feel like a million bucks!
The classic combination, and honestly my favorite way to serve it, is with a scoop of cold vanilla ice cream. The way the ice cream starts to melt right into the hot chocolate is just divine. I actually have a recipe for the creamiest homemade vanilla that pairs perfectly, if you want to make everything from scratch—you can check out my creamy homemade strawberry ice cream recipe (just swap the berries for vanilla beans for the classic flavor!).
If you’re looking for something lighter, fresh berries cut right through the richness beautifully. Raspberries or a mix of strawberries and blueberries provide that necessary pop of tartness. A very light dusting of powdered sugar on top of everything, and maybe a small spoonful of whipped cream if you’re feeling extra, and you are done! It’s simple, elegant, and doesn’t detract from that amazing molten center you worked so hard to perfect.
Storage & Reheating Instructions for Leftover Lava Cake
Okay, let’s be real: making four individual **lava cakes** means you’re probably hoping to eat all four fresh because that molten center is totally unbeatable right out of the oven. And honestly, I agree! The best texture is when it’s warm and freshly baked.
But what if you have leftovers? It happens! If you find yourself with one sad, solitary cake the next day, don’t throw it out. Since these are essentially rich, individual chocolate cakes once cooled, they store relatively well.
For storage, just keep any leftovers tightly covered at room temperature for up to a day, or place them in the fridge for maybe two days max. Use an airtight container so they don’t get weird fridge smells!
Reheating requires a little finesse to bring back that ooey-gooey texture. You definitely want to avoid the microwave if you can; it heats unevenly and can ruin the structure.
Here’s Liam’s trick for reheating: Pop that leftover **single serving chocolate cake** into a low oven at about 300°F (150°C). Let it warm up for maybe 5 to 8 minutes. You are just trying to warm it through—you don’t want to cook it again! This gentle heat coaxes the center back to life. If you are desperate, zap it for about 10 seconds in the microwave, but be ready to eat it immediately, as it gets hot fast!
Frequently Asked Questions About Making Lava Cake
Even though this recipe is meant to be super reliable, I always get questions because, let’s face it, a perfect **lava cake** feels like high-stakes baking! Liam and I compiled the questions we get most often, especially from folks trying to master that **gooey center chocolate dessert** for the first time.
Can I make the lava cake batter ahead of time?
Oh yes, you absolutely can! This is a great tip for planning a romantic **date night chocolate recipe** without stressing right before dessert time. You can mix the batter right up to the point of dividing it into the ramekins. Cover those babies tightly with plastic wrap and stick them in the fridge for up to 24 hours. Since the batter is cold, you’ll need to adjust the baking time. I’d start checking them around the 15-minute mark, sometimes they need an extra minute or two since they are starting cold. Don’t let them bake too long, or you’ll lose that molten center!
What if I don’t have ramekins? Can I use a different dish for this lava cake?
I totally understand; not everyone has industrial kitchen equipment! If you don’t have ramekins, you can totally use a standard muffin tin. This turns your recipe into **easy individual chocolate cakes**, which is fun too. Just remember the surface area is slightly different. When baking in a standard muffin tin, the time gets shorter because the heat penetrates fast. Check them starting at 9 minutes, and definitely pull them out by 11 minutes max! You can also find ideas for other baked goods, like using a slow cooker, over on the slow cooker chocolate fondue recipe page if you’re in a no-oven mood!
How do I know my lava cake is done baking?
This is the million-dollar question that unlocks the secret to making a truly great **molten chocolate cake recipe**! Forget about the toothpick test totally in the center—if you stick a toothpick in the middle, it will come out messy, and that’s good! What you are looking for is the edge. The outer ring of the **lava cake** should look completely set, firm, and dry to the touch. But when you gently shake the baking sheet or tap the side of the ramekin, the very center should still look soft, maybe even slightly jiggly or wet. That jiggle is your liquid gold proving it’s ready!
Nutritional Information Estimate for This Chocolate Dessert for Two
Okay, I know we aren’t here to count every calorie because this is pure indulgence, but Liam insisted that for transparency (that’s part of being ‘TasteTaught’!), we should share the estimates. Please remember these numbers are approximations, based on the ingredients we used for this specific **chocolate dessert for two**.
For one individual **lava cake**, here’s a rough breakdown:
- Calories: Around 450
- Fat: Roughly 30g
- Carbohydrates: About 38g
- Protein: About 8g
It’s rich, it’s decadent, and it’s meant for special occasions, not an everyday snack! Enjoy every single wonderful bite!
Share Your Impressive Dinner Party Dessert Experience
Whew! We did it! You have everything you need now to stop dreaming about that perfect, lava-like center and start making it happen in your own kitchen. Seriously, pulling off a **Molten Chocolate Fondant** that looks absolutely bakery-style but only took you minutes is such a huge confidence boost.
I absolutely live for hearing from you guys when you nail a tricky recipe like this! Once you’ve finished your **lava cake**—especially if you’ve achieved that perfect ooze—please come back, leave a star rating, and tell me all about it in the comments below. Did your guests gasp when you cut into it? Let me know what you served it with!
And if you snap a picture of your beautiful, **impressive dinner party dessert**, tag us! We love seeing your cooking journeys. If you need to reach us directly with a specific question about your bake, you can always use the contact form over on the Contact Us page. We’re here for you!
We really hope this **Quick Homemade Lava Cake** becomes a staple in your home for those moments when you just need a blast of rich, gooey chocolate. If you try this out, I’d also love it if you checked out another highly-recommended foolproof recipe I love, like this one for a gooey chocolate delight from Savorly Kitchen: My Foolproof Chocolate Lava Cake. Happy baking, and don’t forget to enjoy every single bite!
PrintFoolproof Chocolate Lava Cake: Achieve That Perfect Molten Center
Learn how to make the best chocolate lava cake at home. This recipe guarantees a crisp outer shell and a warm, gooey, molten chocolate center every time, perfect for date nights or impressing guests.
- Prep Time: 10 min
- Cook Time: 14 min
- Total Time: 24 min
- Yield: 4 servings
- Category: Dessert
- Method: Baking
- Cuisine: American
- Diet: Vegetarian
Ingredients
- 4 ounces bittersweet chocolate, chopped
- 1/2 cup (1 stick) unsalted butter, plus extra for greasing
- 2 large eggs
- 2 large egg yolks
- 1/4 cup granulated sugar
- 1 teaspoon vanilla extract
- 2 tablespoons all-purpose flour
- Pinch of salt
- Cocoa powder, for dusting ramekins
Instructions
- Preheat your oven to 425°F (220°C). Generously butter four 6-ounce ramekins. Dust the inside of each buttered ramekin with cocoa powder, tapping out any excess. This step helps the cakes release cleanly.
- Place the chopped chocolate and butter in a heatproof bowl set over a saucepan of simmering water (a double boiler). Stir occasionally until the mixture is completely melted and smooth. Remove from heat and let it cool slightly, about 5 minutes.
- In a separate medium bowl, whisk together the whole eggs, egg yolks, and granulated sugar until the mixture is pale yellow and slightly thickened. This takes about 2 minutes of vigorous whisking.
- Whisk the vanilla extract into the slightly cooled chocolate mixture.
- Gently fold the chocolate mixture into the egg mixture until just combined. Do not overmix.
- Sift the flour and salt over the batter and fold until no streaks of flour remain. Again, mix only until combined.
- Divide the batter evenly among the prepared ramekins.
- Place the ramekins on a baking sheet. Bake for 12 to 14 minutes. For a perfect molten center, the edges should look set, but the center should still look soft and slightly jiggly.
- Let the cakes rest in the ramekins for exactly 1 minute. Run a thin knife around the edge of each cake.
- Carefully invert each lava cake onto a serving plate. Serve immediately with powdered sugar, ice cream, or fresh berries.
Notes
- For a Nutella lava cake variation, substitute 2 tablespoons of the melted chocolate with 2 tablespoons of Nutella, folding it in with the chocolate mixture.
- Baking time is crucial for that gooey center. If you prefer a slightly firmer center, bake for an extra minute.
- If you do not have ramekins, you can use a standard muffin tin, but reduce the baking time to 9-11 minutes.
Nutrition
- Serving Size: 1 cake
- Calories: 450
- Sugar: 28g
- Sodium: 150mg
- Fat: 30g
- Saturated Fat: 18g
- Unsaturated Fat: 12g
- Trans Fat: 0g
- Carbohydrates: 38g
- Fiber: 3g
- Protein: 8g
- Cholesterol: 180mg