


Christmas morning should feel magical, right? For me, Clara, that used to mean stressing over complicated recipes while Liam just patiently stirred whatever I was managing to burn. If you felt completely lost in the kitchen before, trust me, I get it! But now, we look forward to making these absolutely adorable christmas tree cinnamon rolls. They look like they took hours to assemble, but they are genuinely so simple, especially if you take a little shortcut. They transform your entire brunch table into a festive masterpiece, and watching one come out of the oven is way better than any present! You can read more about how Liam patiently guided me to this point on our About Us page.
Why These Christmas Tree Cinnamon Rolls Are Your New Holiday Favorite
These rolls aren’t just food; they’re instant holiday cheer! Seriously, waking up to that incredible cinnamon smell is what makes a perfect start to any holiday. Liam loves that this recipe takes minimal effort but gives maximum impact, which is crucial when you have presents to open.
Here’s why you absolutely need this on your menu for Christmas morning breakfast ideas:
- Visual Wow Factor: They create a stunning, edible centerpiece! Everyone stops for that festive shape.
- It’s So Quick: We use store-bought dough. No stressing over yeast when you should be enjoying family time. This is one of my favorite breakfast hacks!
- Fun for Everyone: This is one of those great festive cinnamon roll shapes that kids absolutely love to help arrange and decorate.
- Easy Cleanup: Once they’re baked and pulled apart, there’s less fuss than a sheet pan of individual rolls.
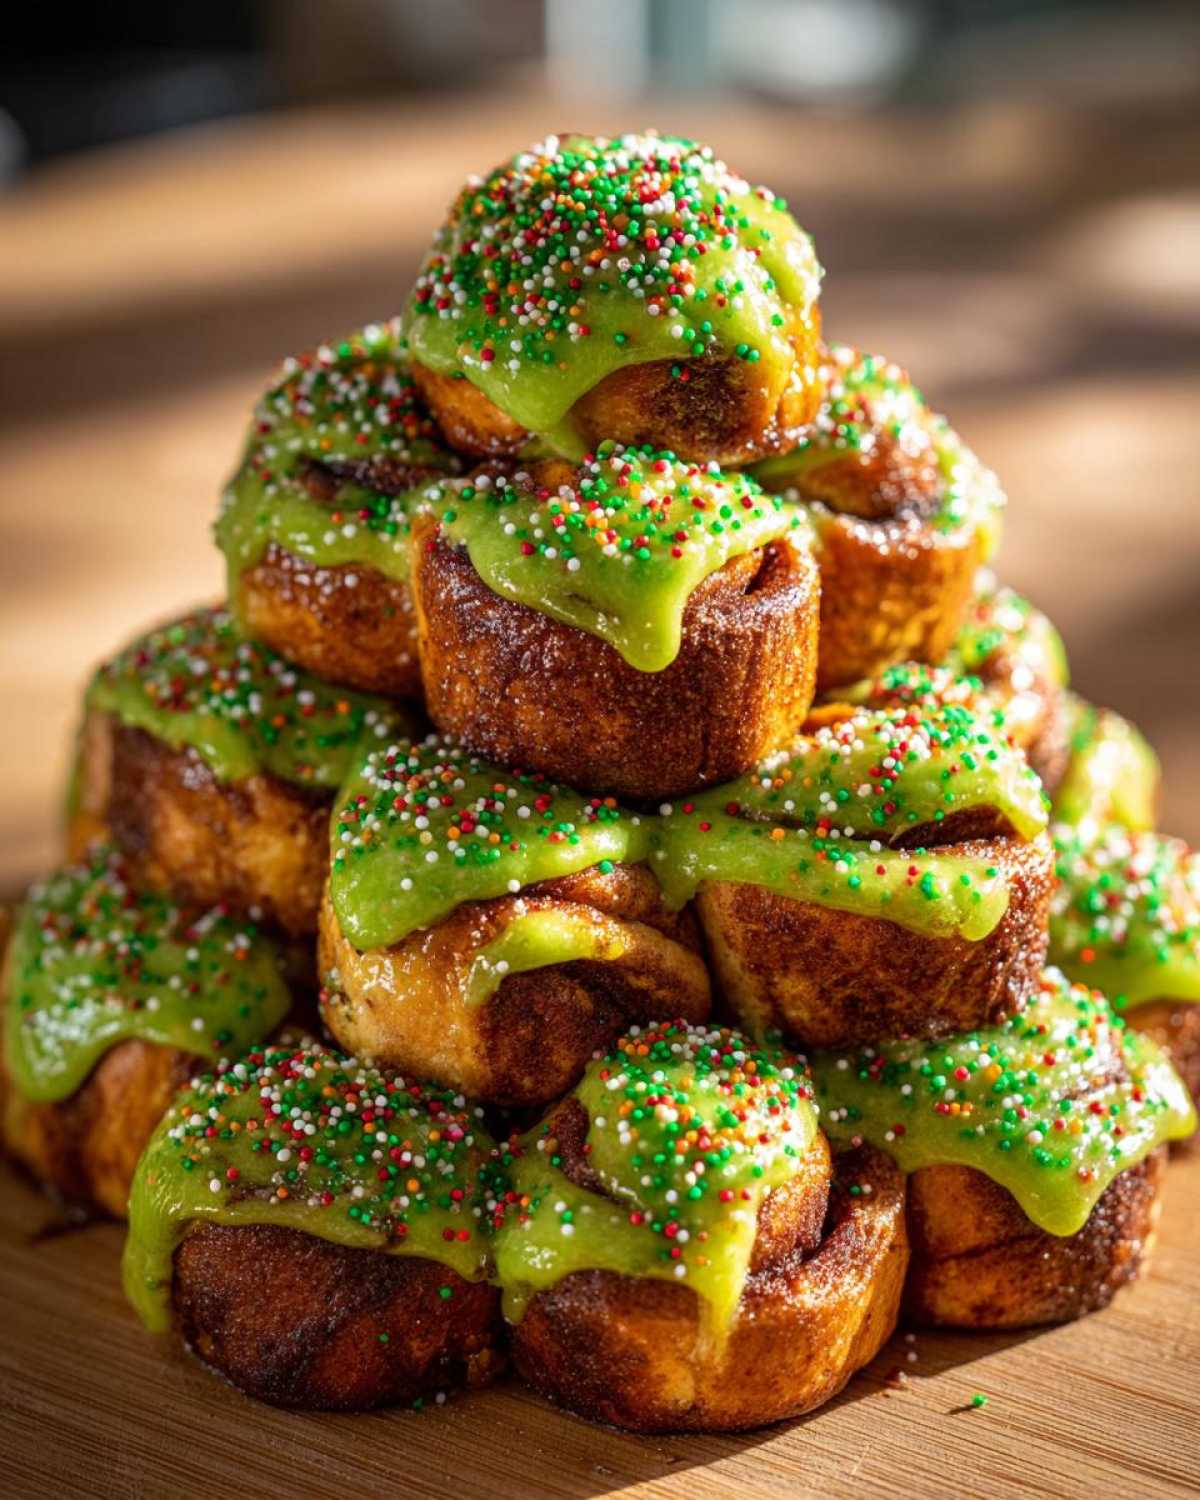
Ingredients for Making Perfect Christmas Tree Cinnamon Rolls
Okay, let’s gather our supplies! True to form for a busy Christmas morning, I’ve built this recipe around using canned dough because, honestly, who has time to wrestle with yeast before 8 AM on December 25th? Liam always tells me it’s okay to take shortcuts when they save your sanity, and the store-bought dough is perfect here. If you’re feeling super ambitious, though, you can always use your favorite homemade cinnamon roll dough from scratch, just make sure it’s chilled perfectly for shaping!
For the Dough and Filling
These are the simple items that get baked into our beautiful tree structure. Remember that icing packet that comes in the can? Throw it away! We’re making something ten times better.
- 1 (12.6 ounce) can refrigerated cinnamon roll dough (Yeah, we’re using the shortcut! It’s great for easy Christmas morning breakfast ideas.)
- 1/4 cup granulated sugar
- 1 teaspoon ground cinnamon
- 1/4 cup (4 tablespoons) unsalted butter, melted
For the Festive Green Icing
This is where the Christmas magic really happens. If you have gel food coloring, grab that. It gives you such a vibrant green without adding extra liquid that thins out the glaze too much.
- 1/2 cup powdered sugar
- 2 tablespoons milk
- 1/4 teaspoon vanilla extract
- Green food coloring (Gel works best, trust me on this one!)
- Holiday sprinkles (Optional, but highly recommended for “ornaments”!)
The Essential Shaped Cinnamon Roll Tutorial for Christmas Tree Cinnamon Rolls
Alright, this is the part that seems spooky—shaping the dough—but I promise you, it’s actually the most fun! I remember when I first tried this, I thought I was going to end up with a lopsided blob, but Liam stood right there, guiding my hands until the arrangement looked just right. This is where we tackle the central challenge and master the Shaped cinnamon roll tutorial. If you follow these steps closely, you will nail these christmas tree cinnamon rolls every single time.

Preparing the Rolls and Cinnamon-Sugar Coating
First things first, get that oven warming up to whatever temperature your can specifies—usually around 375°F (190°C). Grab a large, round pizza pan or a sturdy baking sheet and coat it lightly with butter or non-stick spray. Don’t skip greasing the pan! Open that can of dough and separate all your individual rolls.
In a small bowl, mix your granulated sugar and cinnamon together well. Now, take each little swirl, brush it lightly with that melted butter we prepped, and then toss it gently in the cinnamon-sugar mix. Make sure all sides get a little coat; this helps them brown nicely and keeps them from sticking together too much during the bake.
How to Arrange Dough for the Pull Apart Breakfast Tree Shape
This is the secret to those beautiful Festive dough arrangement ideas! You usually get eight rolls in a can, perfectly sized for this design. Take one roll and place it right in the center—that’s going to be the very peak of your tree.
Next, take the remaining seven rolls. Arrange them strategically around that top center roll in a triangle pattern. You need to lay three rolls along the bottom for the wide base, then two rolls stacked on top of those, and finally, one more roll to make a second layer above that. See? One at the top, a 3-roll base. It takes a little tweaking, but you are essentially building a pyramid shape with the sweet rolls. Don’t squash them together too tightly; they need room to puff up and connect naturally as they bake.
Baking and Applying the Green Icing
Pop that pan into the preheated oven and bake it just like the can says—usually 15 to 20 minutes, or until they look golden brown and smell heavenly. While they are baking, whisk up your icing! Just combine that powdered sugar, milk, and vanilla until it’s smooth. Now, add the green food coloring little by little until you get a really bright, festive green.
Once the tree is baked, let it sit on the pan for just about five minutes—just enough time so it doesn’t fall apart when you move it. Pour that lovely green icing all over the warm rolls heavily, letting it drizzle down the sides. If you have sprinkles, now is the moment to let the kids toss them on like ornaments! Serve it warm, and watch everyone grab a piece of that pull apart breakfast tree.
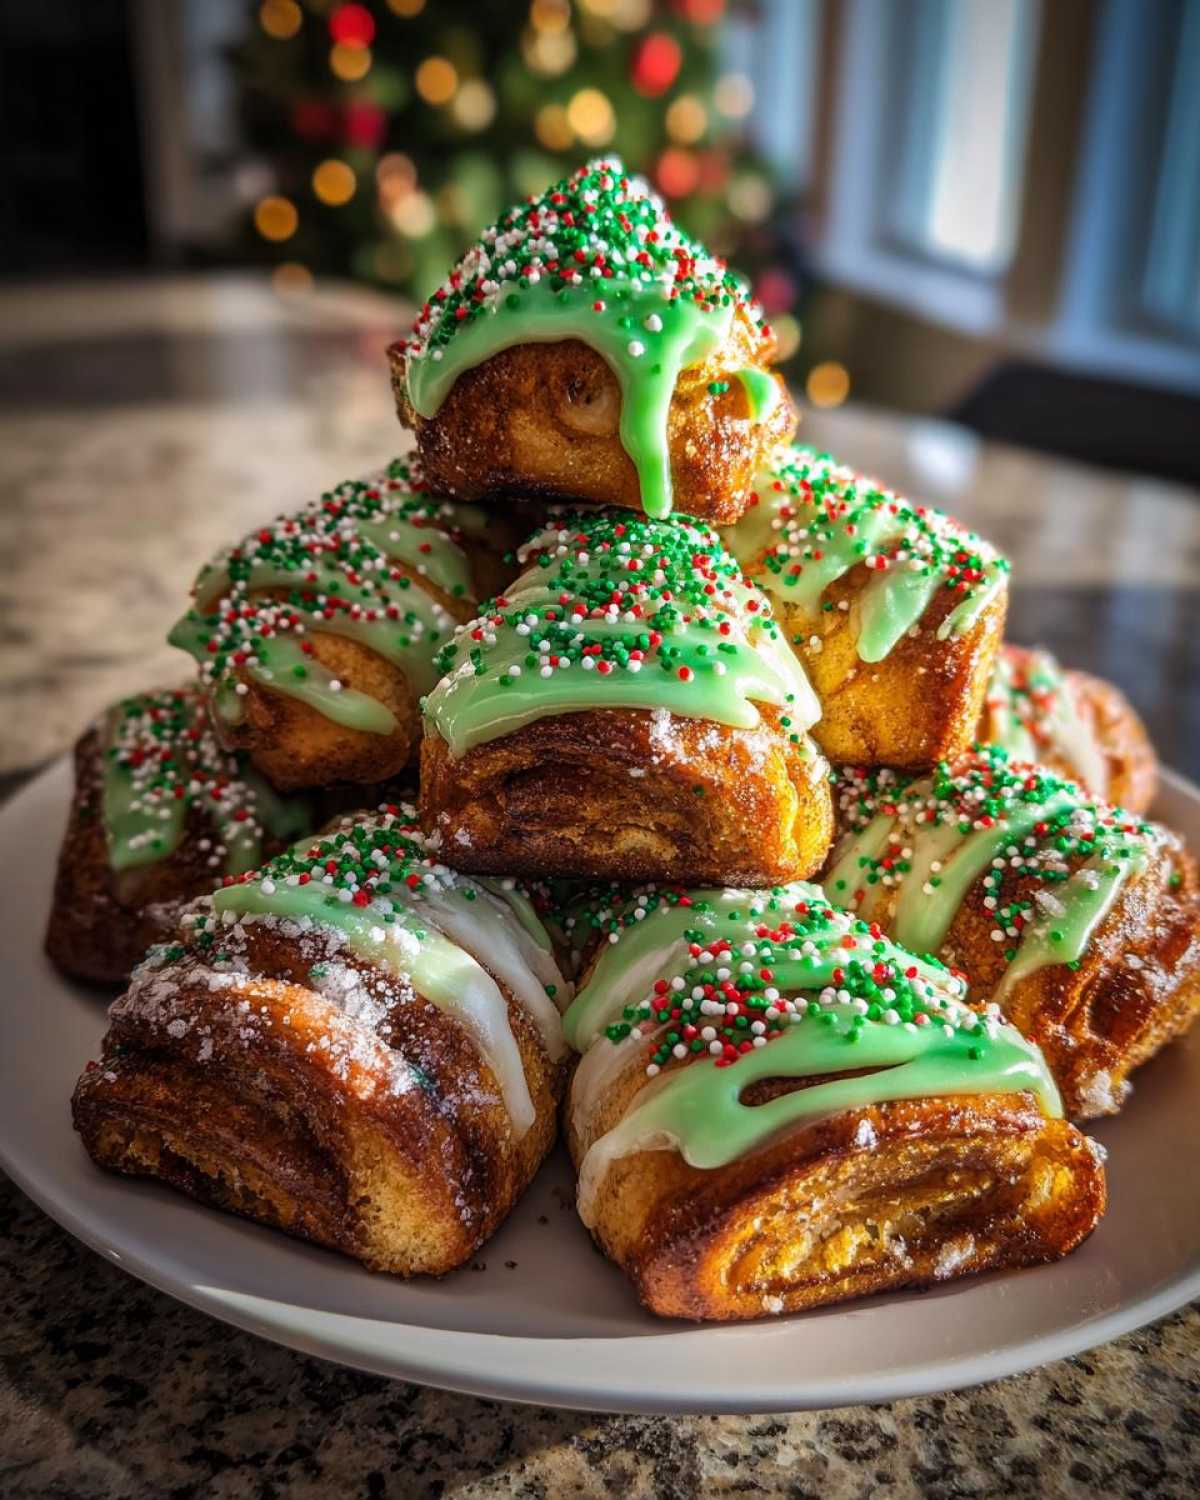
Tips for Success with Your Christmas Tree Cinnamon Rolls
Liam, bless his patient heart, gave me these tips for when things feel a little wonky during the baking process. The biggest tip for shaping is dough temperature. If you’re using scratch dough, make sure it’s chilled but not rock hard. If it’s too warm, those clean tree edges disappear when it hits the heat!
When icing, remember that warm rolls soak up thin icing fast. If you want that vibrant green to sit nicely on top like a garland, the icing needs to be thick. If it’s too runny, just add a tiny bit more powdered sugar until you get that perfect, slightly stiff consistency.
Also, keep an eye on the baking time. Since we are arranging them close together, the rolls on the outside finish quicker. If the center looks done but the edges are browning too fast, just tent the whole tree loosely with a piece of foil. It’s all about trusting your nose and your eyes over the timer sometimes, just like Liam taught me when we make chocolate cinnamon rolls!
Variations for Festive Cinnamon Roll Shapes
So, you’ve mastered the tree shape and the green icing? Fantastic! But the fun doesn’t stop there. We love tweaking things around here, mostly because Liam keeps challenging me to use up weird things in the pantry. These little customizations help make your christmas tree cinnamon rolls distinctly yours, rather than just a copy of mine.
If you’re tired of standard green, think about the fillings! Instead of just cinnamon and sugar for the coating, try swapping out some of the cinnamon for cardamom or even a pinch of ground cloves. It gives the whole thing a deeper, wintry smell. I recently tried dusting them with some finely chopped, toasted pecans before they went into the oven, and wow—that crunch paired with the soft dough was amazing. These little tweaks fall under those great Festive dough arrangement ideas, even though we aren’t changing the shape itself.
And what about the icing besides green? You can use the icing from the can and just stir in a bit of orange zest and juice instead of milk. Orange and cinnamon are such a classic holiday combination! Or, for something really decadent, use that recipe for the cream cheese glaze we use on our regular rolls. Remember, you can check out some other sweet inspiration over at a friend’s site if you need more ideas on presentation!
If you wanted to try a different arrangement next year, you could try arranging the rolls in a wreath shape instead—just place them in a tight circle with a small gap in the middle where you can pop a small bowl of jam or cream cheese dip for dipping. It’s still super festive and super easy!
Serving Suggestions for Your Holiday Brunch Centerpiece
So, you’ve pulled off the gorgeous christmas tree cinnamon rolls and they look just like the picture! Now, what do you serve alongside this stunning sweet bread? You don’t want to overshadow the tree, but you definitely need something to balance out all that glorious sugar and butter. This pull-apart structure is the perfect centerpiece for any holiday spread.
When we serve this—and we serve it often, especially since it’s such an easy holiday bread recipe—we like to keep the side dishes light and fresh. You need something tart or savory to cut through that richness. I usually whip up a huge bowl of seasonal fruit salad. Think bright red cranberries folded into mandarin segments with a little splash of orange juice. It adds color and much-needed freshness!
On the beverage front, you can’t go wrong with just a pot of seriously good coffee. Liam is very particular about his beans, but honestly, any strong, dark roast works wonders when paired with warm cinnamon. If you have a crowd, a big thermos of hot spiced cider is always a hit, too.
If you are looking for another impressive, but perhaps slightly less sweet, item to put on the buffet right next to your tree, you have to try our fluffy buttermilk pancakes recipe. They cook up fast, and you can stack them high next to the tree for people who might want something different. It just makes the whole table look abundant and welcoming. Nothing beats having a spread where every dish screams holiday joy!
Storage and Reheating Instructions for Christmas Tree Cinnamon Rolls
Even if these irresistible christmas tree cinnamon rolls vanish almost instantly (which they usually do!), sometimes you get a stray roll or two left over. Don’t sweat it! Liam always laughs because I try to hide leftovers for myself, but he reminds me we need to store them properly so they taste good the next day.
Since we used store-bought dough, these are best eaten the day you make them, but they hold up surprisingly well. If you plan on having leftovers, try not to put all the icing on at once. If you have a few rolls left naked, that makes storage ten times easier!
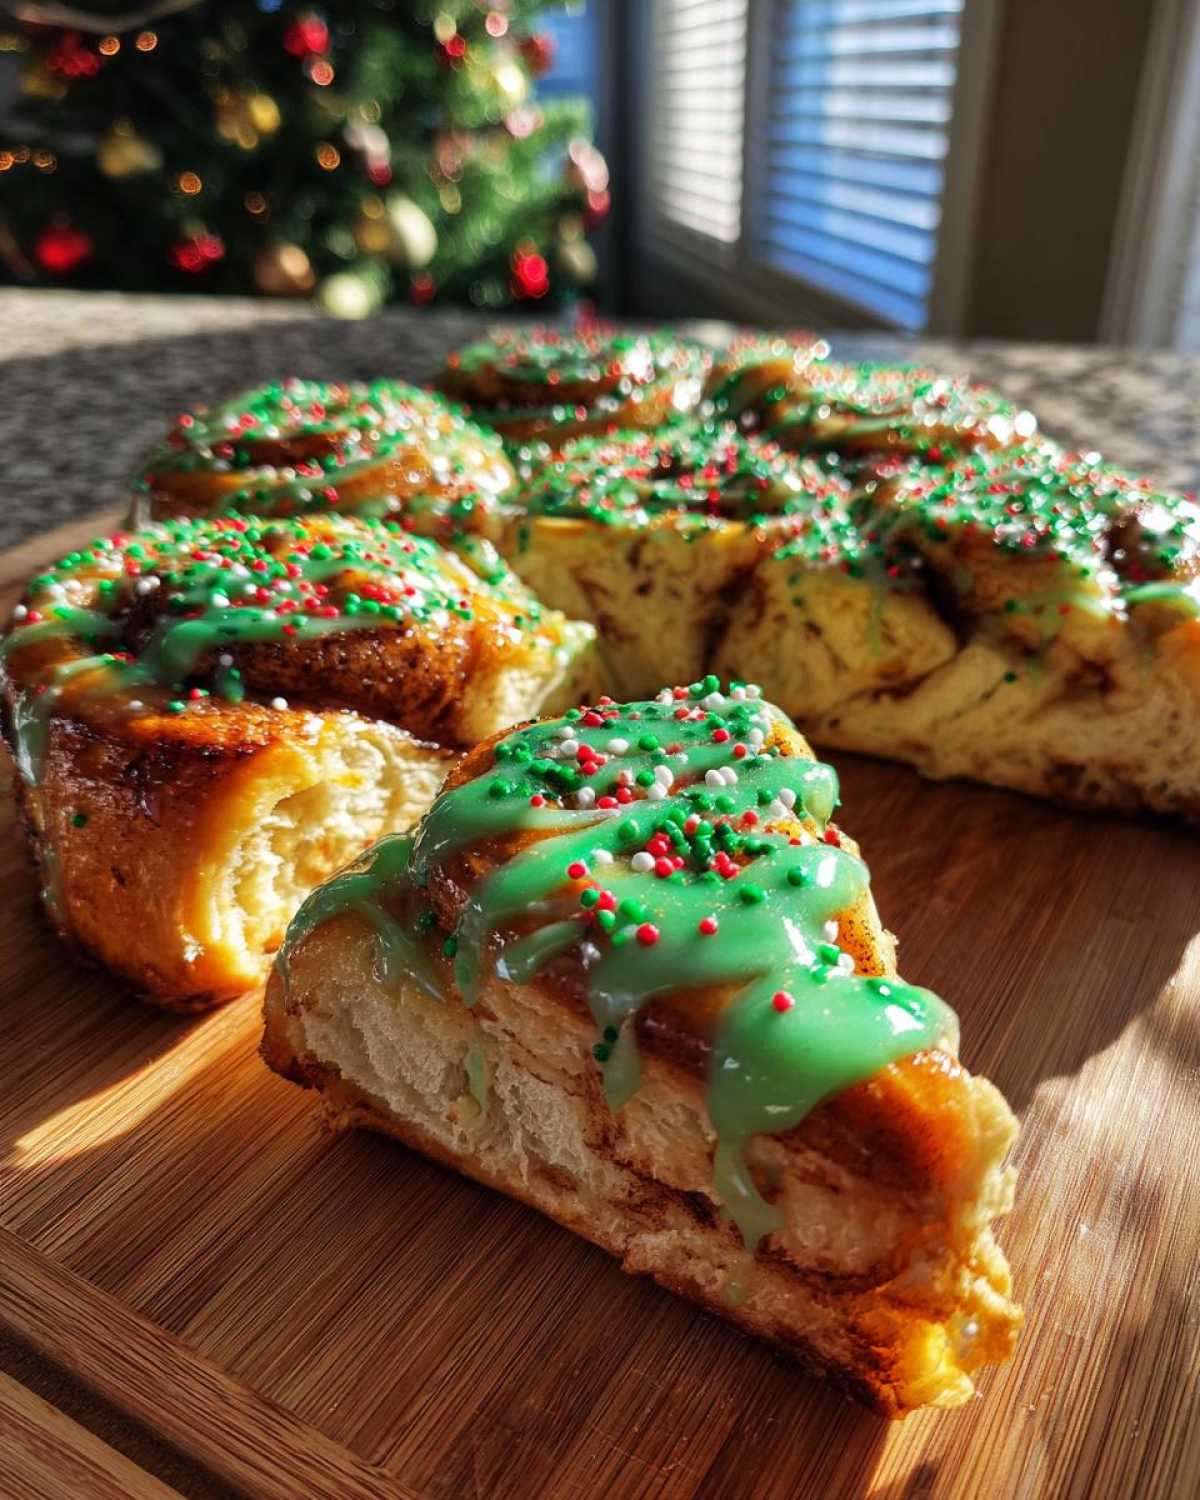
Storing Your Leftover Tree Sections
If you managed to save some sections and the icing hasn’t been applied yet, that’s ideal. Cover the entire tree structure or just the remaining rolls tightly with plastic wrap or tin foil. At room temperature, they’ll be fine sitting on the counter for about a day, especially if your kitchen isn’t super warm. They stay a bit softer this way.
If you need to keep them longer than 24 hours, pop them into an airtight container and the fridge. They might firm up a bit, but they won’t go bad, and we can fix that easily with reheating!
The Best Way to Reheat Cinnamon Rolls
Reheating is the key to bringing back that fresh-from-the-oven fluffiness. Forget the microwave if you can—it makes them tough! Liam insists on the oven or toaster oven for the best texture.
For the whole structure (if it survived!): Wrap the entire cooled tree in foil and warm it up in a low oven (around 300°F or 150°C) for about 10-15 minutes. This gently steams them back to life. If you only have individual rolls left, just pop those in the toaster oven for about 5 minutes!
If the rolls are iced already, don’t worry about the icing melting a little; it just turns into a delicious, gooey glaze! If you want a true refresher, sometimes I sneak a tiny splash of milk over the top of a reheated roll right before serving. It’s a little trick I picked up, and it works wonders to keep them from feeling dried out. This guarantees your leftovers taste great too!
Frequently Asked Questions About Shaped Cinnamon Roll Tutorial
I know you probably have a few lingering questions, especially about getting that perfect look! When I was learning, my head was swimming with details. Liam always says that understanding the ‘why’ behind the steps helps, but sometimes you just need a quick answer so you can get back to the fun part—baking! Here are the main things people ask about shaping these festive treats.
Can I use homemade dough for these Christmas Tree Cinnamon Rolls?
Oh, absolutely! If you have a tried-and-true recipe for fluffy sweet rolls, please use it! The canned dough is truly for those mornings where every minute counts, but homemade dough often has a superior chew and flavor. The main thing you need to know if you switch is temperature management. If your dough is room temperature, it might spread too much when you arrange it and you won’t get those distinct points on the tree. Make sure your scratch dough is thoroughly chilled before you start separating and coating the rolls. It gives you much better control!
Can I prepare this Christmas Tree Cinnamon Rolls recipe ahead of time?
Yes, you totally can, and I highly recommend it if you want zero stress on Christmas morning! You can complete the entire arrangement—grease the pan (or line it with parchment), coat the rolls in butter/cinnamon sugar, and place them in the tree pattern—on Christmas Eve. Just cover the whole setup tightly with plastic wrap. Then, place the entire pan in the refrigerator overnight. When morning comes, you just pull it straight from the fridge to the oven. You might need to add 5 to 10 minutes onto the bake time since it’s starting cold, just watch for that golden color!
How do I make the star topper for the tree?
That little star is what pulls the whole look together, it’s the finishing touch! Since we’re usually rushing through the actual dough arrangement, I don’t recommend trying to cut a star shape out of dough and baking it perfectly aligned with the other rolls—it never works out evenly for me. My go-to suggestion is a simple substitution. Once the rolls are baked and slightly cooled, use your green icing, but instead of drizzling it, carefully pipe a small, thick star shape right on top of that single top center roll. Alternatively, you can melt a yellow or gold candy wafer, or even just stick a halved yellow gumdrop right there. It looks just as festive!
If you want another creative idea for decorations, be sure to check out my friend over at Aileen’s site; she has some fun ways to use sprinkles!
Are these rolls simple enough for Kids Christmas baking projects?
They are perfect! This is one of the best Kids Christmas baking projects because it has such a high reward-to-effort ratio. The steps that are best for little hands are: 1) Separating the pre-cut rolls from the package, 2) Brushing the rolls with the melted butter (great for fine motor skills!), and 3) Drizzling the icing and throwing on the sprinkles at the end. Liam usually manages the potentially messy cinnamon-sugar tossing part, but honestly, if you let the kids place the pieces on the pan to form the tree, they will remember making this breakfast forever!
Understanding the Nutrition of Your Christmas Tree Cinnamon Rolls
You know me, I want to make sure we’re being totally upfront about what goes into our bodies, even during the holidays! Liam always reminds me that while we eat for joy on Christmas morning, it’s good practice to check the numbers. Since we are relying on store-bought dough for these beautiful christmas tree cinnamon rolls, these nutritional estimates are based on that general format, but please know that the exact brand you use matters a lot!
This information is just a guide, folks! It’s super helpful for planning, but if you use organic dough, sourdough dough, or double the icing (which I might do), the totals will change. We aim for honesty here at TasteTaught, which is why we always post our privacy policy and transparency details right up front.
Here are the estimated figures for one serving section of the finished tree:
- Serving Size: 1 roll section
- Calories: Around 350
- Sugar: Roughly 35g (Hey, it’s Christmas! That frosting adds up!)
- Fat: About 18g total
- Protein: Around 4g
We generally aim to keep the fat where it needs to be for a rich cinnamon roll—that comes from the butter and the dough itself. Notice how low the fiber is? That’s why I always suggest pairing it with that big bowl of fresh fruit we talked about earlier! We need a little balance to go with our festive showstopper.
PrintChristmas Tree Cinnamon Rolls: A Festive Centerpiece Breakfast

Make your holiday mornings special with these adorable cinnamon rolls shaped like a Christmas tree. This recipe is easy to assemble and creates a beautiful, pull-apart centerpiece perfect for Christmas brunch.
- Prep Time: 15 min
- Cook Time: 20 min
- Total Time: 35 min
- Yield: 8 servings
- Category: Breakfast
- Method: Baking
- Cuisine: American
- Diet: Vegetarian
Ingredients
- 1 (12.6 ounce) can refrigerated cinnamon roll dough (like Pillsbury)
- 1/4 cup granulated sugar
- 1 teaspoon ground cinnamon
- 1/4 cup (4 tablespoons) unsalted butter, melted
- 1/2 cup powdered sugar
- 2 tablespoons milk
- 1/4 teaspoon vanilla extract
- Green food coloring (gel works best)
- Holiday sprinkles (optional)
Instructions
- Preheat your oven to the temperature specified on the cinnamon roll can, usually 375°F (190°C). Lightly grease a large, round pizza pan or a large baking sheet.
- Unroll the can of cinnamon rolls onto a clean surface. Separate the rolls. You will typically have 8 large rolls. Keep the icing packet aside for later.
- In a small bowl, mix the 1/4 cup granulated sugar and 1 teaspoon cinnamon. Brush the tops and sides of each individual cinnamon roll with some of the melted butter, then toss them lightly in the cinnamon-sugar mixture.
- Arrange the rolls on the prepared pan to form the tree shape. Place one roll in the center for the top of the tree. Arrange the remaining seven rolls around the center roll in a triangular pattern to form the body of the tree. You should have a wide base and a point at the top.
- Bake according to the package directions, usually 15 to 20 minutes, or until golden brown.
- While the rolls bake, prepare the green icing. In a small bowl, whisk together the powdered sugar, milk, and vanilla extract until smooth. Add green food coloring one drop at a time until you reach a festive green shade.
- Once the rolls are out of the oven, let them cool on the pan for about 5 minutes.
- Drizzle the green icing generously over the warm cinnamon rolls, letting it drip down the sides to look like garland.
- Immediately top with holiday sprinkles before the icing sets. Serve warm as a pull apart breakfast tree.
Notes
- If you prefer to make this recipe from scratch, use your favorite homemade cinnamon roll dough recipe, but ensure the dough is chilled enough to handle the shaping process easily.
- For a brighter green color, use gel food coloring instead of liquid coloring, as it provides more intense color without thinning the icing too much.
- You can prepare the dough arrangement the night before, cover it, and refrigerate. Add an extra 5 to 10 minutes to the baking time if baking directly from the refrigerator.
Nutrition
- Serving Size: 1 roll section
- Calories: 350
- Sugar: 35g
- Sodium: 450mg
- Fat: 18g
- Saturated Fat: 10g
- Unsaturated Fat: 8g
- Trans Fat: 0g
- Carbohydrates: 45g
- Fiber: 1g
- Protein: 4g
- Cholesterol: 25mg