

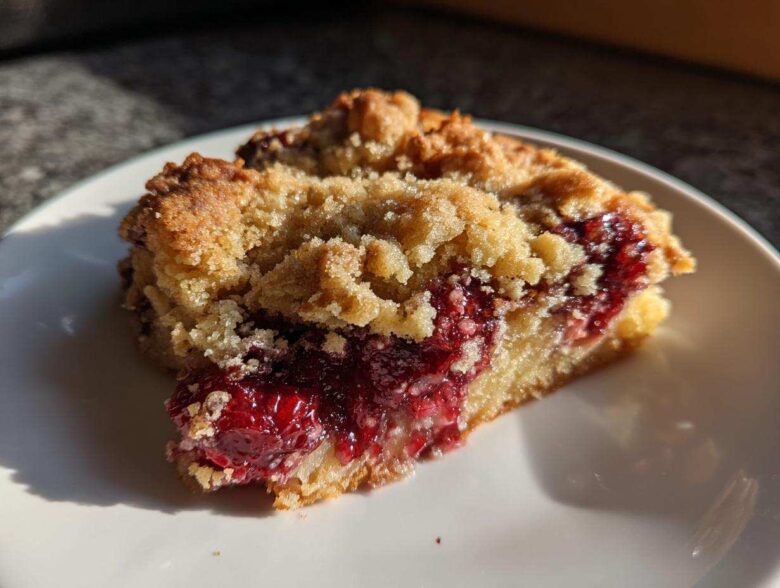
If you’ve been following along here at TasteTaught, you know my journey started with a healthy dose of baking fear. Seriously, the kitchen was the scariest place in the house! But then Liam started showing me the simplest tricks, and I realized that “homemade” doesn’t have to mean hours of measuring and scrubbing. That’s why I absolutely adore what we call the ultimate minimal effort dessert: the **cherry dump cake**. It’s pure magic, requiring zero mixing bowls and delivering that warm, bubbly, gooey fruit satisfaction we all crave. Trust me when I say this recipe is confidence-building. If you can open three cans and a box, you can nail this!
This dessert is practically designed for people who want a spectacular result without any fuss. It’s warm, it’s sweet, and it’s ready before you can even stress about the clean-up. You can check out all our other simple baking adventures over on our blog right here if you need more proof!
Why This Classic 3 Ingredient Cherry Dump Cake Recipe is Foolproof
Honestly, when Liam first saw me throw the three core ingredients together, he was skeptical—he’s a man who believes in technique! But this **3 Ingredient Dump Cake** proves that sometimes, less is definitely more. There is absolutely no stirring, no beating, and no messy cleanup with this **foolproof cherry dessert**. It’s the epitome of simple baking, and it works perfectly every single time we make it. If you love ridiculously easy desserts, you should also check out our recipe for easy no-bake dirt cake!
It delivers that gooey, warm fruit dessert feeling we all love, but with the effort level of making toast. You can whip this up faster than you can decide on a movie!
Time Breakdown for Your Quick Dessert with Cake Mix
This is where the magic truly hits home for busy nights. Prep time is a stunning 5 minutes. Then, it just needs about 50 minutes in the oven. That means you’re looking at a total time commitment of just 55 minutes until you’re enjoying a warm slice. Seriously, you can’t beat that for a **quick dessert with cake mix**!
Gathering Ingredients for Your Cherry Dump Cake
Okay, since this is the foundation for what I promise is the **Best Cherry Dump Cake Ever**, we need to be specific about what hits the pan! Remember, we aren’t adding any eggs or liquids here—that’s the whole point of the dump cake shortcut. You only need three things.
- 1 (21 ounce) can cherry pie filling
- 1 (15.25 ounce) box **yellow cake mix** (and this has to be the dry mix, straight from the box, please!)
- 1/2 cup (1 stick) **unsalted butter**, absolutely **cut into small pieces**
See? That’s it! Liam laughs because I spend more time unwrapping the butter than actually mixing anything. It’s simplicity itself, which is why it’s my go-to when I need something fast that tastes amazing.
Ingredient Notes and Simple Substitutions
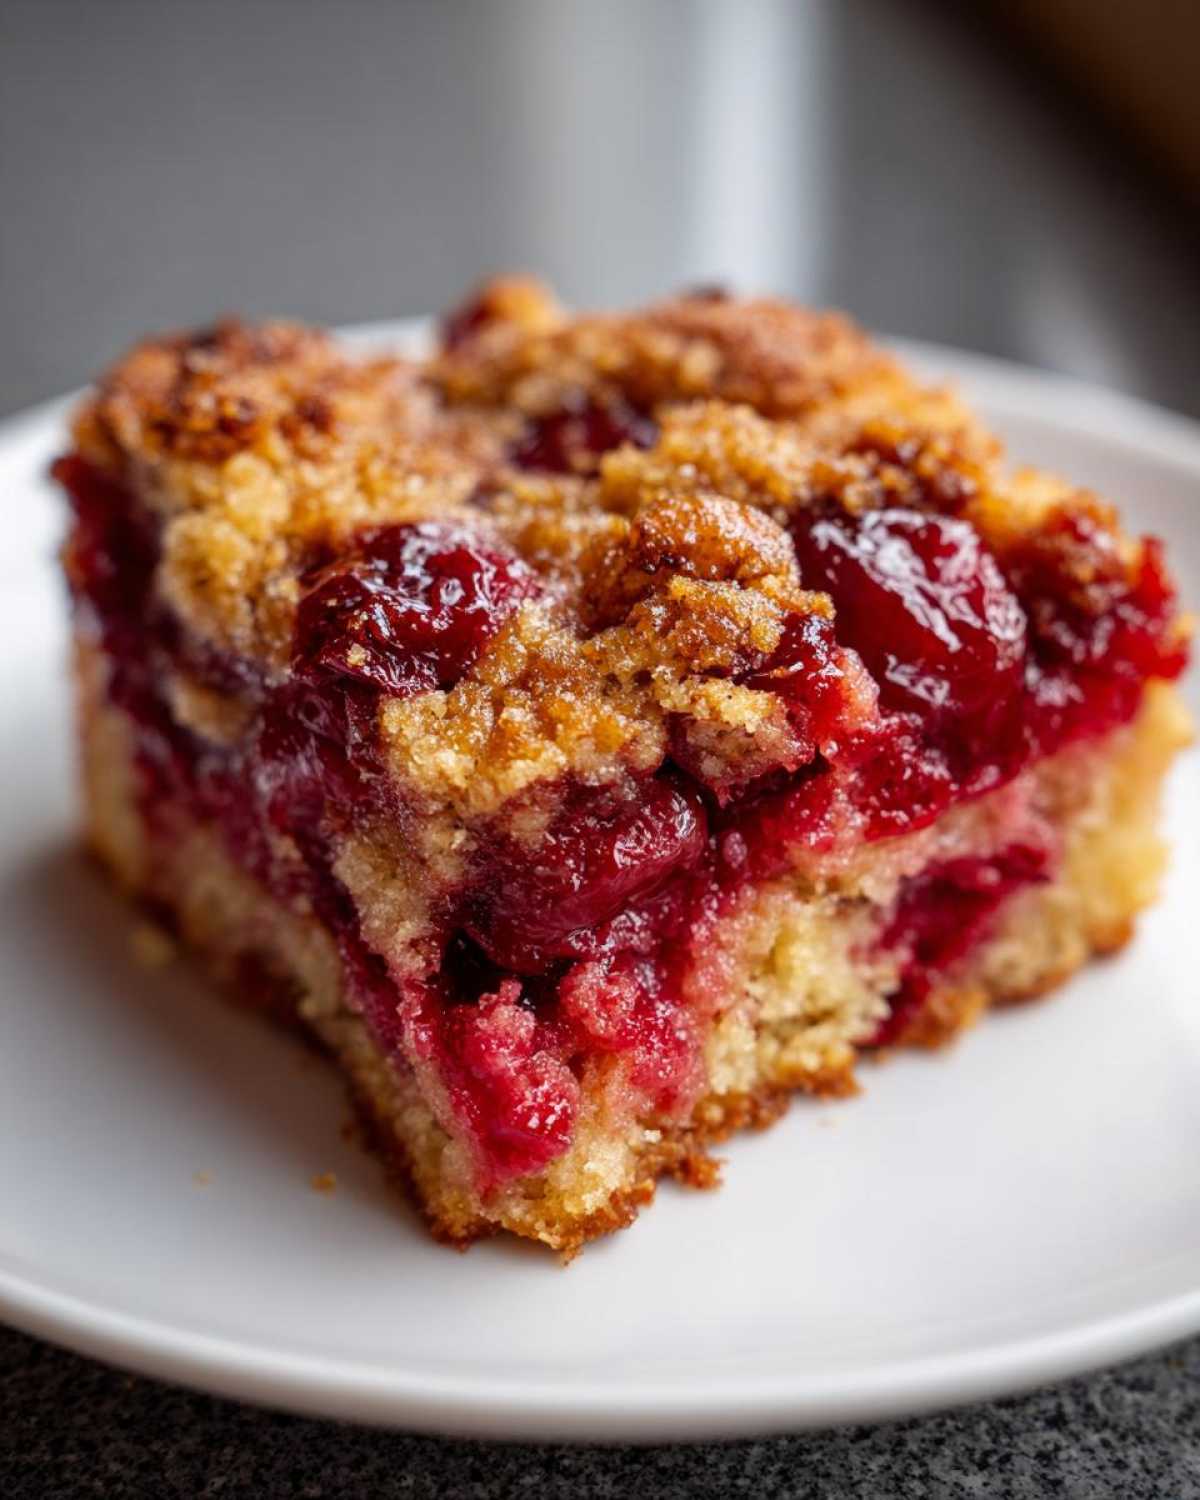
While the yellow cake mix shines here because of that perfect sweetness, don’t feel locked in! If you have white or butter flavored cake mix, those work beautifully as substitutes too. The butter is crucial for that gorgeous, crisp topping, so make sure it’s unsalted; we get plenty of salt from the filling. Also, if you want an extra decadent topping, you can risk using a touch more butter, like 3/4 cup, but 1/2 cup yields that perfect balance we love. If you’re looking for other super simple treats, you’ve got to try our easy 3-ingredient chocolate fudge!
How to Prepare Instructions for the Perfect Cherry Dump Cake
This is the part where you get to feel like a baking genius with zero effort! Seriously, learning **how to make a dump cake** means you’re about to conquer the laziest, most rewarding dessert known to humankind. First things first: make sure your oven is happy and hot at 350 degrees Fahrenheit. Lightly grease your 9×13 inch dish—a little non-stick spray is my friend here! Then, we just layer.
Dump the entire can of cherry pie filling right into that dish. Spread it out nice and even so those cherries are ready for their cake blanket. Next up is the dry cake mix. Sprinkle it all over the top. And this is the most important part for a perfect **cherry dump cake** result: DO NOT STIR IT! It stays layered. Finally, take those little pieces of butter and dot them all over the top of that dry cake mix. Make sure they are spread out pretty well! If you’re looking for other simple layered baking ideas, you have to try our easy puff pastry apple strudel recipe!
Baking Tips for a Buttery Cake Topping Dessert
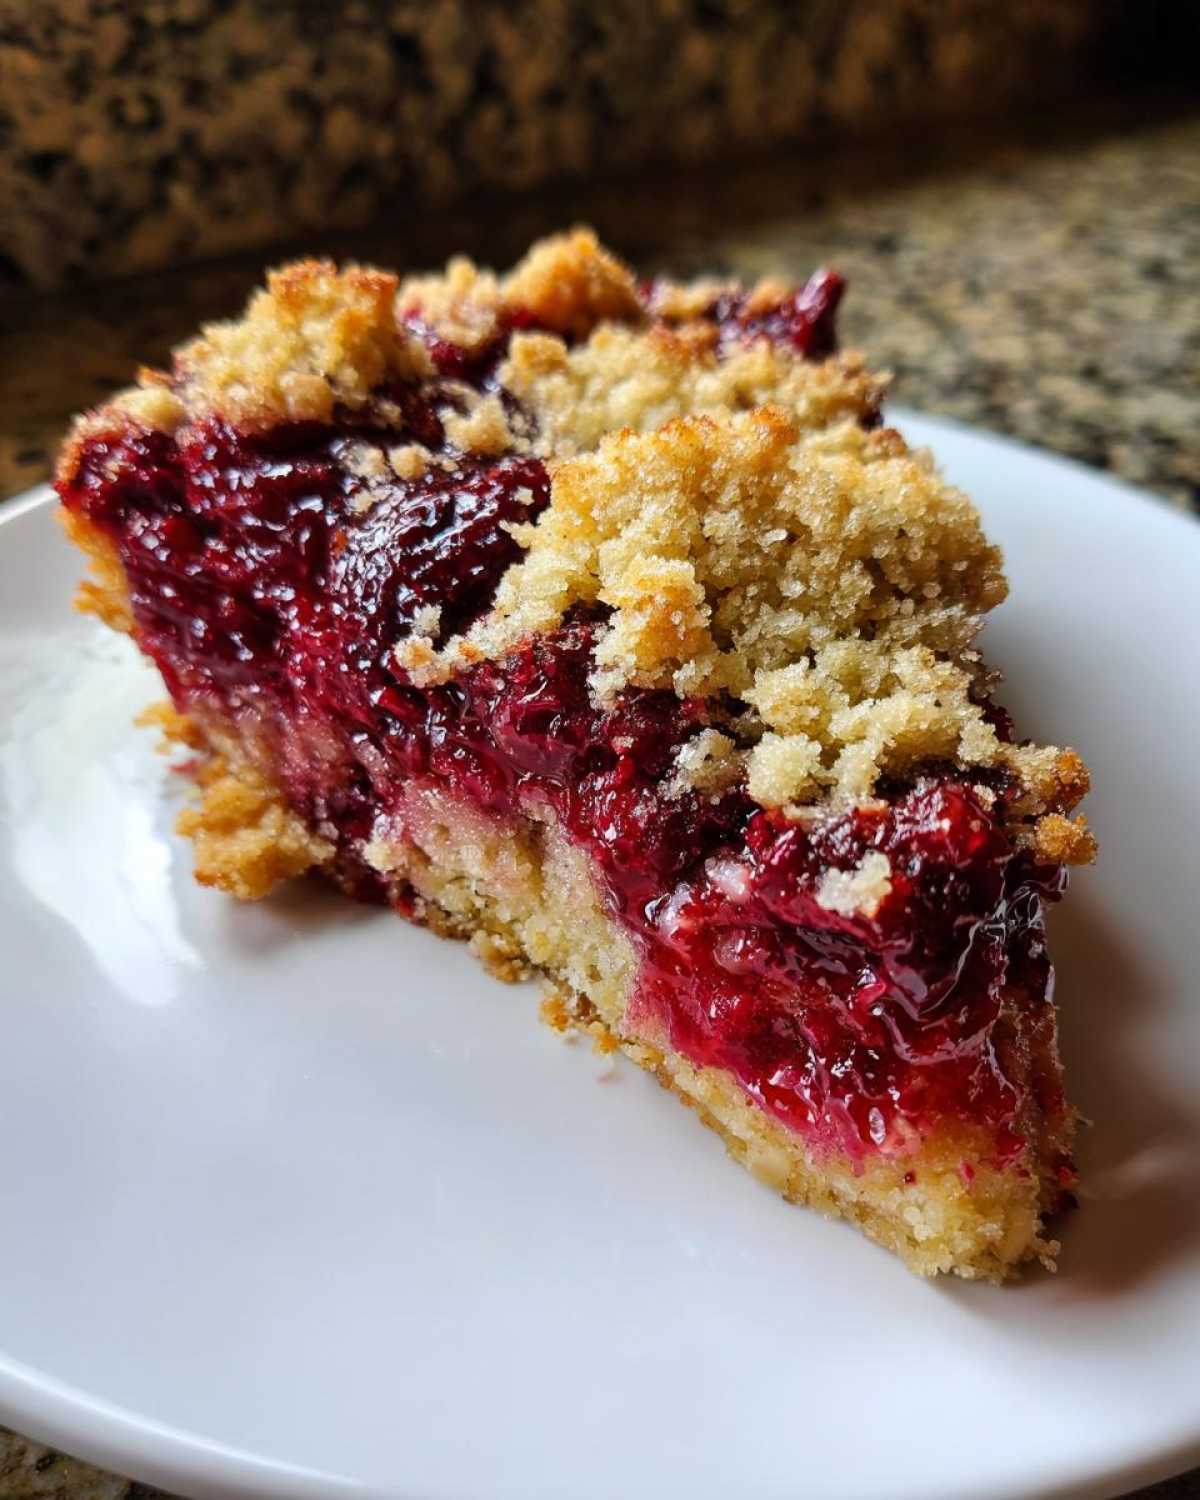
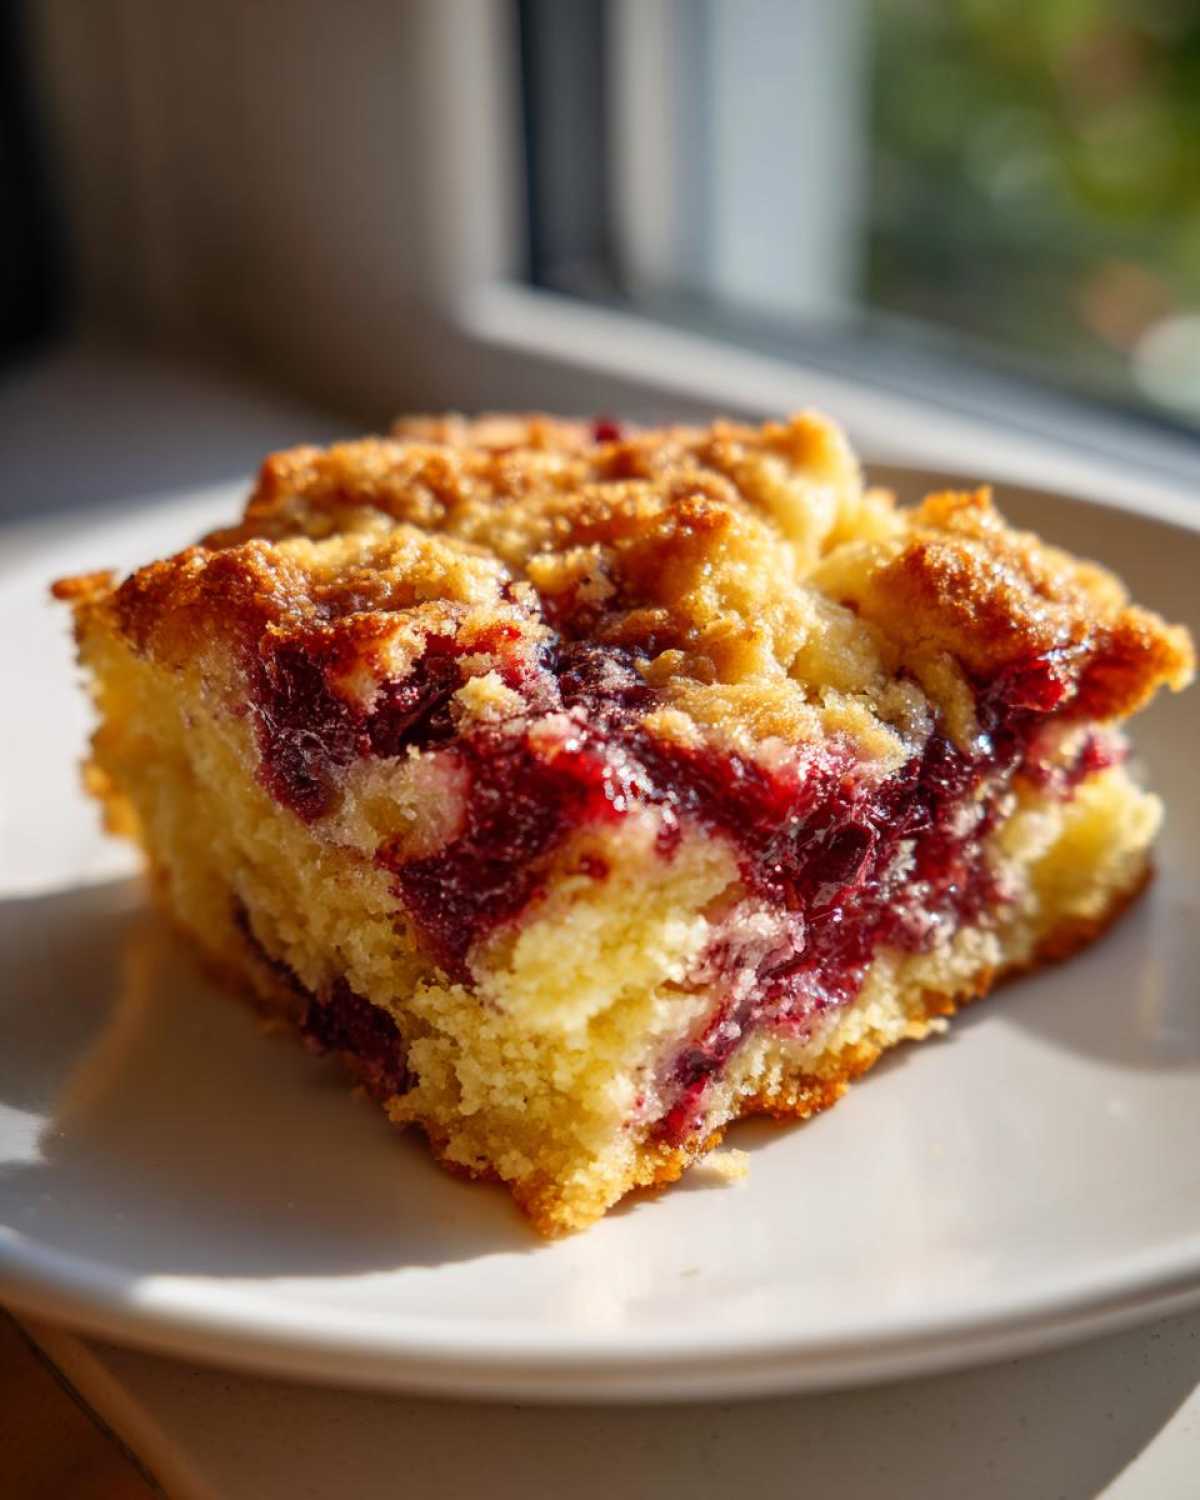
That butter is what turns into the dreamy, golden topping. Liam always double-checks that the butter pieces are distributed as evenly as possible because that’s the secret to a uniform, crisp, **buttery cake topping dessert**. Once it’s in the oven, you bake it for about 40 to 50 minutes. You know it’s done when the cherry filling around the edges is bubbly, bubbling like crazy, and the cake topping is that gorgeous golden brown color we want.
When you pull it out, please let it sit on the counter for about 10 minutes before you even think about scooping it. It needs that little rest time to set up and stop being quite so volcanic!
Serving Suggestions for Your Warm Cherry Dessert Recipe
This is my favorite part, honestly—the pre-scoop moment! Because this **cherry dump cake** comes out hot, bubbly, and smelling like pure comfort, it begs to be served warm. If you are not topping this with a big scoop of cold vanilla ice cream, you are missing out on half the experience! That contrast between the hot, gooey filling and the melting, creamy ice cream? Perfection. It’s the best way to enjoy this **warm cherry dessert recipe**.
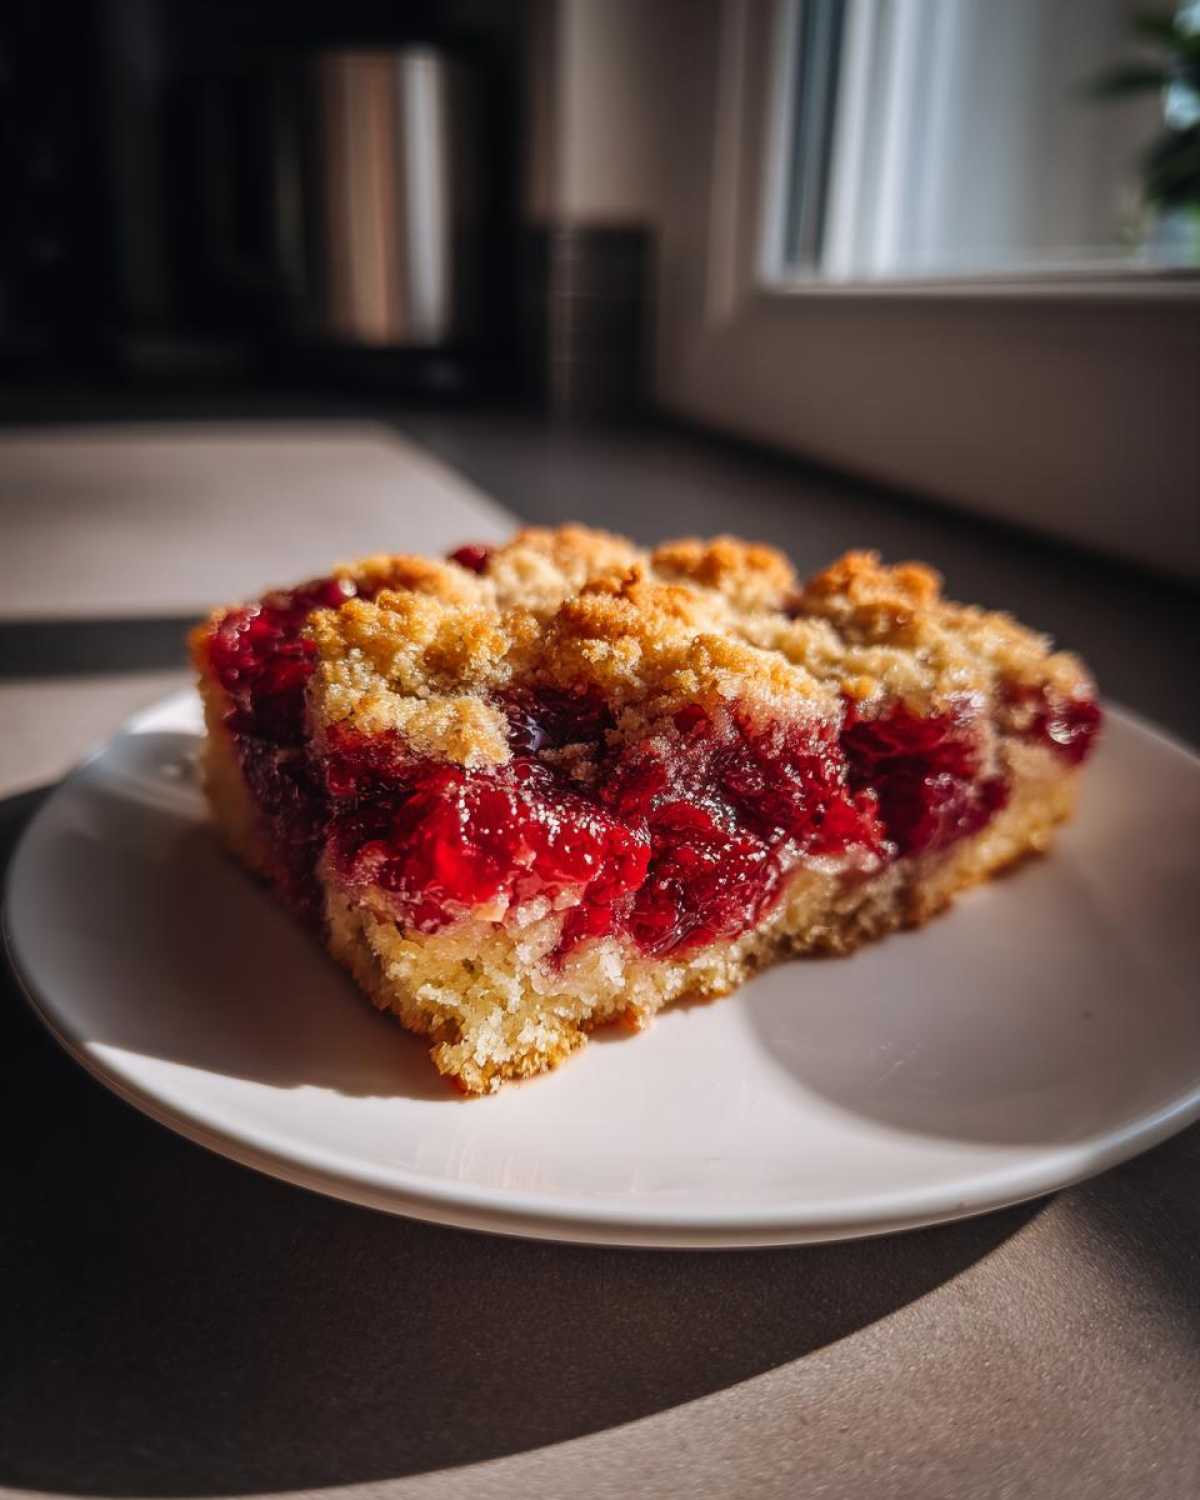
Because it is truly so simple to make, it’s also the first thing to disappear at any gathering. It makes a fantastic, stress-free option for any **potluck desserts easy** needs you have this season. Seriously, just bring this, and you win dessert.
If you need a homemade ice cream recipe to take this over the top, Liam and I have the most amazing creamy strawberry ice cream recipe you can try next!
Variations: Beyond the Classic Cherry Dump Cake
While our 3-ingredient version is my absolute favorite for its sheer speed, the beauty of the dump cake method is that you can easily change up the flavor profile! If you’re craving something richer, switch out that yellow cake mix for a chocolate cake mix—boom, you’ve instantly got a **chocolate cherry dump cake recipe**. We used that trick last time we had guests, and checking out recipes like the one I saw online for a dedicated chocolate cherry dump cake recipe reminded me just how good it is!
Another fantastic option is mixing things up by adding fruit. A **pineapple cherry dump cake variation** is wonderful because the tanginess of the pineapple keeps everything bright. I love adding a can of drained pineapple chunks right on top of the cherry filling before the dry cake mix goes on. It makes an amazing, gooey dessert!
Slow Cooker Cherry Dump Cake Idea for Minimal Effort Desserts
If you want this **cherry dump cake** to cook itself while you run errands or just relax, converting it to the slow cooker is the ultimate move for **minimal effort desserts**. Just layer everything exactly like we did in the baking dish, but put it right into your Crockpot. Cook low for about 3 to 4 hours, or on high for 1.5 to 2 hours. You’ll end up with incredible **crockpot desserts cherry** goodness that’s deeply cozy. It’s so nice to come home to dessert already made!
If you needed a melted chocolate component for one of these ideas, remember we have a great slow cooker chocolate fondue recipe that proves the Crockpot can handle anything!
Storage and Reheating Instructions for Your Cherry Dump Cake
Okay, deep breaths—sometimes we have leftovers, even with a dessert this good! If you actually manage to save any of this marvelous **cherry dump cake**, just cover the baking dish tightly with foil or plastic wrap. Room temperature works fine for a day, but if you’ve had it out a while or just want to keep that gooey texture locked in, pop it into the fridge. It keeps really well for about three or four days.
When you want to bring it back to life, which you absolutely must do to maximize that warm comfort, I prefer the oven method. Pop a piece onto an oven-safe plate and heat it at 350 degrees for about 5 to 10 minutes until it’s warm through. If you’re in a real panic, the microwave works, but just use short bursts so you don’t end up steaming the crunchy topping. It tastes almost as good the next day, especially with a fresh scoop of ice cream! For more great make-ahead ideas, you might want to check out our best easy homemade lasagna recipe—it’s just as satisfying the next day!
Frequently Asked Questions About Making a Cherry Dump Cake
I get so many messages about this **cherry dump cake**! It’s just so popular because it’s basically cheat-code baking. But since it relies on such simple steps, people sometimes worry if they can tweak it. I hope these quick answers help you feel totally confident moving forward!
Can I use a different fruit filling in this Easy Cherry Dump Cake Recipe?
Absolutely, yes! That’s the wonderful thing about the **Easy Cherry Dump Cake Recipe**—it’s built for flexibility. If you aren’t strictly a cherry fan, you can swap in blueberry pie filling, apple pie filling, or even peach! The only thing you have to remember is that the structure relies on the thickness of the filling, so stick close to the 21-ounce can size for the best results.
Why is my cake topping dry instead of gooey in my Dump Cake?
Oh, this is the saddest thing when it happens! Usually, a dry topping means one of two things: you either didn’t use enough butter across the top, or you baked it just a touch too long. Remember, we are aiming for that gorgeous, **gooey cherry cobbler style cake** texture, so you want the topping golden brown, not hard, crunchy brown. Pull it out right when the edges bubble fiercely!
Do I need to use a mixer for this Simple Baking Recipe?
No mixer required whatsoever! That’s the whole selling point of this **simple baking recipe**! The entire point is that we aren’t mixing anything. If you use a mixer, you’ll blend the dry mix into the cherries, and you’ll get a dense, strange texture instead of that beautiful, crumbly, buttery topping. We love that this is one of our true **no mixer needed dessert recipes**!
If you’re looking for more ridiculously easy kitchen techniques that don’t require fancy gadgets, check out our guide on making easy pizza sliders!
Nutritional Estimate for This Simple Baking Recipe
Now, I’m not a nutritionist—Liam handles all the technical stuff in our kitchen! But since you asked, here is the general estimate for one slice of this amazing **cherry dump cake**. Remember, this is just a ballpark figure because whether you choose a super sweet cake mix or use slightly more butter can change things up. These numbers are based on using the standard ingredients listed. If you want to see some of the healthier things we cook, check out our favorite banana oatmeal pancakes recipe!
- Calories: 350
- Sugar: 45g
- Fat: 17g
- Carbohydrates: 48g
- Protein: 3g
This recipe really is a treat, so don’t worry too much about the exact numbers—just focus on enjoying that warm, gooey cherry filling!
Share Your Best Cherry Dump Cake Success
So, that is it! You now know the secret to making the easiest, most crowd-pleasing dessert around. I am so excited for you to try this **cherry dump cake** and see just how much joy you can generate with only three ingredients and zero stress.
Once you’ve pulled that golden, bubbly masterpiece out of the oven, I really, really want to hear about it! Did you stick to the classic 3-ingredient version, or did you dive into making a chocolate version? More importantly, please tell me what you served it with! Was it loaded up with vanilla ice cream like we do? Did you try it with whipped cream instead?
Please take a moment to leave us a star rating right on the recipe card—it helps us know we’re sharing recipes that make your life easier and tastier! We thrive on hearing from you all; it’s why we started TasteTaught in the first place, sharing everything I learned from Liam. If you’ve got questions, tips, or just want to share a win, you can easily connect with us over on the Contact Page. Happy baking, dear friends!
PrintThe Best 3-Ingredient Cherry Dump Cake Recipe
This is the definition of foolproof baking. You just dump cherry pie filling, dry yellow cake mix, and butter, then bake for a warm, bubbly, gooey cherry dessert that always impresses. Serve warm with ice cream.
- Prep Time: 5 min
- Cook Time: 50 min
- Total Time: 55 min
- Yield: 8 servings
- Category: Dessert
- Method: Baking
- Cuisine: American
- Diet: Vegetarian
Ingredients
- 1 (21 ounce) can cherry pie filling
- 1 (15.25 ounce) box yellow cake mix (do not mix)
- 1/2 cup (1 stick) unsalted butter, cut into small pieces
Instructions
- Preheat your oven to 350 degrees Fahrenheit. Lightly grease a 9×13 inch baking dish.
- Pour the entire can of cherry pie filling into the prepared baking dish. Spread it into an even layer.
- Sprinkle the dry yellow cake mix evenly over the top of the cherry filling. Do not stir or mix the cake mix into the filling.
- Distribute the small pieces of butter evenly over the layer of dry cake mix.
- Bake for 40 to 50 minutes, or until the topping is golden brown and the cherry filling is bubbly around the edges.
- Let the dump cake cool for about 10 minutes before serving.
- Serve warm with vanilla ice cream for the ultimate crowd-pleaser.
Notes
- This recipe is incredibly simple, making it perfect for last-minute potlucks or weeknight treats.
- For an extra layer of flavor, you can substitute the yellow cake mix with white or butter cake mix.
- If you want a slightly richer topping, use 3/4 cup of butter instead of 1/2 cup.
- This dessert tastes best when served warm.
Nutrition
- Serving Size: 1 serving
- Calories: 350
- Sugar: 45
- Sodium: 300
- Fat: 17
- Saturated Fat: 10
- Unsaturated Fat: 7
- Trans Fat: 0.5
- Carbohydrates: 48
- Fiber: 1
- Protein: 3
- Cholesterol: 20