

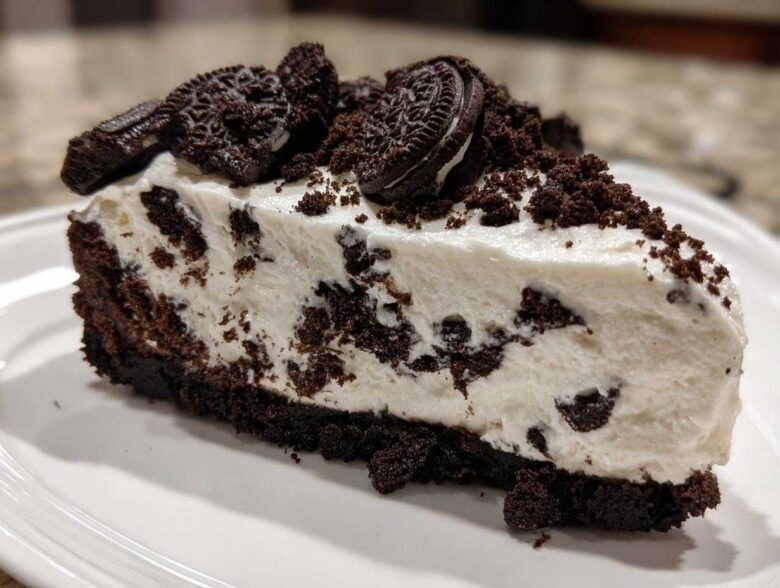
You know those nights? When you’re craving something truly decadent, something chocolatey and rich, but the thought of turning on the oven makes you sweat? I totally get it, because that was me before Liam taught me the shortcuts! Trust me when I say this Oreo cheesecake recipe is going to change your life. We spent ages perfecting this, and my absolute favorite version is this one: The BEST No-Bake Oreo Cheesecake. It’s impossibly rich, unbelievably creamy, and the best part? Zero oven time is required. It’s the ultimate quick treat!
Why This No Bake Oreo Cheesecake Recipe Works So Well
Seriously, this has become my go-to dessert when I need something impressive fast. You might think removing the oven would result in a thin, sad dessert, but NO! This recipe delivers the thick, decadent result you want. It’s truly an Easy Oreo Cheesecake that tastes anything but simple.
- It’s the ultimate Make Ahead Dessert—it literally gets better overnight.
- We skip the water bath drama that baked cheesecakes need. Say goodbye to cracks!
- The texture is ridiculously smooth. It’s what I call the Creamy Oreo Cheesecake standard.
Achieving the Ultimate Oreo Delight Texture
When Liam first tried baking cheesecake, he stressed about the top cracking every single time. That’s why this no-bake version is my favorite path to an Ultimate Oreo Delight. The secret source of that incredible silky texture? It’s how we handle the heavy whipping cream. You absolutely must whip that cream until stiff peaks form separately before folding it in. That trapped air acts like a light, fluffy backbone for the rich cream cheese base. Take a look over at our no-bake dirt cake; it uses a similar principle to keep things light!
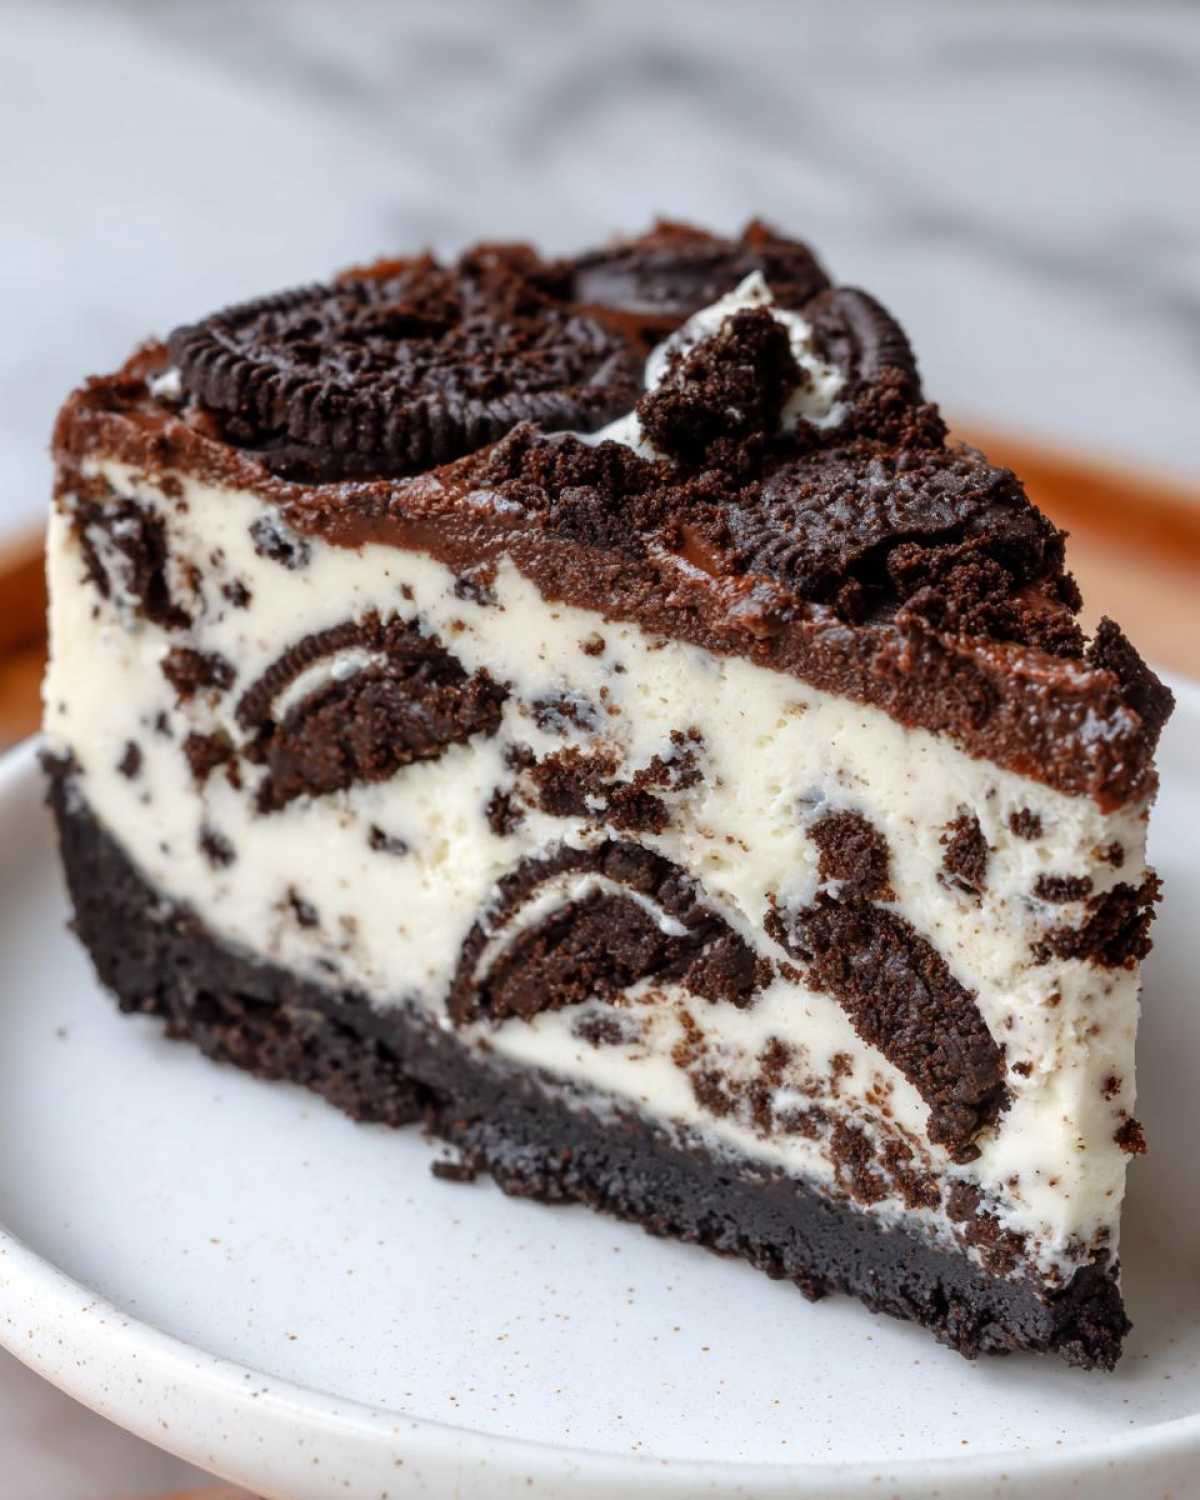
Gathering Ingredients for Your Oreo Cheesecake Recipe
Okay, gathering supplies is almost as fun as eating this! Since this is our Oreo Cheesecake Recipe highlight, these ingredients are specific to the no-bake version we are making right now. Don’t sweat the small stuff; just make sure your cream cheese is room temperature—Liam always reminds me that cold cream cheese equals lumpy cheesecake, and nobody wants that!
Essential Components for the Oreo Crumb Crust
This crust is so simple but so important. It needs to hold up to that rich filling!
- 24 Oreo cookies, divided
- 6 tablespoons unsalted butter, melted
Ingredients for the Creamy Oreo Cheesecake Filling
This is where the magic happens. Remember, the heavy cream MUST be cold—like refrigerator-cold!
- 16 ounces cream cheese, softened
- 1 cup powdered sugar
- 1 teaspoon vanilla extract
- 1 cup heavy whipping cream, cold
- 1 cup mini Oreo cookies, crushed, for mixing
- Optional topping: Whipped cream and extra crushed Oreos
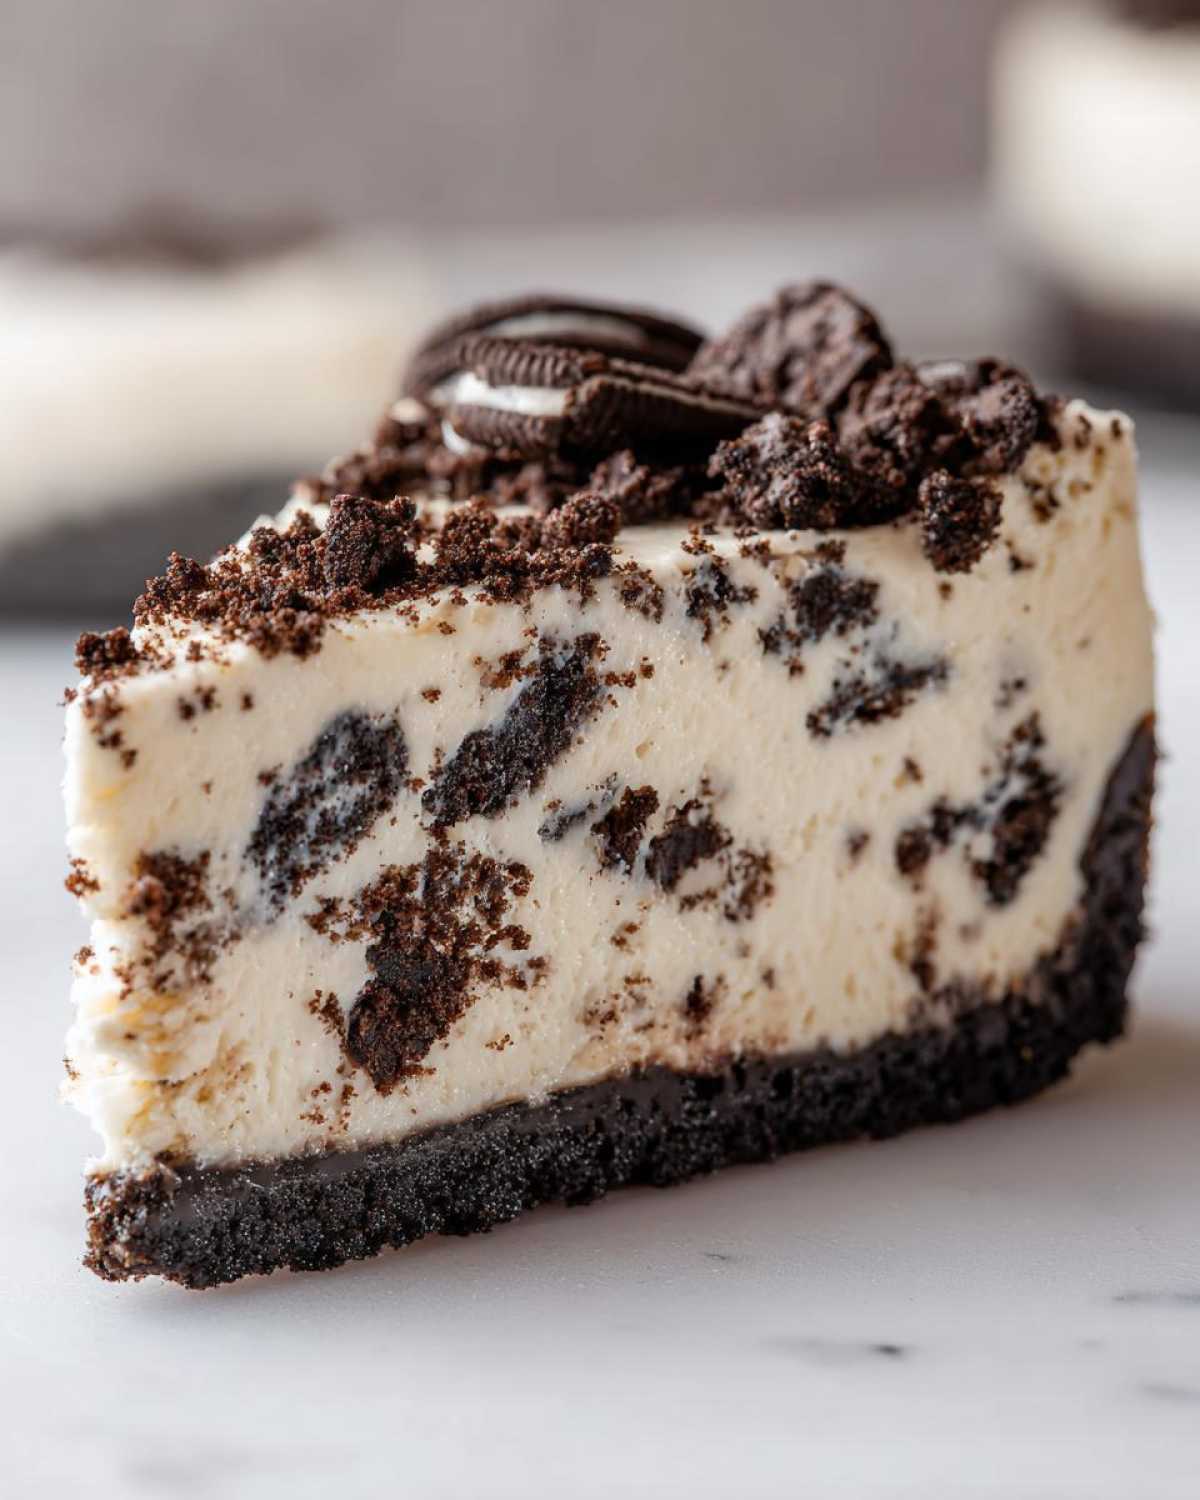
If you’re looking for other chocolatey wonders to pair this with, check out our slow-cooker chocolate fondue sometime!
How to Prepare the Best No Bake Oreo Cheesecake
Alright, let’s stop talking about how amazing this Homemade Oreo Cheesecake is and actually make it! Since we aren’t baking, most of the time goes into chilling, so you can get impatient while it sets, but you absolutely cannot rush the steps themselves. We break this down into three crucial stages. Pay close attention to that crust freezing time—it’s key for slicing later!
Step 1: Creating the Perfect Oreo Crumb Crust
First up is our chocolatey foundation. You need to crush 16 of those Oreos until you get fine crumbs—my food processor works wonders, but a big ziplock bag and a rolling pin works just as well in a pinch! Mix those fine crumbs with the 6 tablespoons of melted butter until everything looks like damp sand. Press this mixture down firmly into the bottom of your 9-inch springform pan. I mean firmly; use the bottom of a glass to really pack it in there. Pop that pan right into the freezer while you whip up the filling. That quick freeze is essential!
Step 2: Building the Rich and Creamy Dessert Filling
This is where Liam’s patience comes in handy! Make sure that cream cheese is totally soft; if it’s even a little stiff, you’ll get lumps! Beat the cream cheese until it’s super smooth, then add the powdered sugar and vanilla. Now, the critical part: whip your heavy cream in a separate bowl until you have stiff peaks—you want it airy! Liam always reminds me, “Clara, you have to fold, not stir!” Gently, very gently, fold the whipped cream into the cream cheese base. Just a couple of big strokes until it’s combined. Then, fold in those final crushed mini Oreos.
Step 3: Assembling and Chilling Your Oreo Cheesecake
Take that beautifully firm crust out of the freezer. Spoon that glorious, fluffy filling right on top and spread it out evenly. Cover it gently with plastic wrap and move it straight into the fridge. You need a minimum of 6 hours of chilling time for this to firm properly, but honestly, if you can wait until the next day, it sets up even better! Trust me, waiting is the hardest part of this otherwise super easy dessert project.
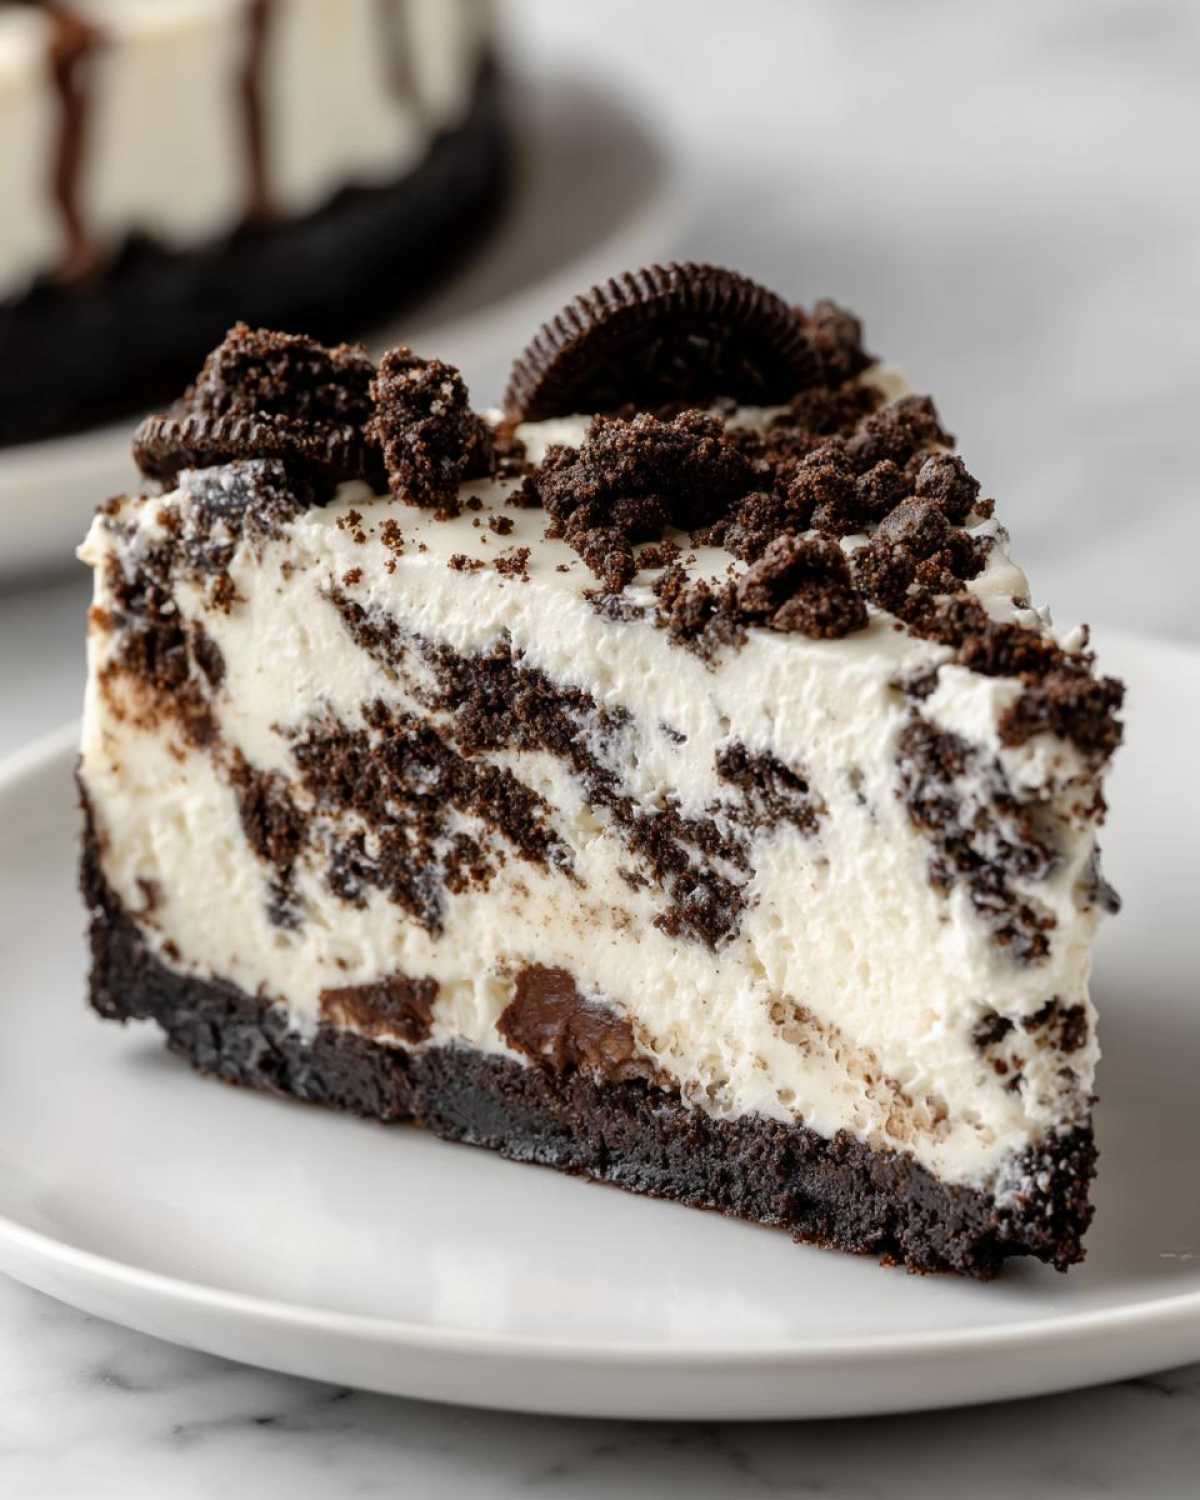
Tips for an Easy Oreo Cheesecake Success
Even though this is a Simple Cheesecake Recipe, a few little tricks can make the difference between great and absolutely unbelievable! I learned the hard way that sometimes the simplest desserts require the most attentive setup. My biggest learning curve? Ingredient temperature controls everything here.
- Ingredient Temperature is Everything: Always, always, always let your cream cheese sit out! If it’s cold, it develops lumps no amount of beating can fix. I usually pull mine out an hour before I start mixing so it’s perfectly soft.
- Chill Time Isn’t Optional: Seriously, hang in there! You need a minimum of 6 hours, but if you can let this chill overnight, the texture firms up beautifully, making it sturdy for slicing.
- Crust Crushing Hack: If your food processor is in the dishwasher (oops, happens to me all the time!), seal those cookies in a heavy-duty zip-top bag and roll over them with a heavy rolling pin until they are fine crumbs.
- Firmness Matters: For the firmest result, give the cheesecake a full 12 hours in the fridge. It just sets up better over time.
When I’m rushing, I always remember Liam telling me, “Clara, baking is science, but no-bake is patience.” If you need other speedy snacks, check out our Bisquick sausage balls!
Variations: Making Your Oreo Cheesecake Unique
This base recipe for the Oreo Cheesecake Recipe is fantastic on its own, but one of the best joys of dessert making is making it your own! Since people often ask me about restaurant versions or smaller bites, I wanted to give you a couple of ways you can pivot from the main 9-inch pan.
Creating Mini Oreo Cheesecakes
If you’re bringing this to a party or just can’t trust yourself not to eat the whole thing in one sitting (I’ve been there!), making Mini Oreo Cheesecakes is the absolute way to go. You just line a standard muffin tin with paper liners. For the crust, you’ll press a spoonful of the crust mixture into the bottom of each liner. Fill them with the velvety filling, just like before. The best part? They usually chill and set up much faster—often 2 to 4 hours is enough if you’re in a hurry, though overnight is still best. They look super cute, too!
The Baked Alternative to This Oreo Cheesecake
I know some people just prefer that classic, slightly firmer texture you only get from baking. If you want to turn this into a baked version—a true Cheesecake Factory Copycat Recipe experience—you still start with the same crust ingredients! The biggest change is you need to swap out the heavy whipped cream for an equal amount of sour cream or a little extra cream cheese to help stabilize it when heated. Also, if you bake it, you absolutely need a water bath, which is when you place your springform pan inside a larger roasting pan filled with hot water. Then you bake it low and slow! It’s a little more work, but it yields that dense, classic texture we all know and love. If you want to see a similar baked recipe we nail every time, check out our guide for Snickerdoodle Cheesecake!
For those aiming for that restaurant vibe specifically, you can look up some excellent copycat guides, like the one detailed over at Recipe Horizon. It’s a different process than our quick fix, but delicious!
Serving Suggestions for Your Decadent Cheesecake
Okay, the hard part is over—it’s set! Now comes the fun part: deciding how to dress up this beautiful, Rich and Creamy Dessert before you serve it. Honestly, even plain, this Oreo Cheesecake is a showstopper, but a few little touches make it look like you spent hours fussing over it (when really, you spent zero time cooking!).
I love keeping it simple since the filling is already so intense with chocolate and cream cheese flavor. If you followed my suggestion and made an extra batch of whipped cream, swirling that on top is incredibly easy and looks professional. Dusting it lightly with some extra crushed Oreos or even a little cocoa powder gives it that dramatic, dark contrast against the white filling.
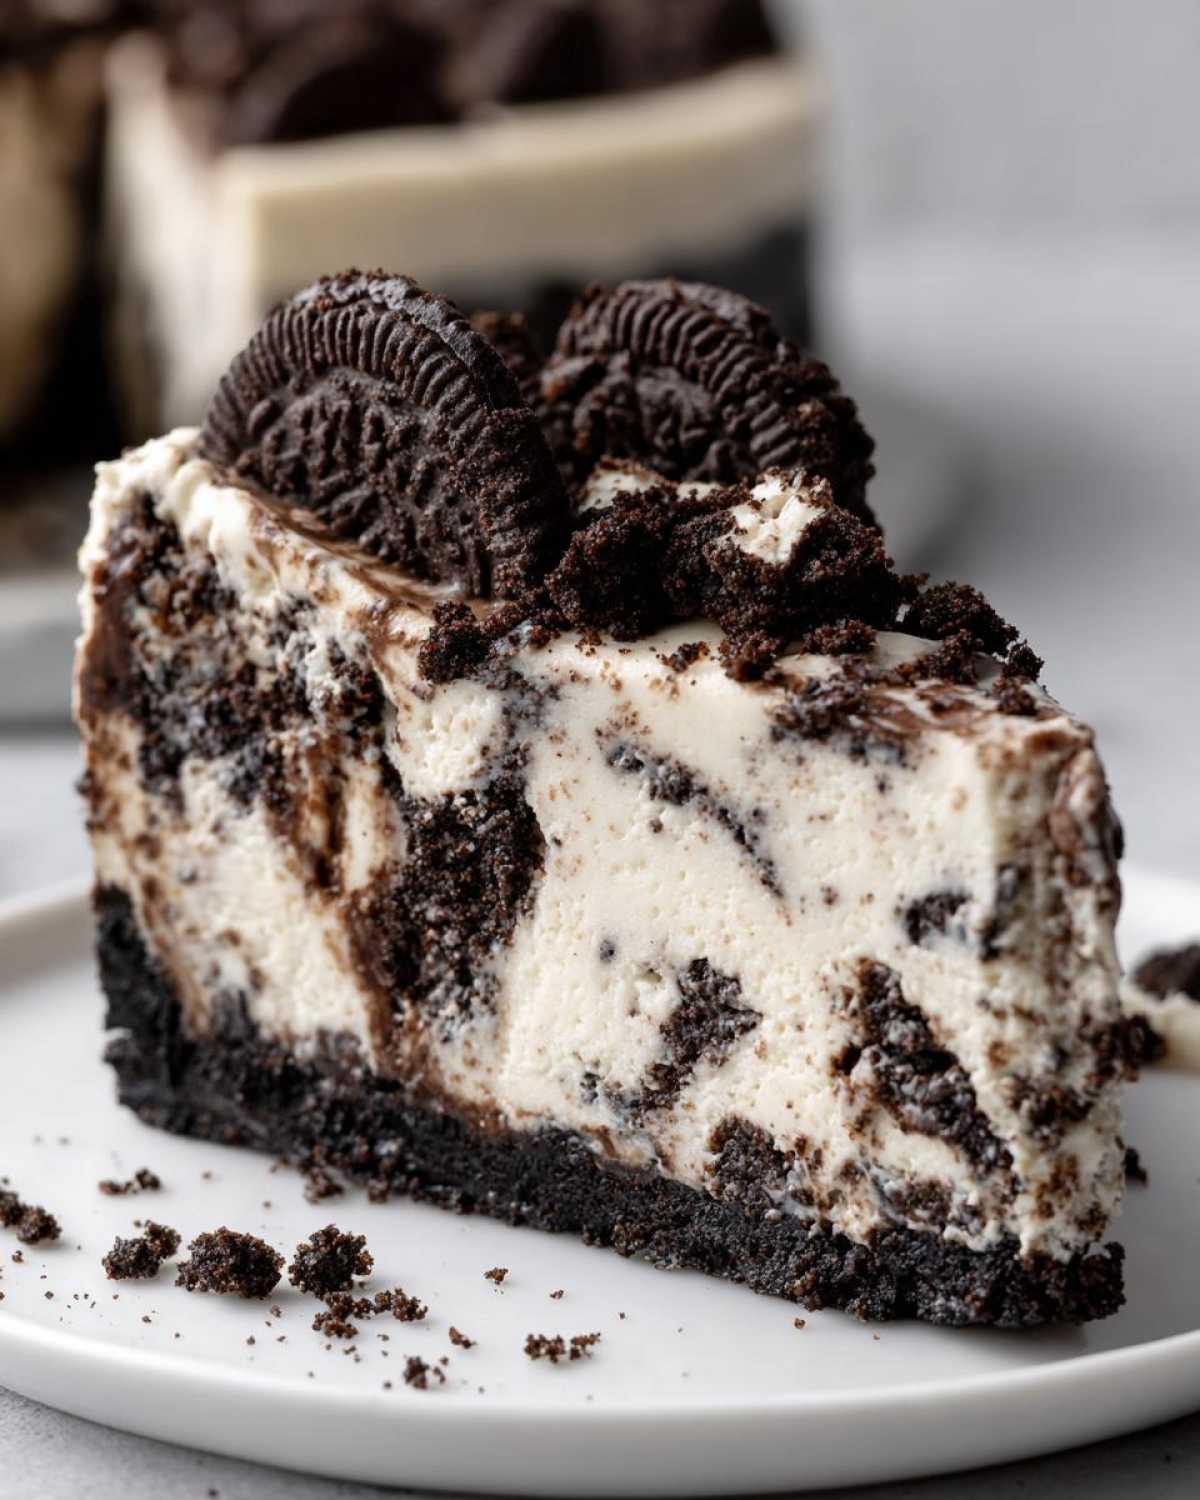
If you’re serving it to company, I always like to have a little something extra on the plate for contrast. A few fresh raspberries or sliced strawberries look stunning next to the dark cookie crust. The slight tartness of the berries cuts through the richness so nicely! For a warm pairing, make sure to keep a fresh pot of coffee ready—or maybe even try a decadent homemade treat alongside it, like our chocolate cinnamon rolls if you’re feeling ambitious on another day!
Storage and Make Ahead Dessert Planning for Your Oreo Cheesecake
One of the primary reasons I love this No Bake Oreo Cheesecake so much is that it is the definition of a fantastic Make Ahead Dessert. Seriously, you can make this on a Tuesday, and it’s even better by Friday night when you need it for a party! When you’re planning big family meals or celebrations, knowing you have a show-stopping dessert already set in the fridge is such a huge relief.
Since we didn’t use any eggs or baking stabilization, this cheesecake keeps really well. Once it’s fully chilled and firm—that means at least 6 hours, but preferably overnight, remember—you can cover it tightly with plastic wrap right in the springform pan. It will stay perfectly fresh and wonderfully creamy in the refrigerator for up to four days. Don’t leave it longer than that; the crust starts to get a little too soft after day four, in my opinion.
If you happen to have leftovers (which doesn’t happen often in my house!), they store beautifully, covered tightly, in the fridge. You don’t need to worry about reheating cheesecake, obviously, since it’s no-bake! Just take a slice out about 15 minutes before serving if your fridge is super cold to let it warm up just slightly. That small window lets the flavors bloom a bit more. If you want a simpler, pre-portioned way to use up leftovers, sometimes I turn the remaining cheesecake into frozen Oreo balls by scooping it out and rolling it—it’s a totally different, fun treat!
Frequently Asked Questions About This Oreo Cheesecake Recipe
It’s so funny how many little questions pop up once you’re actually standing in the kitchen looking at the ingredients! Liam and I get asked the same things all the time when friends try this Oreo Cheesecake Recipe for the first time. Here are the biggest hitters to make sure your Creamy Oreo Cheesecake turns out perfectly smooth.
Can I use store-bought graham cracker crust instead of the Oreo Crumb Crust?
Yes, you totally can! If you’re in a rush, pre-made crusts are a lifesaver. But here’s the thing: you lose some of that deep chocolate flavor that makes this dessert so special. Also, store-bought crusts sometimes vary wildly in how much butter they already have in them. If you use one, gently press a little more melted butter onto the bottom if it seems too dry, otherwise, it might crumble too easily when you cut it.
My whipped cream won’t stiffen. How do I fix this in my No Bake Oreo Cheesecake?
Oh, the dreaded runny cream! This happens when either your cream or your bowl isn’t cold enough. Next time, pop your mixing bowl and whisks into the freezer for about 10 minutes beforehand. That chill factor helps the fat droplets emulsify faster. If it’s already liquid, stop! Don’t beat it longer, or you’ll end up with butter! If it’s just barely stiffening, you can fold it in, but just know your final texture will be much lighter, almost like a mousse, since it won’t hold that tall, creamy structure we love.
What is the best way to cut a clean slice of this Creamy Oreo Cheesecake?
This is the pro move that makes the presentation flawless! Forget just yanking the slices out. Grab a large, sharp chef’s knife—the thinner the better. Dip that knife blade into a tall pitcher of very hot water for about 10 seconds. Wipe the knife blade completely dry with a clean kitchen towel. Now, press straight down to cut your slice. Dip, wipe, cut again for the next slice. It melts the surface tension just enough that the crust and filling slide off cleanly. It really elevates your whole presentation!
If you’re looking for other easy treats that require minimal effort, you might want to check out how we make our easy crescent roll apple dumplings later this week!
Estimated Nutritional Information for this Oreo Cheesecake Recipe
Okay, friends, let’s talk about the reality of digging into this Ultimate Oreo Delight! When you make something this decadent, you know it’s going to be a treat, not an everyday snack. Liam crunched the numbers for us using our standard ingredient measurements, so here’s what we are generally looking at per slice. Remember, since this is a Homemade Oreo Cheesecake, actual values can change based on the brand of cookies or how much butter sneaks into the crust!
We want to be upfront about what goes into those big, glorious slices. This information is based on dividing the recipe into 10 equal servings.
- Serving Size: 1 slice
- Calories: 450
- Sugar: 35g
- Fat: 30g
- Saturated Fat: 18g
- Carbohydrates: 40g
- Protein: 5g
I always love knowing the facts, even if it means I just need to eat half a slice next time! If you are looking for something a little lighter but still chocolatey, you might want to bookmark our recipe for easy 3-ingredient fudge to try when the sugar craving hits hard!
PrintThe Best No-Bake Oreo Cheesecake: Rich and Creamy Delight
You can make this rich and creamy No Bake Oreo Cheesecake tonight. It features a simple Oreo crumb crust and a luscious, velvety filling studded with chocolate cookies. This easy recipe guarantees delicious results without turning on your oven.
- Prep Time: 20 min
- Cook Time: 0 min
- Total Time: 6 hr 20 min
- Yield: 10 servings
- Category: Dessert
- Method: No Bake
- Cuisine: American
- Diet: Vegetarian
Ingredients
- 24 Oreo cookies, divided
- 6 tablespoons unsalted butter, melted
- 16 ounces cream cheese, softened
- 1 cup powdered sugar
- 1 teaspoon vanilla extract
- 1 cup heavy whipping cream, cold
- 1 cup mini Oreo cookies, crushed, for mixing
- Optional topping: Whipped cream and extra crushed Oreos
Instructions
- Prepare the Crust: Place 16 Oreo cookies in a food processor and pulse until you have fine crumbs. Mix the crumbs with the melted butter until fully combined. Press the mixture firmly into the bottom of a 9-inch springform pan. Place the pan in the freezer while you prepare the filling.
- Make the Filling Base: In a large bowl, use an electric mixer to beat the softened cream cheese until it is completely smooth and there are no lumps. Add the powdered sugar and vanilla extract. Beat on low speed until just combined, then increase speed to medium and beat until smooth.
- Whip the Cream: In a separate, clean bowl, beat the cold heavy whipping cream until stiff peaks form. This takes about 3 to 5 minutes with an electric mixer. Be careful not to overbeat.
- Combine Filling: Gently fold the whipped cream into the cream cheese mixture using a spatula until just combined. Do not overmix. Fold in the 1 cup of crushed mini Oreo cookies.
- Assemble and Chill: Spoon the filling over the chilled crust and spread it evenly. Cover the pan loosely with plastic wrap. Refrigerate for at least 6 hours, or preferably overnight, until the cheesecake is firm.
- Garnish and Serve: Before serving, carefully release the springform side. Top your creamy Oreo cheesecake with extra crushed Oreos and swirls of whipped cream, if desired. Slice and enjoy this ultimate Oreo delight.
Notes
- For a firmer texture, chill the cheesecake for a full 12 hours.
- If you do not have a food processor, place the Oreos in a large zip-top bag and crush them using a rolling pin.
- This recipe is perfect for making ahead; it tastes even better the next day.
Nutrition
- Serving Size: 1 slice
- Calories: 450
- Sugar: 35g
- Sodium: 320mg
- Fat: 30g
- Saturated Fat: 18g
- Unsaturated Fat: 12g
- Trans Fat: 0.5g
- Carbohydrates: 40g
- Fiber: 1g
- Protein: 5g
- Cholesterol: 95mg