

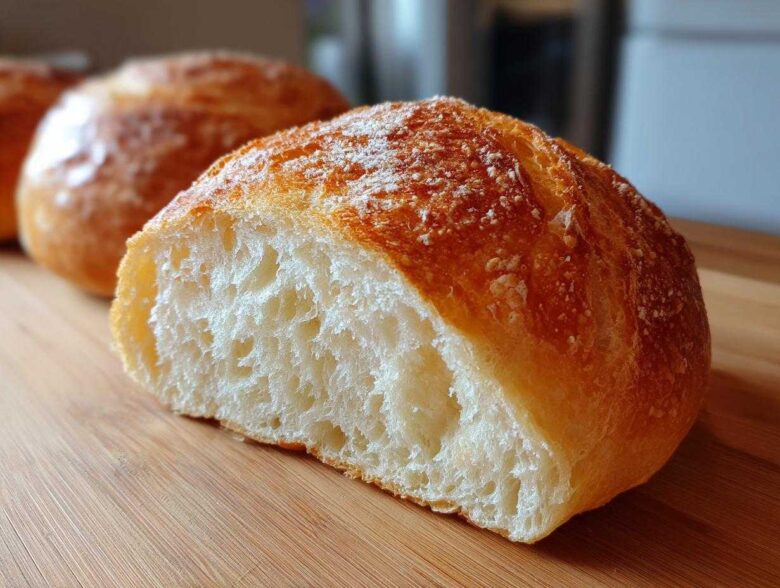
Oh, is there anything better than diving fork-first into a bowl of creamy soup when it’s cold outside? I swear, comfort food is the best kind of food, and lately, I’ve been obsessed with making the ultimate edible vessel for those hearty meals. When Liam first taught me to bake, I was terrified of anything involving yeast, but somehow, conquering these homemade bread bowls became a huge milestone for me! Trust me, these aren’t those sad, gummy imitations you sometimes see. Today, I’m sharing the exact steps we use to get that perfect bakery style crust and a soft, dreamy interior. If you’re curious about my journey from kitchen-phobe to bread baker, you can read more about how I got TasteTaught over here!
Why You Will Love These Homemade Bread Bowls
Making your own edible soup bowls feels incredibly rewarding. You get that perfect combination of texture that store-bought never quite manages. We perfected this recipe so you don’t have to stress about dry results or collapsing walls!
- You get the ideal texture contrast: irresistibly soft bread bowls tucked inside a wonderfully crusty bread bowls shell.
- They are sturdy enough to hold all your favorite creamy chowders without breaking down instantly.
- This recipe is so straightforward, even someone brand new to baking bread can nail it!
Achieving Bakery Style Perfection
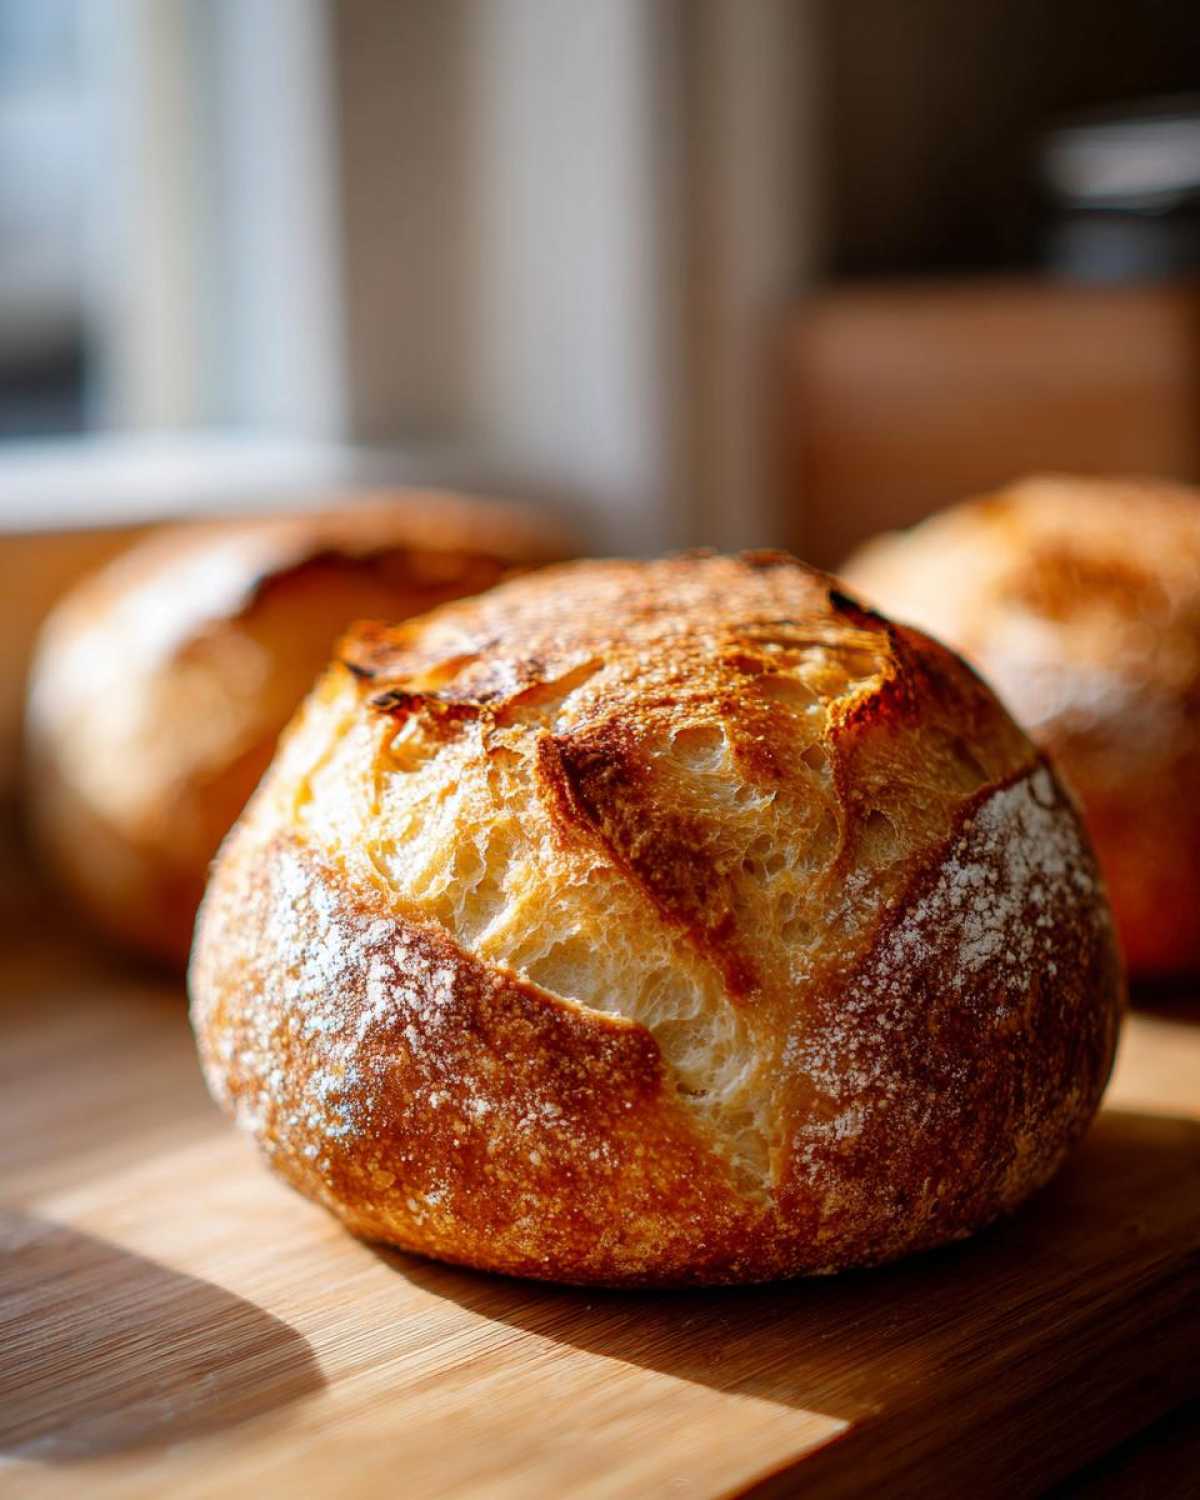
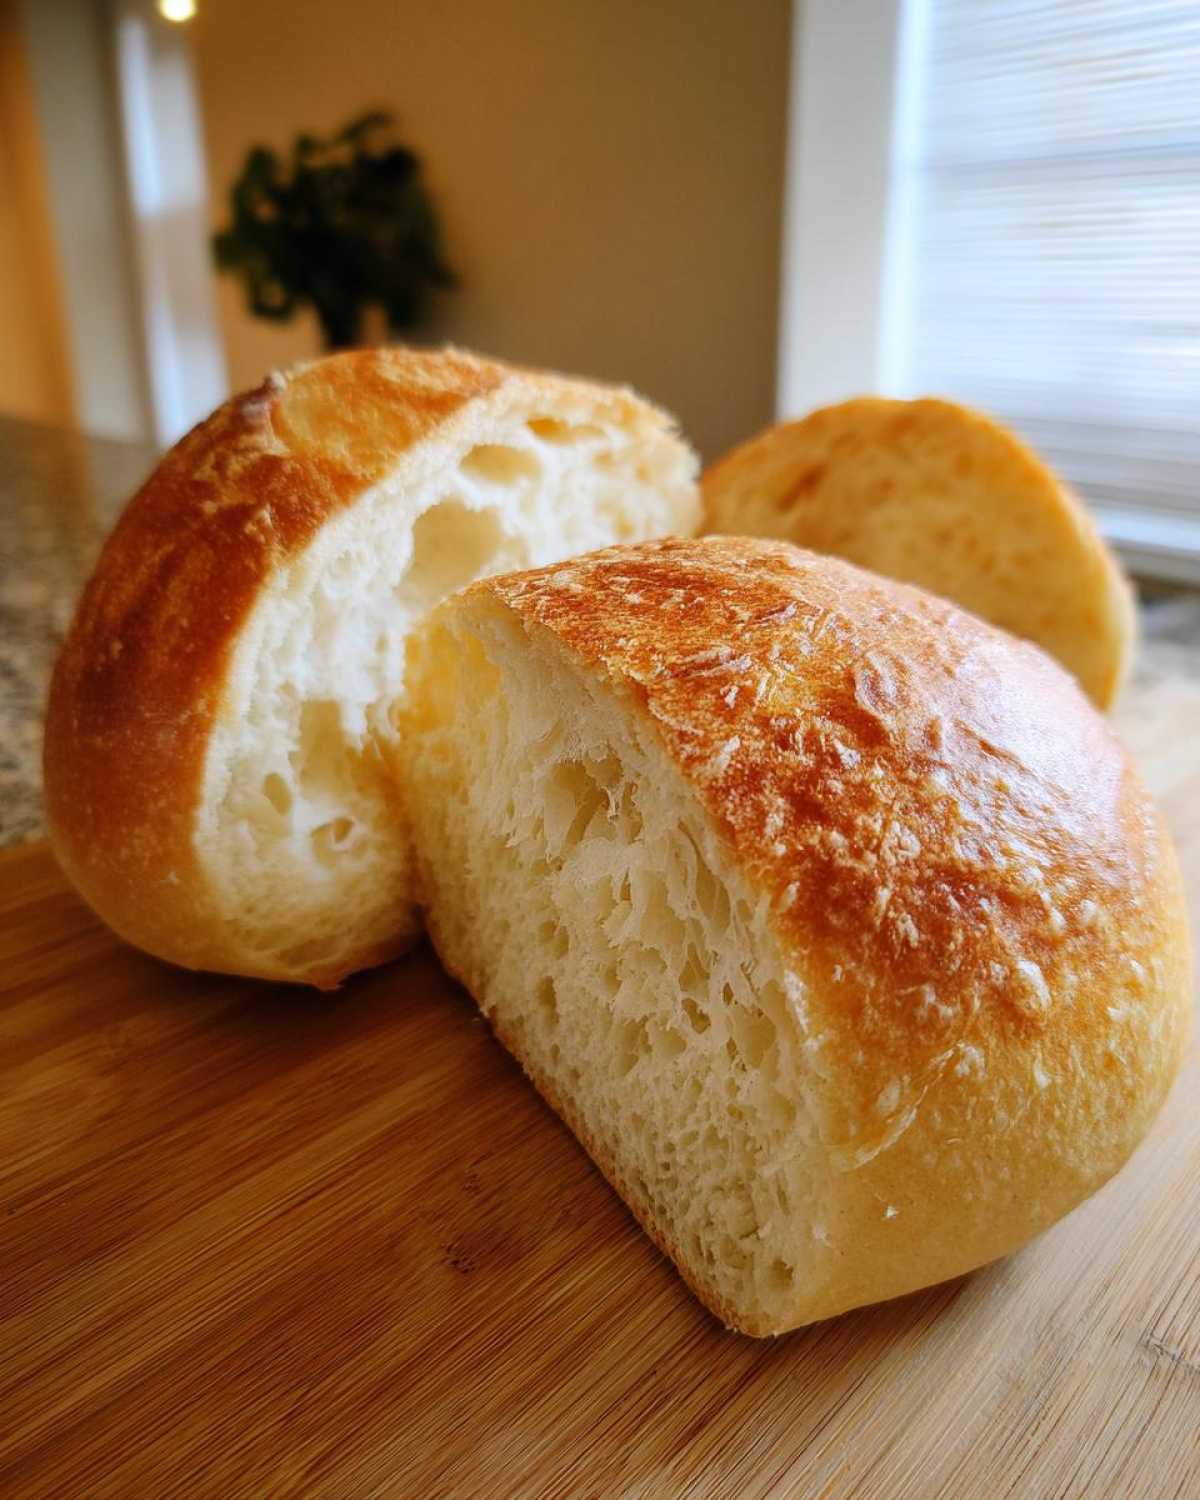
The goal here is texture, and we nailed it. We want that deep, golden exterior that crackles slightly when you tap it, but the inside needs to be pillowy soft—perfect for soaking up every last drop of your delicious soup in bread bowls.
Simple Steps for Easy Bread Bowl Recipe Success
Don’t let the word ‘scratch’ scare you off! This is truly an easy bread bowl recipe. Because the rising times are hands-off, the actual active time you spend working the dough is surprisingly short. You can easily fit this into a weeknight schedule!
Essential Ingredients for Perfect Bread Bowls
When baking bread, you really can’t skimp on the core components, right? The quality of what you use directly dictates how great your final bread bowls turn out. I remember Liam stressing this to me when I first met him! For this recipe, we are keeping things super simple because the process does most of the heavy lifting. But these specific ratios are what ensure that lovely, sturdy wall you need for dipping. Trust me, sticking to these exact measurements is the key to achieving that bakery style finish we love.
- 1 packet active dry yeast (about 2 1/4 teaspoons)
- 1 teaspoon granulated sugar
- 1 cup warm water (listen up—this MUST be between 105°F to 115°F)
- 3 cups all-purpose flour, plus more for dusting
- 1 1/2 teaspoons salt
- 2 tablespoons unsalted butter, melted
- 1 egg, beaten (for the egg wash)
- 1 teaspoon water (to mix with the egg wash)
Ingredient Notes and Substitutions for Your Bread Bowls
That water temperature is absolutely crucial! If it’s too cool, your yeast (that lovely little bug that makes our bread rise!) won’t wake up. If it’s too hot, you’ll accidentally kill it. So, 105°F to 115°F is the sweet spot for activation. We usually stick to all-purpose flour here, which keeps things easy, but if you want an extra chewy, robust structure, you can absolutely swap in bread flour—it just has a higher protein content. Either way, make sure that yeast is foamy before moving on!
How to Make Bread Bowls From Scratch: Step-by-Step Instructions
Okay, this is where the magic happens! Learning how to make bread bowls from scratch felt monumental when Liam first taught me, but I promise, it’s just a series of patient steps. Grab your favorite big bowl and let’s get this dough going. We’re aiming for that beautiful, reliable structure that won’t let your chili run all over the plate!
Activating Yeast and Mixing the Dough for Soft Bread Bowls
First things first: we wake up the yeast! Dissolve your sugar right into the warm water—that’s the yeast’s little breakfast. Sprinkle the yeast over the top and go do something else for about 5 to 10 minutes. You absolutely must see foam; if it’s foamy, it’s happy and ready to work its rising magic, which leads directly to those soft bread bowls we crave. Once you see that fluffy layer, pour that mixture and the melted butter into your dry flour and salt. Mix it up until you have a shaggy mess. That’s completely normal!
Kneading and the First Rise for Your Edible Soup Bowls
Now for the fun part—feeling the dough change! Turn that shaggy mass out onto a lightly floured counter. You need to knead this for a good 6 to 8 minutes. Keep going until it feels smooth and elastic, kind of like a nice balloon material. This kneading builds the gluten framework needed to give our edible soup bowls the strength to hold the stew! Pop the smooth dough into a lightly oiled bowl, cover it, and let it hang out in a warm spot for about 1 to 1.5 hours. You are looking for it to double in size. Don’t rush this part!
Shaping, Second Rise, and Baking Your Crusty Bread Bowls
When it’s doubled, gently punch the air out—sadly, the fun part is over for a moment! Divide that dough into four equal parts. I like to shape each piece into a really tight, round ball—make sure you pull the bottom edges under to create that surface tension. Place them on your baking sheet, leaving plenty of 3 inches between them so they can grow without bumping. Cover them again and let them puff up for another 30 to 45 minutes. Right before they go in, mix that egg with 1 teaspoon of water for an egg wash and brush it all over—that’s what gives you the gorgeous shine. Preheat your oven to 400°F (200°C) and bake them for 20 to 25 minutes until they are deep golden brown; they should sound hollow when tapped, promising a really crusty bread bowls exterior.
Hollowing Out the Bread Bowls for Serving
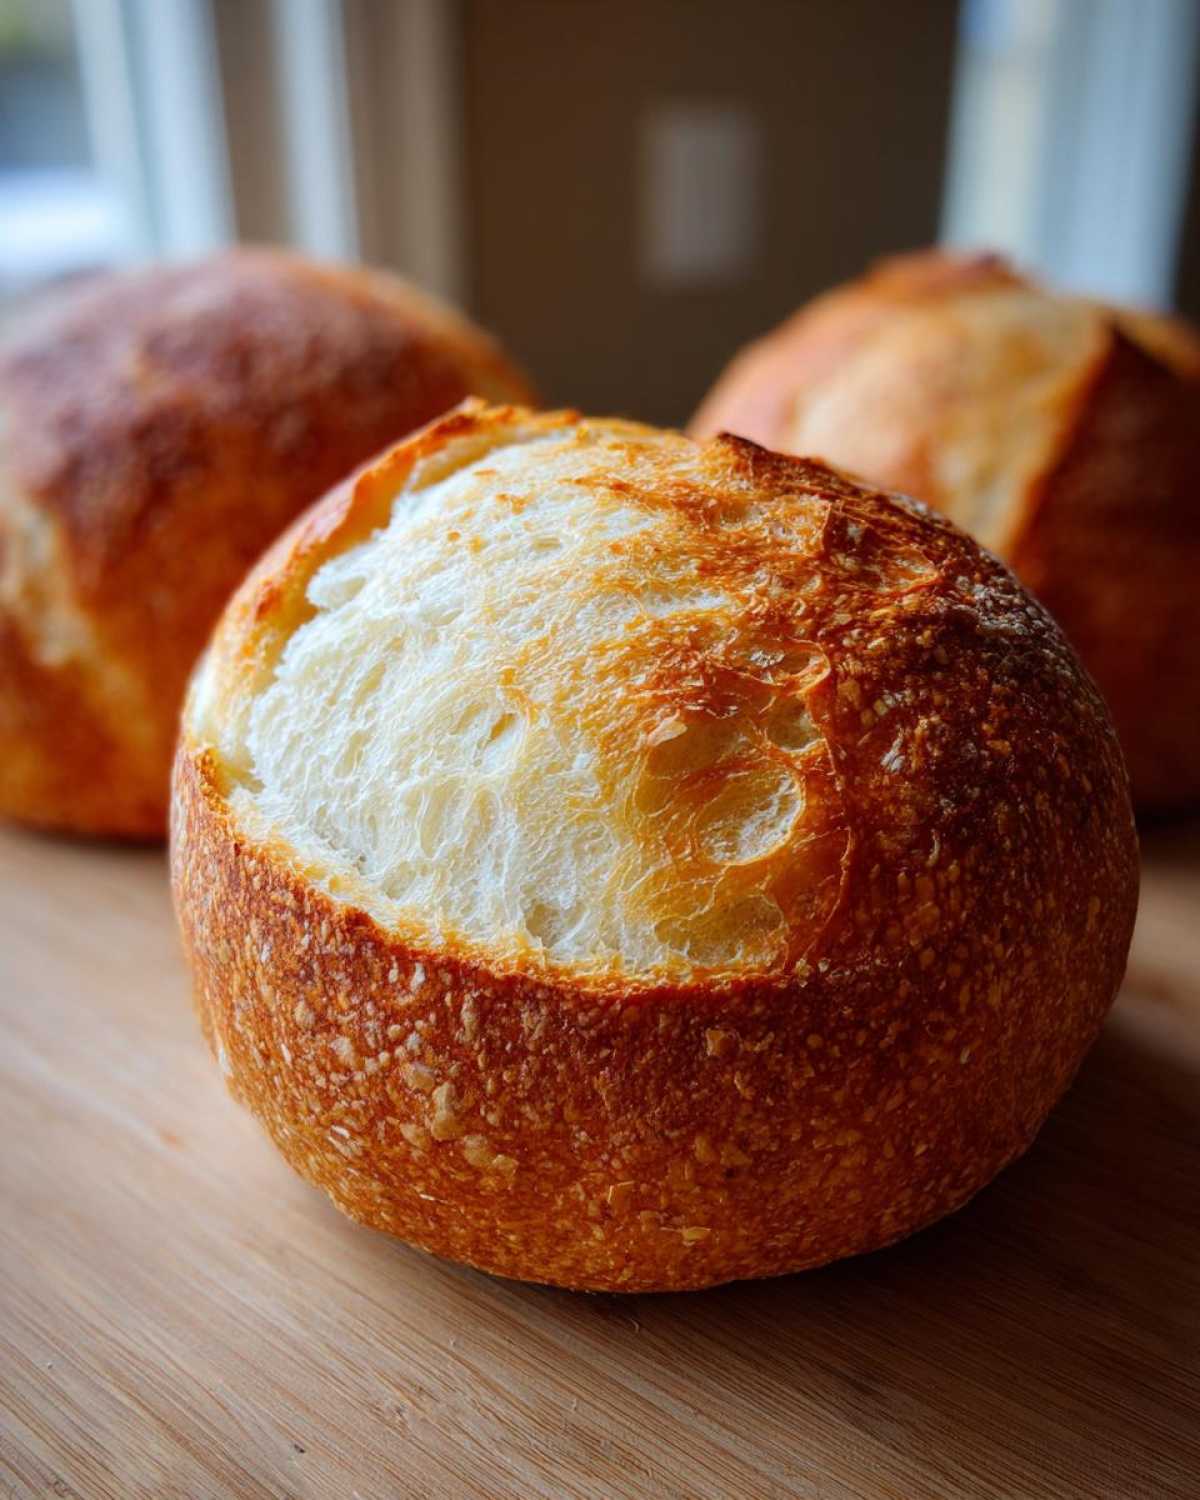
Patience, my friend! You have to let those beauties cool on a wire rack for at least 15 minutes first. If you try cutting into them hot, they squish! Once they are cool enough to handle, take a sharp knife and cut a circle right in the top, leaving about an inch thick border all the way around. Now, gently pull out that soft middle part. That bread you scoop out is liquid gold—save it for dipping! You want to make sure the walls you leave behind are sturdy enough to handle whatever hearty meal you prepare. You can find a full tutorial on what to serve them with over at our baking archive!
Expert Bread Baking Tips for Superior Bread Bowls
Even after mastering the dough, I always need a little extra secret sauce to get that genuine, fresh-from-the-oven, bakery style bread bowls that just sing! Liam is amazing because he understands that bread baking is kind of science, so he gave me these quick little bread baking tips that changed everything for us. These little steps turn a good loaf into a great loaf, especially when we need them to be sturdy enough for dinner.
Creating Steam for the Ultimate Crusty Bread Bowls
If you want that truly crackly, shatteringly crisp crust, you need steam, just like they have in professional bakeries! Here’s what Liam taught me: Once the oven is preheated to 400°F, put a shallow pan—like an old metal pie plate you don’t mind getting hot—on the bottom rack. Right when you slide your lovely dough balls in, carefully pour a cup of hot water into that pan and quickly shut the door. The steam that fills the oven keeps the crust soft initially so the dough can expand fully, and then as the water evaporates, you get that incredible, tough outer shell. You can take the pan out halfway through baking, too!
Moisture Barriers for Liquid Fillings
This is the tip you need if you’re planning on serving anything runny, like a thin chowder or just some lovely soup. You definitely don’t want your beautiful bowl turning into mush halfway through dinner! After you’ve hollowed out your cooled bread, take a small amount of melted butter or even some softened cream cheese and brush the entire inside surface. It seals the crumb just enough to give you time to enjoy that amazing meal. If you want some inspiring recipes to serve in these edible bowls, check out this fantastic spaghetti dish over here! We also sometimes use melted sharp cheddar, especially if serving dessert versions later!
Serving Suggestions for Your Homemade Bread Bowls
Now that you have these absolutely perfect, sturdy creations, the real fun begins: deciding what glorious, warm thing to fill them with! This is where the homemade bread bowls really shine because they aren’t just decoration; they are part of the meal. I love having options, so we use these for everything from easy weeknight dinners to fancy appetizer spreads.
Pairing Bread Bowls with Hearty Stews and Chili
For a classic dinner that will make everyone feel cozy, you have to go for thick stuff, okay? Forget thin broth! These walls can handle anything heavy. Think thick, velvety broccoli cheddar soup, or a robust, meaty beef stew. And of course, nothing beats filling one of these up with a spicy, three-bean chili bread bowl. If you want my go-to recipe for a cheesy, crowd-pleasing dip that works perfectly in a hollowed-out loaf, you have to check out my slow cooker chili cheese dip!
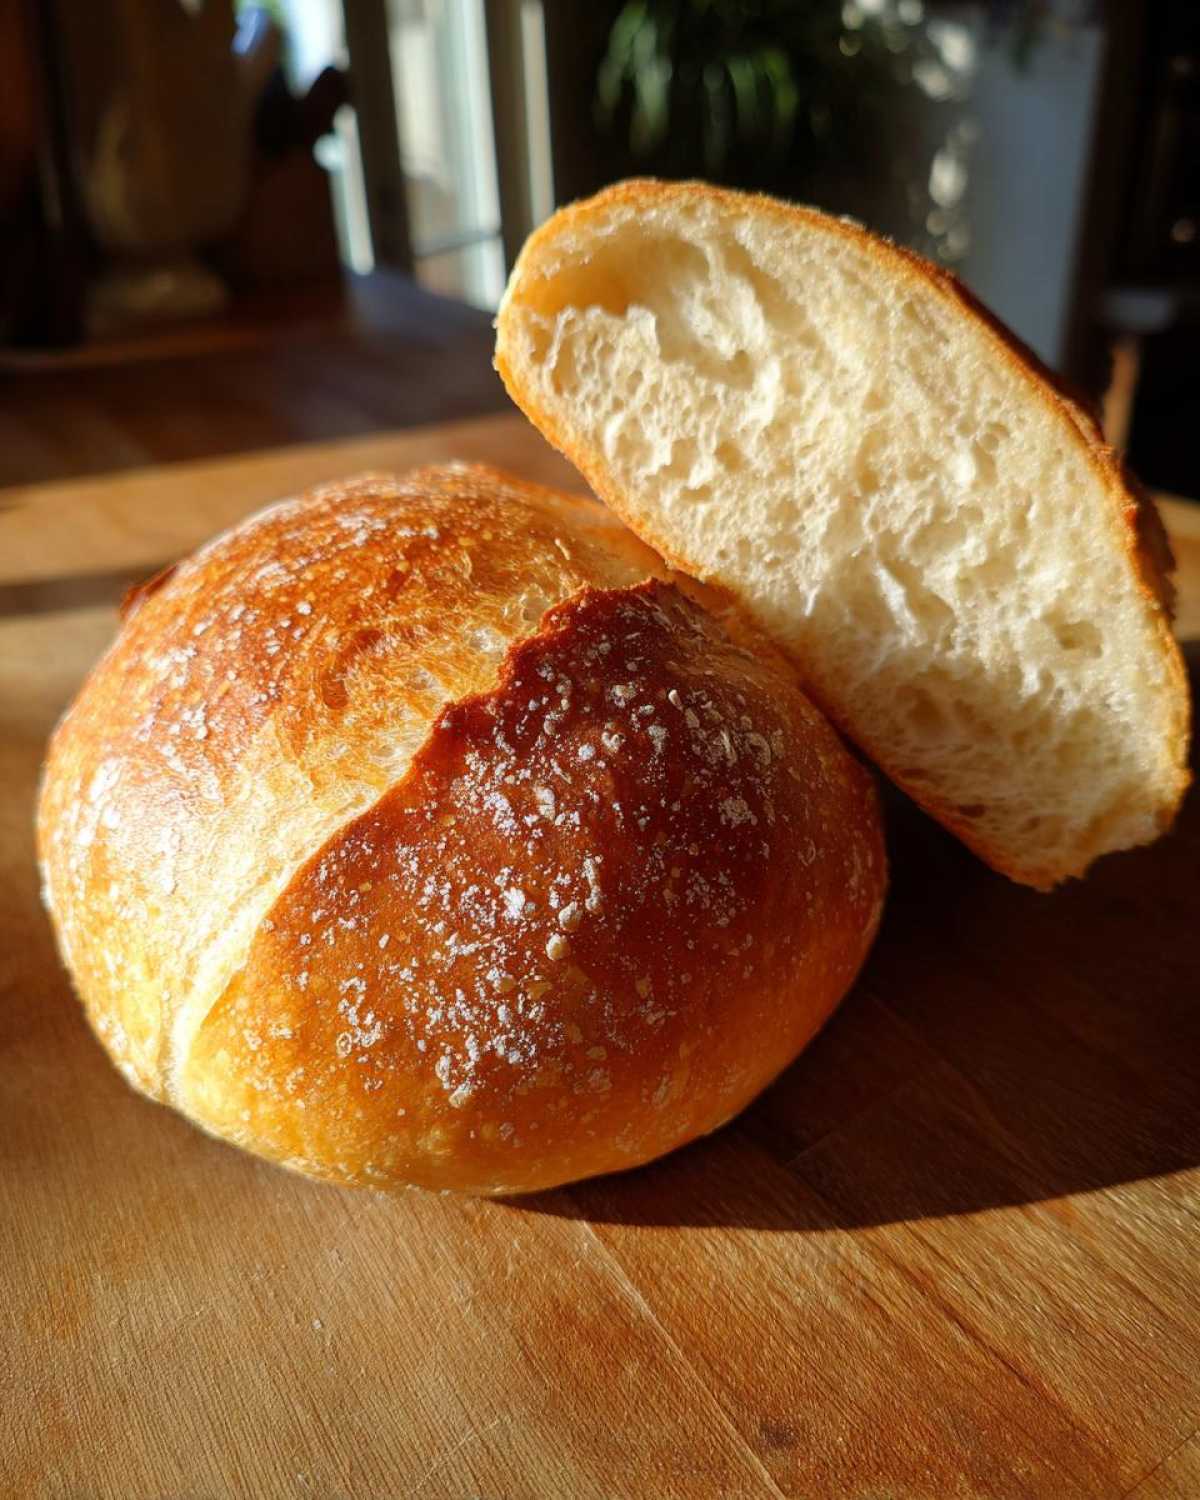
Since we put so much work into getting that crust just right, we want fillings that won’t immediately soak through. If you’re serving something slightly runnier, remember that moisture barrier trick we talked about earlier! For more ideas on how to keep your bread bowls sturdy even with liquid fillings, this article on making perfect edible soup bowls has some great inspiration.
Storage and Reheating Instructions for Fresh Baked Bread Recipe
Okay, so you made too much bread—happens to the best of us! If you didn’t eat them all in one sitting (which is hard to do, trust me), storing them is simple. Keep the whole, unhollowed loaves in a paper bag at room temperature. Don’t seal them in plastic; they’ll get sad and soft!
If you hollowed them out, wrap those actual bowls tightly in plastic wrap. To bring that wonderful crustiness back, just pop the reheated bowls—or the whole loaves—into a 350°F oven for about 5 to 8 minutes. That little blast of dry heat re-crisps the exterior beautifully, making them taste like they just came out of the oven!
Frequently Asked Questions About Making Bread Bowls
It’s totally natural to have questions when you’re tackling a new bake. I remember having a million queries swirling around my head when I first tried making my own bread bowls; I worried about the density vs. the softness constantly! Liam always told me that asking questions just means you care about the result, which is why we’re tackling the most common ones right here before you start.
Can I make these bread bowls ahead of time?
Oh yes, planning ahead is essential for hosting! You can absolutely bake these a day before you need them. Just let them cool completely, and store the unhollowed loaves tightly wrapped in plastic wrap at room temperature. When you’re ready to serve them, give them a quick five or so minutes in a 350°F oven to warm through and crisp up the outside before you hollow them out. It works like a charm!
How do I stop my bread bowl from getting soggy when serving soup?
This is the *most* important practical tip! If you’re having soup night, remember that little trick we talked about? You have to seal the inside surface. Whether you brush it lightly with melted butter or smear it with a thin layer of cream cheese, that fatty barrier prevents your beautiful inner crumb from absorbing the liquid too fast. Also, serve those really hot soups right away!
What is the difference between these and Panera style bread bowl recipe?
That’s a great question! The difference is mostly in the texture control. Commercial places like Panera have specific recipes designed for durability and standardization. Our version, using simple active dry yeast and a home oven environment, focuses on maximizing flavor and achieving that incredible soft inner crumb while still delivering a sturdy wall. We aim to match or beat that bakery style bread bowl experience every single time!
If you’ve got some leftover bread dough that didn’t quite make the cut for a perfect round, you can always try some fun experimental bakes, like this no-bake dessert idea to use up extra ingredients in the house!
Nutritional Estimates for Your Bread Bowls
Now, I know some of you are tracking macros, and others just want to know what you’re eating! Here are the estimated numbers for one of these lovely bread bowls when served plain. Remember, Liam always reminds me that these are just estimates based on the ingredients we listed, so if you load it up with thick potato soup or heavy cheese dip, those numbers will definitely jump up!
- Serving Size: 1 bread bowl
- Calories: 320
- Sugar: 2g
- Sodium: 350mg
- Fat: 6g
- Carbohydrates: 58g
- Protein: 10g
See? Not bad at all for fresh, homemade bread! It’s all about enjoying that amazing, warm dough.
Share Your Homemade Bread Bowls Creations
Well, that’s it! We’ve walked through activating the yeast, kneading the dough, and making sure those walls are strong enough to hold the creamiest chowder you can dream up. Remember when I told you I couldn’t even crack an egg without making a mess? If I can master these sturdy, beautiful homemade bread bowls, I know for a fact you can too. That’s the whole spirit behind TasteTaught—learning and growing together!
I absolutely need to see what you fill them with! Are you going classic with clam chowder, or getting wild with a cheese dip? Please take a picture of your stunning, golden-brown bread bowls and tag us! If you loved how easy and reliable this recipe was, please leave us a rating down below. It helps other bakers who might be nervous about starting their bread journey know that this recipe is friendly and worth the effort. Any questions about rising times or steam techniques? Don’t hesitate to drop a note in the comments or reach out directly through our contact page. Happy baking, everyone!
PrintEasy Homemade Bread Bowls That Rival Bakery Style

Learn how to make soft, crusty homemade bread bowls from scratch. These edible soup bowls are perfect for serving your favorite creamy soups, chili, or dips.
- Prep Time: 20 min
- Cook Time: 25 min
- Total Time: 2 hours 5 minutes
- Yield: 4 servings
- Category: Baking
- Method: Baking
- Cuisine: American
- Diet: Vegetarian
Ingredients
- 1 packet active dry yeast (about 2 1/4 teaspoons)
- 1 teaspoon granulated sugar
- 1 cup warm water (105°F to 115°F)
- 3 cups all-purpose flour, plus more for dusting
- 1 1/2 teaspoons salt
- 2 tablespoons unsalted butter, melted
- 1 egg, beaten (for egg wash)
- 1 teaspoon water (for egg wash)
Instructions
- Activate the yeast: In a small bowl, dissolve the sugar in the warm water. Sprinkle the yeast over the top and let it sit for 5 to 10 minutes until foamy. This shows the yeast is active.
- Combine dry ingredients: In a large mixing bowl, whisk together the flour and salt.
- Mix the dough: Pour the yeast mixture and the melted butter into the dry ingredients. Mix with a wooden spoon or a stand mixer with a dough hook until a shaggy dough forms.
- Knead the dough: Turn the dough out onto a lightly floured surface. Knead for 6 to 8 minutes until the dough is smooth and elastic. If using a mixer, knead on low speed for 5 minutes.
- First rise: Place the dough in a lightly oiled bowl, turning to coat. Cover the bowl with plastic wrap or a clean kitchen towel. Let it rise in a warm place for 1 to 1.5 hours, or until doubled in size.
- Shape the bowls: Gently punch down the risen dough. Divide the dough into 4 equal pieces. Shape each piece into a tight, round ball. Place the balls on a baking sheet lined with parchment paper, leaving about 3 inches between them.
- Second rise: Cover the shaped dough loosely with plastic wrap. Let them rise again for 30 to 45 minutes until they look puffy.
- Preheat and prepare: Preheat your oven to 400°F (200°C). In a small bowl, mix the beaten egg and 1 teaspoon of water to create an egg wash.
- Bake: Brush the tops of the dough balls generously with the egg wash. This helps create a shiny, golden crust. Bake for 20 to 25 minutes, or until the bread bowls are deep golden brown and sound hollow when tapped on the bottom.
- Cool and hollow: Let the bread bowls cool on a wire rack for at least 15 minutes before serving. To create the bowl, use a sharp knife to cut a circle in the top of each loaf, leaving about a 1-inch border. Gently pull out the soft interior bread, leaving a sturdy wall. Save the removed bread for dipping.
Notes
- For a crustier exterior, place a shallow pan of water on the bottom rack of the oven while preheating to create steam.
- If you are serving a very liquid soup, like a thin broth, you can brush the inside of the hollowed-out bowl with a little melted butter or cream cheese to create a moisture barrier.
- The bread you remove from the center is perfect for making croutons or bread crumbs.
Nutrition
- Serving Size: 1 bread bowl
- Calories: 320
- Sugar: 2
- Sodium: 350
- Fat: 6
- Saturated Fat: 3
- Unsaturated Fat: 3
- Trans Fat: 0
- Carbohydrates: 58
- Fiber: 3
- Protein: 10
- Cholesterol: 25