

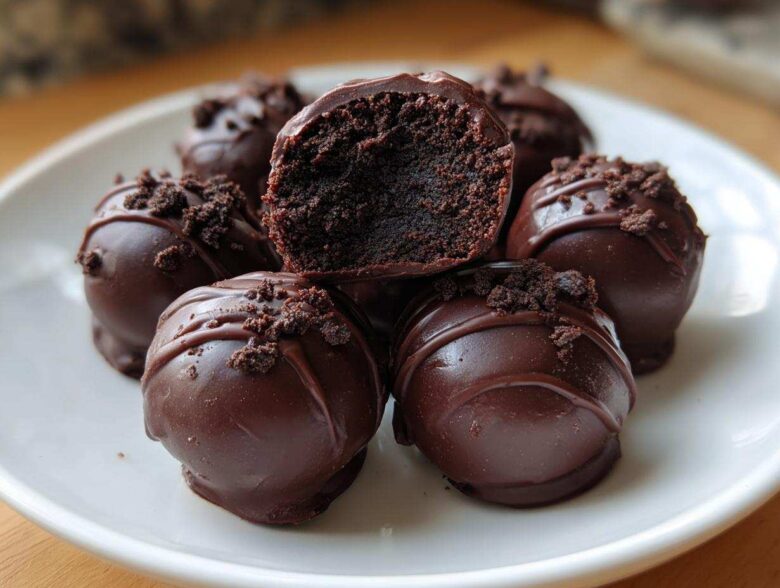
If you’re anything like me when Liam first started teaching me, the idea of making something impressive feels miles away. But wow, do I have a secret weapon for you! Forget complicated steps or hours waiting for dough to rise. We are diving into the absolute easiest, yet most show-stopping, treat imaginable: classic, no-bake Oreo Balls. Seriously, these rich, chocolate-covered bites are made with just three ingredients, maybe four if you count the sprinkles!
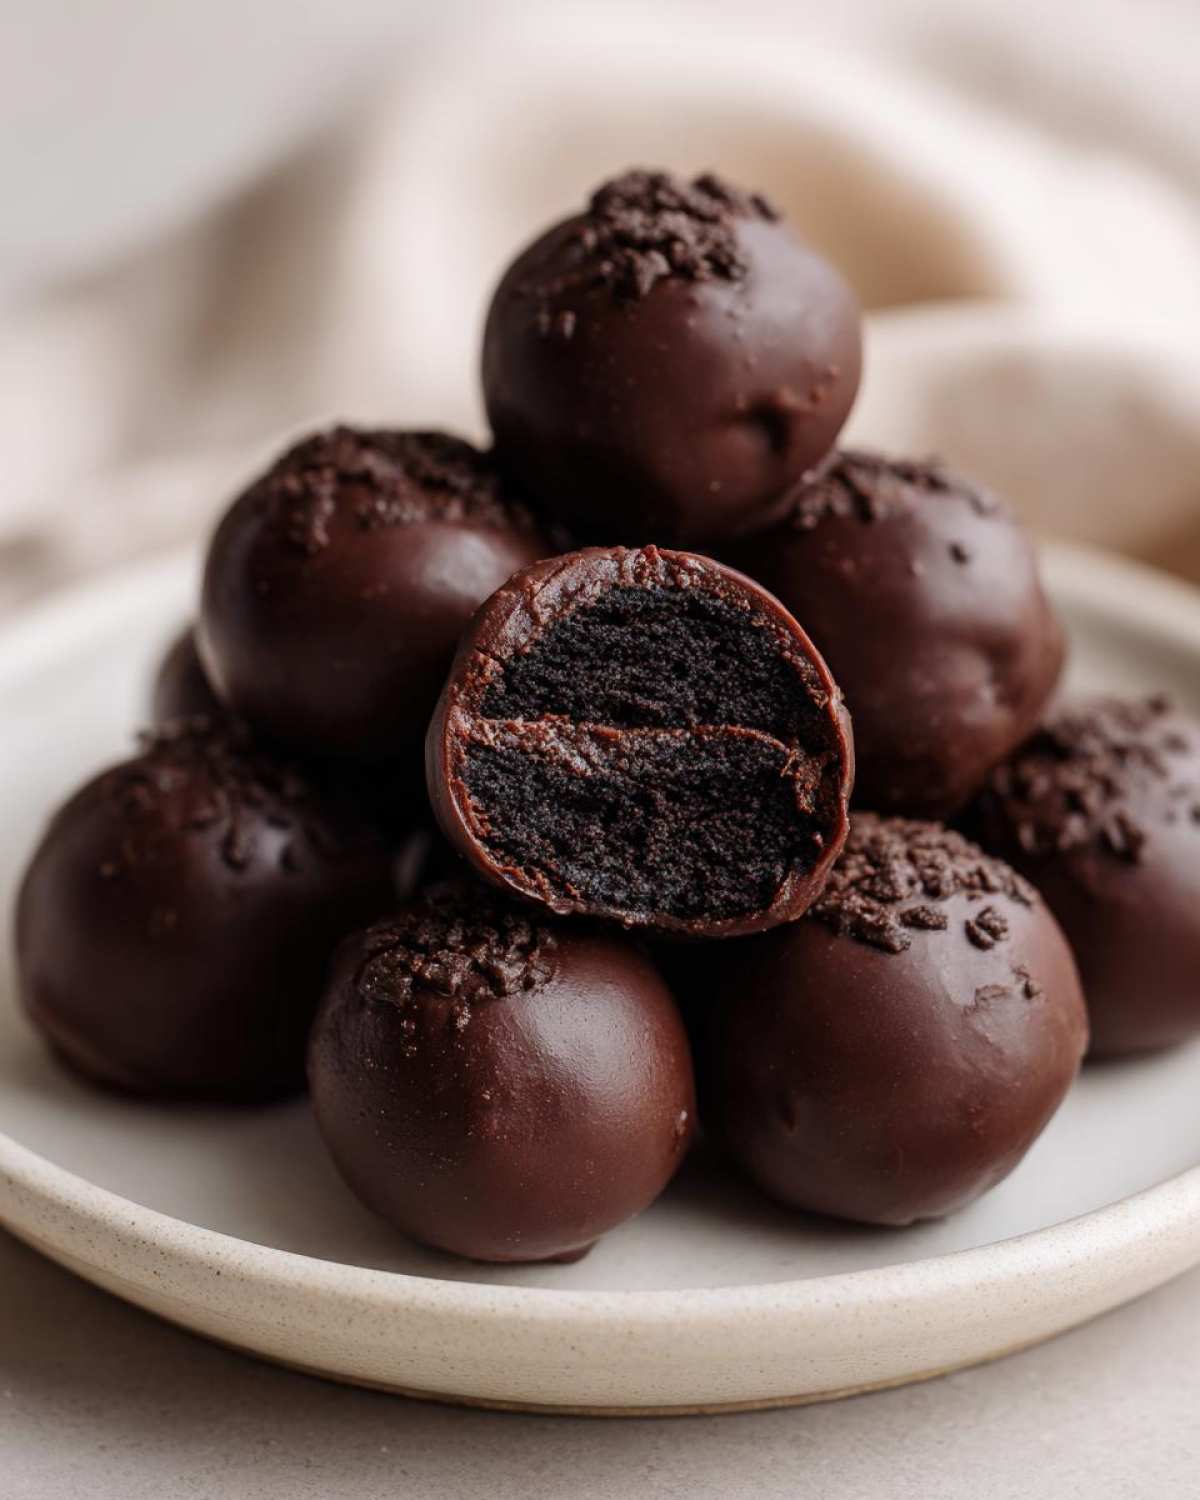
When I first tried this, I was amazed that something so simple could taste this decadent. These are the ultimate easy dessert recipes because they prove you don’t need traditional baking skills to create something that tastes like it took all day. You can read more about how we developed this simple technique on our dedicated Oreo Balls recipe page. Trust me, if I—Clara, the former box-instruction cook—can master these, absolutely anyone can.
Why This Classic Oreo Balls Recipe Works (Simple Party Food)
Honestly, Liam calls this the ultimate starter recipe because it’s foolproof! When you need easy dessert recipes that still look like you spent hours in the kitchen, these beauties are the answer. They tick every box for speedy entertaining.
- These are pure, unadulterated simple party food. Seriously, no one ever leaves a party without asking for the recipe!
Only Three Ingredients Needed for Perfect Oreo Balls
It’s hard to beat the magic of three main players: Oreos, cream cheese, and chocolate coating. Knowing you only need three core items takes all the guesswork out. It feels more like assembling than baking, and that’s a huge confidence booster, especially for new cooks like I used to be! It often turns into a lovely 4 ingredient dessert if you count the optional drizzle.
No-Bake Truffles: Quick Dessert Ideas
Because these are no bake truffles, we save so much oven space during the holidays—which is vital when cooking for a crowd! This makes them fantastic for quick dessert ideas. You mix them, chill them, and then they’re done. They are truly some of the best make ahead party desserts you can find.
Gathering Your Ingredients for Classic Oreo Balls
Okay, now that we know how simple this is, let’s talk about what you actually need. Since this recipe keeps things tight, the quality of these few ingredients really matters! Liam always nags me to be super specific here, but it’s for your own good, trust me.
You need one package—that’s the standard 14.3 oz size—of those delicious Oreo cookies, fillings and all! Then, one 8 oz block of good, old-fashioned cream cheese. And here’s the big tip from Liam: that cream cheese MUST be fully softened. No partially soft cream cheese allowed!
Finally, you’ll need about 16 oz of your favorite melting chocolate, whether that’s standard semisweet chips or something fancier.
Ingredient Notes and Substitutions for Your Oreo Balls
When I started, I tried using low-fat cream cheese, and guess what? The center was way too soft, and those little balls melted right into puddles on the pan. So, please, stick to full-fat cream cheese! That richness is what gives our oreo balls that beautiful, almost cheesecake-like texture.
For the coating, chocolate chips work great if you thin them out just a tiny bit—I often add a teaspoon of coconut oil, which Liam says helps them set smoother. If you’re getting fancy, you can totally swap the chips for colored candy melts for a festive look, which is perfect for those holiday cookie exchange ideas we all love!
Step-by-Step Instructions to Make the Best Oreo Balls
Alright, this is where the magic happens! Even though these are no bake truffles, the process still deserves a little attention. Liam taught me that rushing the steps, especially the chilling part, is how you end up with a sticky mess clinging to your fingers. We’re aiming for those perfect, smooth chocolate covered treats, remember?
Before you start crushing, just make sure you’ve set aside a large baking sheet lined with parchment paper. Honestly, parchment paper is my best friend when making these oreo balls!
Preparing the Oreo Truffle Base
First up, the Oreos! If you have a food processor, use it. Pulse those cookies—filling and all—until they are just fine, sandy crumbs. If you don’t have one, don’t panic! Pop them in a strong zip-top bag and use a rolling pin like you mean it! Once you have crumbs, dump them into a bowl and add that softened cream cheese.
Now, stir, stir, stir! You might feel like you need more cream cheese, but keep mixing. You need to work it until it’s totally combined and forms a thick, dark dough. This thoroughly mixed dough is the secret to a successful oreo truffle recipe that won’t fall apart later.
Chilling and Rolling the Oreo Balls
This next part is non-negotiable if you want perfect results: chilling time! Scoop portions of that dough—about a tablespoon each—and roll them tightly between your palms into little balls. Aim for them to be about one inch across. They don’t have to be perfectly identical, but keep them uniform so they bake/set evenly.
Pop these little beauties onto your waiting parchment sheet and move them into the fridge. They need at least 30 minutes in the cold to firm up properly. This firmness is what keeps them from squishing when you go to dip them later!

Mastering Chocolate Coating Techniques for Your Oreo Balls
Once they are nice and cold, it’s melting time! You can use your microwave or a double boiler, but watch it carefully so the chocolate doesn’t seize up on you. If you want the coating to flow nicely and give you that professional look, try adding just a little tiny bit of coconut oil while you stir it smooth—that’s one of our best chocolate coating techniques!
Take one chilled ball at a time and drop it into the melted chocolate. Give it a whirl with a fork to cover every single spot. Lift it out, gently tap the fork on the side of the bowl to let any extra chocolate drip off, and place it back on the parchment. If you want to get fancy with sprinkles or a drizzle, do it right now, before the coating hardens!
Tips for Perfect No Bake Chocolate Balls Every Time
Even though these are the easiest no bake chocolate balls on the planet, sometimes things go a little sideways, right? Liam and I have years of trial and error under our belts, so let me share a few things that always save the day when making oreo balls.
If your chilled dough mixture seems a little too soft when you try to roll it, don’t worry! Just pop the bowl back into the fridge for another 15 minutes. That extra chill time is a lifesaver. If it’s crumbly instead of doughy, you probably added too much cream cheese, but a little extra crushing of cookies can sometimes balance it out.
Troubleshooting Common Oreo Balls Issues
The most frustrating thing, in my opinion, is when your beautiful coating cracks after it sets. That usually happens if the inside ball is too cold when it hits the warm chocolate. Try letting the chilled balls sit on the counter for just five minutes while you melt your coating—that slightly warmer center prevents the immediate temperature clash that causes cracking.
And chocolate seizing up? Oh man, I still hate when that happens! It means water got in there, or you overheated it. If it gets thick and grainy, quickly stir in half a teaspoon of regular vegetable oil or even a tiny dollop of the chocolate fondue base if you happen to have some nearby. It softens right back up!
Creative Variations for Your Oreo Balls
Once you master the classic three ingredients, the sky’s the limit with these oreo balls! Since they are such a hit at any gathering, I love making them specific to holidays or just whatever mood I’m in that week. They’re totally perfect for those big holiday cookie exchange ideas!
You don’t even need to change the truffle base itself! For Christmas, instead of just plain chocolate, try tinting your melted coating. You can use just a drop or two of gel food coloring to make vibrant green for Grinch balls, or perhaps a deep red. You can see how pretty Christmas Oreo Balls turn out on their site!
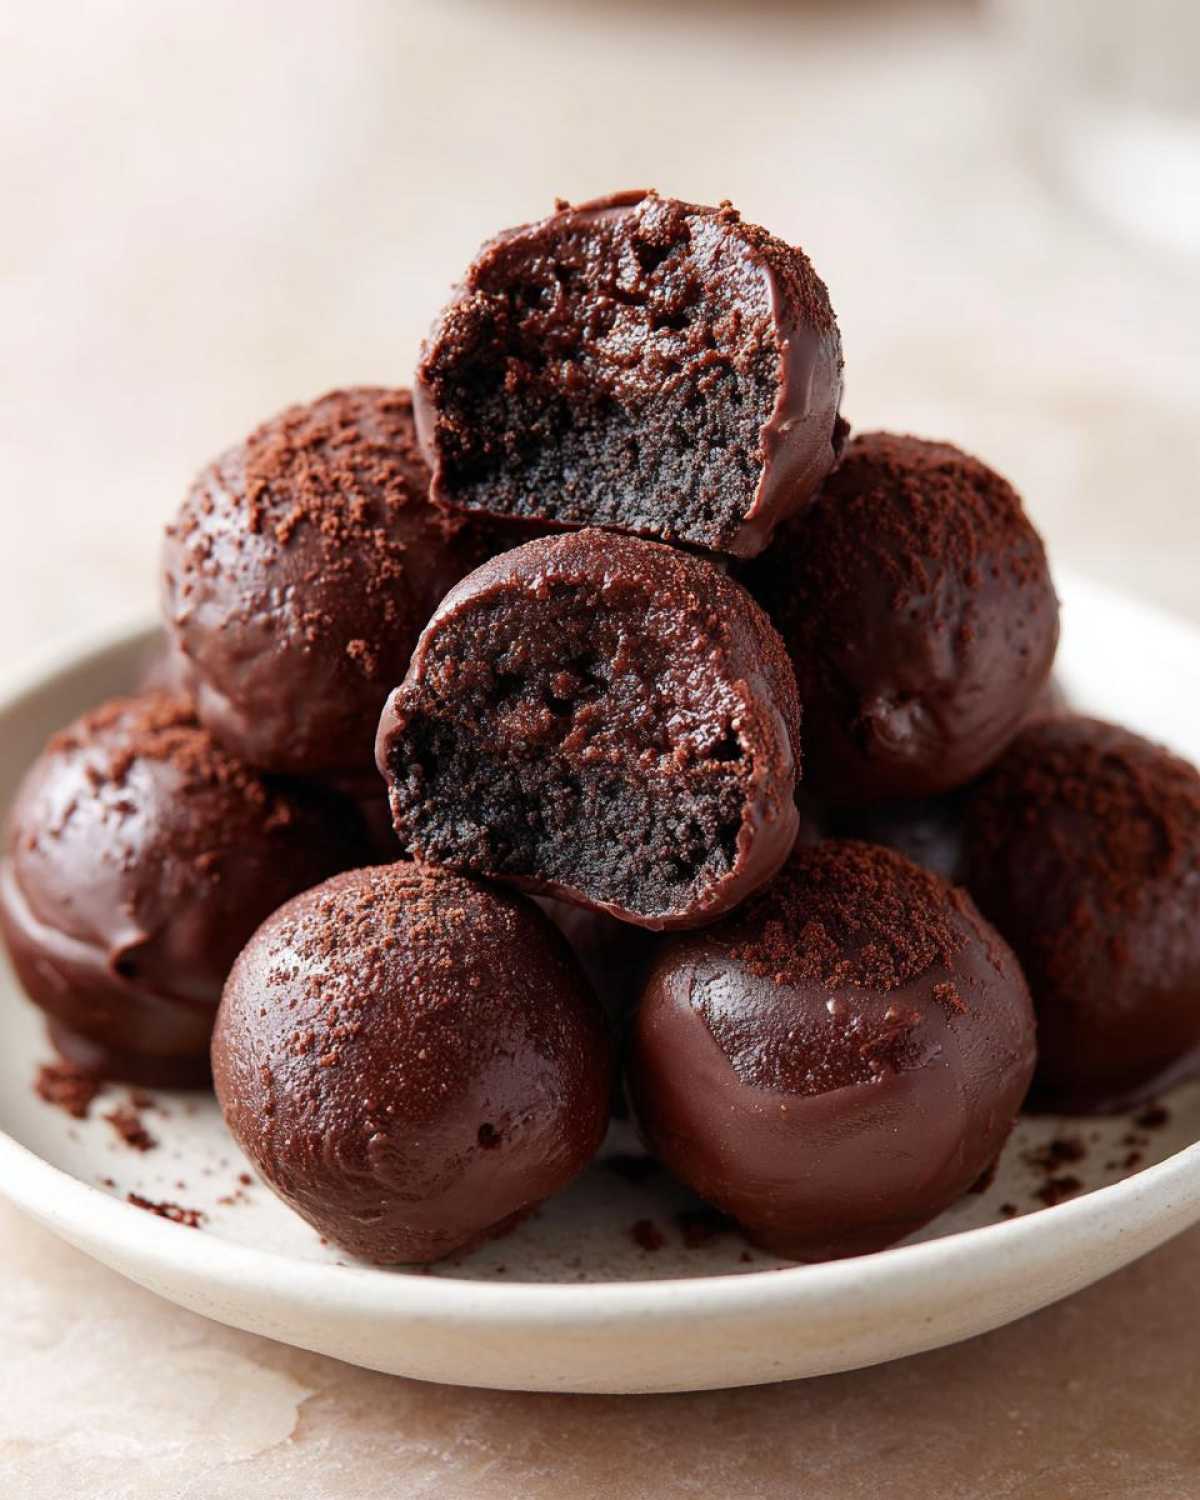
Alternatively, swap out the dipping chocolate! Try using peanut butter chips for a Reese’s vibe, or use white chocolate and drizzle it with dark chocolate once they set. If you are looking for other festive bakes, check out my Double Chocolate Peppermint Cookies for another great holiday option!
Storage and Serving Suggestions for Oreo Balls
One of the best parts about these oreo balls is that they are fabulous for making ahead! Since they just need refrigeration to set that chocolate coating, they are fantastic make ahead party desserts. Store them in a good airtight container—I usually layer mine between pieces of wax paper just in case—and they stay perfect in the fridge for up to two weeks!
When you serve them, they are best enjoyed slightly cool, not ice-cold straight from the fridge. Letting them sit on the counter for maybe 10 minutes before guests arrive makes them just soft enough. They are the perfect decadent hit of sugar to go along with coffee or maybe even a rich, warm soup like Liam’s crockpot potato soup (yes, we eat dessert alongside soup sometimes!). These bite sized sweets disappear fast!
Frequently Asked Questions About Oreo Balls
I know you might have questions swirling around, especially if you’re trying these for the first time. It’s totally normal! When Liam and I first started tinkering, we had a million worries about them crumbling or whether we could cheat on ingredients. Here are the top things readers always ask me about our oreo balls.
Do I have to use Oreo cookies, or can I substitute them?
This recipe is truly built around the specific texture and structure of the Oreo cookie, filling and all! While you could try crushing chocolate wafers or another sandwich cookie, you risk changing the texture significantly. The cream cheese mixes best with the specific fats and structure of the classic cookie. For the very best results, stick to the classic sandwich cookie for these chocolate covered treats.
Can I skip the cream cheese in this easy dessert recipe?
Oh gosh, please don’t! The cream cheese isn’t just for flavor; it actually acts as the binder that holds the entire thing together once chilled. If you skip it, all you have is crushed cookies that will just crumble everywhere when you try to roll them. It’s essential for creating that rich, creamy center that turns these into perfect no bake truffles.
How long do these Oreo Balls last in the fridge?
These make ahead party desserts are fantastic because they last quite a while! Once completely set, you can store them in an airtight container in the refrigerator for up to two weeks. They are always better after a day or two, which is why they are such wonderful holiday cookie exchange ideas—you make them early and forget about them!
Can I make these without using any chocolate for coating?
You absolutely can, although the chocolate is what seals in the moisture and gives them that signature look. If you want to keep them no bake but skip the chocolate coating, you can roll the chilled balls in powdered sugar, cocoa powder, or even finely crushed nuts for texture. They become something more like a small, dense cake ball then, but still delicious!
For more ideas on cream cheese bases in desserts, you can check out my recipe for Snickerdoodle Cheesecake!
Nutritional Estimate for Classic Oreo Balls
Now, I know Liam is always focused on the joy of eating, but sometimes we just need to know the facts, right? Especially if you’re bringing these over to a gathering or just portioning them out for yourself (again!). Because we are working with full-fat cream cheese and regular Oreos, these are definitely a rich treat!
Based on the standard recipe details we used—that’s exactly one package of Oreos, 8 oz cream cheese, and standard melting chocolate—here is the estimated breakdown for one single, perfect little bite. Remember, this is just an estimate because chocolate brands vary wildly, but it gives you a good idea!
These numbers are based on yielding about 30 balls, which is what we usually get!
- Calories: Around 150 per ball. Yep, they pack a punch!
- Sugar: About 14g. That’s the main reason they taste so good, obviously!
- Total Fat: About 9g, with 5g of that being saturated fat, thanks to that lovely cream cheese and chocolate coat.
- Protein: Just a little boost, around 1.5g.
If you’re comparing this to something like my crockpot potato soup, you can see these are firmly in the realm of true indulgence! It’s always good to know what you’re eating, but honestly, these oreo balls are designed for special occasions, not daily snacking!
Share Your Oreo Balls Creations
Well, that’s it! You’ve mastered the easiest, most impressive recipe. Now, it’s your turn! Please, please leave a star rating at the top of the page and tell me in the comments what you thought. If you snap a picture of these crowd pleasing desserts, tag us on social media—I absolutely love seeing your creations!
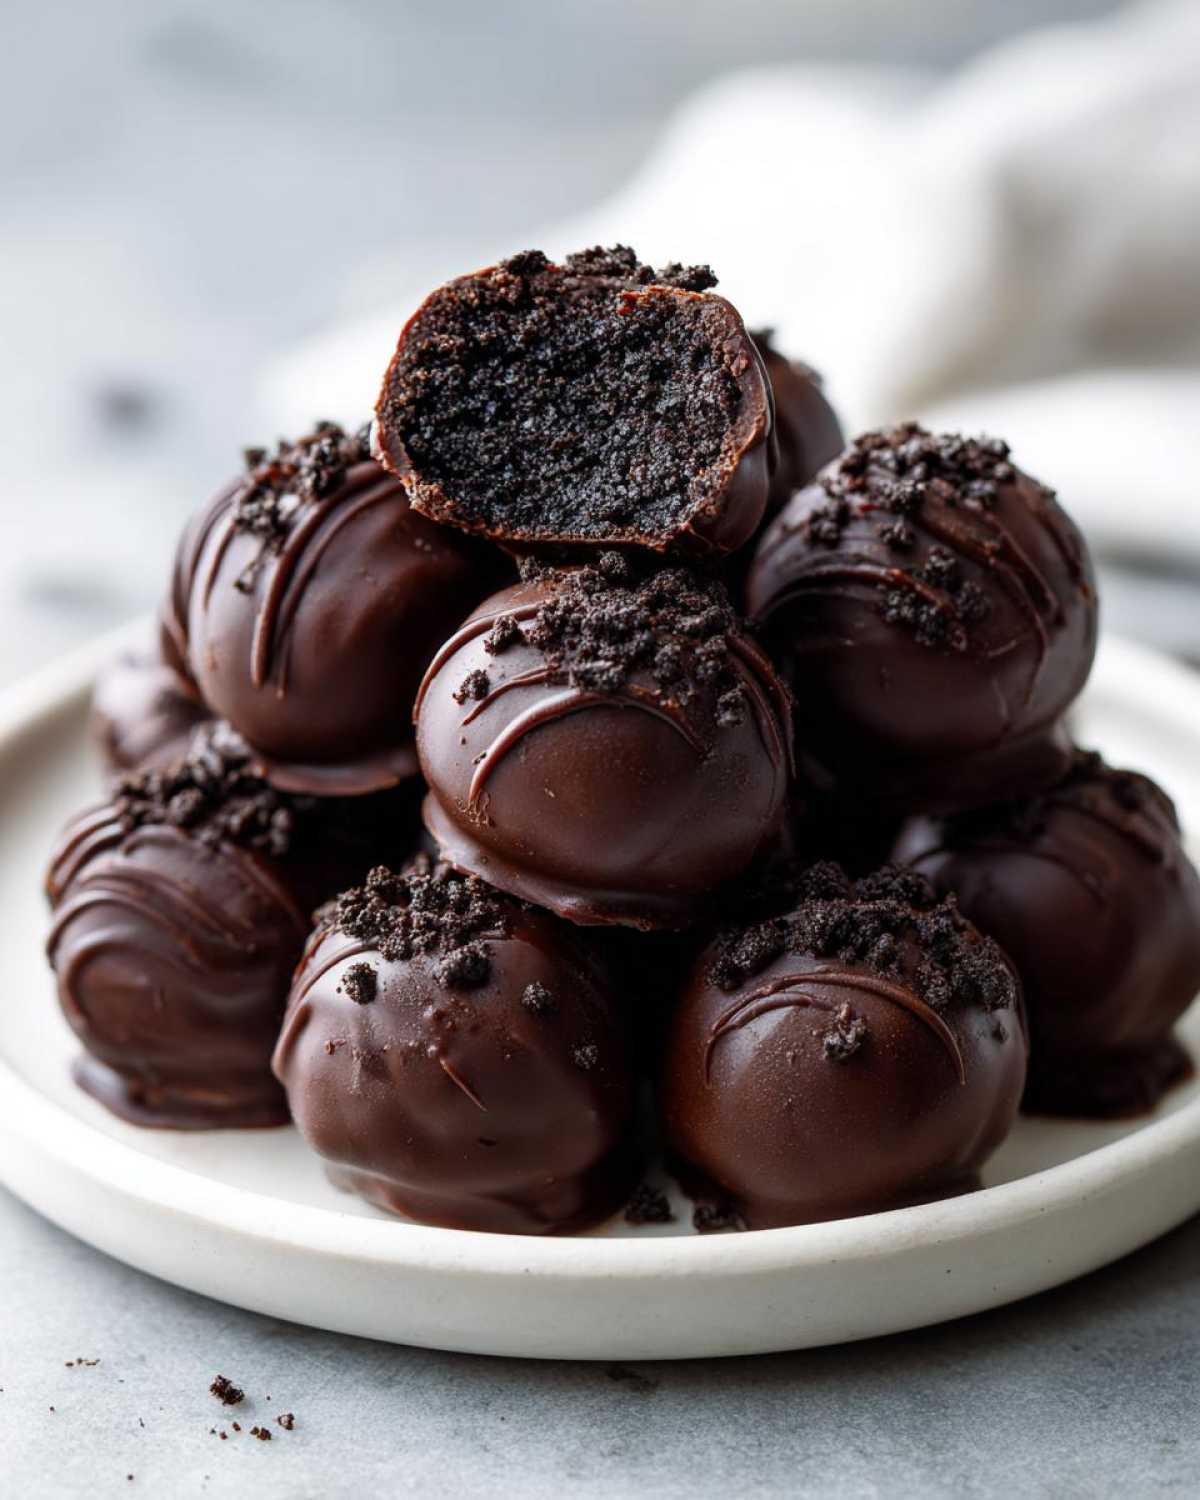
I can’t wait to hear how they turned out for you. Happy baking (or, well, *no-baking*)!
Check out all our other kitchen adventures over on the main TasteTaught blog!
PrintEasy 3-Ingredient Oreo Balls (No-Bake Truffles)

Learn how to make classic, no-bake Oreo Balls using just three simple ingredients. These rich, chocolate-covered treats are perfect for parties, gifting, or a quick dessert fix.
- Prep Time: 20 min
- Cook Time: 5 min
- Total Time: 55 min
- Yield: 30 servings
- Category: Dessert
- Method: No-Bake
- Cuisine: American
- Diet: Vegetarian
Ingredients
- 1 package (14.3 oz) Oreo cookies (about 36 cookies)
- 8 oz cream cheese, softened
- 16 oz melting chocolate or chocolate chips (for coating)
Instructions
- Place all the Oreo cookies, filling included, into a food processor. Pulse until you have fine crumbs. If you do not have a food processor, place cookies in a large zip-top bag and crush them thoroughly with a rolling pin.
- Transfer the cookie crumbs to a medium bowl. Add the softened cream cheese.
- Use a hand mixer or a sturdy spoon to mix the crumbs and cream cheese until they are fully combined and form a thick dough.
- Roll the mixture into small balls, about 1 inch in diameter. You should get about 30 to 35 balls. Place the balls on a baking sheet lined with parchment paper.
- Chill the Oreo balls in the refrigerator for at least 30 minutes. This step helps them firm up so they hold their shape when dipped.
- Melt your coating chocolate according to package directions. You can use a microwave or a double boiler. Stir until the chocolate is smooth.
- Dip each chilled Oreo ball into the melted chocolate, ensuring it is fully coated. Use a fork or a dipping tool to lift the ball out, letting excess chocolate drip back into the bowl.
- Place the coated balls back onto the parchment-lined baking sheet.
- If desired, drizzle with contrasting chocolate or add sprinkles immediately before the coating sets.
- Return the finished Oreo Balls to the refrigerator until the chocolate coating is completely firm, about 15 to 20 minutes.
Notes
- For the best texture, make sure your cream cheese is fully softened to room temperature before mixing.
- If you want a thinner chocolate coating that is easier to work with, add 1 teaspoon of coconut oil or vegetable shortening to the melted chocolate.
- These make excellent make-ahead party desserts; store them in an airtight container in the refrigerator for up to two weeks.
- If you want to make holiday Oreo Balls, add a few drops of food coloring to the melted chocolate before dipping, or use festive sprinkles.
Nutrition
- Serving Size: 1 ball
- Calories: 150
- Sugar: 14
- Sodium: 85
- Fat: 9
- Saturated Fat: 5
- Unsaturated Fat: 4
- Trans Fat: 0.1
- Carbohydrates: 16
- Fiber: 0.5
- Protein: 1.5
- Cholesterol: 10