

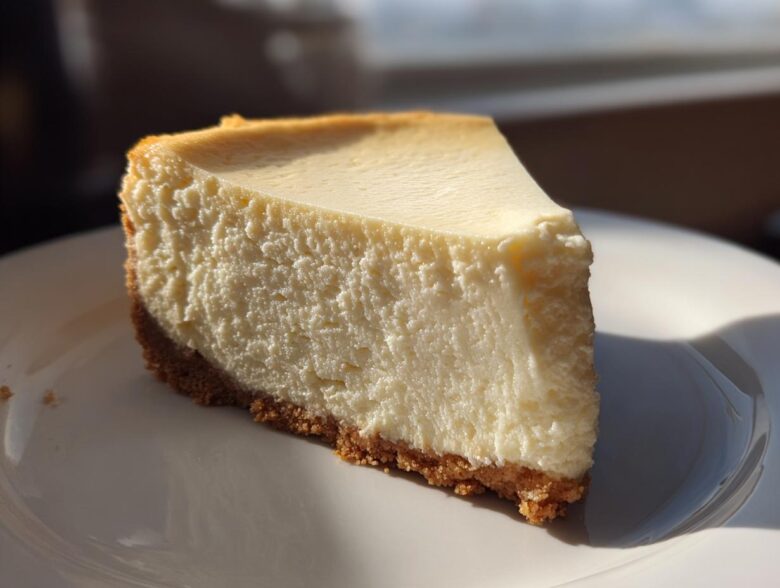
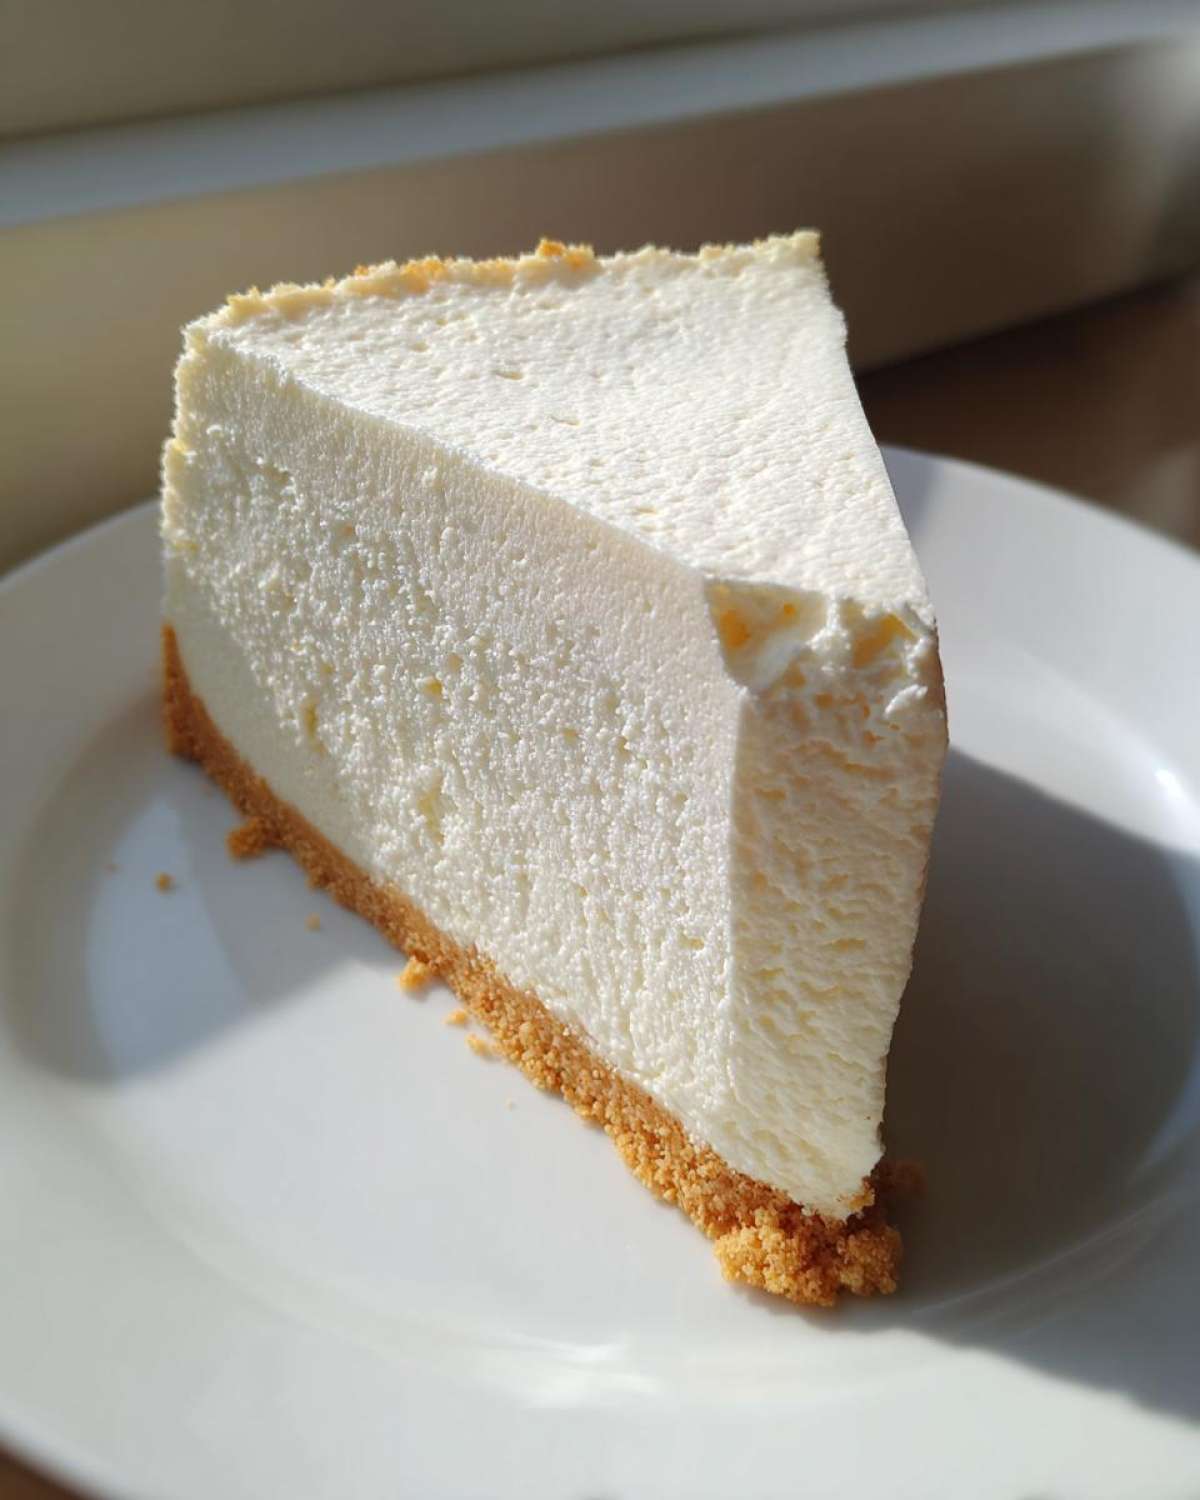
I used to look at anyone who tackled cheesecake and just think, “Nope. Too scary.” Seriously, the thought of that beautiful, creamy dessert cracking the second it touched the counter sent me straight to the exit. I swore off white chocolate cheesecake for years, convinced I didn’t have the patience for the fussy water bath method Liam kept trying to teach me. But you know what? That’s the beauty of learning together! Liam showed me the ‘why’ behind the wobble, and it clicked. We finally perfected a method that gives you that unbelievably rich, silky, melt-in-your-mouth texture without the terror of a water bath. This is my signature—the Foolproof Creamy Baked White Chocolate Cheesecake (No Water Bath Required). Trust me, it sets perfectly every single time. If I can do this, you absolutely can too!
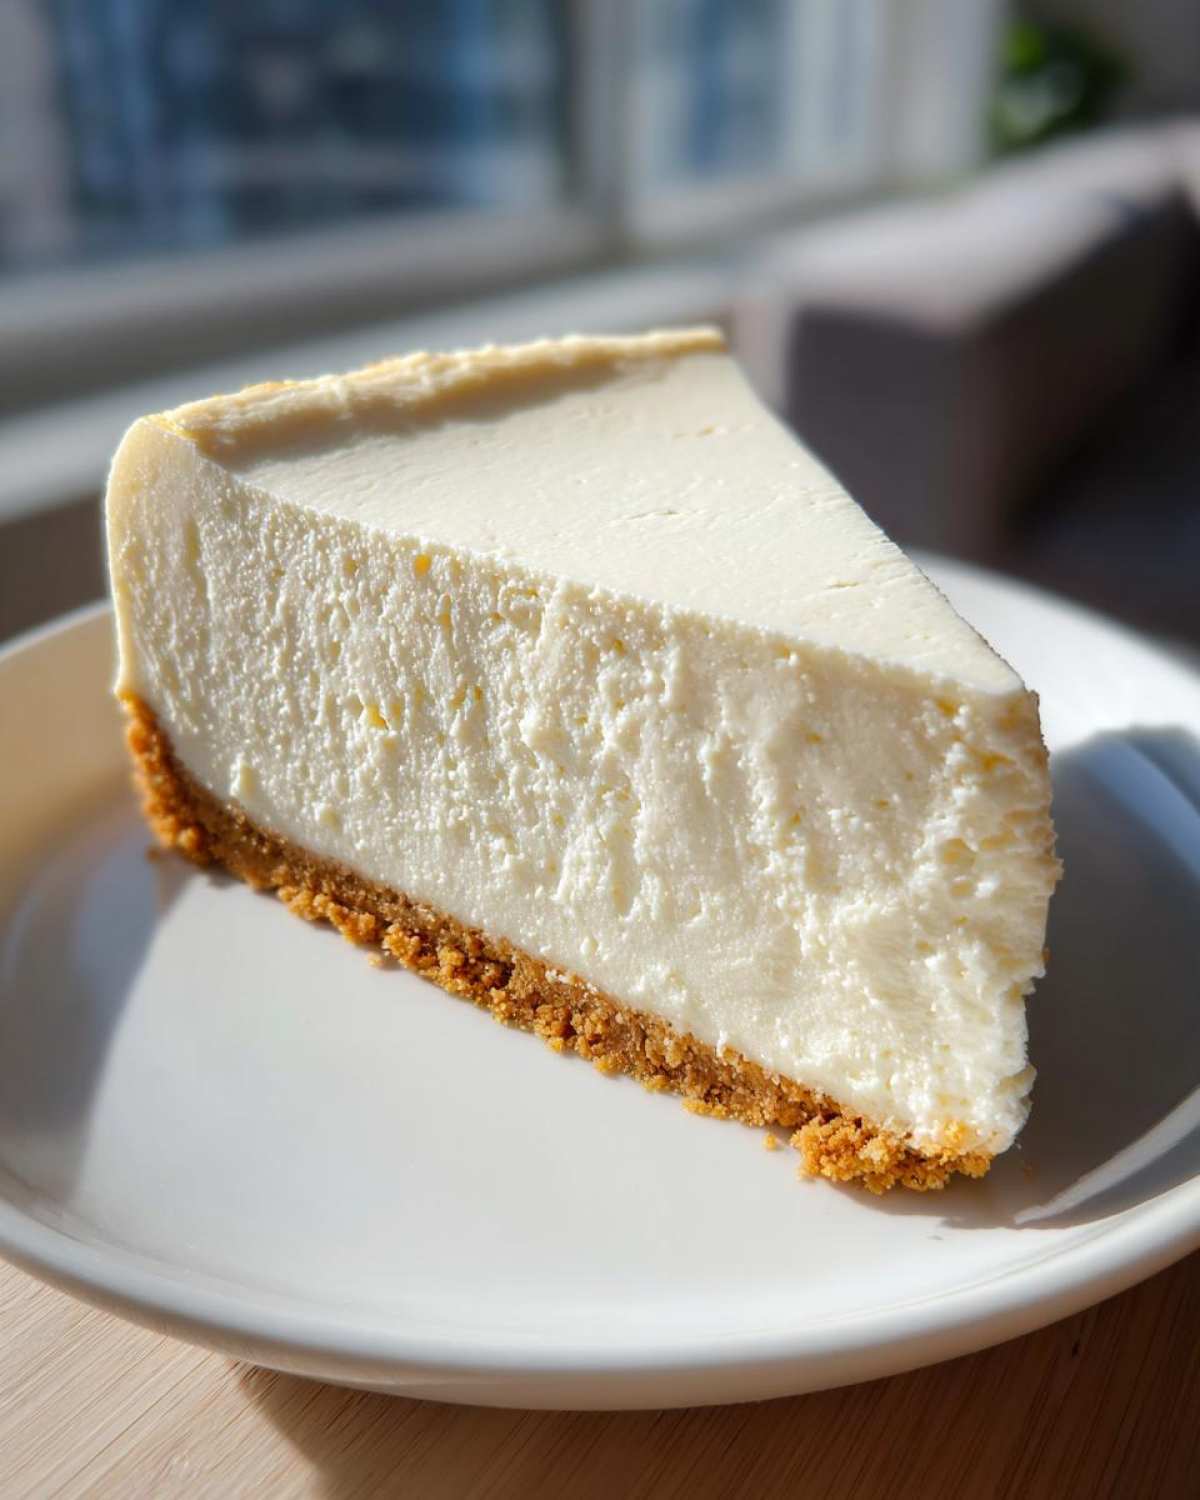
If you’re looking for another amazing creamy treat, you have to check out our recipe for Snickerdoodle Cheesecake next!
Why This White Chocolate Cheesecake Recipe Works (Expert Tips)
When people ask me what makes this white chocolate cheesecake different, I tell them it’s simple: we ditched the drama! Liam always says half the battle in baking is trusting the core technique, and that’s true here. We get that famously decadent texture without needing to wrap the springform pan six times and pray the water bath doesn’t leak. It’s all about gentle handling once the ingredients are combined.
Here’s why this method is a game-changer for you:
- It delivers that Rich Cream Cheese Dessert flavor profile you crave.
- It’s genuinely designed to be an Easy Cheesecake Recipe win.
- The result is an unbelievably Creamy Cheesecake every time.
Achieving the Perfect Smooth Cheesecake Filling
The biggest mistake everyone makes is using cold cream cheese or eggs straight from the fridge. Cold ingredients clump, period. You absolutely have to let your cream cheese soften for a few hours on the counter—I mean *soft*—so it creams perfectly smooth right from the start. When we mix, we beat the cheese until it looks like soft frosting before anything else goes in. That initial step is the foundation for that gorgeous Smooth Cheesecake Filling you want.
The Secret to a No Cracks Cheesecake
This is my favorite trick, and it’s foolproof! The enemy of a perfect top is temperature shock. So, after the baking time is up, we don’t rush! You turn the oven OFF, but you leave the cheesecake sitting right there inside with the heat off and the door propped open using a wooden spoon. We let it hang out in that residual, gentle warmth for a full hour. This slow cooling prevents that sudden temperature drop that causes the dreaded cracks. It’s the key to a truly No Cracks Cheesecake.
Ingredients for Your Creamy Cheesecake
Okay, let’s get organized! Having everything ready ensures a smooth baking process for this white chocolate cheesecake. Remember, organization makes you feel like a pro, even if you’re just starting out like I was. It’s all about setting yourself up for success so you can focus on mixing gently later on. We’re keeping this simple, but quality matters here, especially with the chocolate!
For the Graham Cracker Crust
This part is super simple and comes together in minutes. It’s the perfect sturdy base for the rich filling.
- 1 1/2 cups graham cracker crumbs
- 1/4 cup granulated sugar (for crust)
- 6 tablespoons unsalted butter, melted
For the Rich White Chocolate Cheesecake Filling
This is where the magic happens, so pay attention to those softening times! We need the components to be perfectly ready for an incredible texture.
- 3 (8 ounce) packages full-fat cream cheese, softened
- 1 1/2 cups granulated sugar (for filling)
- 1 teaspoon vanilla extract
- 1/4 teaspoon salt
- 4 large eggs, room temperature
- 12 ounces good quality white chocolate, melted and slightly cooled
Step-by-Step Baked Cheesecake Tutorial for White Chocolate Cheesecake
Alright, let’s get this beautiful white chocolate cheesecake into the oven! I know you’re eager, but remember what Liam taught me? Success lives in the sequence. We’re moving from a hot oven to a cooler one, and we’re mixing gently to keep everything perfectly soft and creamy. If you have my guide on making a classic New York Cheesecake, you’ll recognize some foundational techniques here, but the cooling method is what makes this one so reliable!
Preparing the Crust and Pan
First things first: get organized. Preheat your oven to 325°F (160°C). You need to wrap the outside bottom of your 9-inch springform pan very tightly with heavy-duty aluminum foil. This acts like a safety blanket for later, just in case! For the crust, mix your graham cracker crumbs, the small amount of sugar, and the melted butter until everything looks uniformly damp. Press that mixture firmly into the bottom of your prepared pan—pack it down good, like you’re laying a good path. Bake that crust for just 10 minutes before pulling it out to cool slightly. While that cools, drop your oven temperature way down to 300°F (150°C) for the filling stage.
Mixing the Smooth Cheesecake Filling
Now for the texture! Remember, our goal is silk, not sludge. Beat your softened cream cheese on its own until it’s completely smooth—this takes a good three minutes, scrape down those sides! Gradually add the sugar, vanilla, and salt, mixing only until they disappear. Next, the eggs go in, one at a time. And I mean *one at a time*—mix gently on low speed just until the yellow yolk vanishes before adding the next. Finally, take your melted white chocolate (make sure it’s cooled down a bit so it doesn’t scramble the eggs!) and stream it in on the absolute lowest speed. Seriously, stop mixing the second those white streaks are gone. Overmixing here equals air bubbles, and air bubbles equal cracks!
Baking and Slow Cooling for a Perfect White Chocolate Cheesecake
Pour that gorgeous batter over your cooled crust and gently tap the pan on the counter a couple of times to release any obvious air pockets. Bake this beauty for about 60 to 75 minutes. You’re looking for the edges to look set, but when you gently nudge the pan, the center two inches should still have a definite, soft wobble. When it hits that point, turn the oven completely OFF. That’s right, OFF. Prop the oven door open about one inch, maybe using a wooden spoon handle. Leave the cheesecake right in there for a full hour. This slow transition is your insurance against cracking. Once that hour is up, let it cool completely on the counter before you even think about covering it and chilling it overnight!
Ingredient Notes and Substitutions for Your Decadent White Chocolate Desserts
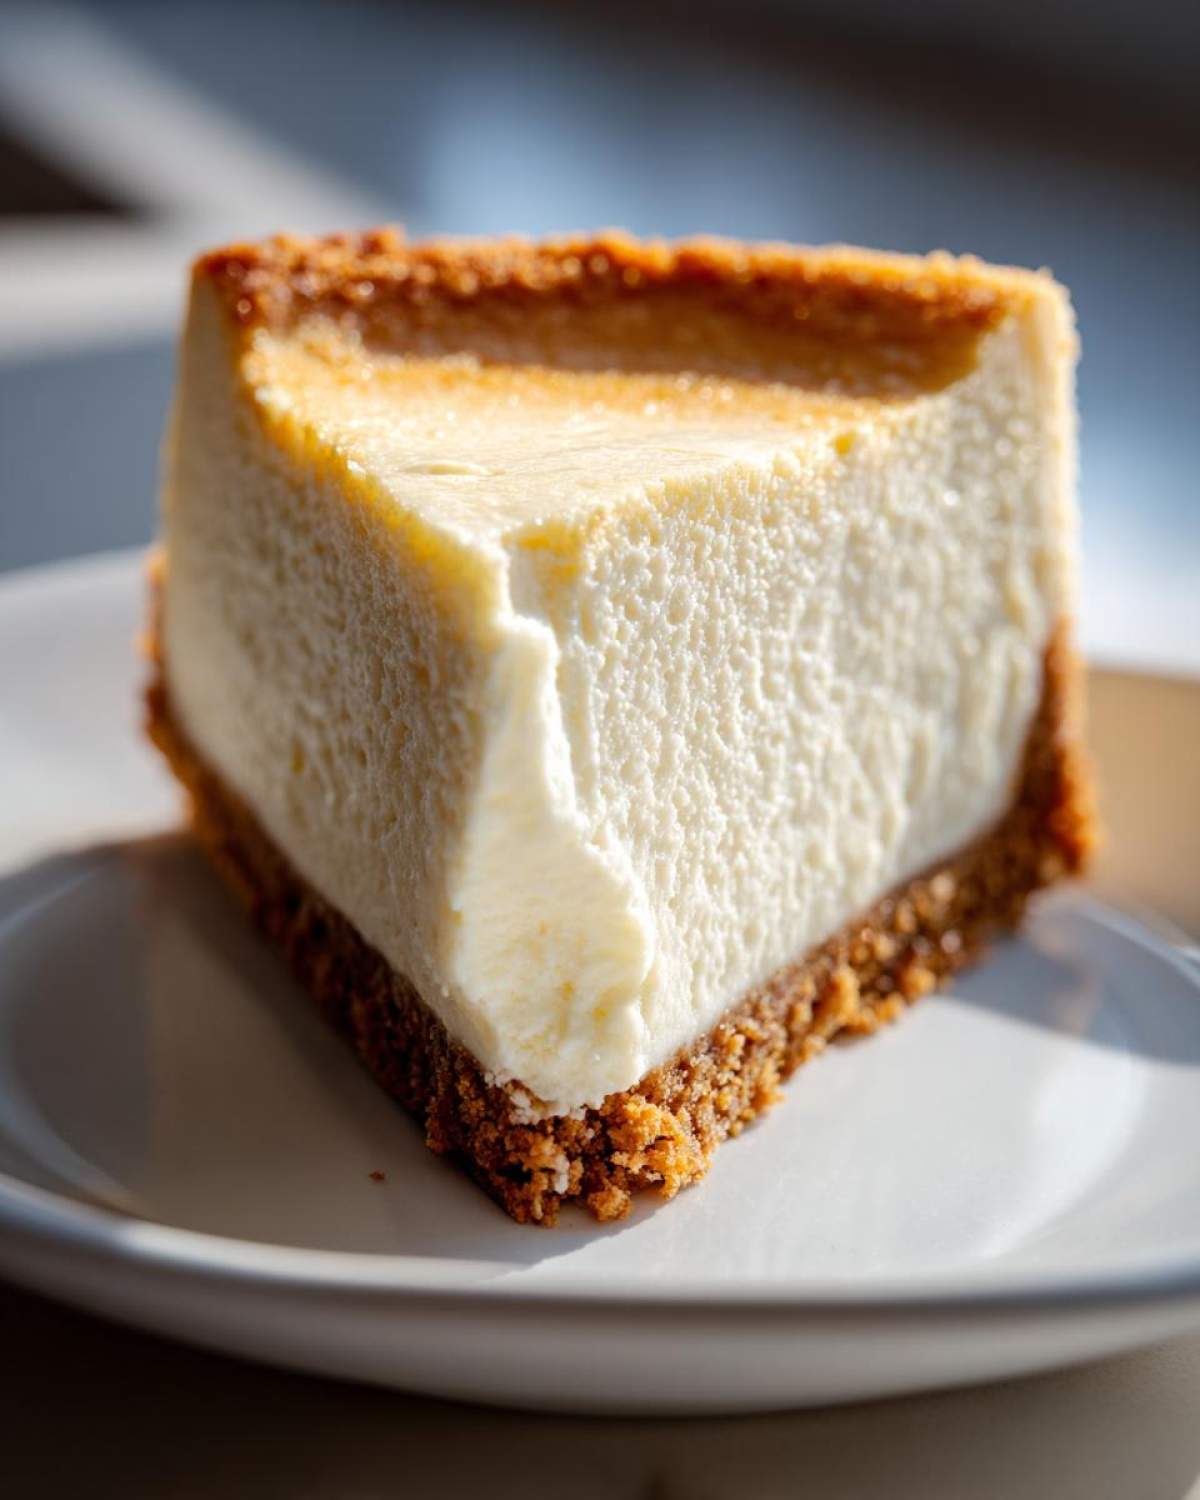
Liam always cracks jokes that baking is just chemistry you can eat, and nowhere is that more true than with cheesecake ingredients. Since we are ditching the water bath, we have to be extra diligent about what we put into the filling to guarantee that wonderful, smooth cake we are aiming for. We don’t want any grainy surprises! These little details are what turn a good attempt into the Best White Chocolate Cheesecake you’ve ever made.
On Using Quality White Chocolate
Listen, this is not the time to grab the cheap baking chips! Those little morsels are full of stabilizers so they hold their shape perfectly when melted—which means they won’t blend seamlessly into your creamy batter. You absolutely must use good quality white chocolate, like a cooking bar or disks. I know it costs a little more, but those stabilizers end up making your texture weird, sometimes almost gritty, instead of luxurious. Make sure you melt it gently, and here’s a pro tip I learned the hard way: let it cool down slightly before adding it to the batter. If it’s piping hot, it shocks the eggs and makes everything messy.
Flavor Adjustments and Tang
White chocolate is sweet, right? Sometimes *so* sweet that it can taste a bit flat after it chills. Liam showed me this little trick years ago when we were experimenting with a Lemon Meringue Pie, and it works miracles here too! If you want to boost the flavor and cut through some of that richness, add just one tablespoon of fresh lemon juice along with your vanilla extract. It doesn’t make the whole dessert taste like lemon, I promise. It just wakes everything up, allowing the real flavor of the chocolate to shine through beautifully.
Serving Suggestions for Your Showstopper Dessert
Now that you’ve created this gorgeous, creamy dessert, it deserves a beautiful presentation! This cheesecake is naturally stunning on its own, but little touches go a long way when you’re pulling it out for guests. It’s all about making it look just as decadent as it tastes. If you’re feeling extra fancy, think about what you might do for our Blueberry Pie—simple contrast makes a huge difference!
Classic White Chocolate Raspberry Cheesecake Toppings
If you love that bright, tart contrast against all that sweet cream cheese, you have to try swirls of raspberry sauce. You can whip up a quick sauce by simmering some fresh berries with a splash of water and sugar, then gently swirl it over the top right before you chill it. Fresh raspberries scattered around the edge look so elegant.
Elegant Holiday Garnishes
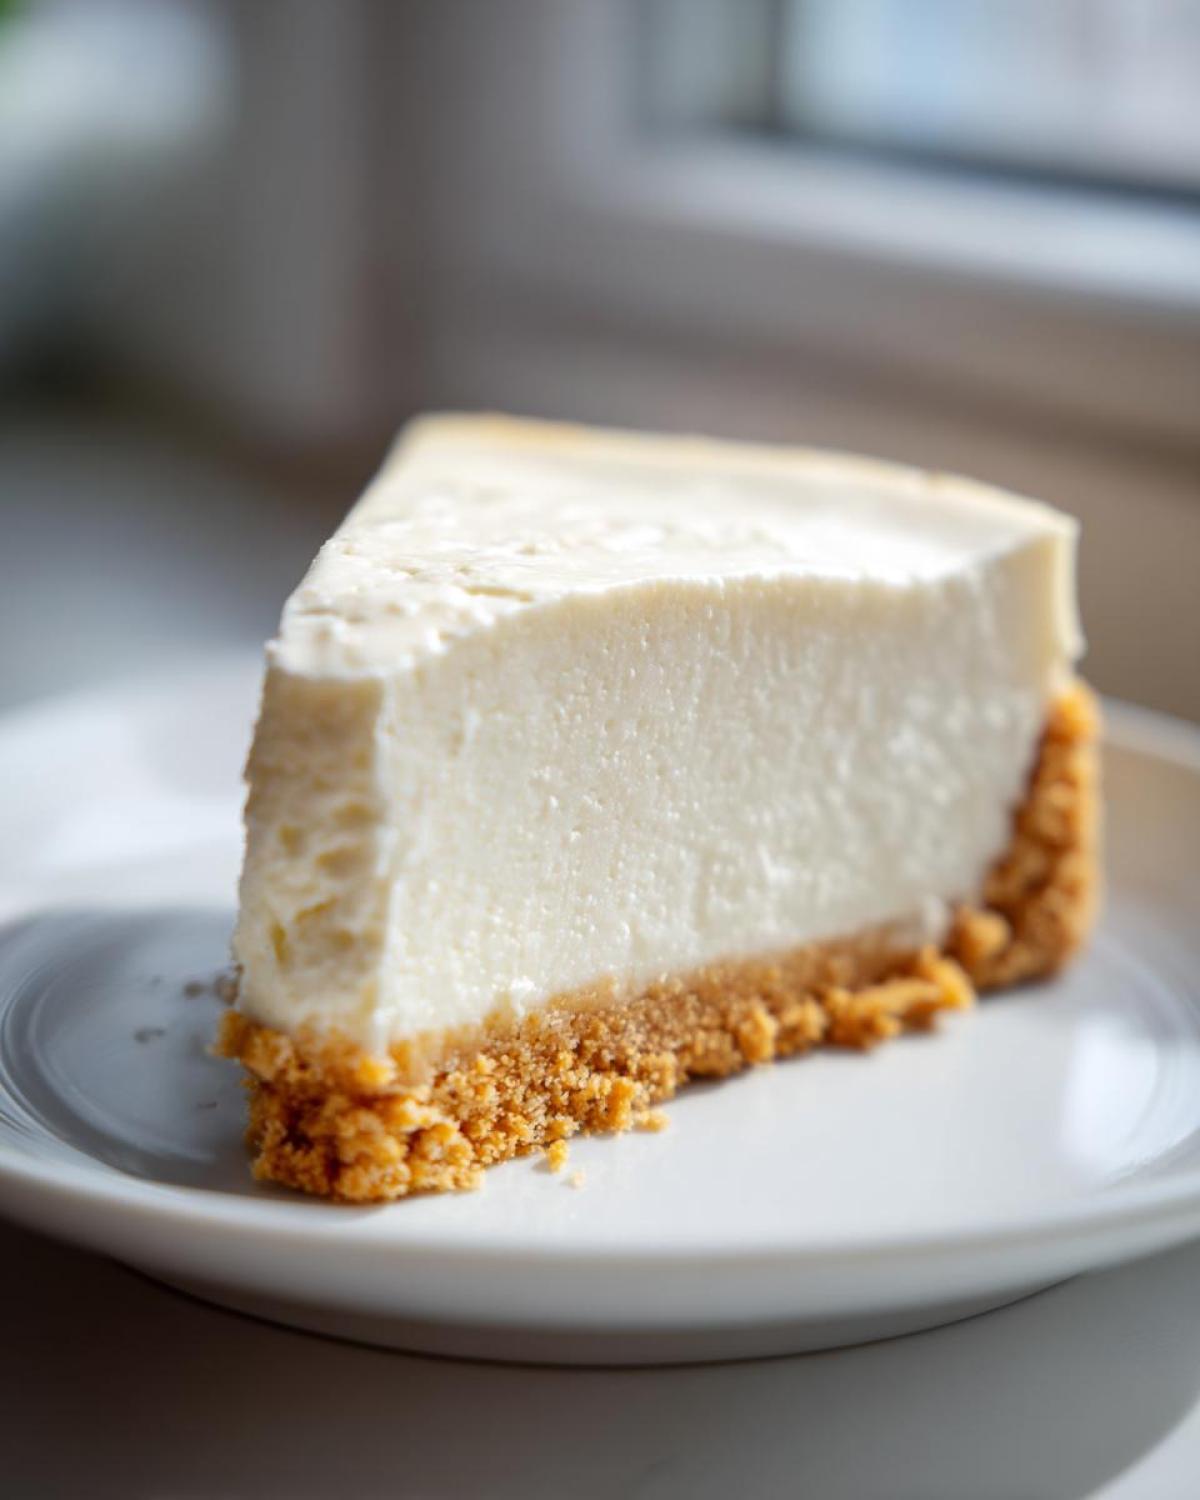
For holiday gatherings, the color palette really helps sell the elegance! I often just dust the very top lightly with some good quality unsweetened cocoa powder—it looks dramatic against the white. Or, if you’re feeling ambitious, candied orange zest really pops against the creaminess. For more decadent ideas that pair well with this flavor profile, check out some great twists on white chocolate desserts that others have tried!
Storage and Reheating Instructions for White Chocolate Cheesecake
I know you want to slice into this beautiful white chocolate cheesecake immediately, but patience is truly the final ingredient! You absolutely have to chill this cake for a minimum of six hours, but honestly, overnight is when it really comes together and achieves that ‘Perfect Cheesecake Texture.’ Don’t try to rush it!
Once it’s fully chilled, wrap the leftovers tightly in plastic wrap or foil. It stays wonderful in the fridge for up to a week. If you end up with too much (which, let’s be real, happens!), you can freeze slices! Just make sure they are well-wrapped to keep any freezer taste out. It thaws slowly in the fridge, and it’s still amazing.
Common Questions About Making an Easy Cheesecake Recipe
Liam and I get so many questions about cheesecake once folks see how good this one turns out! It’s natural when you are digging into a rich dessert like this—you want to make sure your effort pays off. I’ve gathered up the most common things people ask when trying this recipe for the first time. Don’t stress though; achieving this Rich Cream Cheese Dessert doesn’t have to be complicated!
Can I use low-fat cream cheese in this recipe?
Oh, I totally get wanting to lighten things up, but when it comes to cheesecake, please stick to full-fat cream cheese. Low-fat versions have more water and less structural fat. If you swap it out, you’re going to end up with a filling that just doesn’t set right; it’ll be softer, maybe a little soupy even after chilling. We need that fat content for that dense, luscious bite our Easy Cheesecake Recipe is famous for!
How do I know when the white chocolate cheesecake is done baking?
This is where you have to listen to the cake! Forget trying to get a knife perfectly clean in the center; that’s too late. You want the edges to look totally set and firm, but when you gently tap the side of the pan, the inner two inches should still have a slight, soft wobble, like Jell-O that’s almost firm. If that center part isn’t wobbly, it’s likely already starting to overbake near the edge. Trust the wobble—it means the residual heat will finish it perfectly as it cools down!
Can I make this a No Bake White Chocolate Dessert instead?
This recipe is specifically built around the baking process—the lower temperature and the slow cooling are crucial to getting that baked, yet creamy structure we love. If you’re really set on a no-bake option, you’ll need a recipe that uses gelatin or whipped cream structure instead. Honestly, the texture you get from baking the cream cheese like this, even without the water bath, is just unbeatable for that classic cheesecake feeling.
If you want to see another delicious recipe that Liam taught me, you can check out how we make Chocolate Fondue!
Nutritional Estimate for This White Chocolate Cheesecake Recipe
Okay, so here’s the quick breakdown of what you’re looking at per slice. Remember, this is a decadent, rich dessert we are making from scratch, so it’s not exactly a light snack! Liam always reminds me that when you use this much full-fat cream cheese and real white chocolate, you know it’s going to be luxurious. These numbers are just estimates based on the specific ingredients we used, so they might shift a little depending on the brand of chocolate or crackers you pick up. But this gives you a general idea of the indulgence!
- Serving Size: 1 slice
- Calories: 450
- Sugar: 35g
- Fat: 30g
- Protein: 8g
- Cholesterol: 110mg
This information is helpful to know, of course, but honestly, when you take that first bite of this amazing, creamy cheesecake, the nutrition facts just fade away! Enjoy every single bite!
Share Your Homemade White Chocolate Cheesecake Success
Wow, we actually did it! You’ve made a white chocolate cheesecake that’s creamy, decadent, and didn’t need that scary water bath we all dread. I’m so proud of you for tackling this! This recipe feels like such a massive accomplishment when you pull that perfect, smooth dessert out of the fridge. It really shows that you’re becoming TasteTaught!
I absolutely love seeing what you all create in your kitchens. If you made this recipe, please take a second and leave a star rating right down below in the comments. Tell me what you thought—did the slow cooling trick work perfectly for you? Did you add any swirls or extra toppings?
If you snapped a picture, share it on Instagram and tag us! Seeing your finished showstoppers is seriously the best part of this whole journey. And if you’re looking for even more recipes that Liam taught me (and that I’ve since mastered!), head over to the main blog page—we’ve got all sorts of delicious ways to build your kitchen confidence! Happy baking, everyone!
PrintFoolproof Creamy Baked White Chocolate Cheesecake (No Water Bath Needed)
You can make an unbelievably rich, smooth, and creamy white chocolate cheesecake without the stress of a water bath. This recipe delivers a decadent, showstopper dessert that sets perfectly every time.
- Prep Time: 25 min
- Cook Time: 75 min
- Total Time: 100 min
- Yield: 12 servings
- Category: Dessert
- Method: Baking
- Cuisine: American
- Diet: Vegetarian
Ingredients
- 1 1/2 cups graham cracker crumbs
- 1/4 cup granulated sugar (for crust)
- 6 tablespoons unsalted butter, melted
- 3 (8 ounce) packages full-fat cream cheese, softened
- 1 1/2 cups granulated sugar (for filling)
- 1 teaspoon vanilla extract
- 1/4 teaspoon salt
- 4 large eggs, room temperature
- 12 ounces good quality white chocolate, melted and slightly cooled
Instructions
- Preheat your oven to 325°F (160°C). Wrap the outside bottom of a 9-inch springform pan tightly in heavy-duty aluminum foil.
- Prepare the crust: Mix graham cracker crumbs, 1/4 cup sugar, and melted butter until evenly moistened. Press the mixture firmly into the bottom of the prepared springform pan. Bake for 10 minutes. Remove and let cool slightly.
- Reduce the oven temperature to 300°F (150°C).
- Melt the white chocolate gently using a double boiler or short bursts in the microwave. Set aside to cool slightly; it should still be pourable but not hot.
- Beat the softened cream cheese in a large bowl with an electric mixer until completely smooth, about 3 minutes. Scrape down the sides.
- Gradually add the 1 1/2 cups of sugar, vanilla extract, and salt. Beat until just combined and smooth. Do not overmix.
- Add the eggs one at a time, mixing on low speed after each addition only until the yolk disappears. Stop mixing as soon as the last egg is incorporated.
- Slowly pour the slightly cooled, melted white chocolate into the batter while mixing on the lowest speed. Mix only until streaks disappear. This step is key for a smooth filling.
- Pour the filling over the cooled crust. Gently tap the pan on the counter a few times to release any large air bubbles.
- Bake for 60 to 75 minutes. The edges should look set, but the center 2 inches should still have a slight wobble when gently nudged.
- Turn off the oven, prop the door open slightly (about 1 inch), and let the cheesecake cool inside the oven for 1 hour. This slow cooling prevents cracking.
- Remove the cheesecake from the oven and let it cool completely on a wire rack. Once cool, cover and chill in the refrigerator for at least 6 hours, or preferably overnight, before serving.
Notes
- For the smoothest texture, ensure your cream cheese and eggs are at true room temperature. Cold ingredients lead to lumps.
- Do not substitute baking chips for good quality white chocolate bars; the stabilizers in chips can affect the texture.
- If you want a slight tang, add 1 tablespoon of fresh lemon juice with the vanilla extract.
- This recipe avoids the water bath by using a lower oven temperature and the slow cooling method inside the turned-off oven.
Nutrition
- Serving Size: 1 slice
- Calories: 450
- Sugar: 35g
- Sodium: 250mg
- Fat: 30g
- Saturated Fat: 18g
- Unsaturated Fat: 12g
- Trans Fat: 0.5g
- Carbohydrates: 40g
- Fiber: 1g
- Protein: 8g
- Cholesterol: 110mg