

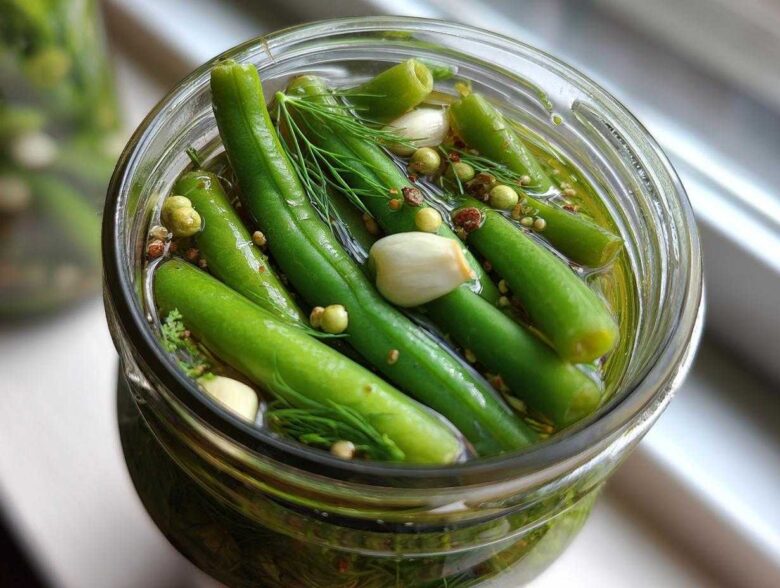
You know that craving, right? That sudden, undeniable need for something incredibly crunchy, zesty, and just bursting with that perfect dill pickle flavor? When I get that itch, I don’t want to wait two weeks for a jar to cure! That’s why I’m sharing my absolute winner for making **dilly beans** that are ready almost immediately. After years of testing brines for the perfect crunch, this specific refrigerator pickle method is the one that never fails. Trust me, these tangy green bean snacks are truly addicting, and you can have them bathing in the fridge by dinnertime! If you’re curious about who I am and why I experiment so much, you can always check out my page right here.
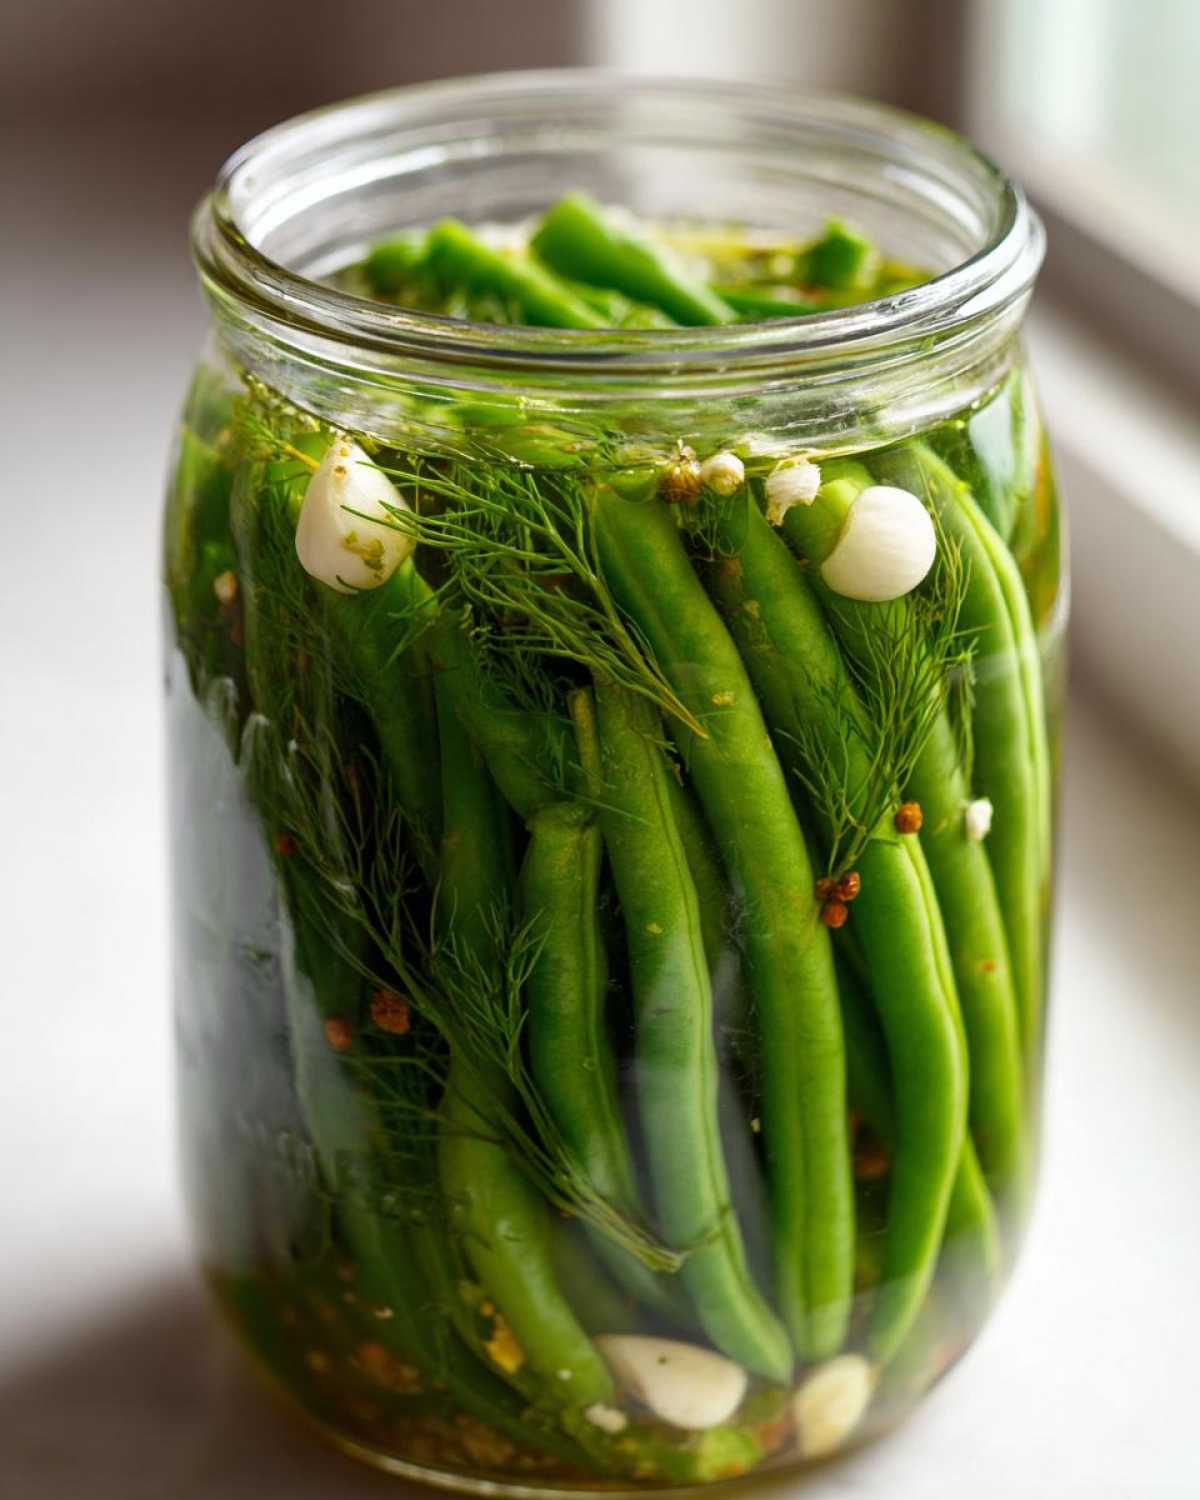
Why You Will Make These Refrigerator Dilly Beans Again and Again
Seriously, the main reason these **dilly beans** get made almost weekly around here is how fast they come together. Forget waiting for the canning moon cycle; we pickle while the kettle boils! They hit that sweet spot of tangy, garlicky goodness quicker than anything else.
- They are ready to eat in just 24 hours.
- The texture is guaranteed crispy because they skip the long processing time.
- You get that satisfying, sharp dill flavor without any fuss.
- Perfect for using up those excess green beans from the garden right now!
Gathering Supplies for Your Easy Dilly Beans Recipe
Okay, so while these are refrigerator pickles and we aren’t sealing them up for eternity, you still need decent equipment to get the job done right. I insist on using proper canning jars—quart or pint sizes work great—because they seal tight enough to keep the brine out and the crispness in. Don’t skip that!
Essential Equipment for Perfect Dilly Beans
You don’t need a massive setup, just the basics you probably already have:
- Pint-sized Mason jars (two should do it for this batch).
- A small saucepan for heating up that fabulous brine.
- A wooden spoon or plastic spatula—remember, never use metal near the hot brine or pickles if you can help it!
Ingredients for the Best Crispy Dilly Beans
Getting the right stuff is half the battle when you want amazing **dilly beans**, and luckily, the list isn’t long! We’re focusing on fresh greens and the spices that give that signature, mouth-puckering snap. Remember, these proportions are what give you that perfect tart-to-salty balance in the **vinegar brine pickles**.
For the veggies and aromatics, you’ll want two pounds of fresh green beans—make sure they’re snappy! Then divide up the 4 cloves of garlic (I like to peel mine and just halve them), 1 teaspoon of mustard seeds, 1 teaspoon of black peppercorns, and, if you’re feeling bold, your red pepper flakes to make **spicy dilly beans**.
Vinegar Brine Pickles Components
This is where the magic happens! You need:
- 2 cups of white vinegar—and it *must* be 5% acidity, no cheating here!
- 2 cups of regular water.
- 2 tablespoons of pickling salt. Don’t use table salt; it can make things cloudy!
- 4 beautiful, fresh sprigs of dill. Snatch the best looking ones you can find!
Step-by-Step Instructions: How to Pickle Green Beans
Alright, here is the good part—turning those raw beans into tangy jewels! If you want the absolute *crispiest* texture, take a moment before you start and put your trimmed green beans into an ice water bath for about 30 minutes. Drain them really well before packing them in. That initial shock helps them stay tight!
Preparing the Jars and Aromatics for Dilly Beans
First things first: Wash your beans until they look happy, and then trim off those tough little ends. Now, pack those beans into your clean pint jars as tightly as you possibly can without smashing them to pieces. Next, we divide the garlic halves, the mustard seeds, the peppercorns, and any red pepper flakes you’re using. Finally, tuck one sprig of fresh dill down into each jar. Remember to leave about a half-inch of space at the very top—that’s your headspace!
Making the Hot Brine for Quick Pickled Green Beans
Time for the brine, which is super simple! In a saucepan, dump in the 2 cups of vinegar, the 2 cups of water, and the 2 tablespoons of pickling salt. Place this right on the stove over medium-high heat. You need to bring this mixture to a full boil. Keep stirring it until you can see that salt has completely disappeared into the liquid. If you see any grains sinking, keep heating and stirring until it’s totally clear—that’s important for even flavor!
Assembling and Sealing Your Refrigerator Dilly Beans Recipe
Carefully ladle that hot brine over the packed beans until they are totally submerged, making absolutely sure you keep that half-inch headspace. Run a plastic chopstick or a bubble-remover tool around the inside of the jar to pop any silly air bubbles trapped against the glass. Wipe those rims down with a clean cloth—no salt crystals allowed! Secure the lids fingertip tight, and that’s it. Put them on the counter to cool down, and then stick them straight into the fridge. And listen close: these are **refrigerator pickles recipe** style, so they do *not* go into a water bath. Here’s a link to my disclaimer if you’re ever unsure about food safety here.
Tips for Achieving Crispy Pickled Beans Every Time
You absolutely want that snap when you bite into a **dilly bean**, right? That’s the holy grail! I told you about the ice bath earlier, and I’m telling you again: if you have 20 extra minutes, soak those trimmed green beans in ice water. It shocks the cells and firms them right up before they even meet the brine. That little step makes such a huge difference between a floppy bean and a truly great **crispy pickled bean**.
But the real secret sauce for crispness in this **refrigerator pickles recipe**? It’s simple—we aren’t cooking them for very long! Since we pour the hot brine over them and then chill them immediately, they don’t have time to go soft like pickles that have been water-bath processed for 10 or 15 minutes. They stay pleasantly firm and crunchier all the way through. That’s the big advantage of quick pickling, friends!
Variations: Making Spicy Dilly Beans and Other Flavor Twists
Don’t think for a second that you have to stick strictly to my recipe if you love heat! If you want to crank up the burn factor on your **dilly beans**, the easiest way is just adding more of those red pepper flakes in Step 2. I use a half teaspoon because I like a little zip, but if you are a true spice fiend, double that amount!
For something even more aggressive—a real kick—skip the flakes entirely and throw in about four thin slices of fresh jalapeño when you pack your jar. Those seeds pack a punch! Also, don’t stop at just dill and garlic for your **tangy green bean snacks**. I’ve been known to toss in a few coriander seeds along with the peppercorns for an earthier, almost citrusy note. It really makes them feel more complex!
If you’re looking for **easy dill pickles** with just a little twist, try adding mustard seeds or even a tiny piece of bay leaf to your brine mixture. It’s fun experimenting with spices!
Storage and Shelf Life for Your Homemade Dilly Beans
Now, this is important, so listen up! Because these **dilly beans** are refrigerator pickles, they absolutely must stay cold from the minute they cool down on the counter. That means straight into the fridge they go, and they stay there until they disappear! We don’t process these with a hot water bath, so they aren’t shelf-stable like canned vegetables.
My instructions say to eat them within three weeks. Honestly, they taste best between 24 hours and the one-week mark—that’s when they are at peak crispness. The reason they don’t last as long as Grandma’s **homemade canned vegetables** is simply the lack of long-term heat treatment. Keep them chilled, and you’ll be enjoying bright, tangy green beans for weeks!
Frequently Asked Questions About Dilly Beans
I get so many questions whenever I post these bright green jars on social media! It’s usually about the crunch or the canning process. Here are the ones I hear most often about how to best enjoy these **garlic dill pickles**.
Can I turn this into a full canning recipe for **dilly beans**?
That’s a great question for anyone prepping for winter! This recipe, as written, is strictly for **refrigerator pickles recipe** style—it’s fast and crunchy because it skips the long water bath. If you want to make these shelf-stable for long-term storage, you would need to adjust the headspace significantly and process them according to tested canning guidelines for low-acid vegetables. I highly recommend looking for a recipe specifically labeled for water bath canning if that’s your goal, just to be safe, because the brine ratios might change slightly!
What is the best way to store fresh **dill pickle flavor snacks**?
Easy peasy! Keep them cold, cold, cold! They must stay in the refrigerator from the moment they come off the counter. Don’t sneak one right after you make them, though; for the best results, wait at least 24 hours. You’ll notice the flavor really starts to deepen and mature after about 48 hours in the cold. They are best consumed within three weeks for that perfect snap!
If you have any other burning questions about making **pickled green beans recipe** versions or just want to say hello, feel free to reach out via my contact page!
Share Your Perfect Batch of Tangy Green Bean Snacks
Seriously, what is better than pouring a cold glass of iced tea, opening the fridge, and grabbing those bright, crunchy **dilly beans**? I want to see your creations! When you whip up a batch of these **quick pickled green beans**, please come back here and leave a rating for the recipe. It really helps me know what you all are loving, and it helps other folks searching for the best way to pickle green beans find this recipe.
If you snap a picture—maybe of your **garlic dill pickles** sitting next to a sandwich or just dazzling on your snack platter—tag me on social media! I absolutely glow seeing your successes in the kitchen.
If you’re worried at all about how I handle site information, you can always check out my full privacy policy. But really, I just want to hear how much you love these crisp, tangy snacks!
PrintEasy Refrigerator Dilly Beans
Make crisp, flavorful refrigerator pickled green beans quickly using a simple dill and garlic brine. These dilly beans are ready to eat in 24 hours.
- Prep Time: 20 min
- Cook Time: 5 min
- Total Time: 25 min
- Yield: 2 pints
- Category: Snack
- Method: Refrigerator Pickling
- Cuisine: American
- Diet: Vegetarian
Ingredients
- 2 lbs fresh green beans, ends trimmed
- 4 cloves garlic, peeled and halved
- 1 teaspoon mustard seeds
- 1 teaspoon whole black peppercorns
- 1/2 teaspoon red pepper flakes (optional, for spicy dilly beans)
- 2 cups white vinegar (5% acidity)
- 2 cups water
- 2 tablespoons pickling salt
- 4 sprigs fresh dill
Instructions
- Wash the green beans thoroughly and trim the ends. Pack the beans tightly into two clean pint-sized jars, leaving about 1/2 inch headspace.
- Divide the garlic, mustard seeds, peppercorns, and red pepper flakes (if using) evenly between the two jars, placing them around the beans. Add one sprig of fresh dill to each jar.
- In a saucepan, combine the vinegar, water, and pickling salt. Bring the mixture to a boil over medium-high heat, stirring until the salt dissolves completely.
- Carefully pour the hot brine over the beans in the jars, ensuring the beans are completely submerged. Leave 1/2 inch headspace at the top of each jar.
- Remove any trapped air bubbles using a non-metallic utensil. Wipe the rims clean and secure the lids and bands until fingertip tight.
- Let the jars cool to room temperature on the counter. Once cool, place the jars in the refrigerator.
- Wait at least 24 hours before eating. For best flavor and crispness, consume within 3 weeks.
Notes
- For the crispiest pickled beans, soak the trimmed green beans in ice water for 30 minutes before packing them into the jars.
- If you prefer a stronger garlic flavor, slice the garlic instead of halving it.
- This refrigerator pickle recipe does not require water bath canning; keep the jars refrigerated at all times.
Nutrition
- Serving Size: 1/2 cup
- Calories: 25
- Sugar: 2
- Sodium: 350
- Fat: 0
- Saturated Fat: 0
- Unsaturated Fat: 0
- Trans Fat: 0
- Carbohydrates: 5
- Fiber: 2
- Protein: 1
- Cholesterol: 0