

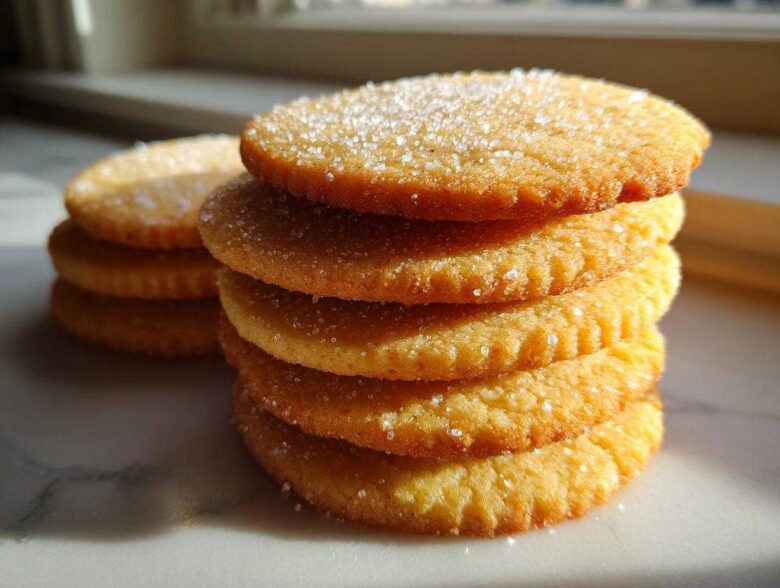
If you’re anything like me, the holidays just aren’t the holidays until you’ve got a plate full of perfect, buttery, homemade sugar cookies cooling on the rack. Finding that *one* recipe that ticks all the boxes—soft and chewy on the inside, but sturdy enough that your cute little gingerbread men don’t collapse while you’re decorating them—can feel like searching for gold!
Well, stop searching! After years—I mean, *years*—of trying every method under the sun for roll out cookies, I’ve finally landed on the winner. These classic sugar cookies are unbelievably soft and chewy, yet they hold their shape beautifully when you cut them out. We’re talking about the ultimate cookie for decorating here. Trust me, I have a stack of scrapped recipes, but this one is the keeper. It uses just basic ingredients, but the technique makes all the difference!
It’s important to know who you’re taking advice from in the kitchen, so I just want to mention that I pour a lot of love and testing into these simple family favorites. Let’s get baking!
Why This Is the Best Sugar Cookie Recipe for Cutouts (E-E-A-T Focus)
I am telling you, out of all the cookie recipes I’ve ever messed with—and trust me, there have been messes—this stands out as the absolute best sugar cookie recipe for holiday baking. Why? Because it solves the biggest cookie conundrum: you get that wonderful, melt-in-your-mouth buttery flavor paired with a soft, chewy texture, but the dough is firm enough to handle serious cookie cutter work.
I learned the hard way that too much sugar or not enough structure means your perfectly carved star turns into a sad, spread-out puddle on the baking sheet. Oops! That happened one year when I tried adding too much extra vanilla bean paste. This formula balances the fat from the butter with just the right amount of flour and a touch of baking powder, giving you that necessary stability. These homemade sugar cookies are designed to hold tight to their shape!
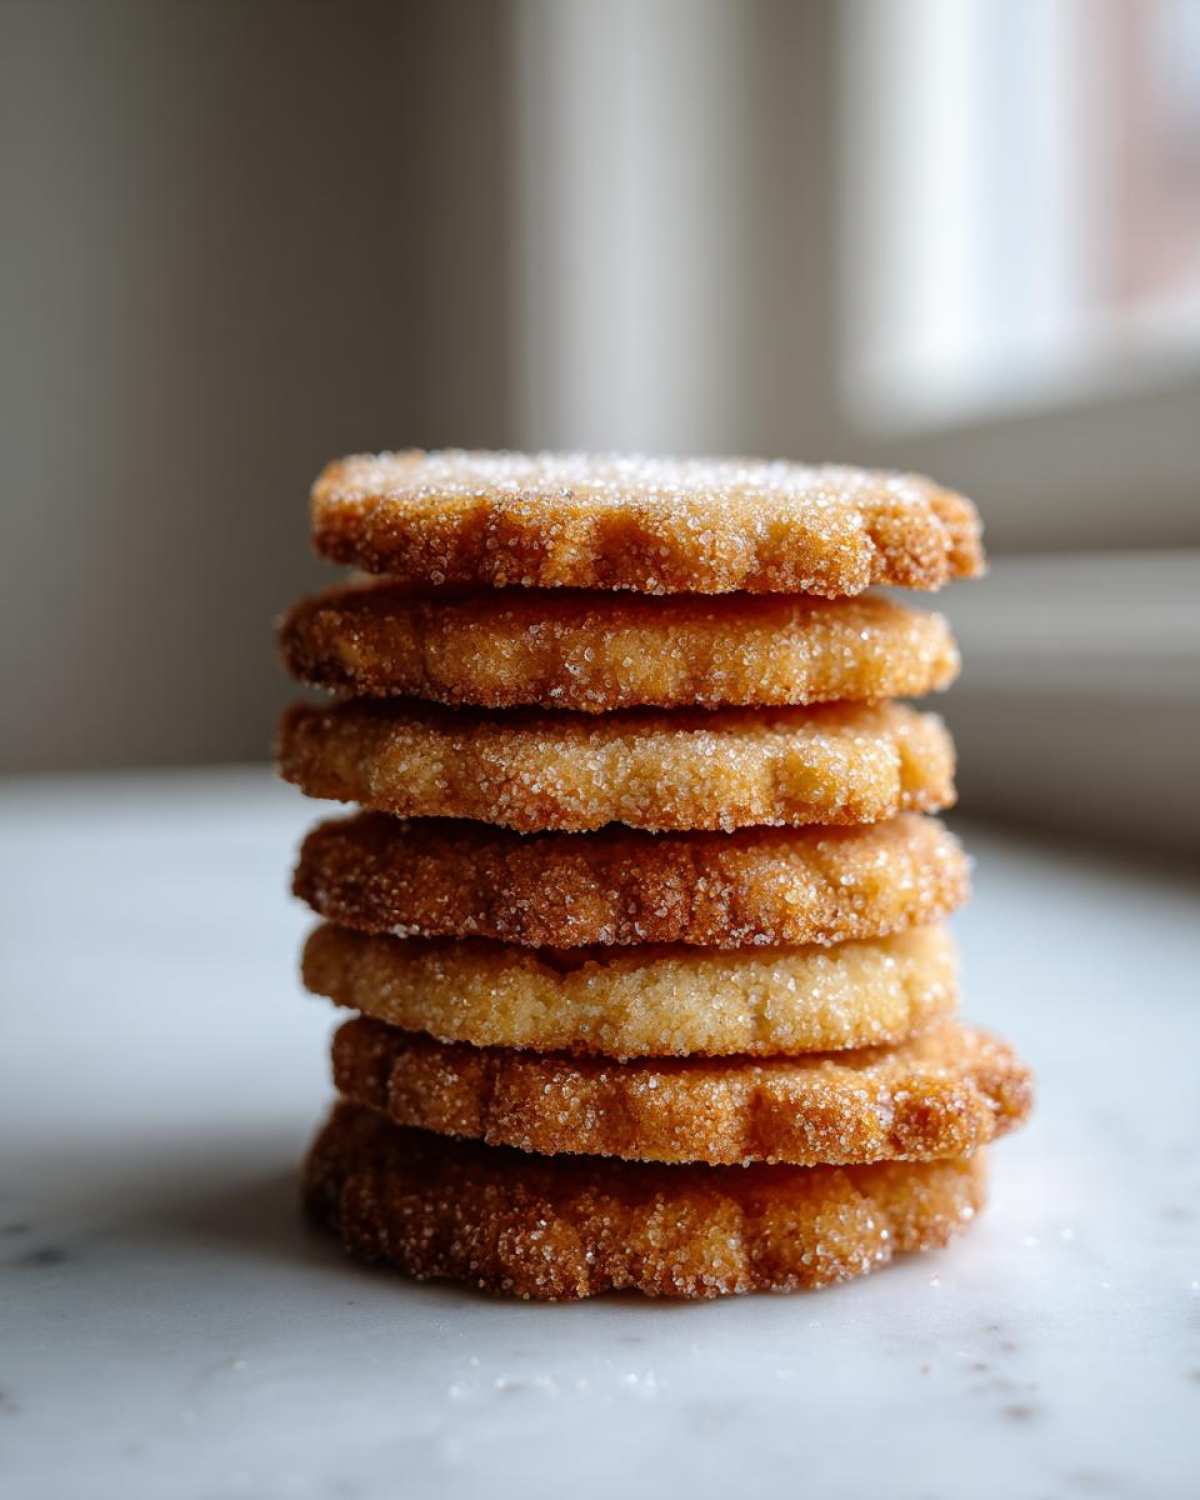
Achieving Soft Sugar Cookies That Do Not Spread
The secret weapon here is temperature and technique. Make sure your butter is just softened, not melted—that matters heaps! After mixing the dough, you absolutely have to chill it. Chilling lets the flour fully hydrate and firms up that butter. It makes rolling out your cutout sugar cookies so much cleaner. You’ll find the dough is easier to handle, and when it hits the hot oven, it stays put!
Gathering Ingredients for Your Buttery Sugar Cookies
Okay, let’s look at what we need. You’ll be happy to know that this recipe relies on things you probably already have tucked away in your pantry! That’s what I love about these homemade sugar cookies; they transform simple staples into something truly special for the holidays. You don’t need fancy extracts or obscure powders here, just good quality basics.
When you gather everything, pay close attention to the butter. It needs to be room temperature soft. That means you press it gently with your finger and it gives way, but it isn’t greasy or melty at all. This is vital for the creaming step later on. For the flour, we’re using a standard 3 cups—no fancy cake flour needed for these beauties!
Here’s the official list of what you’ll need to whip up about three dozen buttery sugar cookies:
- 3 cups all-purpose flour
- 1 teaspoon baking powder
- 1/2 teaspoon salt
- 1 cup unsalted butter, softened to room temperature
- 1 1/2 cups granulated sugar
- 1 large egg
- 1 teaspoon vanilla extract
Ingredient Notes and Substitutions for Perfect Sugar Cookies
The quality of your vanilla directly impacts the final flavor of these vanilla sugar cookies, so if you have it, use the good stuff! I always use pure vanilla extract; imitation just doesn’t give you that warm depth we are looking for.
Now, about substitutions. I know sometimes you might run out of something. Can you use margarine instead of butter? Technically, yes, but honey, that changes everything! Butter has a specific water and fat content that helps structure the cookie and makes it taste rich. If you substitute margarine, your easy sugar cookie recipe might spread a bit more and the flavor won’t be as intensely buttery. Stick to butter if you can, especially if you want those perfect cutouts!
Also, remember that baking powder is what gives us that slight lift, keeping them from being too flat, which is perfect for a cookie that needs to be both soft and sturdy.
How to Prepare Easy Sugar Cookie Dough
Now we get to the fun part—turning ingredients into dough! We start, as always, with creaming the butter and sugar. Grab your mixer, or if you’re feeling strong, a sturdy wooden spoon, and beat that softened butter with the granulated sugar until it gets genuinely light and fluffy—almost pale yellow. This step is non-negotiable for fluffy sugar cookies! It traps the air that gives these treats their beautiful texture.
Next, beat in your egg and that glorious vanilla extract until everything is just combined. Don’t leave that mixer running forever once the liquids are in, okay? You want it incorporated, but that’s it.
When you add your dry mixture (that flour, salt, and baking powder combo we set aside), take it slow! Add it in two or three batches, mixing on the lowest speed until just a little flour streak disappears. I cannot stress this enough: stop mixing! If you overmix, you develop the gluten too much, and suddenly your soft cookies become tough hockey pucks. We do not want tough cookies!
Once the dough comes together into a soft mass, divide it right in half. Flatten each into a nice, neat disk, wrap them up tight in plastic wrap, and send them to the fridge for at least one hour. This chilling time is mandatory! It sets the butter so your shapes don’t melt when they bake.
Rolling and Cutting Out Your Sugar Cookies for Decorating
Once that dough is chilled and firm, it’s time for rolling! Lightly flour your counter—and I mean lightly, we don’t want dry powder baked onto our beautiful shapes. Roll out one disk at a time to about 1/4 inch thickness. This thickness is what gives you those wonderfully thick, satisfying roll out sugar cookies that look so professional on a platter.
When you use your cookie cutters—whether they are festive Christmas shapes or just circles—gently wiggle the cutter to ensure the edge separates cleanly from the counter before you lift it. To move the fragile cutouts to your parchment-lined baking sheets, slide a thin spatula underneath very carefully. If you have thin shapes, chilling them for 10 minutes on the tray before baking helps lock in that final shape, preventing edge slump!
Baking and Cooling Classic Sugar Cookies
The moment of truth! You’ve got your shapes cut, they’re sitting nicely spaced out on the parchment-lined sheets, and your oven is waiting patiently at 375 degrees F (190 degrees C).
The time they take in the oven is usually short, which is great when you’re making a huge batch of sugar cookies, especially around the holidays. Keep an eye on them! Most batches take between 8 to 10 minutes. You aren’t looking for them to turn dark brown, heavens no! They are done when the edges just start to look faintly golden. Seriously, watch those edges!
Once they reach that perfect color, pull the sheet out. Now, here is a non-negotiable step for maintaining the structural integrity of these roll out sugar cookies: Let them rest right there on the hot baking sheet for a full five minutes. If you try to move them immediately, they are flimsy and they will absolutely break or warp. Those five minutes let the structure firm up just enough so they can handle the transfer.
After that five-minute pause, you can gently move them over to a wire rack to cool completely. They need to be totally cool before you even think about frosting them, otherwise your gorgeous icing will just slide right off. Making sure you cool these classic sugar cookies patiently ensures they stay soft and chewy forever, but you can decorate them without any fuss!
Tips for Success with Roll Out Sugar Cookies
Baking is science, but decorating is pure art, right? Because these sugar cookies are designed to be decorated, we need to talk about troubleshooting just a little bit more. I’ve learned through trial and error how to keep things running smoothly, especially when I’m making dozens for a big party or for our annual Christmas cookie decorating marathon.
If you find your dough is sticking to the counter, that usually means you need just a tiny bit more flour on your surface, or perhaps your dough wasn’t chilled enough to start with. Remember, we want to roll these out to about 1/4 inch thickness—if you go thinner than that, they become brittle, and thin roll out sugar cookies are definitely more prone to snapping when you try to move them!
If you skipped the chilling step, your dough might be a bit floppy when you try rolling. Don’t panic! Just pop the rolled-out shapes onto the baking sheet and slide that into the freezer for about 8 minutes before baking. That quick chill gives the butter crystals time to re-harden, which stops the spreading problem right in its tracks. We want these cookies thick, chewy, and stable!
Making These Sugar Cookies for Decorating
Patience is your best friend when waiting for these holiday sugar cookies to cool. If you rush right in with royal icing while they are still warm, the icing melts, runs everywhere, and then you just have sticky cookie puddles. Nobody wants that on their festive platter!
Make sure they are completely, undeniably room temperature—I usually leave mine cooling on the wire rack for at least an hour or two, depending on how humid the kitchen is. If you are using a very loose glaze or thin icing, sometimes I brush on the thinnest layer of watered-down vanilla extract or a thinned-out simple glaze first. This acts like a sealant layer, traps any loose crumbs, and prevents them from getting into your beautiful final coat of icing. These are truly some of the best Christmas cookie recipes because they are so reliable for decorating once cooled!
If you ever have questions about how to use this recipe or other things you might encounter in your baking adventures, you can always check out my quick baking disclaimer page for some general guidelines!
Storing Your Homemade Sugar Cookies
One of the best things about these homemade sugar cookies, besides how amazing they taste, is that they actually keep really well! You don’t have to frantically eat them all the day you bake them, which is excellent news if you’re planning ahead for a big holiday event or just want yummy snacks all week long.
When it comes to storing the undecorated cookies—the ones fresh off the rack—keep them in a single layer within a large airtight container. If you absolutely have to stack them, put a sheet of wax paper or parchment paper between the layers. This keeps them from sticking together and helps maintain that wonderful soft texture we worked so hard to achieve! Kept this way, they stay wonderfully fresh at room temperature for about five to seven days. That’s a whole week of buttery goodness!
If you are decorating them, you need to wait until the icing is totally dry and set. Seriously, wait until the next day if you’re using thick royal icing. Once they are iced, I still recommend the airtight container, but you might want to double-layer that parchment paper between stacks just to make sure the icing doesn’t get smudged or stick to the decorations above it.
Can you make these ahead—as in, way ahead?
Yes, you absolutely can! The raw dough freezes like a dream. Once you’ve made your disks and wrapped them tight in plastic wrap, you can tuck them into a freezer-safe bag or container. They keep beautifully frozen for up to three months! When you’re ready to bake sugar cookies later, just move the frozen disk straight from the freezer to the counter for about 30 minutes to soften just slightly before rolling them out. You might need to add an extra minute or two to the baking time since the dough is colder, but it’s such a life-saver during busy holiday baking seasons!
Frequently Asked Questions About Cutout Sugar Cookies
I get so many questions about these cutout sugar cookies because everyone wants that perfect bake! Here are the things I hear asked most often. Hopefully, this clears up any last-minute worries before you head to the kitchen!
Can I skip chilling the dough for these roll out sugar cookies?
Oh, I strongly advise against skipping the chill time! As I mentioned earlier, chilling is what firms up the butter. If you skip it, especially if your kitchen is warm, you’ll end up with dough that’s too soft to handle when rolling. This means your beautiful shapes will spread out a lot in the oven, resulting in flatter, less fluffy sugar cookies instead of the wonderfully thick ones we are aiming for. It’s worth the hour wait, trust me!
How do I ensure I get soft sugar cookies and not crunchy ones?
It comes down to two things: ingredients and baking time. First, this recipe uses a great ratio of butter and sugar to keep them soft. But second, the real key is *when* you pull these classic sugar cookies out of the oven. You’re looking for the edges to just barely kiss being golden brown. If you wait until the center looks heavily browned, they will be crunchy when they cool. For that perfect soft texture, pull them when they look just set!
Can I freeze the raw dough for these holiday sugar cookies?
Yes, yes, yes! This is one of my favorite tricks for surviving the busy holiday season. These disks of sugar cookie dough freeze incredibly well for up to three months. Make sure they are wrapped really tightly—double layer of plastic wrap works best—to prevent any freezer burn taste. Then, when you need fresh cookies fast, you can take the frozen disk straight to your lightly floured counter. Let it sit out for about 30 minutes and then roll it out! Perfect for last-minute festive cookie baking!
What is the best way to get a really thick sugar cookie that tastes amazing?
If you love a super pillowy, thick cookie, you have two options, both simple! First, stick strictly to the 1/4 inch thickness guideline when rolling. Second, you can roll them slightly thicker, maybe closer to 3/8 inch, but you *must* add 1 to 2 minutes to the baking time. You still want that *light* golden edge, but because the middle is thicker, it needs that extra bit of oven time to set up properly. This guarantees a thick, melt in your mouth cookie!
Nutritional Estimates for These Classic Sugar Cookies
I always feel a little bit guilty talking nutrition when we’re eating something this delicious, but since we’re talking about serving size and what goes into our bodies, I figured I should include the standard estimates for these classic sugar cookies.
Now, please keep in mind that these numbers are just a general guide. They assume perfect measurements and standard ingredients, and honestly, I usually eat two, not one! But they give you a good ballpark idea of what you’re looking at when you enjoy one of these treats.
If you’re tracking things closely, you can find the details below. We used the standard counts based on the yield of about 3 dozen cookies. Sometimes these estimates are based on the size of the cookie cutter you use, so remember that little changes can make a difference in the final tally.
- Serving Size: 1 cookie
- Calories: 140
- Sugar: 14g
- Sodium: 65mg
- Fat: 7g
- Saturated Fat: 4g
- Trans Fat: 0g
- Carbohydrates: 18g
- Fiber: 0g
- Protein: 2g
- Cholesterol: 25mg
It’s always good practice to remember that these are just estimates, especially since every kitchen mixes things a little differently! You can read a bit more about how we handle our nutrition information over on my cookie policy page if you’re curious about our general approach!
Share Your Festive Cookie Baking Experience
Well, that’s my absolute blueprint for the most reliable, soft, and decorative sugar cookies you will ever make! Believe me, if these work for me—and I occasionally have a slight tendency to rush steps when I’m excited—they will work perfectly for you.
I genuinely hope these become a staple in your kitchen, especially when it comes time for creating beautiful holiday sugar cookies. There’s nothing quite like stacking up little iced characters on a plate to make the whole house smell like Christmas!
Now, I need your help! I really want to know how they turned out for you. Did you decorate them as cutout sugar cookies, or did you use them for simple, cozy, drop-style treats? Did you use fun shapes?
Please take a moment to rate this recipe right down below—five stars if you loved them as much as we do! And if you took pictures while you were working on your cookie decorating ideas, please drop a comment and share them with me. I absolutely love seeing what everyone comes up with.
If you have any burning questions about your buttery sugar cookies, or if you want to get in touch about anything else baking-related, you can reach out to me through my contact page. Happy festive cookie baking!
PrintClassic Soft Cutout Sugar Cookies

This recipe yields soft, chewy sugar cookies that hold their shape well for easy decorating. They use basic ingredients and are simple to prepare.
- Prep Time: 25 min
- Cook Time: 10 min
- Total Time: 1 hour 35 min
- Yield: 3 dozen
- Category: Dessert
- Method: Baking
- Cuisine: American
- Diet: Vegetarian
Ingredients
- 3 cups all-purpose flour
- 1 teaspoon baking powder
- 1/2 teaspoon salt
- 1 cup unsalted butter, softened
- 1 1/2 cups granulated sugar
- 1 large egg
- 1 teaspoon vanilla extract
Instructions
- Whisk together the flour, baking powder, and salt in a medium bowl. Set aside.
- In a large bowl, cream the softened butter and sugar together until light and fluffy.
- Beat in the egg and vanilla extract until just combined.
- Gradually add the dry ingredients to the wet ingredients, mixing on low speed until a soft dough forms. Do not overmix.
- Divide the dough in half, flatten each half into a disk, wrap in plastic wrap, and chill for at least 1 hour.
- Preheat your oven to 375 degrees F (190 degrees C). Line baking sheets with parchment paper.
- On a lightly floured surface, roll out one disk of dough to 1/4 inch thickness. Cut out desired shapes using cookie cutters.
- Place the cutouts onto the prepared baking sheets, spacing them about 1 inch apart.
- Bake for 8 to 10 minutes, or until the edges are lightly golden.
- Let the cookies cool on the baking sheet for 5 minutes before transferring them to a wire rack to cool completely before decorating.
Notes
- For thicker cookies, roll the dough to 3/8 inch thickness and slightly increase the baking time.
- If you skip the chilling step, the cookies may spread more during baking.
- Use high-quality vanilla extract for the best flavor.
Nutrition
- Serving Size: 1 cookie
- Calories: 140
- Sugar: 14
- Sodium: 65
- Fat: 7
- Saturated Fat: 4
- Unsaturated Fat: 3
- Trans Fat: 0
- Carbohydrates: 18
- Fiber: 0
- Protein: 2
- Cholesterol: 25